2017 FORD TAURUS buttons
[x] Cancel search: buttonsPage 124 of 504
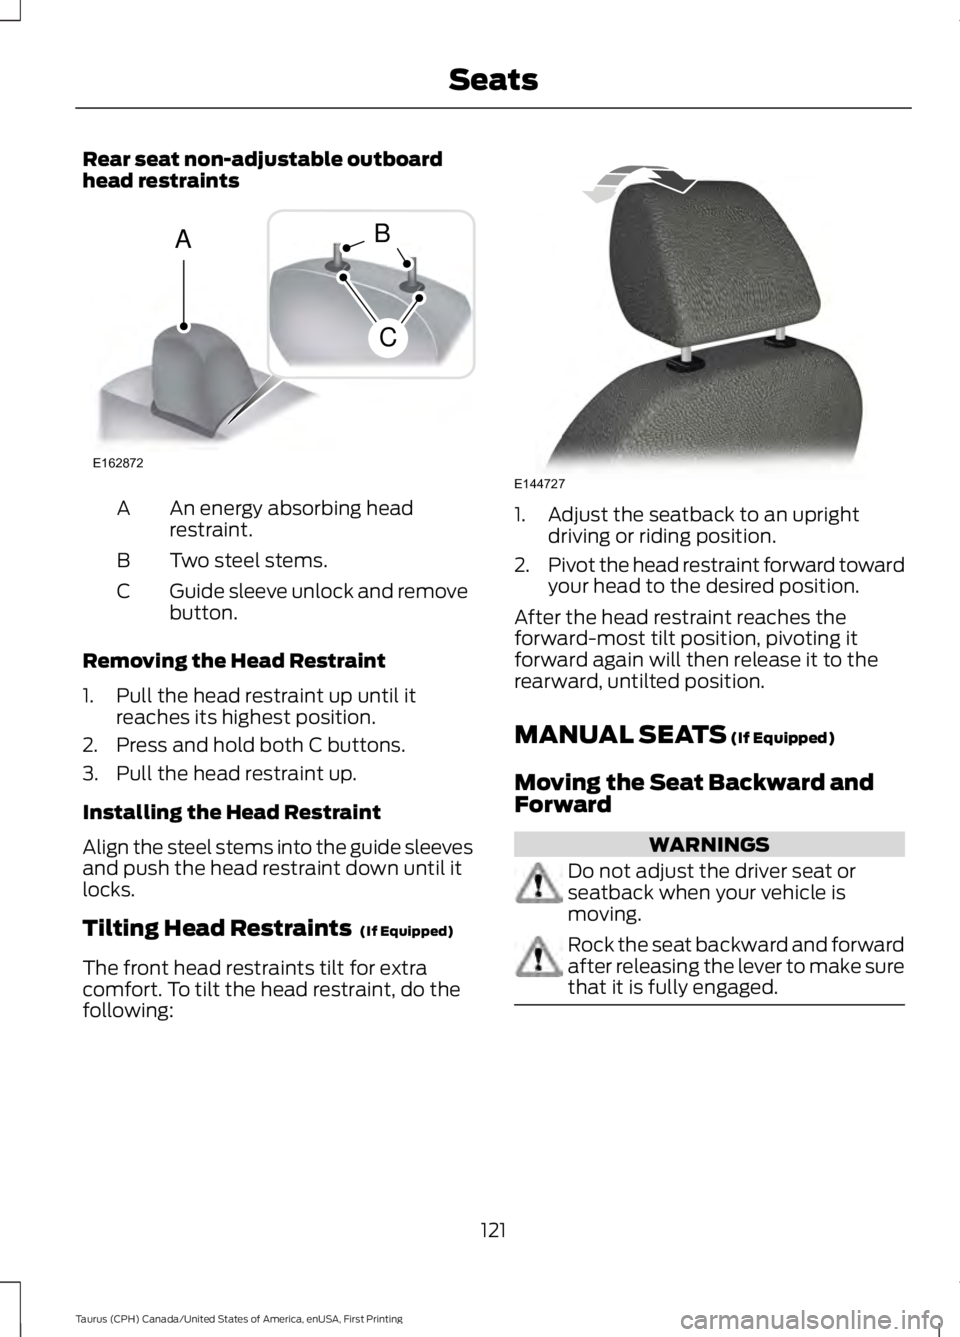
Rear seat non-adjustable outboardhead restraints
An energy absorbing headrestraint.A
Two steel stems.B
Guide sleeve unlock and removebutton.C
Removing the Head Restraint
1. Pull the head restraint up until itreaches its highest position.
2. Press and hold both C buttons.
3. Pull the head restraint up.
Installing the Head Restraint
Align the steel stems into the guide sleevesand push the head restraint down until itlocks.
Tilting Head Restraints (If Equipped)
The front head restraints tilt for extracomfort. To tilt the head restraint, do thefollowing:
1. Adjust the seatback to an uprightdriving or riding position.
2.Pivot the head restraint forward towardyour head to the desired position.
After the head restraint reaches theforward-most tilt position, pivoting itforward again will then release it to therearward, untilted position.
MANUAL SEATS (If Equipped)
Moving the Seat Backward andForward
WARNINGS
Do not adjust the driver seat orseatback when your vehicle ismoving.
Rock the seat backward and forwardafter releasing the lever to make surethat it is fully engaged.
121
Taurus (CPH) Canada/United States of America, enUSA, First Printing
SeatsE162872
A
C
B E144727
Page 133 of 504
HomeLink Wireless ControlSystem
WARNINGS
Make sure that the garage door andsecurity device are free fromobstruction when you areprogramming. Do not program the systemwith the vehicle in the garage.
Do not use the system with anygarage door opener that does nothave the safety stop and reversefeature as required by U.S. Federal SafetyStandards (this includes any garage dooropener manufactured before April 1, 1982).A garage door opener which cannot detectan object, signaling the door to stop andreverse, does not meet current federalsafety standards. Using a garage dooropener without these features increasesthe risk of serious injury or death.
Note:Make sure you keep the originalremote control transmitter for use in othervehicles as well as for future systemprogramming.
Note:We recommend that upon the saleor lease termination of your vehicle, youerase the programmed function buttons forsecurity reasons. See Erasing the FunctionButton Codes.
Note:You can program a maximum ofthree devices. To change or replace any ofthe three devices after it has been initiallyprogrammed, you must first erase thecurrent settings. See Erasing the FunctionButton Codes.
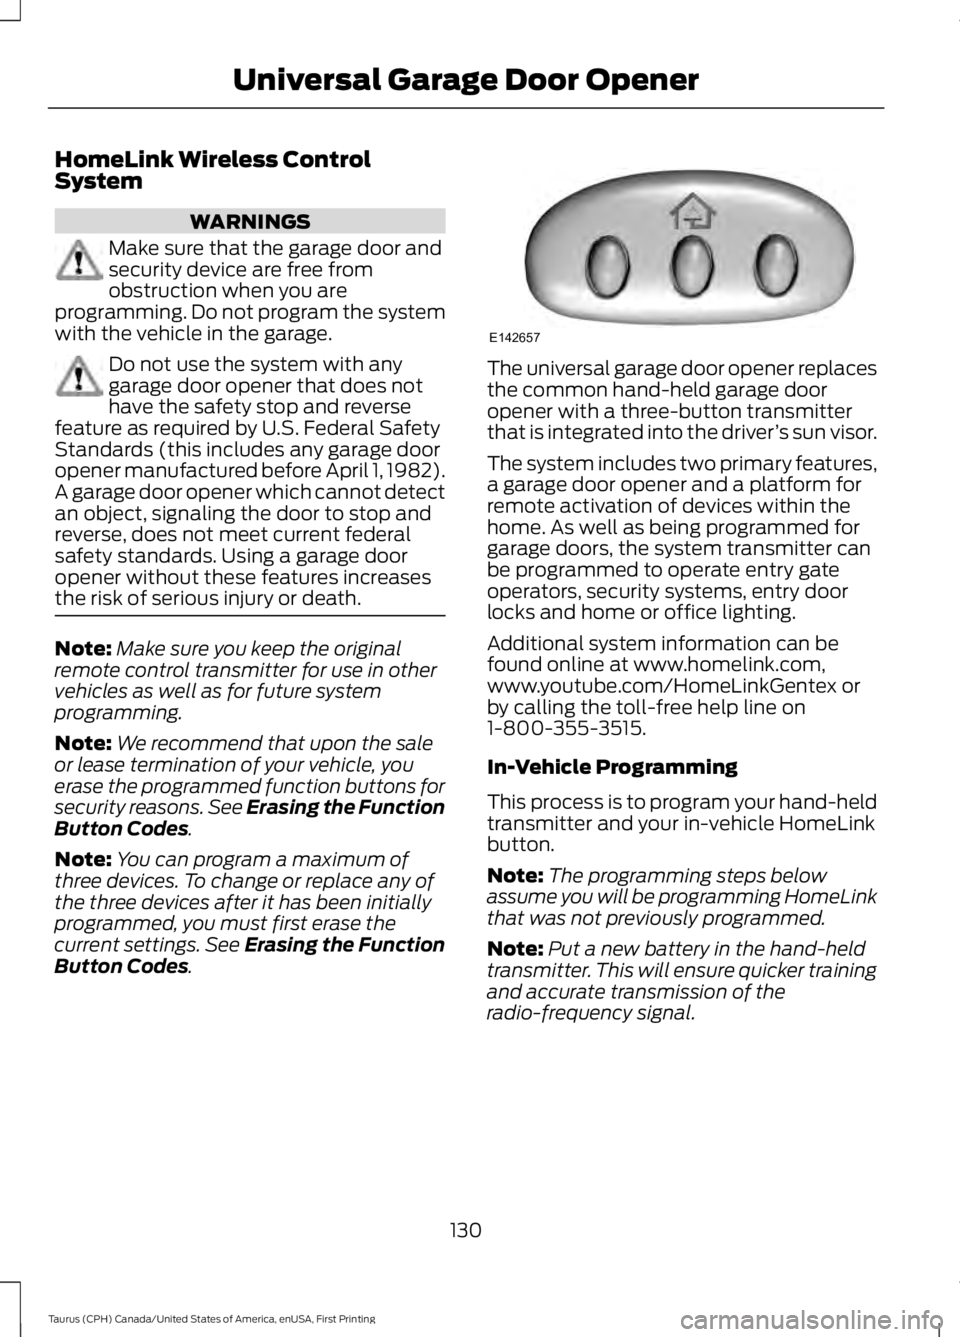
The universal garage door opener replacesthe common hand-held garage dooropener with a three-button transmitterthat is integrated into the driver’s sun visor.
The system includes two primary features,a garage door opener and a platform forremote activation of devices within thehome. As well as being programmed forgarage doors, the system transmitter canbe programmed to operate entry gateoperators, security systems, entry doorlocks and home or office lighting.
Additional system information can befound online at www.homelink.com,www.youtube.com/HomeLinkGentex orby calling the toll-free help line on1-800-355-3515.
In-Vehicle Programming
This process is to program your hand-heldtransmitter and your in-vehicle HomeLinkbutton.
Note:The programming steps belowassume you will be programming HomeLinkthat was not previously programmed.
Note:Put a new battery in the hand-heldtransmitter. This will ensure quicker trainingand accurate transmission of theradio-frequency signal.
130
Taurus (CPH) Canada/United States of America, enUSA, First Printing
Universal Garage Door OpenerE142657
Page 134 of 504
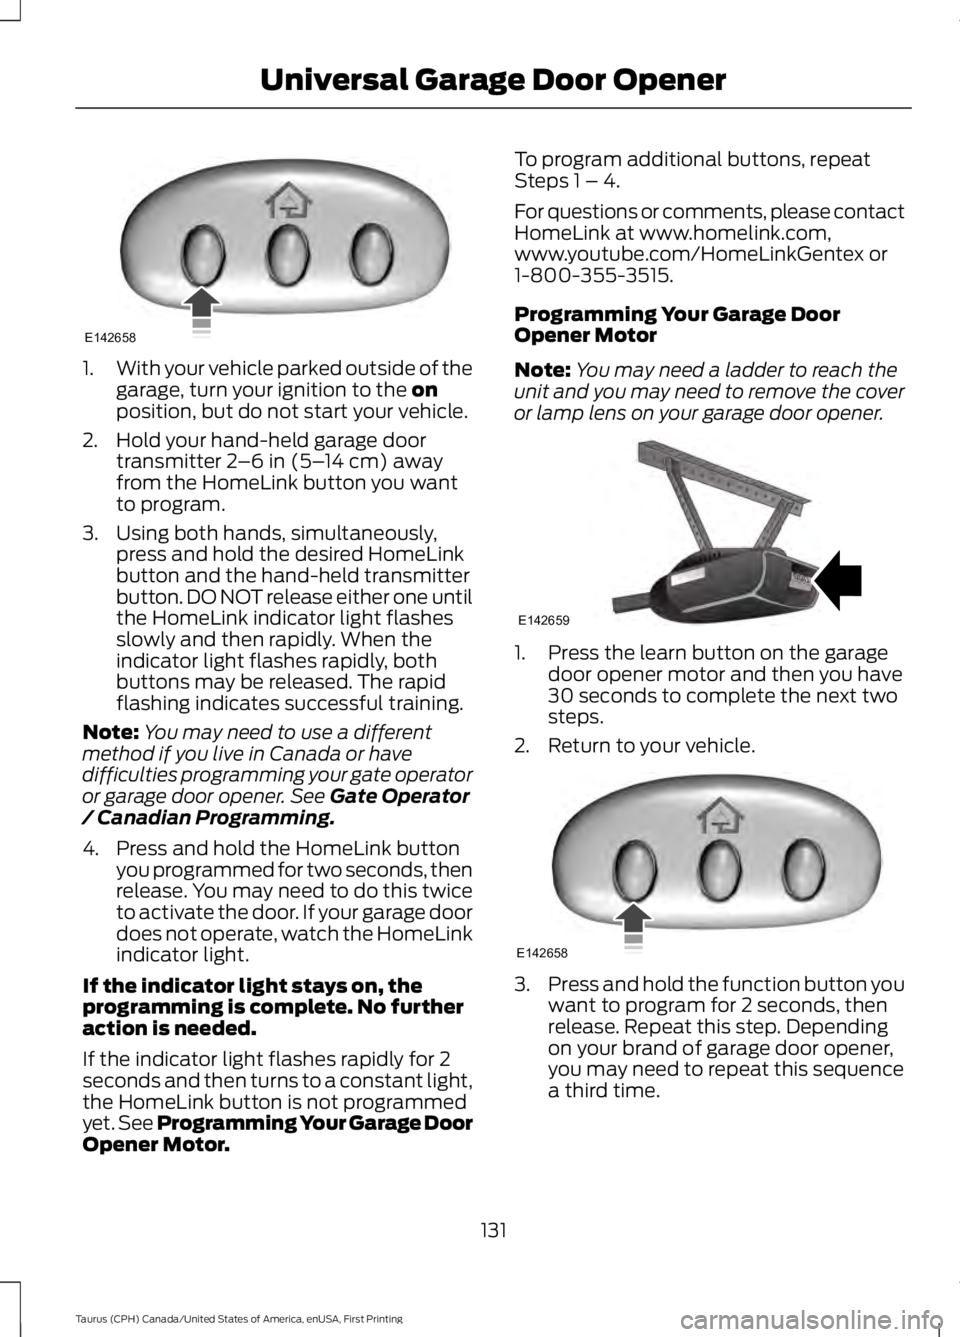
1.With your vehicle parked outside of thegarage, turn your ignition to the onposition, but do not start your vehicle.
2. Hold your hand-held garage doortransmitter 2–6 in (5–14 cm) awayfrom the HomeLink button you wantto program.
3. Using both hands, simultaneously,press and hold the desired HomeLinkbutton and the hand-held transmitterbutton. DO NOT release either one untilthe HomeLink indicator light flashesslowly and then rapidly. When theindicator light flashes rapidly, bothbuttons may be released. The rapidflashing indicates successful training.
Note:You may need to use a differentmethod if you live in Canada or havedifficulties programming your gate operatoror garage door opener. See Gate Operator/ Canadian Programming.
4. Press and hold the HomeLink buttonyou programmed for two seconds, thenrelease. You may need to do this twiceto activate the door. If your garage doordoes not operate, watch the HomeLinkindicator light.
If the indicator light stays on, theprogramming is complete. No furtheraction is needed.
If the indicator light flashes rapidly for 2seconds and then turns to a constant light,the HomeLink button is not programmedyet. See Programming Your Garage DoorOpener Motor.
To program additional buttons, repeatSteps 1 – 4.
For questions or comments, please contactHomeLink at www.homelink.com,www.youtube.com/HomeLinkGentex or1-800-355-3515.
Programming Your Garage DoorOpener Motor
Note:You may need a ladder to reach theunit and you may need to remove the coveror lamp lens on your garage door opener.
1. Press the learn button on the garagedoor opener motor and then you have30 seconds to complete the next twosteps.
2. Return to your vehicle.
3.Press and hold the function button youwant to program for 2 seconds, thenrelease. Repeat this step. Dependingon your brand of garage door opener,you may need to repeat this sequencea third time.
131
Taurus (CPH) Canada/United States of America, enUSA, First Printing
Universal Garage Door OpenerE142658 E142659 E142658
Page 135 of 504
Gate Operator / CanadianProgramming
Canadian radio-frequency laws requiretransmitter signals to “time-out” (or quit)after several seconds of transmission –which may not be long enough forHomeLink to pick up the signal duringprogramming. Similar to this Canadian law,some U.S. gate operators are designed to“time-out” in the same manner.
Note:If programming a garage door openeror gate operator, it is advised to unplug thedevice during the “cycling” process toprevent possible overheating.
1. Press and hold the HomeLink buttonwhile you press and release,every twoseconds, your hand-held transmitteruntil the HomeLink indicator lightchanges from a slow to a rapidlyblinking light.
2. Release both the HomeLink andhand-held transmitter buttons.
3. Continue programing HomeLink. SeeIn-Vehicle Programming.
Erasing the Function Button Codes
Note:You cannot erase individual buttons.
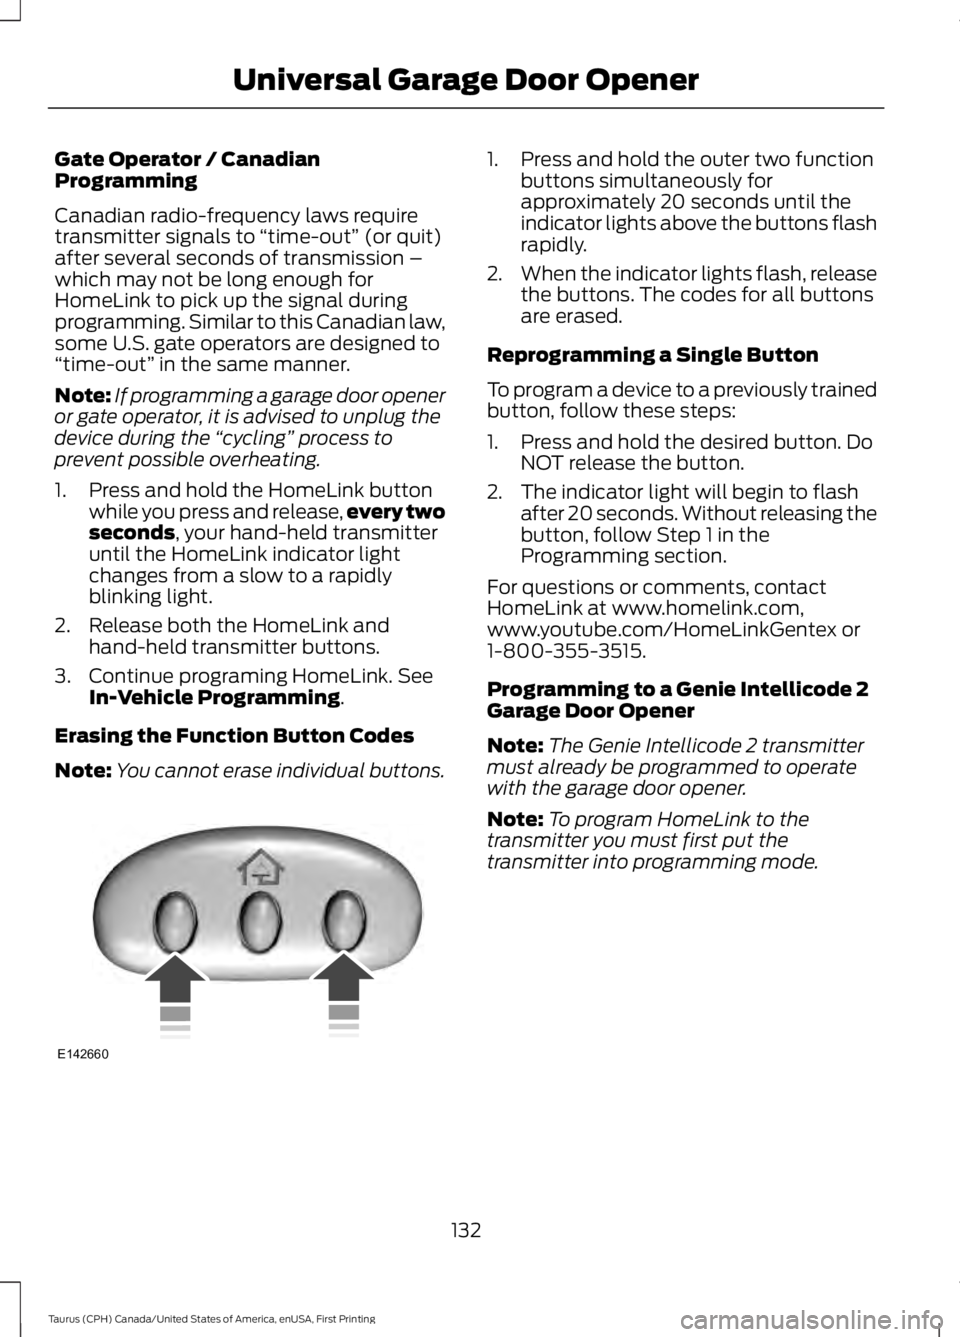
1. Press and hold the outer two functionbuttons simultaneously forapproximately 20 seconds until theindicator lights above the buttons flashrapidly.
2.When the indicator lights flash, releasethe buttons. The codes for all buttonsare erased.
Reprogramming a Single Button
To program a device to a previously trainedbutton, follow these steps:
1. Press and hold the desired button. DoNOT release the button.
2. The indicator light will begin to flashafter 20 seconds. Without releasing thebutton, follow Step 1 in theProgramming section.
For questions or comments, contactHomeLink at www.homelink.com,www.youtube.com/HomeLinkGentex or1-800-355-3515.
Programming to a Genie Intellicode 2Garage Door Opener
Note:The Genie Intellicode 2 transmittermust already be programmed to operatewith the garage door opener.
Note:To program HomeLink to thetransmitter you must first put thetransmitter into programming mode.
132
Taurus (CPH) Canada/United States of America, enUSA, First Printing
Universal Garage Door OpenerE142660
Page 136 of 504
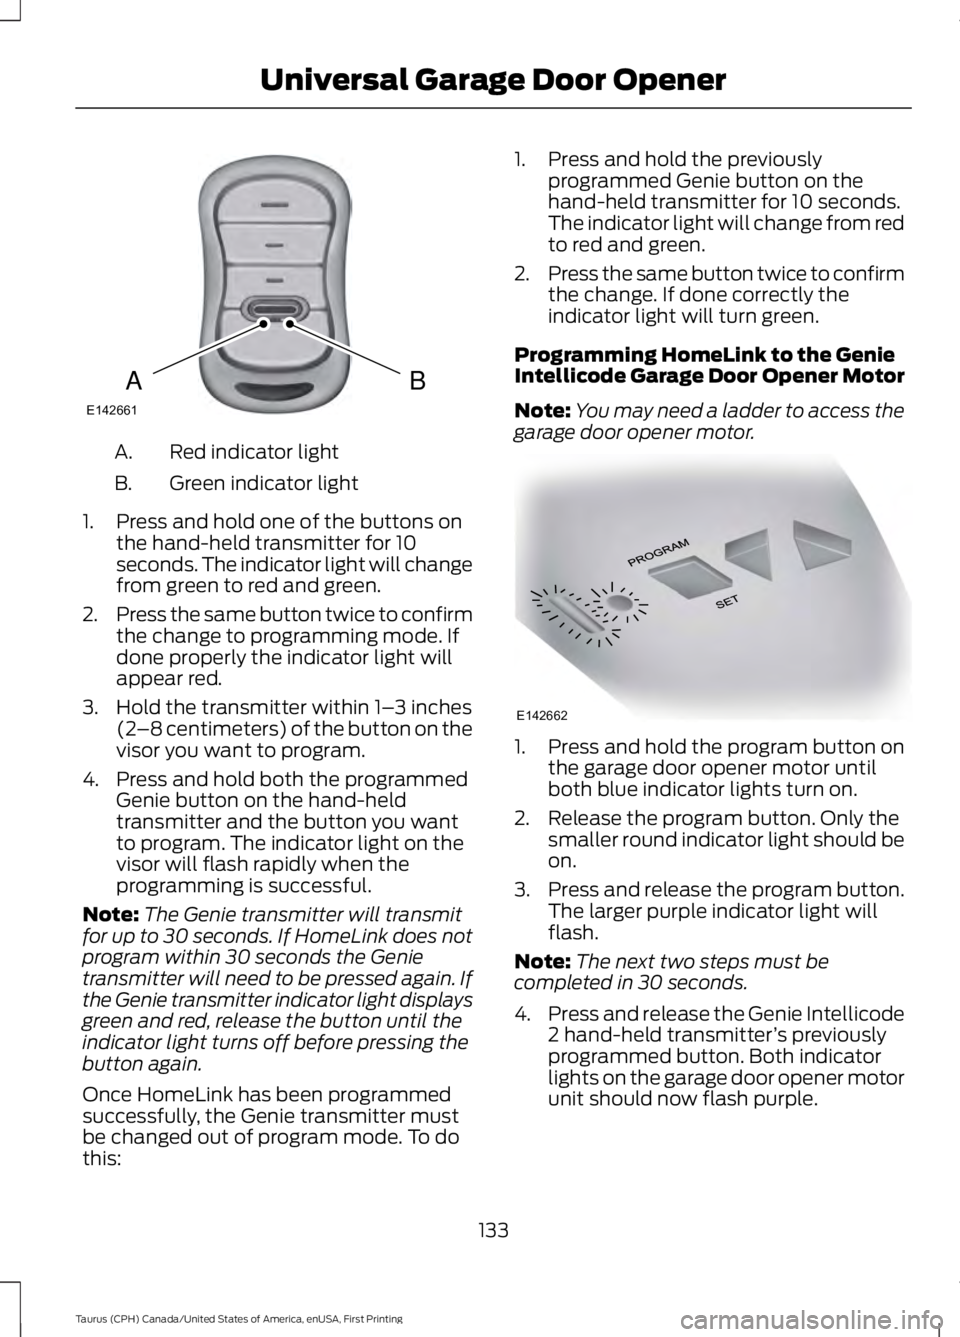
Red indicator lightA.
Green indicator lightB.
1. Press and hold one of the buttons onthe hand-held transmitter for 10seconds. The indicator light will changefrom green to red and green.
2.Press the same button twice to confirmthe change to programming mode. Ifdone properly the indicator light willappear red.
3. Hold the transmitter within 1–3 inches(2–8 centimeters) of the button on thevisor you want to program.
4. Press and hold both the programmedGenie button on the hand-heldtransmitter and the button you wantto program. The indicator light on thevisor will flash rapidly when theprogramming is successful.
Note:The Genie transmitter will transmitfor up to 30 seconds. If HomeLink does notprogram within 30 seconds the Genietransmitter will need to be pressed again. Ifthe Genie transmitter indicator light displaysgreen and red, release the button until theindicator light turns off before pressing thebutton again.
Once HomeLink has been programmedsuccessfully, the Genie transmitter mustbe changed out of program mode. To dothis:
1. Press and hold the previouslyprogrammed Genie button on thehand-held transmitter for 10 seconds.The indicator light will change from redto red and green.
2.Press the same button twice to confirmthe change. If done correctly theindicator light will turn green.
Programming HomeLink to the GenieIntellicode Garage Door Opener Motor
Note:You may need a ladder to access thegarage door opener motor.
1. Press and hold the program button onthe garage door opener motor untilboth blue indicator lights turn on.
2. Release the program button. Only thesmaller round indicator light should beon.
3.Press and release the program button.The larger purple indicator light willflash.
Note:The next two steps must becompleted in 30 seconds.
4.Press and release the Genie Intellicode2 hand-held transmitter’s previouslyprogrammed button. Both indicatorlights on the garage door opener motorunit should now flash purple.
133
Taurus (CPH) Canada/United States of America, enUSA, First Printing
Universal Garage Door OpenerBAE142661 E142662
Page 137 of 504

5. Press and hold the previouslyprogrammed button on the visor for 2seconds. Repeat this step up to 3 timesuntil the garage door moves.
Programming is now complete.
Clearing a HomeLink Device
To erase programming from the threeHomeLink buttons press and hold the twoouter HomeLink buttons until the indicatorlight begins to flash. The indicator light willbegin flashing in 10 to 20 seconds, at whichtime both buttons should be released.Programming has now been erased, andthe indicator light should blink slowly toindicate the device is in train mode whenany of the three HomeLink buttons arepressed.
FCC and RSS-210 Industry CanadaCompliance
This device complies with Part 15 of theFCC Rules and with RSS-210 of IndustryCanada. Operation is subject to thefollowing two conditions: (1) this devicemay not cause harmful interference, and(2) this device must accept anyinterference received, includinginterference that may cause undesiredoperation.
Changes or modifications to your devicenot expressly approved by the partyresponsible for compliance can void theuser’s authority to operate the equipment.
134
Taurus (CPH) Canada/United States of America, enUSA, First Printing
Universal Garage Door Opener
Page 218 of 504
This program is separate from the NewVehicle Limited Warranty, but the coverageis concurrent with the powertrain coverageperiod of your vehicle.
Canadian customers who require roadsideassistance, call 1-800-665-2006.
Vehicles Sold in Canada: UsingRoadside Assistance
Complete the roadside assistanceidentification card and place it in yourwallet for quick reference.
In Canada, this card is found in theWarranty Guide in the glove compartmentof your vehicle.
Vehicles Sold in Canada: RoadsideAssistance Program Coverage
The service is available 24 hours a day,seven days a week.
Canadian roadside coverage and benefitsmay differ from the U.S. coverage.
For complete program coverage detailsyou may contact your dealer, you can callus in Canada at 1-800-665-2006, or visitour website at www.ford.ca.
HAZARD WARNING FLASHERS
Note:If used when the vehicle is notrunning, the battery will lose charge. Theremay be insufficient power to restart yourvehicle.
The hazard warning button islocated on the instrument panel.Use it when your vehicle iscreating a safety hazard for othermotorists.
•Press the button to turn on the hazardwarning function, and the front andrear direction indicators will flash.
•Press the button again to turn themoff.
FUEL SHUTOFF
WARNING
Failure to inspect and, if necessary,repair fuel leaks after a collision mayincrease the risk of fire and seriousinjury. Ford Motor Company recommendsthat the fuel system be inspected by anauthorized dealer after any collision.
In the event of a moderate to severecollision, this vehicle includes a fuel pumpshutoff feature that stops the flow of fuelto the engine. Not every impact will causea shutoff.
Should your vehicle shut off after acollision, you may restart your vehicle. Forvehicles equipped with a key system:
1. Switch off the ignition.
2. Switch on the ignition.
3. Repeat Steps 1 and 2 to re-enable thefuel pump.
For vehicles equipped with a push buttonstart system:
1. Press the START/STOP button toswitch off the ignition.
2. Press the brake pedal and press theSTART/STOP button to switch on theignition.
3.Remove your foot from the brake pedaland press the START/STOP buttonto switch off the ignition.
4. You can either attempt to start theengine by pressing the brake pedal andthe START/STOP button, or switchon the ignition only by pressing theSTART/STOP button withoutpressing the brake pedal. Both waysre-enable the fuel system.
215
Taurus (CPH) Canada/United States of America, enUSA, First Printing
Roadside Emergencies
Page 257 of 504
After battery replacement, or in somecases after charging the battery with anexternal charger, the battery managementsystem requires eight hours of vehicle sleeptime to relearn the battery state of charge.During this time your vehicle must remainfully locked with the ignition switched off.
Note:Prior to relearning the battery stateof charge, the battery management systemmay temporarily disable some electricalsystems.
Electrical Accessory Installation
To make sure the battery managementsystem works correctly, do not connect anelectrical device ground connectiondirectly to the battery negative post. Thiscan cause inaccurate measurements ofthe battery condition and potentialincorrect system operation.
Note:If you add electrical accessories orcomponents to the vehicle, it may adverselyaffect battery performance and durability.This may also affect the performance ofother electrical systems in the vehicle.
CHECKING THE WIPER
BLADES
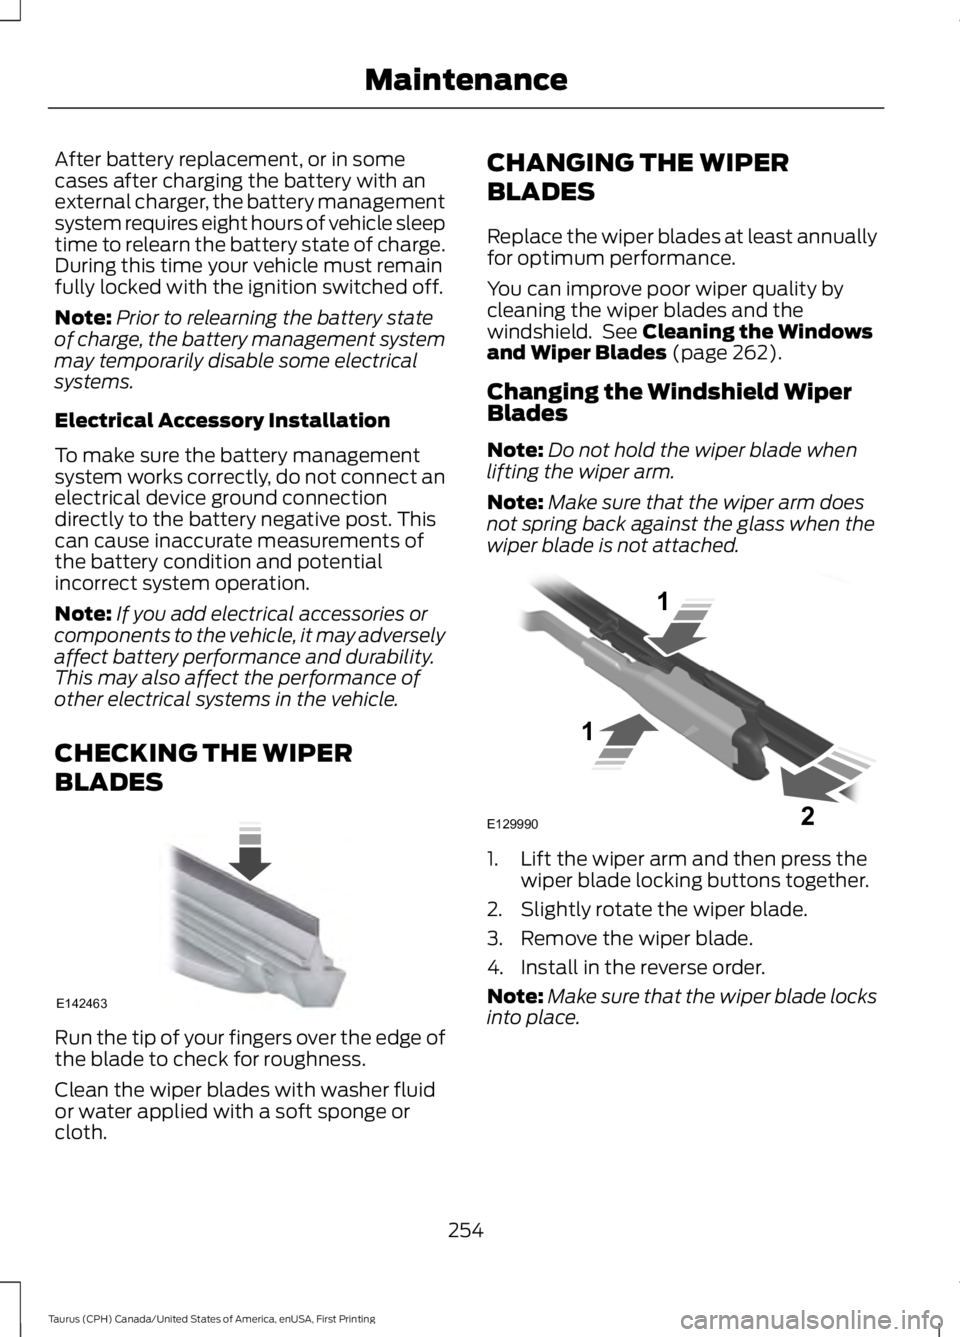
Run the tip of your fingers over the edge ofthe blade to check for roughness.
Clean the wiper blades with washer fluidor water applied with a soft sponge orcloth.
CHANGING THE WIPER
BLADES
Replace the wiper blades at least annuallyfor optimum performance.
You can improve poor wiper quality bycleaning the wiper blades and thewindshield. See Cleaning the Windowsand Wiper Blades (page 262).
Changing the Windshield WiperBlades
Note:Do not hold the wiper blade whenlifting the wiper arm.
Note:Make sure that the wiper arm doesnot spring back against the glass when thewiper blade is not attached.
1. Lift the wiper arm and then press thewiper blade locking buttons together.
2. Slightly rotate the wiper blade.
3. Remove the wiper blade.
4. Install in the reverse order.
Note:Make sure that the wiper blade locksinto place.
254
Taurus (CPH) Canada/United States of America, enUSA, First Printing
MaintenanceE142463 E129990
1
1 2