2017 FORD SUPER DUTY fog light
[x] Cancel search: fog lightPage 5 of 636

Voice Control...................................................82
Cruise Control..................................................82
Information Display Control
.......................82
Heated Steering Wheel
................................82
Pedals
Adjusting the Pedals
.....................................83
Wipers and Washers
Windshield Wipers........................................84
Autowipers
.......................................................84
Windshield Washers
.....................................85
Lighting
General Information.....................................86
Lighting Control..............................................86
Autolamps........................................................87
Instrument Lighting Dimmer.....................88
Daytime Running Lamps............................88
Automatic High Beam Control.................89
Front Fog Lamps............................................90
Direction Indicators
.......................................90
Spot Lamps
.......................................................91
Interior Lamps..................................................91
Ambient Lighting
...........................................94
Windows and Mirrors
Power Windows
.............................................95
Global Opening
..............................................96
Exterior Mirrors
................................................96
Interior Mirror
...................................................98
Sliding Windows............................................99
Sun Visors
.........................................................99
Moonroof........................................................100
Instrument Cluster
Gauges ..............................................................
102
Warning Lamps and Indicators...............105
Audible Warnings and Indicators............110 Information Displays
General Information
......................................111
Information Messages
................................128
Climate Control
Manual Climate Control
.............................145
Automatic Climate Control
......................146
Hints on Controlling the Interior Climate.........................................................148
Heated Windows and Mirrors..................150
Cabin Air Filter
.................................................151
Remote Start...................................................151
Seats
Sitting in the Correct Position
..................152
Head Restraints
.............................................152
Manual Seats
.................................................154
Power Seats
....................................................155
Memory Function
..........................................157
Rear Seats.......................................................159
Heated Seats.................................................160
Climate Controlled Seats...........................161
Front Seat Armrest......................................162
Rear Seat Armrest........................................163
Universal Garage Door Opener
Universal Garage Door Opener...............164
Auxiliary Power Points
Auxiliary Power Points...............................168
Storage Compartments
Center Console..............................................170
Overhead Console
........................................170
Under Seat Storage.....................................170
2
Super Duty (TFE) Canada/United States of America, enUSA, First Printing Table of Contents
Page 12 of 636
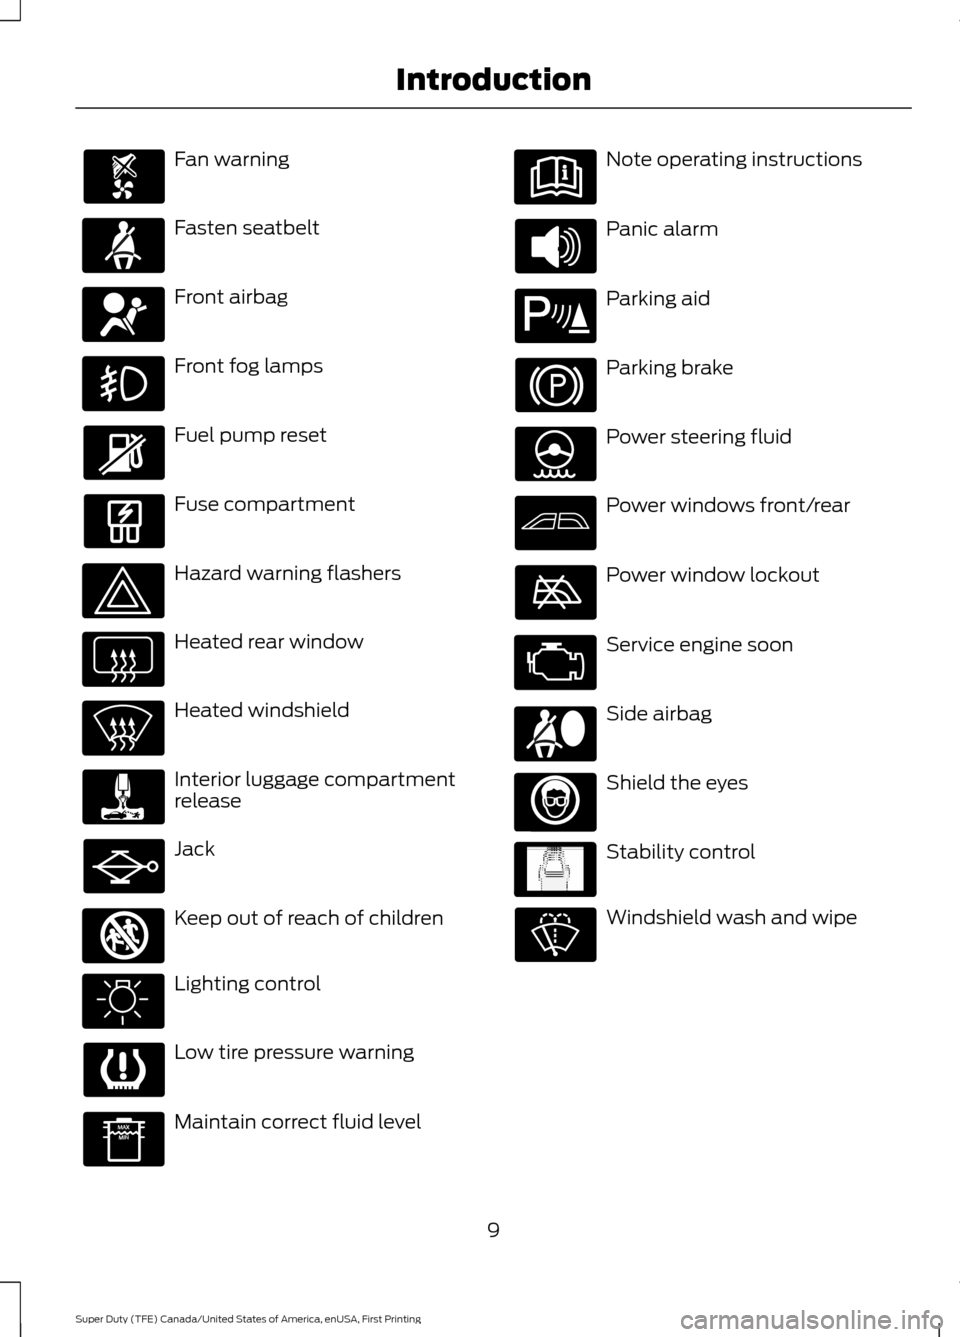
Fan warning
Fasten seatbelt
Front airbag
Front fog lamps
Fuel pump reset
Fuse compartment
Hazard warning flashers
Heated rear window
Heated windshield
Interior luggage compartment
release
Jack
Keep out of reach of children
Lighting control
Low tire pressure warning
Maintain correct fluid level Note operating instructions
Panic alarm
Parking aid
Parking brake
Power steering fluid
Power windows front/rear
Power window lockout
Service engine soon
Side airbag
Shield the eyes
Stability control
Windshield wash and wipe
9
Super Duty (TFE) Canada/United States of America, enUSA, First Printing Introduction E161353 E139213 E167012 E138639
Page 90 of 636
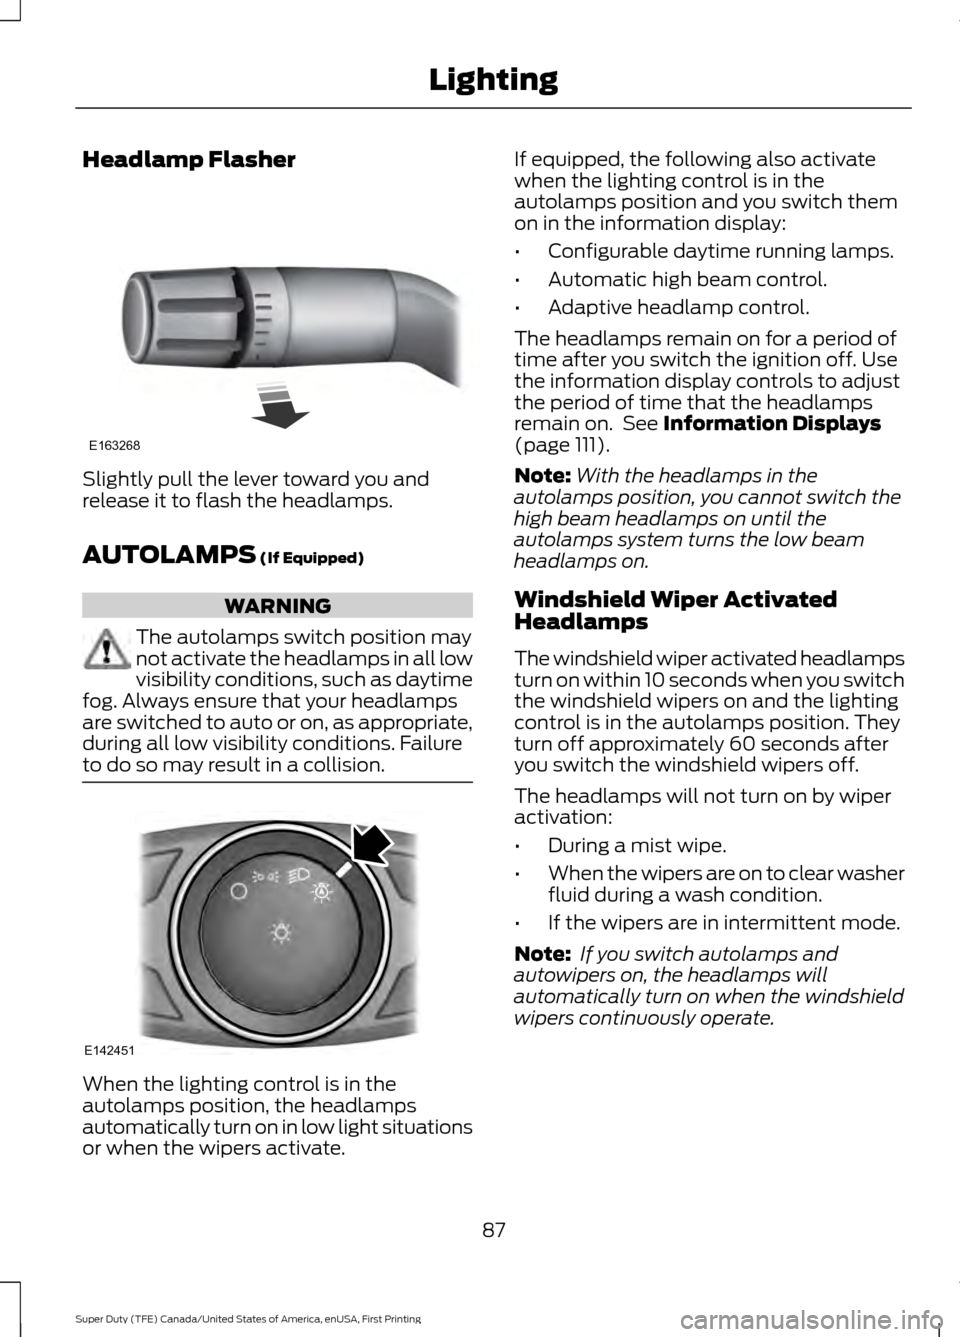
Headlamp Flasher
Slightly pull the lever toward you and
release it to flash the headlamps.
AUTOLAMPS (If Equipped)
WARNING
The autolamps switch position may
not activate the headlamps in all low
visibility conditions, such as daytime
fog. Always ensure that your headlamps
are switched to auto or on, as appropriate,
during all low visibility conditions. Failure
to do so may result in a collision. When the lighting control is in the
autolamps position, the headlamps
automatically turn on in low light situations
or when the wipers activate. If equipped, the following also activate
when the lighting control is in the
autolamps position and you switch them
on in the information display:
•
Configurable daytime running lamps.
• Automatic high beam control.
• Adaptive headlamp control.
The headlamps remain on for a period of
time after you switch the ignition off. Use
the information display controls to adjust
the period of time that the headlamps
remain on. See
Information Displays
(page 111).
Note: With the headlamps in the
autolamps position, you cannot switch the
high beam headlamps on until the
autolamps system turns the low beam
headlamps on.
Windshield Wiper Activated
Headlamps
The windshield wiper activated headlamps
turn on within 10 seconds when you switch
the windshield wipers on and the lighting
control is in the autolamps position. They
turn off approximately 60 seconds after
you switch the windshield wipers off.
The headlamps will not turn on by wiper
activation:
• During a mist wipe.
• When the wipers are on to clear washer
fluid during a wash condition.
• If the wipers are in intermittent mode.
Note: If you switch autolamps and
autowipers on, the headlamps will
automatically turn on when the windshield
wipers continuously operate.
87
Super Duty (TFE) Canada/United States of America, enUSA, First Printing LightingE163268 E142451
Page 91 of 636
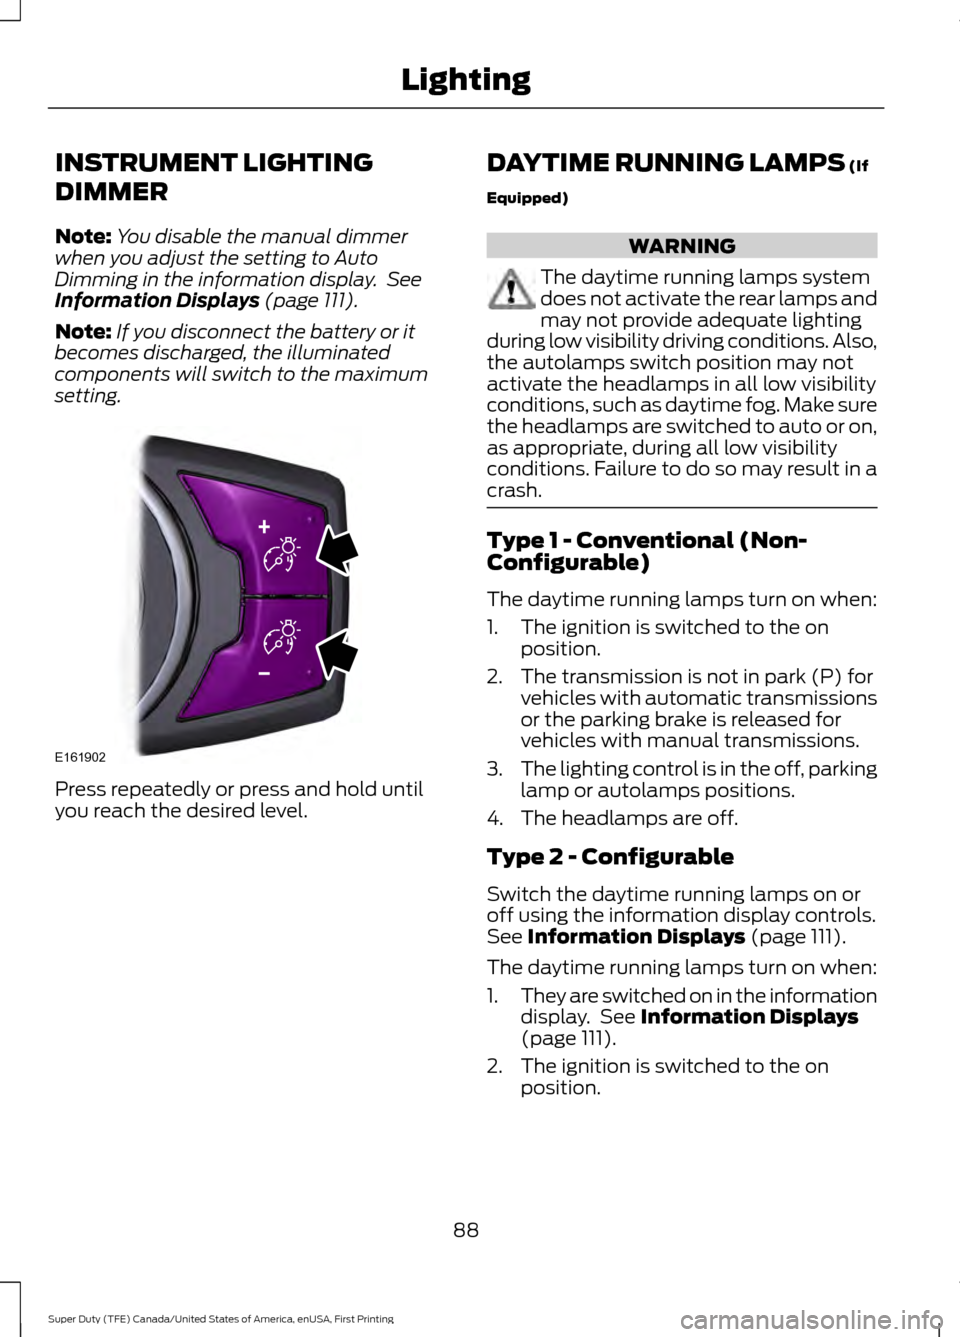
INSTRUMENT LIGHTING
DIMMER
Note:
You disable the manual dimmer
when you adjust the setting to Auto
Dimming in the information display. See
Information Displays (page 111).
Note: If you disconnect the battery or it
becomes discharged, the illuminated
components will switch to the maximum
setting. Press repeatedly or press and hold until
you reach the desired level. DAYTIME RUNNING LAMPS
(If
Equipped) WARNING
The daytime running lamps system
does not activate the rear lamps and
may not provide adequate lighting
during low visibility driving conditions. Also,
the autolamps switch position may not
activate the headlamps in all low visibility
conditions, such as daytime fog. Make sure
the headlamps are switched to auto or on,
as appropriate, during all low visibility
conditions. Failure to do so may result in a
crash. Type 1 - Conventional (Non-
Configurable)
The daytime running lamps turn on when:
1. The ignition is switched to the on
position.
2. The transmission is not in park (P) for vehicles with automatic transmissions
or the parking brake is released for
vehicles with manual transmissions.
3. The lighting control is in the off, parking
lamp or autolamps positions.
4. The headlamps are off.
Type 2 - Configurable
Switch the daytime running lamps on or
off using the information display controls.
See
Information Displays (page 111).
The daytime running lamps turn on when:
1. They are switched on in the information
display. See
Information Displays
(page 111).
2. The ignition is switched to the on position.
88
Super Duty (TFE) Canada/United States of America, enUSA, First Printing LightingE161902
Page 92 of 636
3. The transmission is not in park (P) for
vehicles with automatic transmissions
or the parking brake is released for
vehicles with manual transmissions.
4. The lighting control is in the autolamps
position.
5. The headlamps are off.
The other lighting control switch positions
do not activate the daytime running lamps,
and you can use them to temporarily
override autolamp control.
When switched off in the information
display, the daytime running lamps are off
in all lighting control switch positions.
AUTOMATIC HIGH BEAM
CONTROL (If Equipped)
The system automatically turns on the high
beams if it is dark enough and no other
traffic is present. When it detects the
headlights of an approaching vehicle, the
tail lamps of the preceding vehicle or street
lighting, the system turns off the high
beams before they distract other drivers.
The low beams remain on.
Note: If it appears that automatic high
beam is not functioning properly, check the
windshield in front of the camera for a
blockage. A clear view of the road is required
for proper system operation. Make sure that
authorized personnel repair any windshield
damage in the area of the camera's field of
view.
Note: If the system detects a blockage such
as bird droppings, bug splatter, snow or ice,
and you do not observe changes, the system
may go into low beam mode until you clear
the blockage. A message may also appear
in the information display noting the front
camera is blocked. Note:
Typical road dust, dirt and water
spots do not affect the performance of the
automatic high beam control. However, in
cold or inclement weather conditions, you
may notice a decrease in the availability of
the automatic high beam control, especially
at start up. If you want to change the beam
state independently of the system, you may
switch the high beams on or off using the
high beam lever. Automatic high beam
control resumes when conditions are
correct.
Note: Using much larger tires or equipping
vehicle accessories such as snowplows can
modify your vehicle's ride height and
degrade automatic high beam control
performance.
A camera sensor, centrally mounted
behind the windshield of your vehicle,
continuously monitors conditions to decide
when to switch the high beams off and on.
Once the system is active, the high beams
switch on if:
• The outside light level is low enough.
• There is no traffic in front of your
vehicle.
• The vehicle speed is greater than
32 mph (52 km/h)
.
The high beams switch off if:
• The system detects the headlamps of
an approaching vehicle or the rear
lamps of a vehicle in front of you.
• Vehicle speed falls below
16 mph
(26 km/h).
• The outside light level is high enough
that high beams are not required.
• The system detects severe rain, snow
or fog.
• The camera is blocked.
89
Super Duty (TFE) Canada/United States of America, enUSA, First Printing Lighting
Page 93 of 636
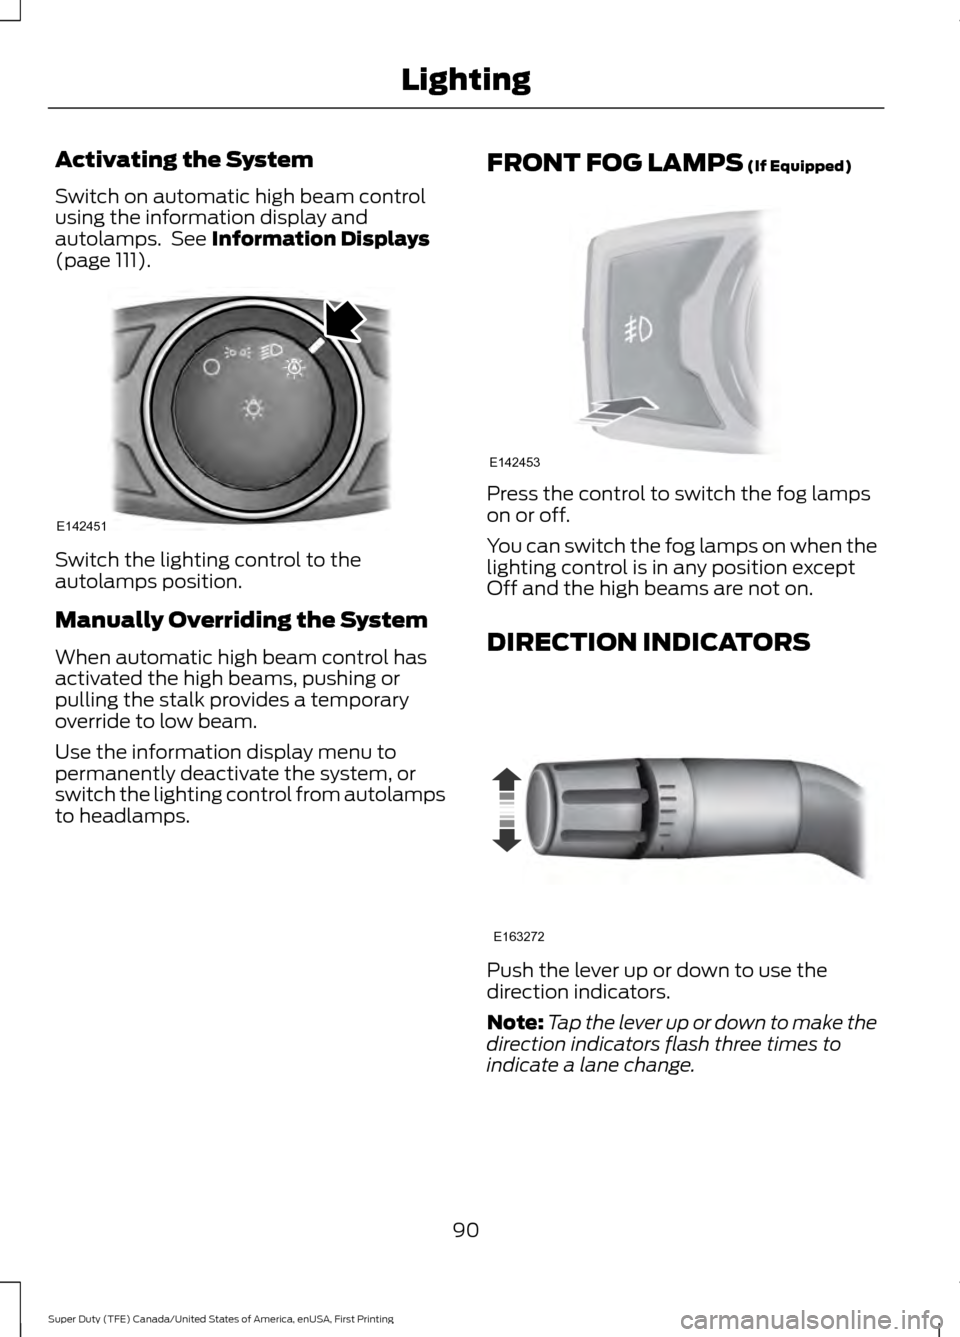
Activating the System
Switch on automatic high beam control
using the information display and
autolamps. See Information Displays
(page 111). Switch the lighting control to the
autolamps position.
Manually Overriding the System
When automatic high beam control has
activated the high beams, pushing or
pulling the stalk provides a temporary
override to low beam.
Use the information display menu to
permanently deactivate the system, or
switch the lighting control from autolamps
to headlamps.
FRONT FOG LAMPS
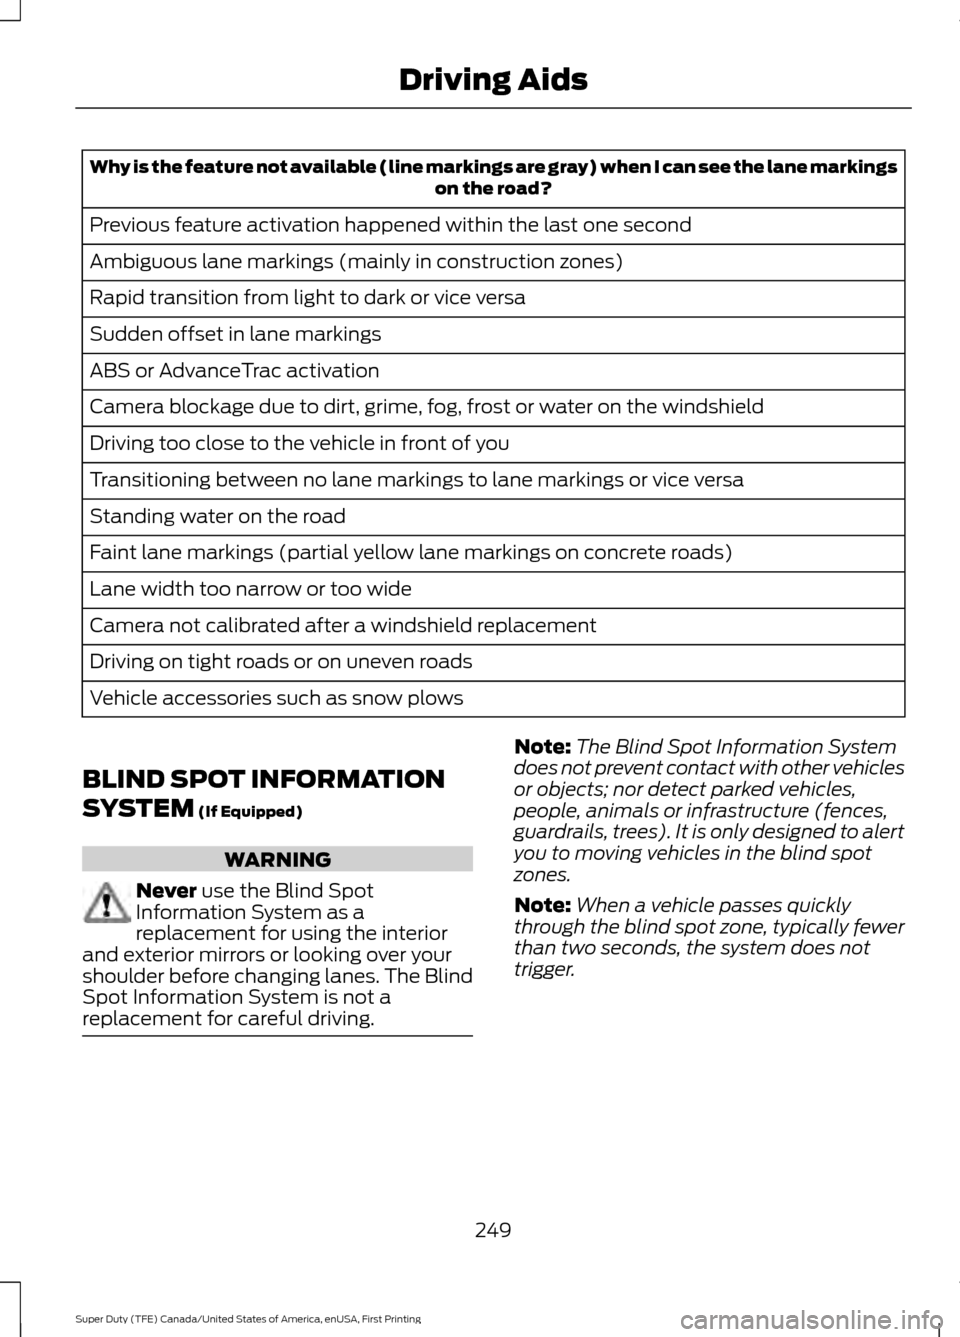
(If Equipped) Press the control to switch the fog lamps
on or off.
You can switch the fog lamps on when the
lighting control is in any position except
Off and the high beams are not on.
DIRECTION INDICATORS
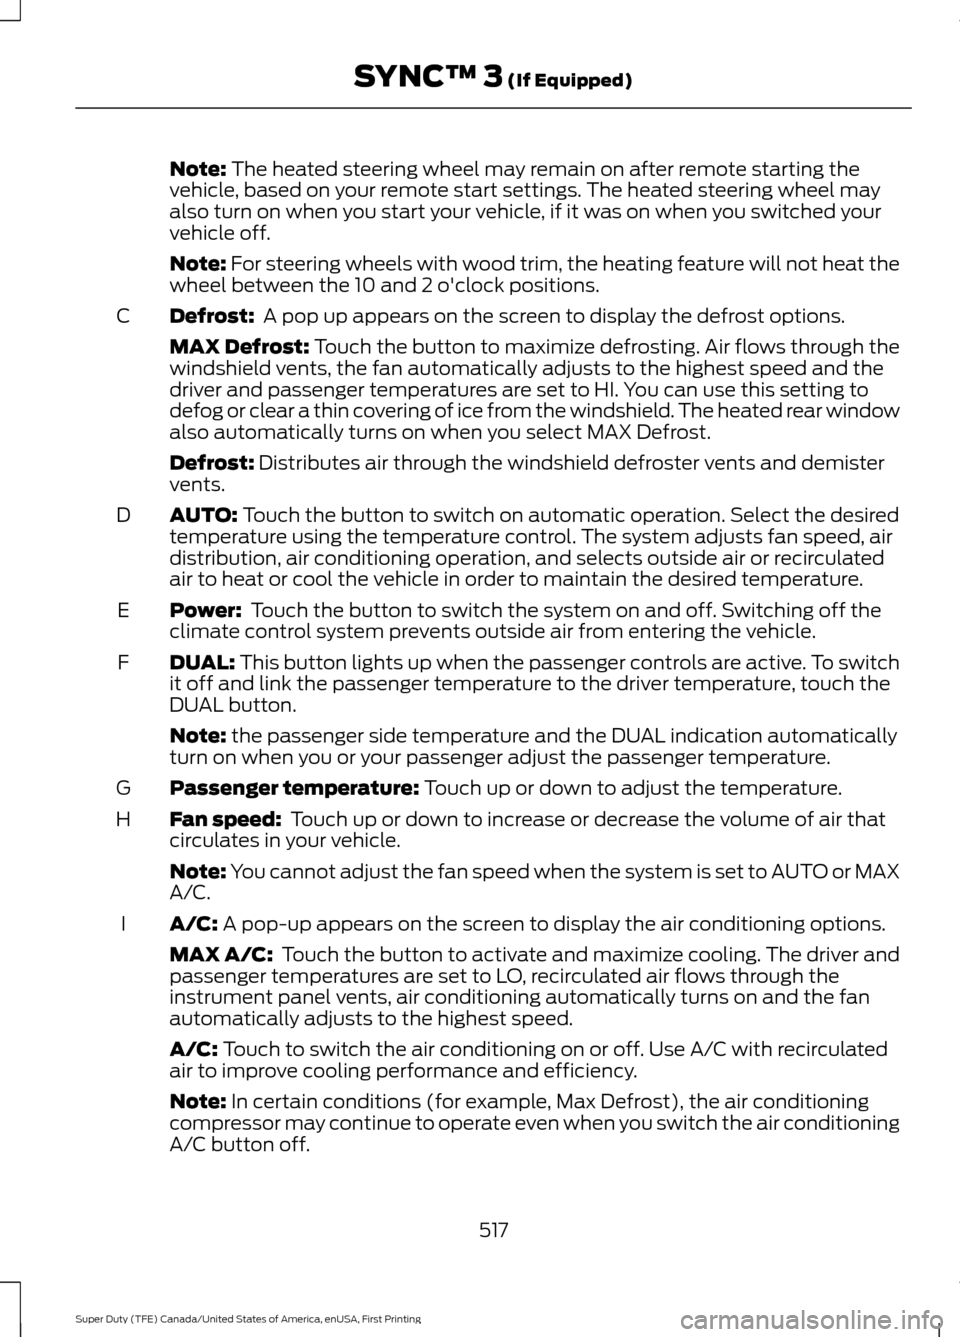
Push the lever up or down to use the
direction indicators.
Note:
Tap the lever up or down to make the
direction indicators flash three times to
indicate a lane change.
90
Super Duty (TFE) Canada/United States of America, enUSA, First Printing LightingE142451 E142453 E163272
Page 252 of 636
Why is the feature not available (line markings are gray) when I can see the lane markings
on the road?
Previous feature activation happened within the last one second
Ambiguous lane markings (mainly in construction zones)
Rapid transition from light to dark or vice versa
Sudden offset in lane markings
ABS or AdvanceTrac activation
Camera blockage due to dirt, grime, fog, frost or water on the windshield
Driving too close to the vehicle in front of you
Transitioning between no lane markings to lane markings or vice versa
Standing water on the road
Faint lane markings (partial yellow lane markings on concrete roads)
Lane width too narrow or too wide
Camera not calibrated after a windshield replacement
Driving on tight roads or on uneven roads
Vehicle accessories such as snow plows
BLIND SPOT INFORMATION
SYSTEM (If Equipped) WARNING
Never
use the Blind Spot
Information System as a
replacement for using the interior
and exterior mirrors or looking over your
shoulder before changing lanes. The Blind
Spot Information System is not a
replacement for careful driving. Note:
The Blind Spot Information System
does not prevent contact with other vehicles
or objects; nor detect parked vehicles,
people, animals or infrastructure (fences,
guardrails, trees). It is only designed to alert
you to moving vehicles in the blind spot
zones.
Note: When a vehicle passes quickly
through the blind spot zone, typically fewer
than two seconds, the system does not
trigger.
249
Super Duty (TFE) Canada/United States of America, enUSA, First Printing Driving Aids
Page 520 of 636
Note: The heated steering wheel may remain on after remote starting the
vehicle, based on your remote start settings. The heated steering wheel may
also turn on when you start your vehicle, if it was on when you switched your
vehicle off.
Note:
For steering wheels with wood trim, the heating feature will not heat the
wheel between the 10 and 2 o'clock positions.
Defrost:
A pop up appears on the screen to display the defrost options.
C
MAX Defrost: Touch the button to maximize defrosting. Air flows through the
windshield vents, the fan automatically adjusts to the highest speed and the
driver and passenger temperatures are set to HI. You can use this setting to
defog or clear a thin covering of ice from the windshield. The heated rear window
also automatically turns on when you select MAX Defrost.
Defrost:
Distributes air through the windshield defroster vents and demister
vents.
AUTO:
Touch the button to switch on automatic operation. Select the desired
temperature using the temperature control. The system adjusts fan speed, air
distribution, air conditioning operation, and selects outside air or recirculated
air to heat or cool the vehicle in order to maintain the desired temperature.
D
Power:
Touch the button to switch the system on and off. Switching off the
climate control system prevents outside air from entering the vehicle.
E
DUAL:
This button lights up when the passenger controls are active. To switch
it off and link the passenger temperature to the driver temperature, touch the
DUAL button.
F
Note:
the passenger side temperature and the DUAL indication automatically
turn on when you or your passenger adjust the passenger temperature.
Passenger temperature:
Touch up or down to adjust the temperature.
G
Fan speed:
Touch up or down to increase or decrease the volume of air that
circulates in your vehicle.
H
Note:
You cannot adjust the fan speed when the system is set to AUTO or MAX
A/C.
A/C:
A pop-up appears on the screen to display the air conditioning options.
I
MAX A/C: Touch the button to activate and maximize cooling. The driver and
passenger temperatures are set to LO, recirculated air flows through the
instrument panel vents, air conditioning automatically turns on and the fan
automatically adjusts to the highest speed.
A/C:
Touch to switch the air conditioning on or off. Use A/C with recirculated
air to improve cooling performance and efficiency.
Note:
In certain conditions (for example, Max Defrost), the air conditioning
compressor may continue to operate even when you switch the air conditioning
A/C button off.
517
Super Duty (TFE) Canada/United States of America, enUSA, First Printing SYNC™ 3
(If Equipped)