Page 62 of 496
Note:
You can clear or change your MyKey
settings at any time during the same key
cycle as you created the MyKey. Once you
have switched the vehicle off, however, you
will need an admin key to change or clear
your MyKey settings. CLEARING ALL MYKEYS
You can clear or change your MyKey
settings using the information display
control on the steering wheel. See
Information Displays (page 99).
Switch the ignition on using an admin key.
To clear all MyKeys of all MyKey settings, press the left arrow button to access
the main menu and scroll to: Action and Description
Message
Press the
OK button or the right arrow button.
Settings
Press the
OK button or the right arrow button.
MyKey
Press and hold the
OK button until the instrument cluster
displays the following message.
Clear MyKey
All MyKeys
Cleared
Note: When you clear your MyKeys, you remove all restrictions and return all MyKeys to
their original admin key status.
59
Flex (), enUSA, First Printing MyKey
™
Page 63 of 496

CHECKING MYKEY SYSTEM
STATUS
You can find information on programmed
MyKey(s) using the information display
control on the steering wheel. See
Information Displays (page 99).
To find information on programmed MyKey(s), press the left arrow button to
access the main menu and scroll to: Description
Message
Press the
OK button.
Settings
Press the
OK button.
MyKey
Select one of the following:
Tracks the distance when drivers use a MyKey. The only way
to delete the accumulated distance is by using an admin key
to clear your MyKeys. If the distance does not accumulate as
expected, then the intended user is not using the MyKey, or
an admin key user recently cleared and then recreated a
MyKey.
MyKey Dist.
Indicates the number of MyKeys programmed to your vehicle.
Use this feature to detect how many MyKeys you have for
your vehicle and determine when a MyKey has been deleted.
{0} MyKeys
Indicates how many admin keys are programmed to your
vehicle. Use this feature to determine how many unrestricted
keys you have for your vehicle, and detect if an additional
MyKey has been programmed.
{0} Admin Keys
60
Flex (), enUSA, First Printing MyKey
™
Page 78 of 496
ADJUSTING THE STEERING
WHEEL - VEHICLES WITH:
MANUAL ADJUSTABLE
STEERING COLUMN
WARNING
Do not adjust the steering wheel
when your vehicle is moving.
Note:
Make sure that you are sitting in the
correct position. See Sitting in the Correct
Position (page 125). 1. Unlock the steering column.
2.
Adjust the steering wheel to the desired
position. 3. Lock the steering column. ADJUSTING THE STEERING
WHEEL - VEHICLES WITH:
POWER ADJUSTABLE
STEERING COLUMN
Note:
Make sure that you are sitting in the
correct position. See Sitting in the Correct
Position
(page 125). WARNING
Do not adjust the steering wheel
when your vehicle is moving.
Use the control on the side of the steering
column to adjust the position.
To adjust:
•
Tilt: Press the top or bottom of the
control.
• Telescope: Press the front or rear of
the control.
75
Flex (), enUSA, First Printing Steering WheelE191039 E191047 E161834
Page 79 of 496

End of Travel Position
The steering column sets a stopping
position just short of the end of the column
position to prevent damage to the steering
column. A new stopping position sets if the
steering column encounters an object
when tilting or telescoping.
To reset the steering column to its normal
stopping position:
1. Confirm there is nothing obstructing
the motion of the steering column.
2. Press and hold the steering column control until the steering column stops
moving.
3. Press the steering column control again. The steering column may begin
to move again.
4. When the steering column stops, continue holding the control for an
additional few seconds.
5. Repeat for each direction as necessary.
A new stopping position is set. The next
time you tilt or telescope the steering
column, it will stop just short of the end of
the column position.
Memory Feature
You can save and recall the steering
column position with the memory function.
See Memory Function (page 130).
Note: Pressing the adjustment control
during memory recall cancels the operation.
Easy Entry and Exit Feature
When you switch the ignition off, the
steering column will move to allow extra
room to exit your vehicle. The column will
return to the previous setting when you
switch the ignition on. You can enable or
disable this feature in the information
display. See Information Displays (page
99
). AUDIO CONTROL
You can operate the following functions
with the control:
Seek up and down or next.
A
Media.
B
Volume up or down.
C
Mute.
D
MEDIA
Press repeatedly to scroll through available
audio modes.
Seek, Next or Previous
Press the seek button to:
• Tune the radio to the next or previous
stored preset.
• Play the next or the previous track.
Press and hold the seek button to:
• Tune the radio to the next station up
or down the frequency band.
• Seek through a track.
76
Flex (), enUSA, First Printing Steering WheelE173608
Page 80 of 496
VOICE CONTROL (If Equipped)
Phone mode.
A
Voice recognition.
B
See your SYNC information.
CRUISE CONTROL
Type 1 Type 2
See
Cruise Control (page 188).
INFORMATION DISPLAY
CONTROL See
Information Displays (page 99).
HEATED STEERING WHEEL
(If
Equipped)
See your SYNC information.
77
Flex (), enUSA, First Printing Steering WheelE173609
V E173610 E173611 E173617
Page 81 of 496
ADJUSTING THE PEDALS
WARNING
Never use the controls while your
feet are on the accelerator and brake
pedals and the vehicle is moving.
You can find the control on the left side of
the steering column. Press and hold the
appropriate side of the control to move the
pedals.
A. Farther
B. Closer
You can save and recall the pedal positions
with the memory feature. See Memory
Function (page 130).
Note: Adjust the pedals only when your
vehicle is in
P (Park).
78
Flex (), enUSA, First Printing Pedals
(If Equipped)AB
E162916
Page 88 of 496

DAYTIME RUNNING LAMPS (If
Equipped) WARNING
Always remember to switch your
headlamps on in low light situations
or during inclement weather. The
system does not activate the tail lamps
and may not provide adequate lighting
during these conditions. Failure to activate
your headlamps under these conditions
may result in a collision. The system switches the signature lamps
on in day light conditions.
To switch the system on, switch the
ignition on, and switch the lighting control
to the off, autolamp, or parking lamp
position.
FRONT FOG LAMPS
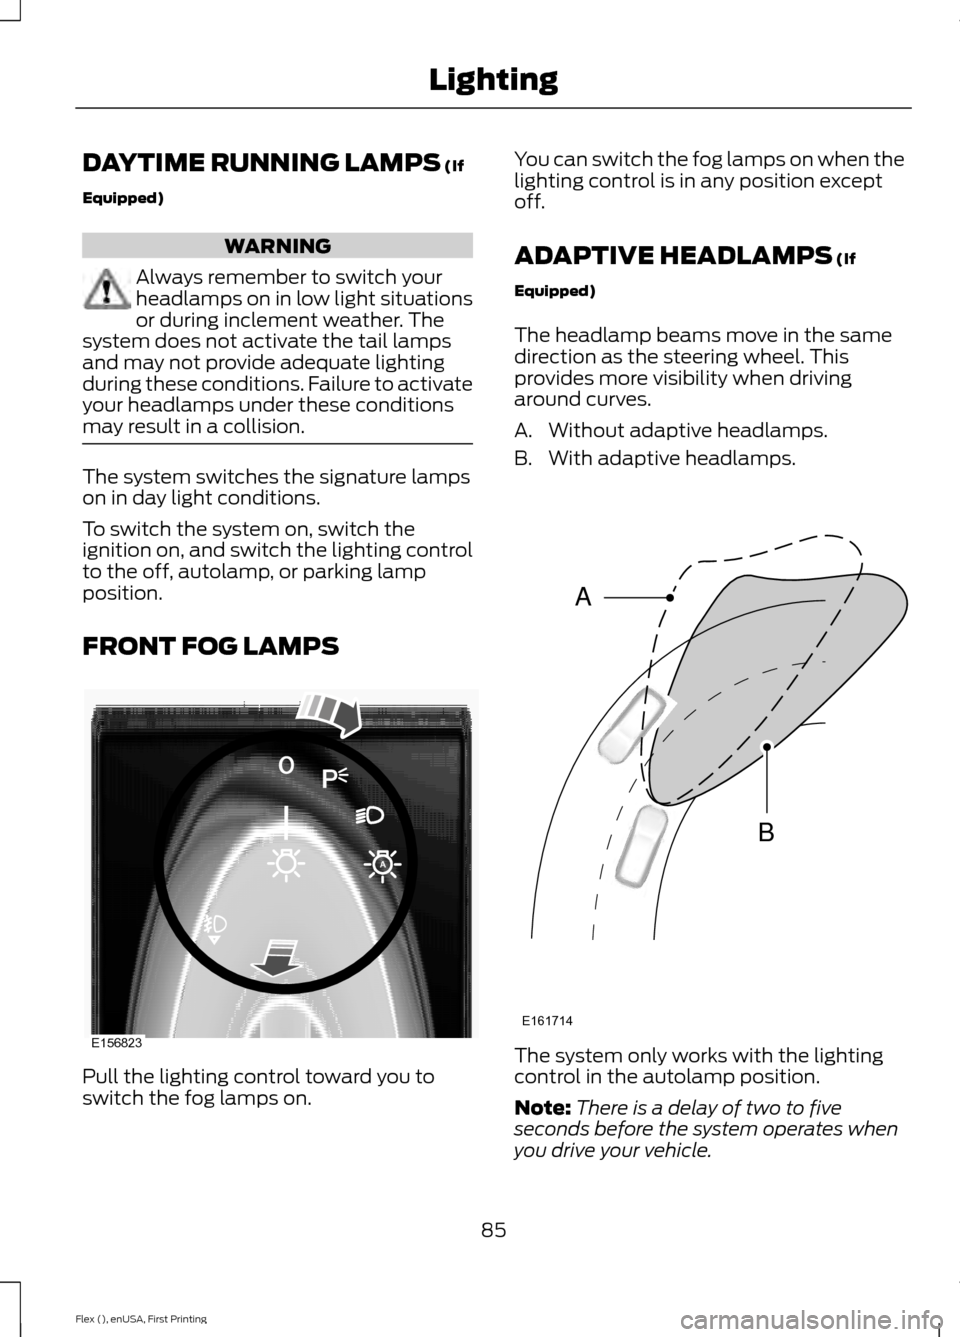
Pull the lighting control toward you to
switch the fog lamps on. You can switch the fog lamps on when the
lighting control is in any position except
off.
ADAPTIVE HEADLAMPS
(If
Equipped)
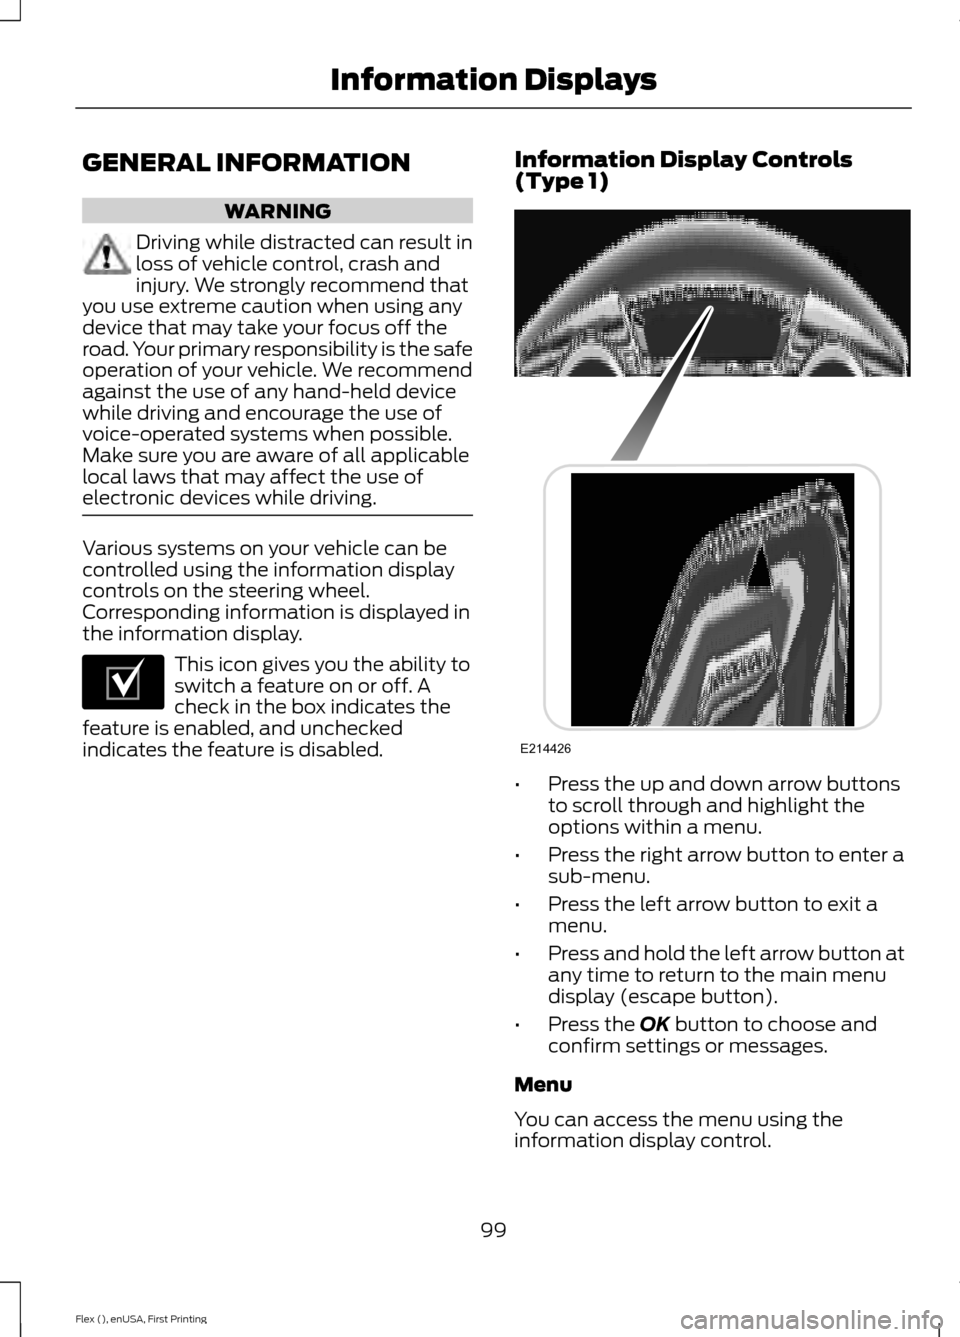
The headlamp beams move in the same
direction as the steering wheel. This
provides more visibility when driving
around curves.
A. Without adaptive headlamps.
B. With adaptive headlamps. The system only works with the lighting
control in the autolamp position.
Note:
There is a delay of two to five
seconds before the system operates when
you drive your vehicle.
85
Flex (), enUSA, First Printing LightingE156823 E161714
B
A
Page 102 of 496

GENERAL INFORMATION
WARNING
Driving while distracted can result in
loss of vehicle control, crash and
injury. We strongly recommend that
you use extreme caution when using any
device that may take your focus off the
road. Your primary responsibility is the safe
operation of your vehicle. We recommend
against the use of any hand-held device
while driving and encourage the use of
voice-operated systems when possible.
Make sure you are aware of all applicable
local laws that may affect the use of
electronic devices while driving. Various systems on your vehicle can be
controlled using the information display
controls on the steering wheel.
Corresponding information is displayed in
the information display.
This icon gives you the ability to
switch a feature on or off. A
check in the box indicates the
feature is enabled, and unchecked
indicates the feature is disabled. Information Display Controls
(Type 1)
•
Press the up and down arrow buttons
to scroll through and highlight the
options within a menu.
• Press the right arrow button to enter a
sub-menu.
• Press the left arrow button to exit a
menu.
• Press and hold the left arrow button at
any time to return to the main menu
display (escape button).
• Press the OK button to choose and
confirm settings or messages.
Menu
You can access the menu using the
information display control.
99
Flex (), enUSA, First Printing Information DisplaysE204495 E214426