2017 FORD EXPLORER tire type
[x] Cancel search: tire typePage 84 of 541

Type 1 - Conventional (Non-
Configurable)
The daytime running lamps turn on when:
1. The ignition is switched to the on
position.
2. The transmission is not in park (P) for vehicles with automatic transmissions
or the parking brake is released for
vehicles with manual transmissions.
3. The lighting control is in the off, parking
lamp or autolamps positions.
Type 2 - Configurable
Switch the daytime running lamps on or
off using the information display controls.
See Information Displays (page 99).
The daytime running lamps turn on when:
1. They are switched on in the information
display. See
Information Displays
(page 99).
2. The ignition is switched to the on position.
3. The transmission is not in park (P) for vehicles with automatic transmissions
or the parking brake is released for
vehicles with manual transmissions.
4. The lighting control is in the autolamps
position.
5. The lighting control sensor detects daylight, and the headlamps or parking
lamps are off.
The other lighting control switch positions
do not activate the daytime running lamps,
and you can use them to temporarily
override autolamp control.
When switched off in the information
display, the daytime running lamps are off
in all lighting control switch positions. AUTOMATIC HIGH BEAM
CONTROL
(If Equipped)
The system automatically turns on the high
beams if it is dark enough and no other
traffic is present. When it detects the
headlights of an approaching vehicle, the
tail lamps of the preceding vehicle or street
lighting, the system turns off the high
beams before they distract other drivers.
The low beams remain on.
Note: If it appears that automatic high
beam is not functioning properly, check the
windshield in front of the camera for a
blockage. A clear view of the road is required
for proper system operation. Make sure that
authorized personnel repair any windshield
damage in the area of the camera's field of
view.
Note: If the system detects a blockage such
as bird droppings, bug splatter, snow or ice,
and you do not observe changes, the system
may go into low beam mode until you clear
the blockage. A message may also appear
in the information display noting the front
camera is blocked.
Note: Typical road dust, dirt and water
spots do not affect the performance of the
automatic high beam control. However, in
cold or inclement weather conditions, you
may notice a decrease in the availability of
the automatic high beam control, especially
at start up. If you want to change the beam
state independently of the system, you may
switch the high beams on or off using the
high beam lever. Automatic high beam
control resumes when conditions are
correct.
Note: Using much larger tires or equipping
vehicle accessories such as snowplows can
modify your vehicle's ride height and
degrade automatic high beam control
performance.
81
Explorer (TUB) Canada/United States of America, enUSA, Edition date: 03/2016, First Printing Lighting
Page 112 of 541

Settings
Fuel Gauge or Fuel + Tach
Gauge
Display
psi
, kPa or bar
Tire Pres-
sure
Choose your applicable setting
Language
Note: Some MyKey items only appear if a
MyKey is set.
Information Display Controls
(Type 3) •
Press and hold the left arrow button at
any time to return to the main menu
display (escape button).
• Press the
OK button to choose and
confirm settings or messages. •
Press the up and down arrow buttons
to scroll through and highlight the
options within a menu.
• Press the right arrow button to enter a
sub-menu.
• Press the left arrow button to exit a
menu.
Main Menu
From the main menu bar on the left side
of the information display, you can choose
from the following categories:
• Trip 1 & 2.
• Fuel Economy.
• Driver Assist.
• Settings.
Scroll up or down to highlight one of the
categories and then press the right arrow
key or OK to enter into that category. Press
the left arrow key as needed to exit back
to the main menu.
Trip 1 & 2
You can access the menu using the
information display control.
Note: Some options may appear slightly
different or not at all if the items are
optional.
109
Explorer (TUB) Canada/United States of America, enUSA, Edition date: 03/2016, First Printing Information DisplaysE203206
Page 116 of 541

Settings
°Fahrenheit or °Celsius
Temper-
ature Unit
psi, kPa or bar
Tire Pres-
sure
Choose your applicable setting
Language
Speedo in km/h
Note: Some MyKey items only appear if a
MyKey is set.
INFORMATION MESSAGES
Note: Depending on the vehicle options
equipped with your vehicle, not all of the
messages will display or be available.
Certain messages may display abbreviated
or shortened depending upon which cluster
type you have. Press the OK button to acknowledge and
remove some messages from the
information display. Other messages
delete automatically after a short time.
You need to confirm certain messages
before you can access the menus.
4WD Action
Message
The four wheel drive system has automatically disabled itselfdue to the system overheating.
4WD Temporarily
Disabled
The four wheel drive system has automatically disabled itself
due to the system overheating or you are using the spare tire.
4WD Off
The four wheel drive system resumes normal function andclears this message after driving a short distance with the road tire re-installed or after the system cools.
4WD Restored
113
Explorer (TUB) Canada/United States of America, enUSA, Edition date: 03/2016, First Printing Information DisplaysE203207
Page 186 of 541

WARNINGS
If the parking brake is fully released,
but the brake warning lamp remains
illuminated, the brakes may not be
working properly. See your authorized
dealer. Do not spin the wheels at over
35 mph (56 km/h). The tires may fail
and injure a passenger or bystander. Note:
Do not rock the vehicle if the engine
is not at normal operating temperature or
damage to the transmission may occur.
Note: Do not rock the vehicle for more than
a few minutes or damage to the
transmission and tires may occur or the
engine may overheat.
If your vehicle gets stuck in mud or snow it
may be rocked out by shifting between
forward and reverse gears, stopping
between shifts, in a steady pattern. Press
lightly on the accelerator in each gear.
If your vehicle is equipped with
AdvanceTrac® with Roll Stability
Control ™, it may be beneficial to
disengage the AdvanceTrac® with Roll
Stability Control ™ system while
attempting to rock the vehicle.
Emergency Maneuvers
• In an unavoidable emergency situation
where a sudden sharp turn must be
made, remember to avoid
"over-driving" your vehicle (i.e., turn the
steering wheel only as rapidly and as
far as required to avoid the
emergency). Excessive steering will
result in less vehicle control, not more.
Additionally, smooth variations of the
accelerator and/or brake pedal
pressure should be utilized if changes
in vehicle speed are called for. Avoid abrupt steering, acceleration or braking
which could result in an increased risk
of loss of vehicle control, vehicle
rollover and/or personal injury. Use all
available road surface to return the
vehicle to a safe direction of travel.
• In the event of an emergency stop,
avoid skidding the tires and do not
attempt any sharp steering wheel
movements.
• If the vehicle goes from one type of
surface to another (i.e., from concrete
to gravel) there will be a change in the
way the vehicle responds to a
maneuver (steering, acceleration or
braking). Again, avoid these abrupt
inputs.
Sand
When driving over sand, try to keep all four
wheels on the most solid area of the trail.
Avoid reducing the tire pressures but shift
to a lower gear and drive steadily through
the terrain. Apply the accelerator slowly
and avoid spinning the wheels.
Avoid excessive speed because vehicle
momentum can work against you and
cause the vehicle to become stuck to the
point that assistance may be required from
another vehicle. Remember, you may be
able to back out the way you came if you
proceed with caution.
Mud and Water
Note: Driving through deep water may
damage your vehicle.
If you must drive through high water, drive
slowly. Traction or brake capability may
be limited.
When driving through water, determine the
depth; avoid water higher than the bottom
of the hubs (if possible) and proceed
slowly. If the ignition system gets wet, the
vehicle may stall.
183
Explorer (TUB) Canada/United States of America, enUSA, Edition date: 03/2016, First Printing Four-Wheel Drive
(If Equipped)
Page 245 of 541

Trailer Brakes
WARNING
Do not connect a trailer's hydraulic
brake system directly to your
vehicle's brake system. Your vehicle
may not have enough braking power and
your chances of having a collision greatly
increase. Electric brakes and manual, automatic or
surge-type trailer brakes are safe if you
install them properly and adjust them to
the manufacturer's specifications. The
trailer brakes must meet local and federal
regulations.
The rating for the tow vehicle's braking
system operation is at the gross vehicle
weight rating, not the gross combined
weight rating.
Separate functioning brake systems
are required for safe control of towed
vehicles and trailers weighing more
than 1500 pounds (680 kilograms)
when loaded.
Trailer Lamps
WARNING
Never connect any trailer lamp wiring
to the vehicle's tail lamp wiring; this
may damage the electrical system
resulting in fire. Contact your authorized
dealer as soon as possible for assistance
in proper trailer tow wiring installation.
Additional electrical equipment may be
required. Trailer lamps are required on most towed
vehicles. Make sure all running lights, brake
lights, turn signals and hazard lights are
working. Before Towing a Trailer
Practice turning, stopping and backing up
to get the feel of your vehicle-trailer
combination before starting on a trip.
When turning, make wider turns so the
trailer wheels clear curbs and other
obstacles.
When Towing a Trailer
•
Do not drive faster than 70 mph
(113 km/h) during the first 500 mi
(800 km).
• Do not make full-throttle starts.
• Check your hitch, electrical connections
and trailer wheel lug nuts thoroughly
after you have traveled 50 mi (80 km).
• When stopped in congested or heavy
traffic during hot weather, place the
gearshift in position P to aid engine and
transmission cooling and to help A/C
performance.
• Turn off the speed control with heavy
loads or in hilly terrain. The speed
control may turn off automatically
when you are towing on long, steep
grades.
• Shift to a lower gear when driving down
a long or steep hill. Do not apply the
brakes continuously, as they may
overheat and become less effective.
• If your transmission is equipped with a
Grade Assist or Tow/Haul feature, use
this feature when towing. This provides
engine braking and helps eliminate
excessive transmission shifting for
optimum fuel economy and
transmission cooling.
• Allow more distance for stopping with
a trailer attached. Anticipate stops and
brake gradually.
• Avoid parking on a grade. However, if
you must park on a grade:
1. Turn the steering wheel to point your vehicle tires away from traffic flow.
242
Explorer (TUB) Canada/United States of America, enUSA, Edition date: 03/2016, First Printing Towing
Page 308 of 541

GENERAL INFORMATION
Use only approved wheel and tire sizes,
using other sizes could damage your
vehicle. If you change the diameter of the
tires from that fitted at the factory, the
speedometer may not display the correct
speed. Take your vehicle to an authorized
Ford dealer to have the system
reprogrammed. If you intend to change the
size of the wheels from that fitted by the
manufacturer, you can check the suitability
with an authorized dealer.
Additional information related to the
functionality and maintenance of your tires
can be found later in this chapter. See Tire
Care (page 308).
The Ford recommended tire inflation
pressures can be found on the Tire Label,
which is located on the B-pillar or the edge
of the driver's door. This information can
also be found on the Safety Compliance
Certification Label (affixed to either the
door hinge pillar, door-latch post, or the
door edge that meets the door last post;
next to the driver ’s seating position).
Ford strongly recommends maintaining
these tire pressures at all times. Failure to
follow the tire pressure recommendations
can cause uneven treadwear patterns,
reduced fuel economy, and adversely
affect the way your vehicle handles.
Note: Check and set the tire pressure at the
ambient temperature in which you are
intending to drive your vehicle and when the
tires are cold.
Note: Check your tire pressures at least
once per month.
Set the pressure for your spare tire to the
highest value given for your vehicle and tire
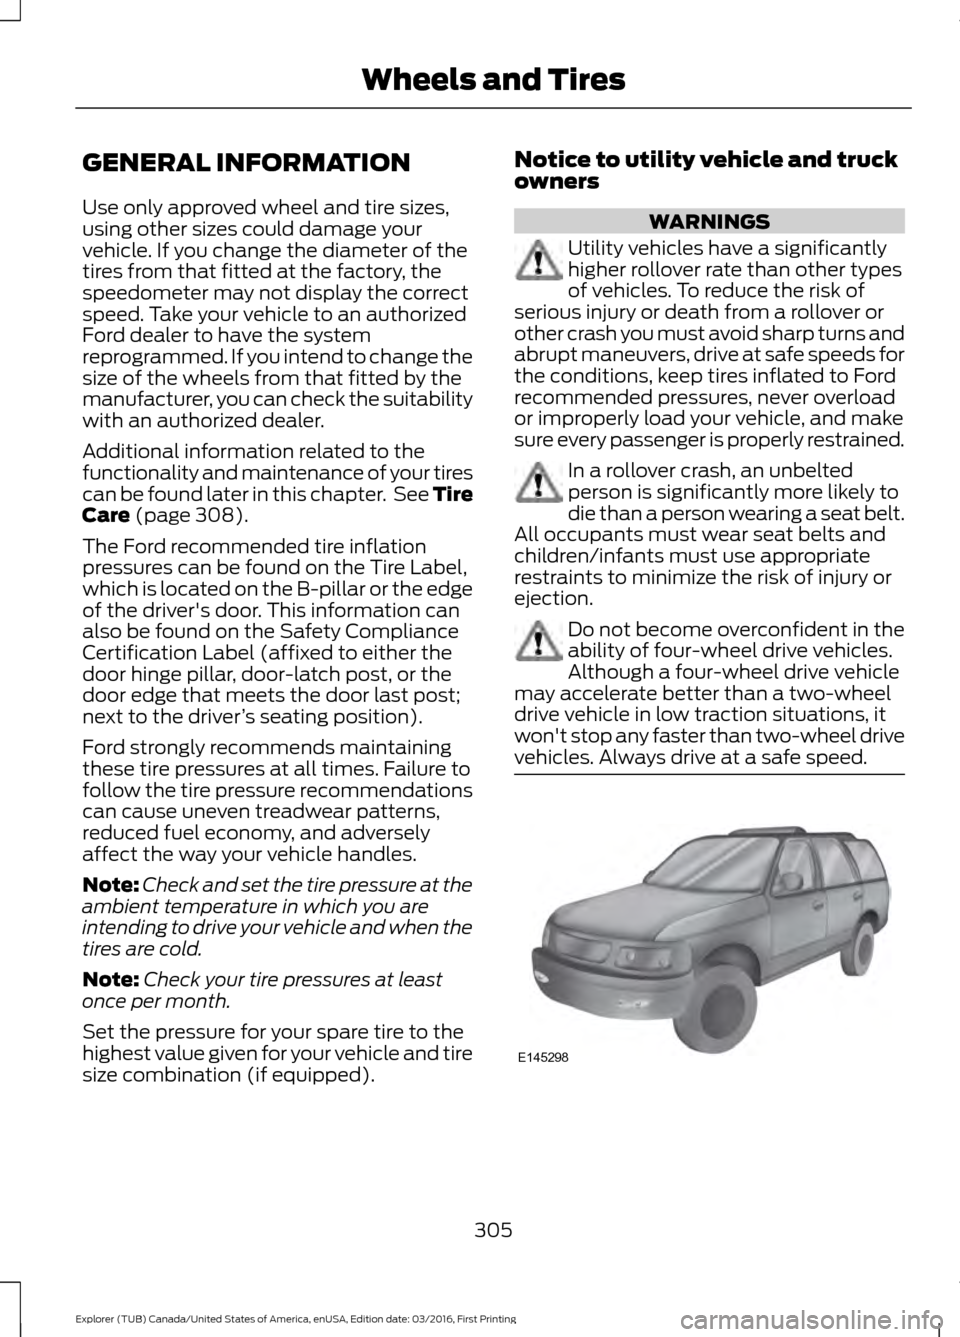
size combination (if equipped). Notice to utility vehicle and truck
owners WARNINGS
Utility vehicles have a significantly
higher rollover rate than other types
of vehicles. To reduce the risk of
serious injury or death from a rollover or
other crash you must avoid sharp turns and
abrupt maneuvers, drive at safe speeds for
the conditions, keep tires inflated to Ford
recommended pressures, never overload
or improperly load your vehicle, and make
sure every passenger is properly restrained. In a rollover crash, an unbelted
person is significantly more likely to
die than a person wearing a seat belt.
All occupants must wear seat belts and
children/infants must use appropriate
restraints to minimize the risk of injury or
ejection. Do not become overconfident in the
ability of four-wheel drive vehicles.
Although a four-wheel drive vehicle
may accelerate better than a two-wheel
drive vehicle in low traction situations, it
won't stop any faster than two-wheel drive
vehicles. Always drive at a safe speed. 305
Explorer (TUB) Canada/United States of America, enUSA, Edition date: 03/2016, First Printing Wheels and TiresE145298
Page 311 of 541

TIRE CARE
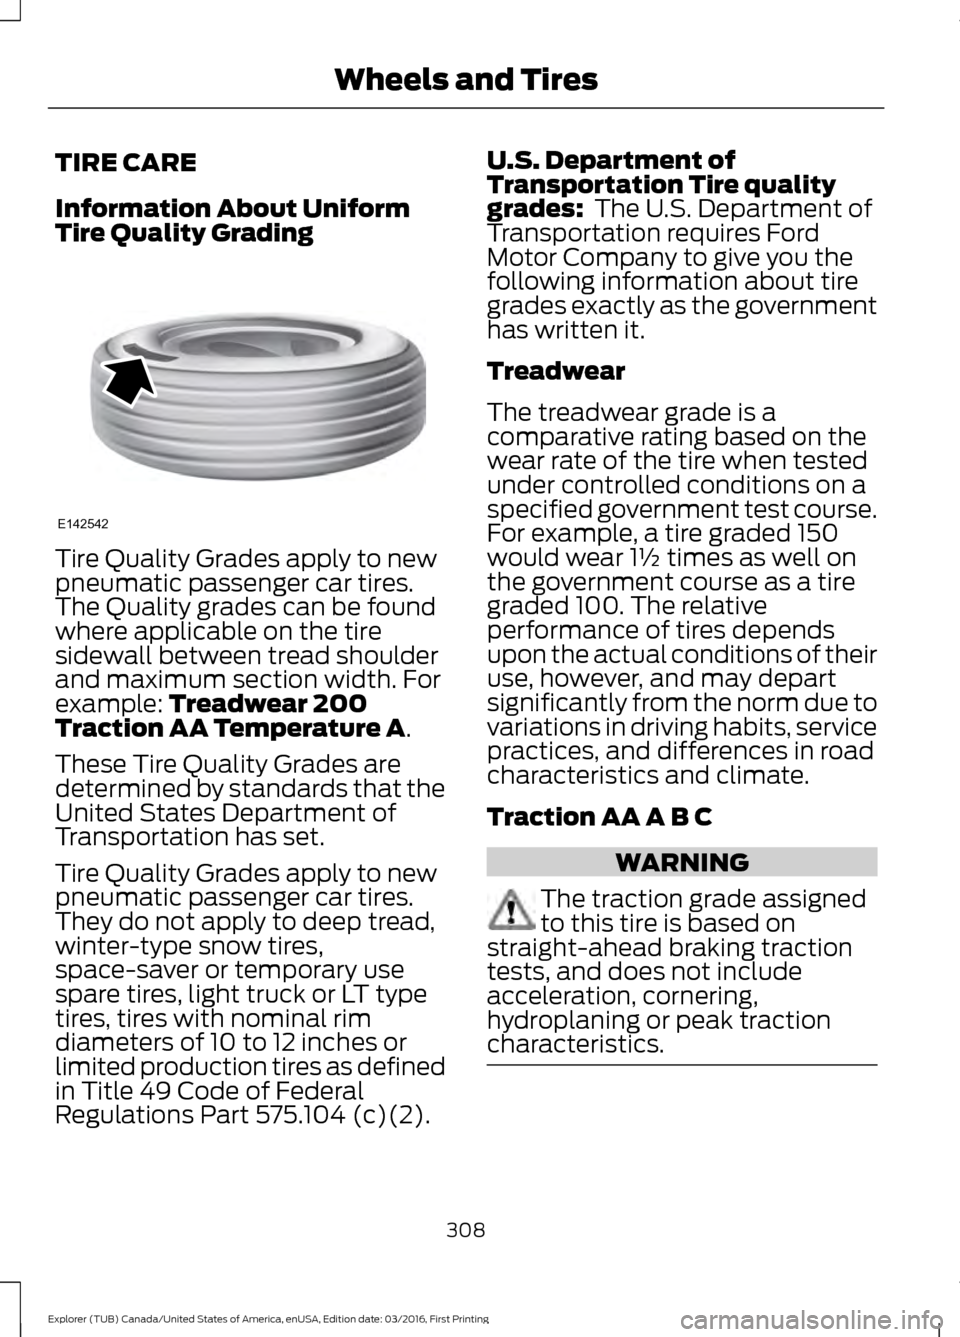
Information About Uniform
Tire Quality Grading
Tire Quality Grades apply to new
pneumatic passenger car tires.
The Quality grades can be found
where applicable on the tire
sidewall between tread shoulder
and maximum section width. For
example: Treadwear 200
Traction AA Temperature A.
These Tire Quality Grades are
determined by standards that the
United States Department of
Transportation has set.
Tire Quality Grades apply to new
pneumatic passenger car tires.
They do not apply to deep tread,
winter-type snow tires,
space-saver or temporary use
spare tires, light truck or LT type
tires, tires with nominal rim
diameters of 10 to 12 inches or
limited production tires as defined
in Title 49 Code of Federal
Regulations Part 575.104 (c)(2). U.S. Department of
Transportation Tire quality
grades:
The U.S. Department of
Transportation requires Ford
Motor Company to give you the
following information about tire
grades exactly as the government
has written it.
Treadwear
The treadwear grade is a
comparative rating based on the
wear rate of the tire when tested
under controlled conditions on a
specified government test course.
For example, a tire graded 150
would wear 1½ times as well on
the government course as a tire
graded 100. The relative
performance of tires depends
upon the actual conditions of their
use, however, and may depart
significantly from the norm due to
variations in driving habits, service
practices, and differences in road
characteristics and climate.
Traction AA A B C WARNING
The traction grade assigned
to this tire is based on
straight-ahead braking traction
tests, and does not include
acceleration, cornering,
hydroplaning or peak traction
characteristics. 308
Explorer (TUB) Canada/United States of America, enUSA, Edition date: 03/2016, First Printing Wheels and TiresE142542
Page 313 of 541

*kPa: Kilopascal, a metric unit of
air pressure.
*
PSI: Pounds per square inch, a
standard unit of air pressure.
*
Cold tire pressure: The tire
pressure when the vehicle has
been stationary and out of direct
sunlight for an hour or more and
prior to the vehicle being driven for
1 mi (1.6 km)
.
*
Recommended inflation
pressure: The cold inflation
pressure found on the Safety
Compliance Certification Label
(affixed to either the door hinge
pillar, door-latch post, or the door
edge that meets the door-latch
post, next to the driver's seating
position), or Tire Label located on
the B-Pillar or the edge of the
driver door.
* B-pillar: The structural member
at the side of the vehicle behind
the front door.
*
Bead area of the tire: Area of
the tire next to the rim.
*
Sidewall of the tire: Area
between the bead area and the
tread.
*
Tread area of the tire: Area of
the perimeter of the tire that
contacts the road when mounted
on the vehicle.
*Rim: The metal support (wheel)
for a tire or a tire and tube
assembly upon which the tire
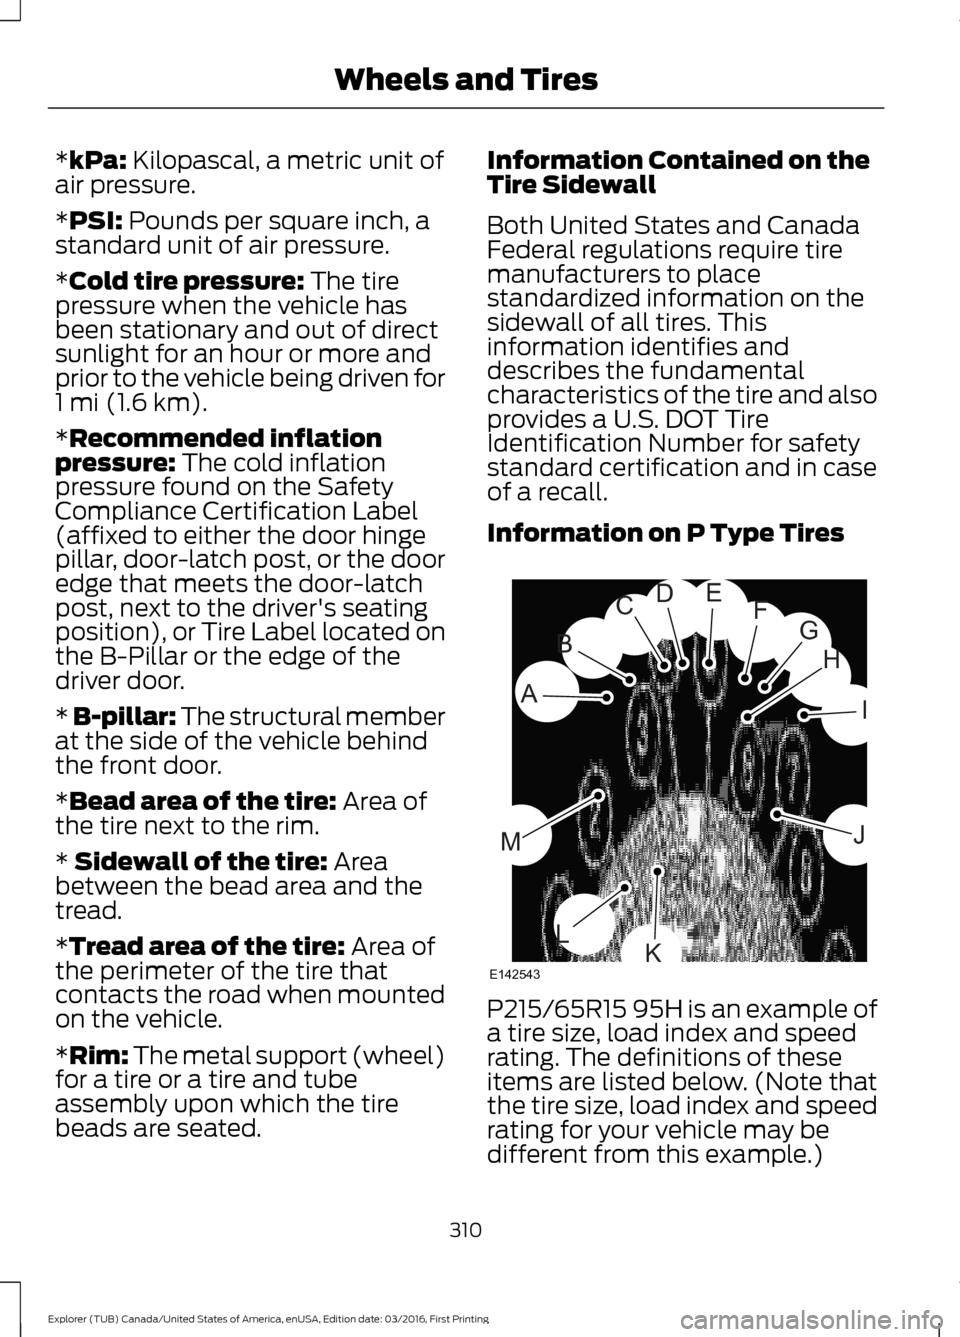
beads are seated. Information Contained on the
Tire Sidewall
Both United States and Canada
Federal regulations require tire
manufacturers to place
standardized information on the
sidewall of all tires. This
information identifies and
describes the fundamental
characteristics of the tire and also
provides a U.S. DOT Tire
Identification Number for safety
standard certification and in case
of a recall.
Information on P Type Tires
P215/65R15 95H is an example of
a tire size, load index and speed
rating. The definitions of these
items are listed below. (Note that
the tire size, load index and speed
rating for your vehicle may be
different from this example.)
310
Explorer (TUB) Canada/United States of America, enUSA, Edition date: 03/2016, First Printing Wheels and TiresH
I
J
KL
M
A
B
CDEFG
E142543