2017 FIAT 124 SPIDER tire pressure
[x] Cancel search: tire pressurePage 216 of 300
Note:Carefully drive the vehicle at a
speed of 50 mph (80 km/h) or less. If
the vehicle is driven at a speed of
50 mph (80 km/h) or more, the vehicle
may vibrate.
Note: With TPMS system: if the tire is
not properly inflated, the
warning
light will illuminate.
After driving the vehicle for about
10 minutes or 3 miles (5 km), connect
the air compressor to the tire using
Step 9 of the procedure, and check the
tire inflation pressure using the tire
pressure gauge on the air compressor.
If the tire inflation pressure is lower than
the specified tire inflation pressure, turn
the air compressor on and wait until it
reaches the specified tire inflation
pressure.
the tire service kit is completed
successfully if the tire inflation pressure
does not decrease. Carefully drive the
vehicle to the nearest Authorized Dealer
immediately and have the flat tire
replaced. Replacement with a new tire
is recommended. If the tire is to be
repaired or reused, consult an
Authorized Dealer.
Note:
If an emergency flat tire repair has
been performed using the tire service
kit, FCA recommends that the tire be
replaced with a new one as soon as possible. If the tire is to be repaired or
reused, contact an Authorized Dealer.
The wheel can be reused if the
sealant adhering to it is removed.
However, replace the valve with a new
one.
Sealing A Tire With Tire
Service
Warning!
Do not attempt to seal a tire on the side
of the vehicle closest to traffic. Pull far
enough off the road to avoid the danger of
being hit when using the Tire Service Kit.
Do not use Tire Service Kit or drive the
vehicle under the following circumstances:
If the puncture in the tire tread is
approximately 1/4 inch (6 mm) or larger.
If the tire has any sidewall damage.
If the tire has any damage from driving
with extremely low tire pressure.
If the tire has any damage from driving
on a flat tire.
If the wheel has any damage.
If you are unsure of the condition of the
tire or the wheel.
Keep Tire Service Kit away from open
flames or heat source.
A loose Tire Service Kit thrown forward
in a collision or hard stop could endanger
the occupants of the vehicle. Always stow
the Tire Service Kit in the place provided.
Failure to follow these warnings can result
in injuries that are serious or fatal to you,
your passengers, and others around you.
Take care not to allow the contents of
Tire Service Kit to come in contact with
hair, eyes, or clothing. Tire Service Kit
sealant is harmful if inhaled, swallowed, or
absorbed through the skin. It causes skin,
eye, and respiratory irritation. Flush
immediately with plenty of water if there is
any contact with eyes or skin. Change
clothing as soon as possible, if there is any
contact with clothing.
Tire Service Kit Sealant solution contains
latex. In case of an allergic reaction or rash,
consult a physician immediately. Keep Tire
Service Kit out of reach of children. If
swallowed, rinse mouth immediately with
plenty of water and drink plenty of water.
Do not induce vomiting! Consult a
physician immediately.
214
IN CASE OF EMERGENCY
Page 219 of 300
13. Reinsert the valve core into the
valve and turn it clockwise to install.
Note:
The tire sealant cannot be reused.
If the tire sealant kit has been used, or
is expired, purchase new one at an
Authorized Dealer.
Do not throw away the empty tire
sealant bottle after use. Return the
empty tire sealant bottle to an
Authorized Dealer when replacing the
tire. The empty tire sealant bottle will
need to be used to extract and dispose
of the used sealant from the tire.
14. Install the injection hose to the tab
of the bottle to prevent leakage of any
remaining sealant.
15. Adhere the speed restriction sticker
to an area where it can be viewed easily
by the driver.
Warning!
Do not adhere the speed restriction sticker
to the padded area on the steering wheel.
Adhering the speed restriction sticker to
the padded area on the steering wheel is
dangerous because the air bag may not
operate (deploy) normally resulting in
serious injury. In addition, do not adhere
the sticker to areas where warning lights or
the speedometer cannot be viewed.
16. Pull out the air compressor hose
and the air compressor plug from the
air compressor.
17. Install the air compressor hose to
the tire valve. 18. Insert the air compressor plug into
the accessory socket inside the vehicle
and place the ignition to ACC.
19. Turn the air compressor switch on
and inflate the tire carefully to the
correct inflation pressure. For the
correct pressure, check the tire inflation
pressure label on the driver's door
frame.
Note:
When inserting the air
compressor plug into or removing it
from the accessory socket, make sure
that the air compressor switch is off.
When turning the air compressor on/off,
use the air compressor switch. Before
checking the tire inflation pressure using
the tire pressure gauge, turn the air
compressor switch off.
Caution!
If the tire inflation pressure does not
increase, repair of the tire is not possible. If
the tire does not reach the specified tire
inflation pressure within 10 minutes, it may
have received extensive damage. In this
case, the repair using the tire service kit
was not successful.
Do not operate the air compressor for a
continuous 10 minutes or longer because
using it for long periods could cause a
malfunction.
08020202-36A-004-high.jpgAir Compressor With Hose And Plug
2 — Air Compressor Hose
08020202-03A-00BAir Compressor Hose Into Valve
217
Page 220 of 300
Note:If the tire has been over
inflated, loosen the screw cap on the air
compressor and bleed some of the air
out.
20. When the tire inflates to the
specified tire inflation pressure, turn the
air compressor switch off, turn the
sleeve of the air compressor hose to
the left, and pull it out of the tire valve.
21. Install the tire valve cap.
22. Place the tire service kit back into
its storage location.
23. Start driving immediately to spread
the sealant in the tire.
Note:
Carefully drive the vehicle at a
speed of 50 mph (80 km/h) or less. If
the vehicle is driven at a speed of
50 mph (80 km/h) or more, the vehicle
may vibrate.
With TPMS system: if the tire is not
properly inflated, thewarning light
will illuminate.
After driving the vehicle for about
10 minutes or three miles (5 km),
connect the air compressor to the tire
using Step 9 of the procedure, and
check the tire inflation pressure using
the tire pressure gauge on the air
compressor. If the tire inflation pressure
is lower than the specified tire inflation
pressure, turn the air compressor on and wait until it reaches the specified
tire inflation pressure;
The emergency flat tire repair is
completed successfully if the tire
inflation pressure does not decrease.
Carefully drive the vehicle to the
nearest Authorized Dealer and have
the flat tire replaced. Replacement with
a new tire is recommended. If the tire is
to be repaired or reused, contact a
Authorized Dealer.
If an emergency flat tire repair has
been performed using the tire service
kit, FCA recommends that the tire be
replaced with a new one as soon as
possible. If the tire is to be repaired or
reused, contact an Authorized Dealer.
The tire can be reused if the sealant
adhering to it is removed. However,
replace the valve with a new one.
Replacing The Bottle
Note: The tire sealant has a period of
effective use. Check the period of
effective use indicated on the bottle
label and do not use it if it has expired.
Have the tire sealant replaced at an
Authorized Dealer before the period of
effective use has expired.
Inspect the tire service kit at regular
intervals as well as the operation of the
tire compressor.
JUMP STARTING
Preparations For Jump
Starting
If the battery is discharged, a jump
starting can be performed using the
battery and the cables of another
vehicle, or using a booster battery.
Jump-starting is dangerous if done
incorrectly, so follow the procedure in
this section carefully. If you feel unsure
about jump-starting, it is strongly
recommend that you have a competent
service technician do the work.
Note: When a booster battery is being
used, comply with the utilization and
precaution instructions specified by the
manufacturer.
218
IN CASE OF EMERGENCY
Page 227 of 300
INTRODUCTION
Be extremely careful and prevent injury
to yourself and others or damage to
your vehicle when using this Owner’s
Manual for inspection and maintenance.
If you are unsure about any procedure it
describes, we strongly urge you to have
a reliable and qualified service shop
perform the work, preferably at your
Authorized Dealer.
Factory-trained FCA technicians and
genuine FCA parts are best for your
vehicle. Without this expertise and the
parts that have been designed and
made especially for your vehicle,
inadequate, incomplete, and insufficient
servicing may result in problems. This
could lead to vehicle damage or an
accident and injuries.
For expert advice and quality service,
contact your Authorized Dealer.
To continue New Vehicle Limited
Warranty eligibility and to protect your
investment, it is your responsibility to
properly maintain your vehicle
according to factory recommended
schedules outlined in this Owner’s
Manual. As part of this you must keep
your maintenance records, receipts,
repair orders and any other documents
as evidence this maintenance was
performed. You must present these
documents, should any New Vehicle
Limited Warranty coverage
disagreement occur. Failure to do so
can result in your New Vehicle LimitedWarranty being voided either in whole
or in part.
This evidence may consist of the
following:
The FCA Scheduled Maintenance
Record, refer to the Warranty Booklet,
must be completely filled out showing
mileage, repair order number, date for
each service, and signed by a qualified
automotive service technician who
service vehicles.
Original copies of repair orders or
other receipts that include the mileage
and date the vehicle was serviced.
Each receipt should be signed by a
qualified automotive service technician.
For self maintenance, a statement
that you completed the maintenance
yourself, displaying mileage and the
date the work was performed. Also,
receipts for the replacement parts (fluid,
filters, etc.) indicating the date and
mileage must accompany this
statement.
Note:
If you elect to perform maintenance
yourself or have your vehicle serviced at
a location other than an Authorized
Dealer, FCA requires that all fluids, parts
and materials must meet FCA
standards for durability and
performance as described in this
Owner’s Manual. Claims against the warranty resulting
from lack of maintenance, as opposed
to defective materials or authorized FCA
workmanship, will not be honored.
Any auto repair shop using parts
equivalent to your vehicle's original
equipment may perform maintenance.
But we recommend that it always be
done by an Authorized Dealer using
genuine FCA parts. Selecting
“Maintenance Monitor” enables the
system to notify you of your vehicle's
approaching inspection/servicing
period.
Owner Maintenance
Precautions
The owner or a qualified service
technician should make these vehicle
inspections at the indicated intervals to
ensure safe and dependable operation.
Bring any problem to the attention of an
Authorized Dealer or qualified service
technician as soon as possible.
When refueling perform inspection
of:
Brake and clutch fluid level
Engine coolant level
Engine oil level
Washer fluid level
At least monthly perform inspection
of:
Tire inflation pressures
225
Page 228 of 300

At least twice a year (for example,
every spring and fall) perform
inspection of:
Engine coolant
Engine oil
As explained in the “Introduction”
paragraph, several procedures can be
done only by a qualified service
technician with special tools.
For details, read the separate Warranty
Booklet provided with the vehicle. If you
are unsure about any servicing or
maintenance procedure, have it done
by an Authorized Dealer.
There are strict environmental laws
regarding the disposal of waste oil and
fluids. Please dispose of your waste
properly and with due regard to the
environment.
We recommend that you entrust the oil
and fluid changes of your vehicle to an
Authorized Dealer.
Periodic Checks
Every 620 miles (1,000 km) or before
long trips check and, if necessary, top
off:
Engine coolant level.
Brake fluid level.
Windshield washer fluid level.
Tire inflation pressure and condition.
Operation of lighting system
(headlights, direction indicators, hazard
warning lights, etc.).
Operation of windshield
washer/wiper system and
positioning/wear of windshield wiper
blades.
Every 1860 miles (3,000 km) check
and top off the engine oil level if
required.
Heavy-Duty Use Of The
Vehicle
If the vehicle is used under one of the
following conditions:
Dusty roads.
Short, repeated trips less than 4.4 -
5 miles (7-8km)atsub -zero outside
temperatures.
Engine idling for long periods of time
or driving long distances at low speeds
or long periods of inactivity. The following checks must be carried
out more often than indicated in the
Scheduled Servicing Plan:
Check front disc brake pad condition
and wear.
Check cleanliness of underhood area
and all door and trunk locks, cleanliness
and lubrication of linkage.
Visually inspect conditions of the:
engine, transmission, lines and hoses
(exhaust/fuel system/brakes) and
rubber elements (hoses/belts/etc.).
Check battery charge and battery
fluid level.
Visually inspect conditions of the
accessory drive belts.
Check and, if necessary, change
engine oil and replace oil filter.
Check and, if necessary, replace
cabin air filter.
Check and, if necessary, replace air
cleaner.
Severe Duty All Models
Change Engine Oil at 4,000 miles
(6,500 km) if the vehicle is operated in a
dusty and off road environment or is
operated predominately at idle or only
very low engine RPM’s. This type of
vehicle use is considered Severe Duty.
226
SERVICING AND MAINTENANCE
Page 229 of 300

Scheduled Servicing Plan
Mileage or time passed(whichever comes first)
10,000
20,000
30,000
40,000
50,000
60,000
70,000
80,000
90,000
100,000
110,000
120,000
130,000
140,000
150,000
Years123 456789101112131415
Or Kilometers16,000
32,000
48,000
64,000
80,000
96,000
112,000
128,000
144,000
160,000
176,000
192,000
208,000
224,000
240,000
Check tire condition/wear
and adjust pressure, if
necessary, check TIREKIT
expiration date (if
provided). •••••••••••••••
Check operation of lighting
system (headlamps,
direction indicators, hazard
warning lights, luggage
compartment, passenger
compartment, glove
compartment, instrument
panel warning lights, etc.). •••••••••••••••
Check and, if necessary,
top up fluid levels
(brakes/hydraulic clutch,
windshield washer, battery,
engine coolant, etc.). •••••••••••••••
227
Page 241 of 300
WHEELS AND TIRES
Tire Safety Information
Tire safety information will cover
aspects of the following information:
Tire Markings, Tire Identification
Numbers, Tire Terminology and
Definitions, Tire Pressures and Tire
Loading.
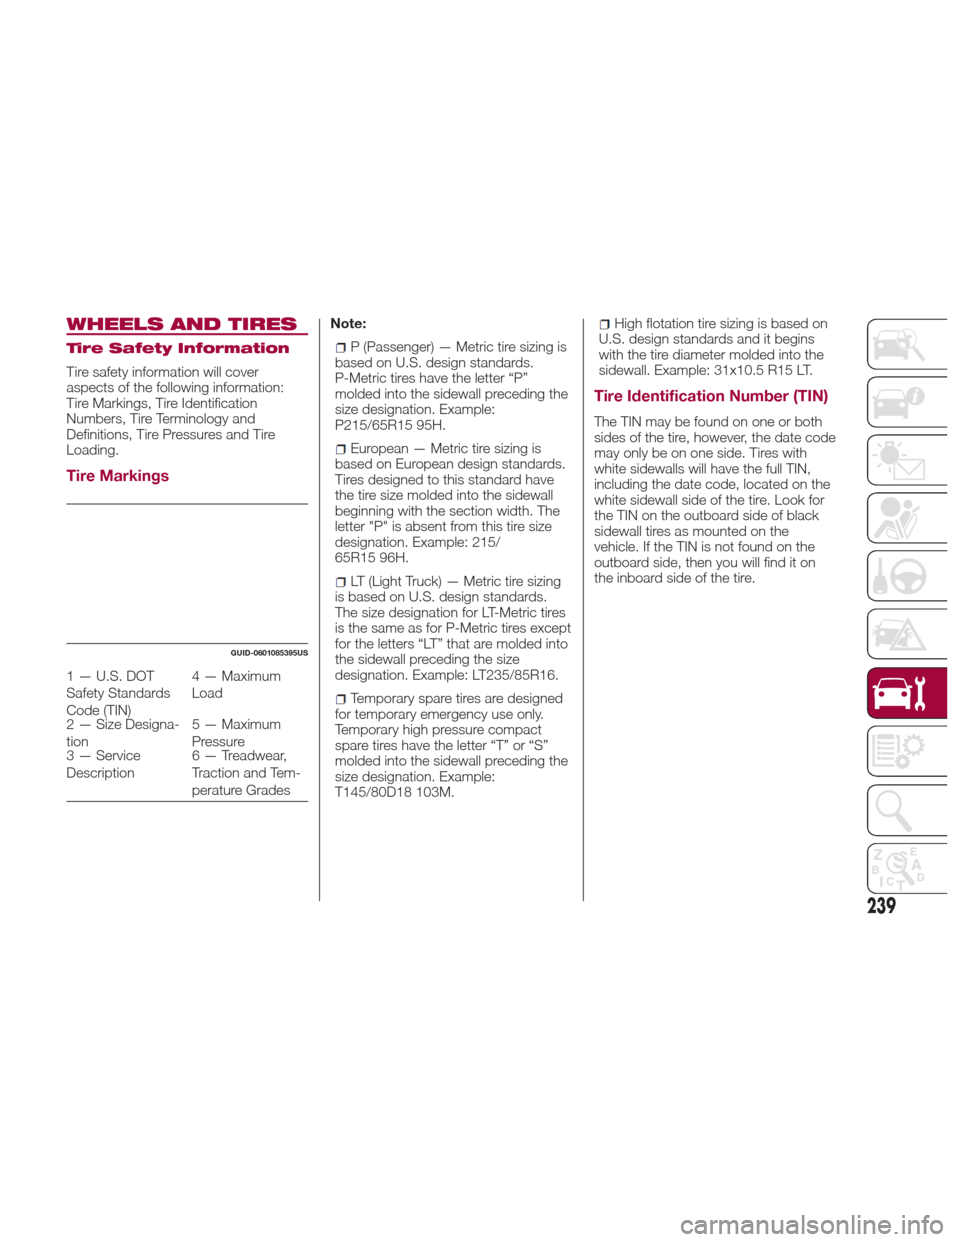
Tire Markings
Note:
P (Passenger) — Metric tire sizing is
based on U.S. design standards.
P-Metric tires have the letter “P”
molded into the sidewall preceding the
size designation. Example:
P215/65R15 95H.
European — Metric tire sizing is
based on European design standards.
Tires designed to this standard have
the tire size molded into the sidewall
beginning with the section width. The
letter "P" is absent from this tire size
designation. Example: 215/
65R15 96H.
LT (Light Truck) — Metric tire sizing
is based on U.S. design standards.
The size designation for LT-Metric tires
is the same as for P-Metric tires except
for the letters “LT” that are molded into
the sidewall preceding the size
designation. Example: LT235/85R16.
Temporary spare tires are designed
for temporary emergency use only.
Temporary high pressure compact
spare tires have the letter “T” or “S”
molded into the sidewall preceding the
size designation. Example:
T145/80D18 103M.
High flotation tire sizing is based on
U.S. design standards and it begins
with the tire diameter molded into the
sidewall. Example: 31x10.5 R15 LT.
Tire Identification Number (TIN)
The TIN may be found on one or both
sides of the tire, however, the date code
mayonlybeononeside.Tireswith
white sidewalls will have the full TIN,
including the date code, located on the
white sidewall side of the tire. Look for
the TIN on the outboard side of black
sidewall tires as mounted on the
vehicle. If the TIN is not found on the
outboard side, then you will find it on
the inboard side of the tire.
GUID-0601085395US
1 — U.S. DOT
Safety Standards
Code (TIN) 4 — Maximum
Load
2 — Size Designa-
tion 5 — Maximum
Pressure
3 — Service
Description 6 — Treadwear,
Traction and Tem-
perature Grades
239
Page 242 of 300
EXAMPLE:
DOT MA L9 ABCD 0301
DOT =
Department of Transportation
– This symbol certifies that the tire is in compliance with the U.S. Department of Transportation tire safety standards and is
approved for highway use
MA = Code representing the tire manufacturing location (two digits)
L9 = Code representing the tire size (two digits)
ABCD = Code used by the tire manufacturer (one to four digits)
03 = Number representing the week in which the tire was manufactured (two digits)
– 03 means the 3rd week
01 = Number representing the year in which the tire was manufactured (two digits)
– 01 means the year 2001
– Prior to July 2000, tire manufacturers were only required to have one number to represent the year in which the tire was
manufactured. Example: 031 could represent the 3rd week of 1981 or 1991
Tire Terminology And Definitions
Term Definition
B-Pillar The
vehicle B-Pillar is the structural member of the body located behind the front door.
Cold Tire Inflation Pressure
Cold tire inflation pressure is defined as the tire pressure after the vehicle has not been driven for
at least three hours, or driven less than 1 mile (1.6 km) after sitting for a minimum of three hours.
Inflation pressure is measured in units of PSI (pounds per square inch) or kPa (kilopascals).
Maximum Inflation Pressure The maximum inflation pressure is the maximum permissible cold tire inflation pressure for
this tire. The maximum inflation pressure is molded into the sidewall.
Recommended Cold Tire Inflation Pressure
Vehicle manufacturer's recommended cold tire inflation pressure as shown on the tire placard.
Tire Placard A label permanently attached to the vehicle describing the vehicle’s loading capacity, the
original equipment tire sizes and the recommended cold tire inflation pressures.
240
SERVICING AND MAINTENANCE