2017 FIAT 124 SPIDER tow
[x] Cancel search: towPage 150 of 300
STARTING AND OPERATING
STARTINGTHEENGINE .......149
BRAKE SYSTEM............150
MANUAL TRANSMISSION ......152
AUTOMATIC TRANSMISSION —
IF EQUIPPED ..............153
ELECTRONIC SPEED
CONTROL ................158
RADAR SENSORS —
IF EQUIPPED ..............162
REAR PARK ASSIST —
IF EQUIPPED ..............163
PARKVIEW REAR BACKUP
CAMERA — IF EQUIPPED ......167
REFUELING THE VEHICLE ......173
VEHICLELOADING ..........177
TOWING TRAILERS ..........178
DRIVING TIPS ..............178
148
STARTING AND OPERATING
Page 160 of 300
Direct mode is cancelled (released)
under the following conditions:
The vehicle is driven for a certain
amount of time or longer (time differs
depending on the driving conditions
while operating).
The vehicle is stopped or moving at a
slow speed.
Note: Shifting up and down while in
direct mode may not be possible
depending on the vehicle speed. In
addition, because direct mode is
cancelled (released) depending on the
rate of acceleration or if the accelerator
is fully depressed, use of the manual
shift mode is recommended if you need
to drive the vehicle in a particular gear
for long periods.
Driving Tips
Overtaking
For extra power when passing another
vehicle or climbing steep grades, press
the accelerator fully. The transmission
will shift to a lower gear, depending on
vehicle speed.
Note:
The accelerator pedal may initially
feel heavy as it is being pressed, then
feel lighter as it is pressed further. This
change in pedal force aids the engine
control system in determining how
much the accelerator pedal has been pressed for performing kickdown, and
functions to control whether or not
kickdown should be performed.
While the gear selector is in the
MANUAL (M) position and the Dynamic
Stability Control (DSC) is turned off,
manual shift mode does not switch to
automatic shift mode even if the
accelerator pedal is completely
pressed. Operate the gear selector.
Climbing steep grades from a stop
To climb a steep grade from a stopped
position:
1. Press the brake pedal.
2. Shift to DRIVE (D) or M1, depending
on the load weight and grade
steepness.
3. Release the brake pedal while
gradually accelerating.
Descending steep grades
When descending a steep grade, shift
to lower gears, depending on load
weight and grade steepness.
Descend slowly, using the brakes only
occasionally to prevent them from
overheating.
ELECTRONIC SPEED
CONTROL
Electronic Speed
Control
This is an electronically controlled
driving assistance feature that allows
the desired vehicle speed to be
maintained, without having to press the
accelerator pedal.
This feature can be used at a speed
above 25 mph (40 km/h) on long
stretches of dry, straight roads with few
variations (e.g. motorways).
It is therefore not recommended to use
this feature on city roads with traffic.
Do not use it in town.
Warning!
Do not use the cruise control under the
following conditions:
hilly terrain
steep inclines
heavy or unsteady traffic
slippery or winding roads
similar restrictions that require
inconsistent speed
Using the cruise control under the following
conditions is dangerous and could result in
loss of vehicle control.
158
STARTING AND OPERATING
Page 166 of 300
A antenna for a radio transmitter is
installed to the vehicle.
The vehicle is moving towards a tall
or square curbstone.
An obstruction is too close to the
sensor.
The following types of obstructions
may not be detected:
Thin objects such as wire or rope.
Things which absorb sonic waves
easily such as rain or snow.
Angular shaped objects.
Very tall objects, and those which
arewideatthetop.
Small, short objects.
Obstructions under the bumper
may not be detected. Obstructions
that are lower than the bumper or thin
which may have been initially detected
but are no longer detected as the
vehicle approaches more closely.
Always have the system inspected
by an Authorized Dealer if any shock is
applied to the bumpers, even in a
minor accident. If the sensors are
deviated, they cannot detect
obstructions.
The system may have a malfunction
if the audible signal does not operate.
Contact an Authorized Dealer.
The beeper which indicates a
system malfunction may not be heard
if the ambient temperature is extremely
cold, or mud, ice, or snow adheres to
the sensor area. Remove any foreign
material from the sensor area.
When installing a trailer hitch,
contact an Authorized Dealer.
Caution!
Only have repairs on the bumper in the
area of the sensors carried out by a
Authorized Dealer. Repairs on the bumper
that are not carried out properly may
compromise the operation of the parking
sensors.
Only have the bumpers repainted or any
retouches to the paint work in the area of
the sensors carried out by a Authorized
Dealer. Incorrect paint application could
affect the operation of the parking sensors.
Sensor Detection Range
The sensors detect obstructions within
the following range:
Lateral Detection Range :
19 inches (50 cm)
Rear Detection Range :59inches
(150 cm)
System Operation
The system is operational when the
ignition is switched ON and the gear
selector is shifted to the Reverse (R)
position. When the audible signal
activates the system is enabled for use.
164
STARTING AND OPERATING
Page 179 of 300
VEHICLE LOADING
Certification Label
As required by National Highway Traffic
Safety Administration regulations, your
vehicle has a certification label affixed to
the driver's side door or pillar.
This label contains the month and year
of manufacture, Gross Vehicle Weight
Rating (GVWR), Gross Axle Weight
Rating (GAWR) front and rear, and
Vehicle Identification Number (VIN). A
Month-Day-Hour (MDH) number is
included on this label and indicates the
Month, Day and Hour of manufacture.
The bar code that appears on the
bottom of the label is your VIN.
Gross Vehicle Weight Rating
(GVWR)
The GVWR is the total permissible
weight of your vehicle including driver,
passengers, vehicle, options and cargo.
The label also specifies maximum
capacities of front and rear axle
systems (GAWR). Total load must be
limited so GVWR and front and rear
GAWR are not exceeded.
Payload
The payload of a vehicle is defined as
the allowable load weight a truck can
carry, including the weight of the driver,
all passengers, options and cargo.
Gross Axle Weight Rating
(GAWR)
The GAWR is the maximum permissible
load on the front and rear axles. The
load must be distributed in the cargo
area so that the GAWR of each axle is
not exceeded.
Each axle GAWR is determined by the
components in the system with the
lowest load carrying capacity (axle,
springs, tires or wheels). Heavier axles
or suspension components sometimes
specified by purchasers for increased
durability does not necessarily increase
the vehicle's GVWR.
Tire Size
The tire size on the Vehicle Certification
Label represents the actual tire size on
your vehicle. Replacement tires must be
equal to the load capacity of this tire
size.
Rim Size
This is the rim size that is appropriate
for the tire size listed.
Inflation Pressure
This is the cold tire inflation pressure for
your vehicle for all loading conditions up
to full GAWR.
Curb Weight
The curb weight of a vehicle is defined
as the total weight of the vehicle with all
fluids, including vehicle fuel, at full
capacity conditions, and with no
occupants or cargo loaded into the
vehicle. The front and rear curb weight
values are determined by weighing your
vehicle on a commercial scale before
any occupants or cargo are added.
Loading
The actual total weight and the weight
of the front and rear of your vehicle at
the ground can best be determined by
weighing it when it is loaded and ready
for operation.
The entire vehicle should first be
weighed on a commercial scale to
insure that the GVWR has not been
exceeded. The weight on the front and
rear of the vehicle should then be
determined separately to be sure that
the load is properly distributed over the
front and rear axle. Weighing the vehicle
may show that the GAWR of either the
front or rear axles has been exceeded
but the total load is within the specified
GVWR. If so, weight must be shifted
from front to rear or rear to front as
appropriate until the specified weight
limitations are met. Store the heavier
items down low and be sure that the
weight is distributed equally. Stow all
loose items securely before driving.
177
Page 180 of 300
Improper weight distributions can have
an adverse effect on the way your
vehicle steers and handles and the way
the brakes operate.
Caution!
Do not load your vehicle any heavier than
the GVWR or the maximum front and rear
GAWR. If you do, parts on your vehicle can
break, or it can change the way your
vehicle handles. This could cause you to
lose control. Also overloading can shorten
the life of your vehicle.
TOWING TRAILERS
Trailer Towing
Your car is not designed for towing.
Recreational Towing
An example of "recreational towing" is
towing your vehicle behind a
motorhome.
The transmission is not designed for
towing this vehicle on all four wheels.
Caution!
DO NOT flat tow this vehicle. Damage
to the drivetrain will result. If this vehicle
requires towing, make sure the drive
wheels are OFF the ground.
Ensure that the Parking Brake is
released, and remains released, while
being towed.
Towing this vehicle in violation of the
above requirements can cause severe
transmission damage. Damage from
improper towing is not covered under the
New Vehicle Limited Warranty.
DRIVING TIPS
Engine Break-In
Recommendation
No special break-in is necessary, but a
few precautions in the first 620 miles
(1000 km) may add to the performance,
economy, and life of the vehicle:
Do not race the engine.
Do not maintain one constant speed,
either slow or fast, for a long period of
time.
Do not drive constantly at full-throttle
or high engine rpm for extended
periods of time.
Avoid unnecessary hard stops.
Avoid full-throttle starts.
Saving Fuel And
Protection Of The
Environment
How you operate your vehicle
determines how far it will travel on a
tank of fuel.
Use these suggestions to help save fuel
andreduceCO
2:
Avoid long warm-ups. Once the
engine runs smoothly, begin driving.
Avoid fast starts.
Drive at lower speeds.
Anticipate when to apply the brakes
(avoid sudden braking).
178
STARTING AND OPERATING
Page 182 of 300

ONLY use the driver’s side floor mat on
the driver’s side floor area. To check for
interference, with the vehicle properly
parked with the engine off, fully depress the
accelerator, the brake, and the clutch pedal
(if present) to check for interference. If your
floor mat interferes with the operation of
any pedal, or is not secure to the floor,
remove the floor mat from the vehicle and
place the floor mat in your trunk.
ONLY use the passenger’s side floor
mat on the passenger’s side floor area.
ALWAYS make sure objects cannot fall
or slide into the driver’s side floor area
when the vehicle is moving. Objects can
become trapped under accelerator, brake,
or clutch pedals and could cause a loss of
vehicle control.
NEVER place any objects under the
floor mat (e.g., towels, keys, etc.). These
objects could change the position of the
floor mat and may cause interference with
the accelerator, brake, or clutch pedals.
If the vehicle carpet has been removed
and re-installed, always properly attach
carpet to the floor and check the floor mat
fasteners are secure to the vehicle carpet.
Fully depress each pedal to check for
interference with the accelerator, brake, or
clutch pedals then re-install the floor mats.
It is recommended to only use mild soap
and water to clean your floor mats. After
cleaning, always check your floor mat has
been properly installed and is secured to
your vehicle using the floor mat fasteners
by lightly pulling mat.
Rocking The Vehicle
Note: Too much rocking may cause
engine overheating, transmission failure,
and tire damage.
If you must rock the vehicle to free it
from snow, sand or mud, depress the
accelerator slightly and slowly move the
gear selector from 1 (D) to R.
Warning!
Fast spinning tires can be dangerous.
Forces generated by excessive wheel
speeds may cause damage, or even
failure, of the axle and tires. A tire could
explode and injure someone. Do not spin
your vehicle's wheels faster than 30 mph
(48 km/h) or for longer than 30 seconds
continuously without stopping when you
are stuck and do not let anyone near a
spinning wheel, no matter what the speed.
Caution!
When “rocking” a stuck vehicle by
shifting between DRIVE and REVERSE, do
not spin the wheels faster than 15 mph
(24 km/h), or drivetrain damage may result.
Revving the engine or spinning the
wheels too fast may lead to transmission
overheating and failure. It can also damage
the tires. Do not spin the wheels above
30 mph (48 km/h) while in gear (no
transmission shifting occurring).
Winter Driving
Carry emergency gear, including tire
chains, window scraper, flares, a small
shovel, jumper leads, and a small bag
of sand or salt.
Contact an Authorized Dealer to check
the following:
Have the proper ratio of antifreeze in
the radiator.
Inspect the battery and its leads.
Cold reduces battery capacity.
Use an engine oil appropriate for the
lowest ambient temperatures that the
vehicle will be driven in.
Inspect the ignition system for
damage and loose connections.
Use winter windshield washer fluid
that will not freeze.
180
STARTING AND OPERATING
Page 186 of 300
IN CASE OF EMERGENCY
HAZARD WARNING LIGHTS . . . .185
REPLACING A BULB..........185
REPLACING FUSES ..........196
CHANGINGAWHEEL ........204
TIRE SERVICE KIT ...........209
JUMPSTARTING............218
OVERHEATING .............220
TOWINGTHEVEHICLE........221
184
IN CASE OF EMERGENCY
Page 187 of 300
HAZARD WARNING
LIGHTS
Control
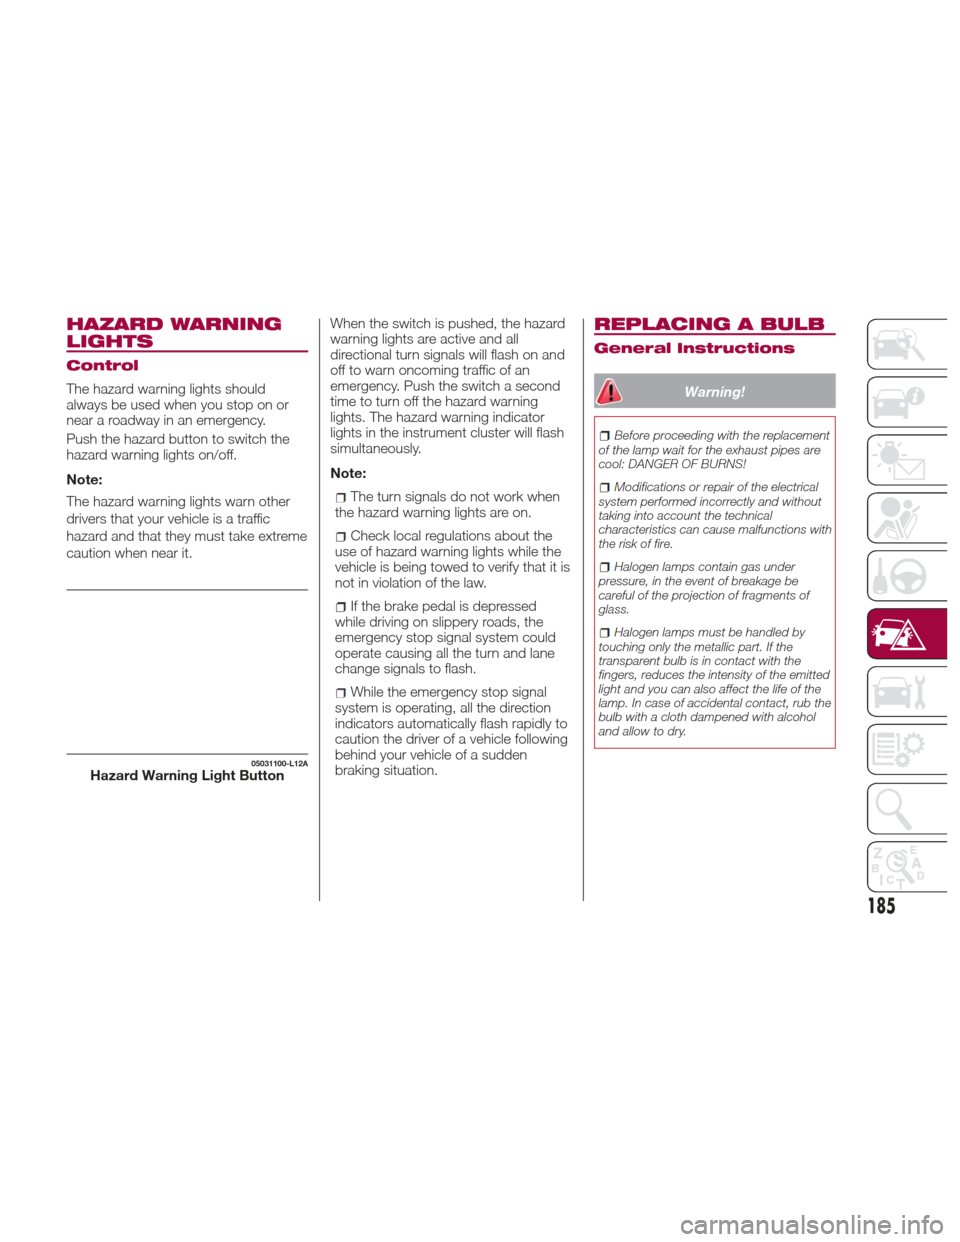
The hazard warning lights should
alwaysbeusedwhenyoustoponor
near a roadway in an emergency.
Push the hazard button to switch the
hazard warning lights on/off.
Note:
The hazard warning lights warn other
drivers that your vehicle is a traffic
hazard and that they must take extreme
caution when near it.When the switch is pushed, the hazard
warning lights are active and all
directional turn signals will flash on and
off to warn oncoming traffic of an
emergency. Push the switch a second
time to turn off the hazard warning
lights. The hazard warning indicator
lights in the instrument cluster will flash
simultaneously.
Note:
The turn signals do not work when
the hazard warning lights are on.
Check local regulations about the
use of hazard warning lights while the
vehicle is being towed to verify that it is
not in violation of the law.
If the brake pedal is depressed
while driving on slippery roads, the
emergency stop signal system could
operate causing all the turn and lane
change signals to flash.
While the emergency stop signal
system is operating, all the direction
indicators automatically flash rapidly to
caution the driver of a vehicle following
behind your vehicle of a sudden
braking situation.
REPLACING A BULB
General Instructions
Warning!
Before proceeding with the replacement
of the lamp wait for the exhaust pipes are
cool: DANGER OF BURNS!
Modifications or repair of the electrical
system performed incorrectly and without
taking into account the technical
characteristics can cause malfunctions with
the risk of fire.
Halogen lamps contain gas under
pressure, in the event of breakage be
careful of the projection of fragments of
glass.
Halogen lamps must be handled by
touching only the metallic part. If the
transparent bulb is in contact with the
fingers, reduces the intensity of the emitted
light and you can also affect the life of the
lamp. In case of accidental contact, rub the
bulb with a cloth dampened with alcohol
and allow to dry.
05031100-L12AHazard Warning Light Button
185