2017 FIAT 124 SPIDER ABARTH automatic transmission
[x] Cancel search: automatic transmissionPage 156 of 292

locked in PARK, securing the vehicle
against unwanted movement.
When leaving the vehicle, always make
sure the ignition is in the OFF mode,
remove the key fob from the vehicle, and
lock the vehicle.
Never leave children alone in a vehicle,
or with access to an unlocked vehicle.
Allowing children to be in a vehicle
unattended is dangerous for a number of
reasons. A child or others could be
seriously or fatally injured. Children should
be warned not to touch the park brake,
brake pedal or the transmission gear
selector.
Do not leave the key fob in or near the
vehicle (or in a location accessible to
children), and do not leave the ignition in
the ACC or ON/RUN mode. A child could
operate power windows, other controls, or
move the vehicle.
Caution!
Before moving the transmission gear
selector out of PARK, you must place the
ignition from the LOCK/OFF mode to the
ON/RUN mode, and also press the brake
pedal. Otherwise, damage to the gear
selector could result.
DO NOT race the engine when shifting
from PARK or NEUTRAL into another gear
range, as this can damage the drivetrain.
Note:
Shifting into PARK (P), NEUTRAL
(N) or REVERSE (R) while the vehicle is
moving can damage your
transmission.
Shifting into DRIVE (D) or REVERSE
(R) when the engine is running faster
than idle can damage the
transmission.
REVERSE (R)
This range is for moving the vehicle
backward. Shift into REVERSE only
after the vehicle has come to a
complete stop.
With Parking Sensor system : when
the gear selector is shifted to the
REVERSE (R) position with the ignition
placed in the ON mode, the parking
sensor system is activated and an
audible sound is heard.
NEUTRAL (N)
In NEUTRAL (N), the wheels and
transmission are not locked. The vehicle
will roll freely even on the slightest
incline unless the parking brake or
brakes are applied.
Warning!
Do not coast in NEUTRAL and never turn
off the ignition to coast down a hill. These
are unsafe practices that limit your
response to changing traffic or road
conditions. You might lose control of the
vehicle and have a collision.
Note: Do not shift into NEUTRAL (N)
when driving the vehicle. Doing so
damage the transmission. Press the
parking brake or depress the brake
pedal before moving the gear selector
from NEUTRAL (N) to prevent the
vehicle from moving unexpectedly.
DRIVE (D)
DRIVE (D) is the normal driving position.
From a stop, the transmission will
automatically shift through all available
gears.
MANUAL (M)
MANUAL (M) is the manual shift mode
position. Gears can be shifted up or
down by operating the gear selector.
(Refer to “Manual Shift Mode”
paragraph in this section).
154
STARTING AND OPERATING
Page 157 of 292

Warning!
Do not downshift for additional engine
braking on a slippery surface. The drive
wheels could lose their grip and the vehicle
could skid, causing a collision or personal
injury.
Active Adaptive Shift
(AAS)
Active Adaptive Shift (AAS)
automatically controls the transmission
shift points to best suit the road
conditions and driver input. This
improves driving feel.
The transmission may switch to AAS
mode when driving up and down
slopes, cornering, driving at high
elevations, or depressing the
accelerator pedal quickly while the gear
selector is in the DRIVE (D) position.
Depending on the road and driving
conditions/vehicle operations, gear
shifting could be delayed or not occur,
however, this does not indicate a
problem because the AAS mode will
maintain the optimum gear position.
Shift-Lock System
The shift-lock system prevents shifting
out of PARK (P) unless the brake pedal
is depressed.
To shift from PARK (P):
1. Depress and hold the brake pedal.
2. Turn the ignition to the ON/RUN
mode.
3. Press and hold the lock-release
button on the gear selector.
4. Move the gear selector.
When the ignition is in the ACC or OFF
mode, the gear selector cannot be
shifted from PARK (P).
The ignition cannot be placed in the
OFF mode if the gear selector is not in
PARK (P).
Shift — Lock Override
If the gear selector will not move from
Park (P) using the proper shift
procedure, continue to press the brake
pedal.
Proceed as follows:
1. Remove the shift — lock override
cover using a cloth-wrapped flat head
screwdriver.2. Insert a screwdriver or similar tool
into the Override Access Hole, and
push the override button down.
3. Push and hold the lock-release
button on the gear selector and move
the gear selector.
4. Take the vehicle to an Authorized
Dealer.
For some models
Proceed as follows:
1. Push the lock-release button on the
gear selector while also pushing down
on the Shift - Lock Override button.
05210206-12A-002Shift - Lock Override Access Hole
155
Page 158 of 292

2. Move the gear selector.
3. Take the vehicle to an Authorized
Dealer.
Manual Shift Mode
The manual shift mode gives you the
feel of driving a manual transmission
vehicle by allowing you to operate the
gear selector manually.
This allows you to control engine rpm
and torque to the drive wheels much
like a manual transmission when more
control is desired.
To change to MANUAL (M) shift mode,
shift the gear selector from DRIVE (D) to
MANUAL (M). To return to automatic
shift mode, shift the gear selector from
MANUAL (M) to DRIVE (D).
You can shift between DRIVE (D) and
MANUAL (M) mode at any time, without
taking your foot off the accelerator.Note:
If you change to manual shift mode
when the vehicle is stopped, the gear
will shift to M1.
If you change to manual shift mode
while the vehicle is moving it will remain
in the current gear until a manual shift
request is made.
Indicators
Manual Shift Mode Indication
In manual shift mode, the “M” of the
shift position indication in the
instrument panel illuminates.
Gear Position Indication
The numeral for the selected gear
illuminates. Manually Shifting Up/Down
To shift up
to a higher gear, tap the
gear selector rearward once (or tap the
[+] shift paddle on the steering wheel, if
equipped).
To shift down to a lower gear, tap the
gear selector forward once (or tap the
[-] shift paddle on the steering wheel, if
equipped).
Note:
If a requested downshift would
cause the engine to over-speed, that
shift will not occur.
The system will ignore attempts to
upshift at too low of a vehicle speed.
The transmission will switch to
automatic shift mode while the
accelerator pedal is completely
depressed (unless Dynamic Stability
Control is turned off).
Do not drive the vehicle with the
tachometer needle in the red zone
while in manual shift mode. If the
vehicle is continuously driven at a high
rpm, the transmission may
automatically shift up to protect the
engine.
During deceleration, the
transmission may automatically shift
down depending on vehicle speed.
005210206-122-001Shift - Lock Override
05210207-12A-002Instrument Panel
1 — Manual Shift Mode Indication
2 — Gear Position Indication
156
STARTING AND OPERATING
Page 159 of 292

You can start out, from a stop, in
first or second gear. Tapping the gear
selector rearward (+) (at a stop) will
allow starting in second gear. Starting
out in second gear can be helpful in
snowy or icy conditions.
Paddle Mode — If
Equipped
Tapping one of the steering
wheel-mounted shift paddles (+/-), if
equipped, while the gear selector is in
DRIVE (D), will activate Paddle Mode (a
temporary manual mode). The current
gear will be displayed in the instrument
cluster, with the "M" also illuminated.
The transmission will revert back to
normal operation (if the gear selector
remains in DRIVE) after a period of time,
depending on accelerator pedal activity.
Note: Because Paddle mode is only
temporary, use of the MANUAL (M)
position is recommended if you need to
drive the vehicle in a particular gear for
long periods.
Driving Tips
Overtaking
For extra power when passing another
vehicle or climbing steep grades, press
the accelerator fully. The transmission
will shift to a lower gear, depending on
vehicle speed. Note:
The accelerator pedal may initially
feel heavy as it is being pressed, then
feel lighter as it is pressed further. This
change in pedal force controls whether
or not kickdown should be performed.
While the gear selector is in the
MANUAL (M) position and the Dynamic
Stability Control (DSC) is turned off,
manual shift mode does not switch to
automatic shift mode even if the
accelerator pedal is completely
pressed. Tap the gear selector forward
or rearward to select the appropriate
gear.
Climbing steep grades from a stop
To climb a steep grade from a stopped
position:
1. Press the brake pedal.
2. Shift to DRIVE (D) or M1, depending
on the load weight and grade
steepness.
3. Release the brake pedal while
gradually accelerating.
Descending steep grades
When descending a steep grade, shift
to lower gears, depending on load
weight and grade steepness.
Descend slowly, using the brakes only
occasionally to prevent them from
overheating.
ELECTRONIC SPEED
CONTROL
Electronic Speed
Control
This is an electronically controlled
driving assistance feature that allows
the desired vehicle speed to be
maintained, without having to press the
accelerator pedal.
This feature can be used at a speed
above 25 mph (40 km/h) on long
stretches of dry, straight roads with few
variations (e.g. motorways).
It is therefore not recommended to use
this feature on city roads with traffic. Do
not use it in town.
Warning!
Do not use the cruise control under the
following conditions:
hilly terrain
steep inclines
heavy or unsteady traffic
slippery or winding roads
similar restrictions that require
inconsistent speed
Using the cruise control under the following
conditions is dangerous and could result in
loss of vehicle control.
157
Page 160 of 292

Activation / Deactivation
Note:When the ignition is placed in
the OFF position, the system status
before it was turned off is stored. For
example, if the ignition is placed in the
OFF position while the cruise control is
operating, the system will be operable
when the ignition is placed in the ON
position the next time.
Activating Electronic Speed Control
With Speed limiter : push the mode
button. The
warning light (amber)
turns on. Note:
When the speed limiter is
operating after pushing the mode
button, push the mode button again to
switch to the cruise control.
Without Speed limiter : push the ON
button. The warning light (amber) turns
on.
Warning!
Leaving the Speed Control system on
when not in use is dangerous. You could
accidentally set the system or cause it to
go faster than you want. You could lose
control and have an accident. Always leave
the system OFF when you are not using it.
Deactivating Electronic Speed
Control
Note: When the mode button is
pushed during cruise control system
operation, the system switches to the
adjustable speed limiter.
Push the OFF/CAN button. The
warning light (amber) turns off.
When a cruising speed has been
set:the
warning light (green) turns
on, push and hold the OFF/CAN button
or push the OFF/CAN button 2 times.
When a cruising speed has not
been set:the
warning light (amber)
turns on push the OFF/CAN button.
Setting A Desired Speed
Proceed as follows:
With Speed limiter : activate the
cruise control device by pushing the
mode button. The cruise warning light
(amber) turns on.
Without Speed limiter : activate the
cruise control device by pushing the ON
button. The cruise warning light (amber)
turns on.
1. Accelerate to the desired speed,
whichmustbemorethan25mph
(40 km/h).
2. Set the cruise control by pushing the
SET/- button at the desired speed. The
cruise control is set at the moment the
SET/- button is pushed. Release the
accelerator pedal simultaneously. The
warning light (green) turns on.
Note: The cruise control speed setting
cannot be performed under the
following conditions:
Automatic transmission : the gear
selector is in the PARK (P) or
NEUTRAL (N) position.
Manual transmission : the gear
selector is in the NEUTRAL (N) position
or when the clutch is disengaged
(clutch is depressed).
The parking brake is applied.
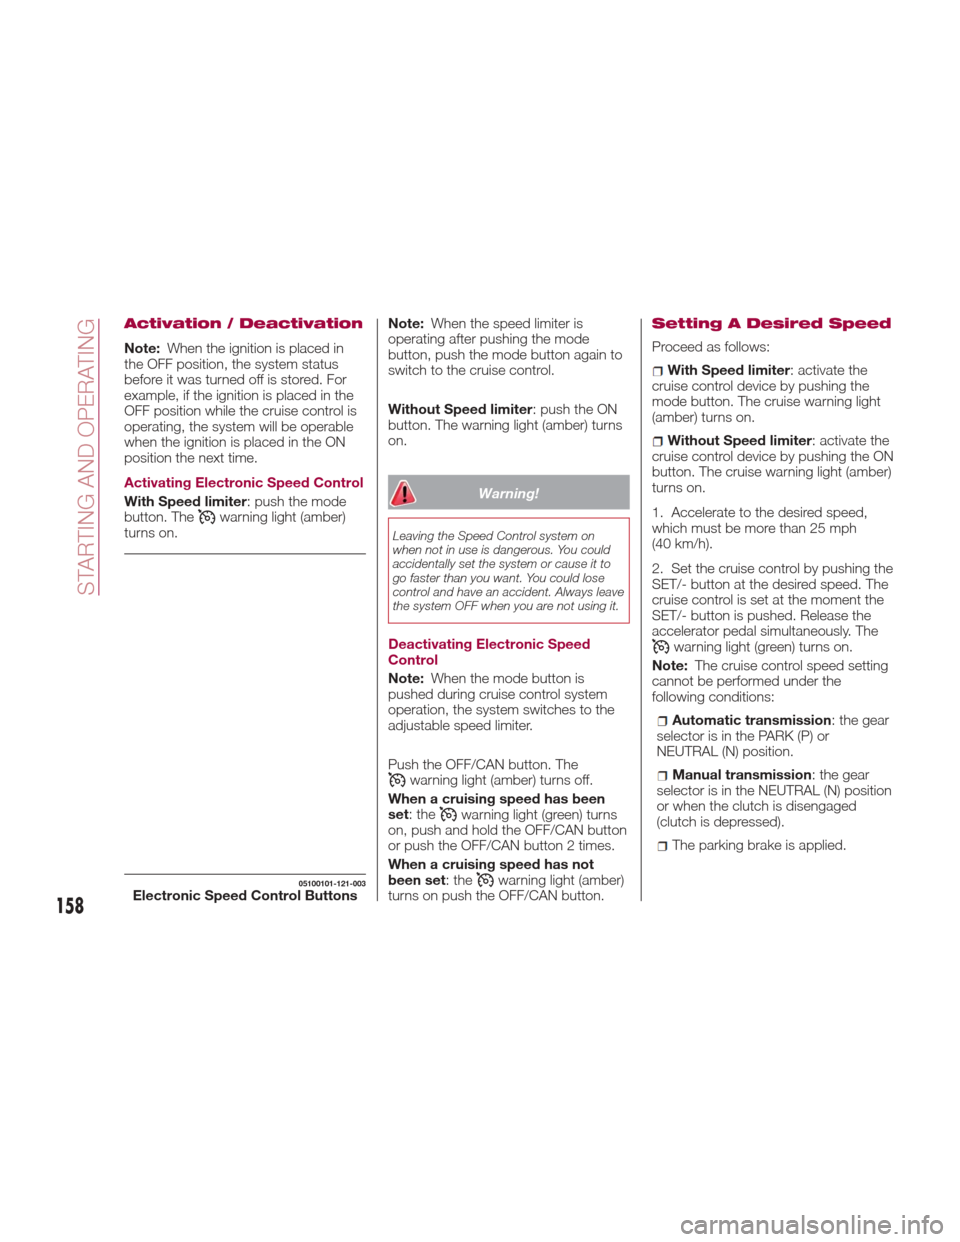
05100101-121-003Electronic Speed Control Buttons158
STARTING AND OPERATING
Page 162 of 292

TEMPORARILY
CANCELLING THE
SYSTEM
Warning!
Leaving the Electronic Speed Control
system on when not in use is dangerous.
You could accidentally set the system or
cause it to go faster than you want. You
could lose control and have an accident.
Always leave the system OFF when you are
not using it.
To temporarily cancel the system, use
one of these methods:
Slightly press the brake pedal.
Press the clutch pedal (if equipped
with a manual transmission).
Push OFF/CAN button.
If the RES/+ button is pushed when the
vehicle speed is 25 mph (40 km/h) or
higher, the system reverts to the
previously set speed.
Note:
If any of the following conditions occur,
the cruise control system is temporarily
canceled:
The parking brake is applied
Automatic Transmission :the
gear selector is in the PARK or
NEUTRAL position.
Manual Transmission : the gear
selector is in the NEUTRAL position.
Automatic Transmission : the
cruise control cannot be cancelled
while driving in manual mode (gear
selector shifted from D to M position).
Therefore, engine braking will not be
applied even if the transmission is
shifted down to a lower gear. If
deceleration is required, lower the set
speed or depress the brake pedal.
When the cruise control system is
temporarily canceled, the speed cannot
be reset.
RADAR SENSORS —
IF EQUIPPED
Rear Radar Sensors
The following systems use the rear
radar sensors:
Blind Spot Monitoring System (BSM)
Rear Cross Traffic Alert (RCTA)
The radar sensors function by detecting
the radio waves reflected off of a vehicle
approaching from the rear or an
obstruction sent from the radar sensor.
The radar sensors are installed inside
the rear bumper, one each on the left
and right sides.
Always keep the surface of the rear
bumper near the radar sensors clean so
that the radar sensors operate normally.
Also, do not apply items such as
stickers.
GUID-07080915112112Radar Sensor Locations
160
STARTING AND OPERATING
Page 205 of 292

To Secure The Jack
Proceed as follows:
1. Insert the wing bolt into the jack with
the jack screw pointing back, and turn
the wing bolt clockwise to temporarily
tighten it.
2. Turn the jack screw clockwise.
3. Turn the wing bolt completely to
secure the jack.
4. Insert the cover tabs and install the
cover.
Warning!
A loose tire or jack thrown forward in a
collision or hard stop could endanger the
occupants of the vehicle. Always stow the
jack parts and the spare tire in the places
provided. Have the deflated (flat) tire
repaired or replaced immediately.
Maintenance
Always keep the jack clean.
Make sure the moving parts are kept
free from dirt or rust.
Make sure the screw thread is
adequately lubricated.
Conditions Of Non-Use
Temperatures below -40°F (−40°C)
On sandy or muddy ground
On uneven ground
On steep roads
In extreme weather conditions
In direct contact with the engine or
for repairs under the vehicle
On boats
Changing Procedure
Note: Make sure the jack is well
lubricated before using it.
Warning!
Do not attempt to change a tire on the side
of the vehicle close to moving traffic, pull
far enough off the road to avoid being hit
when operating the jack or changing the
wheel.
Proceed as follows:
1. Stop the vehicle in a position that
does not cause any danger to traffic
and lets you change the tire in safety, as
far as possible from the edge of the
driving lane. The ground must be flat
and sufficiently compact.
2. Turn on the hazard warning lights
and engage the parking brake. 3. For vehicles with automatic
transmission, place the gear selector in
Park (P). For vehicles with manual
transmission, place gear selector in
Reverse (R) and turn off the engine.
4. Stop the engine. The motor must be
kept off as long as the vehicle is lifted
off the ground.
5. Remove the jack and tools.
6. Block both the front and rear of the
wheel diagonally opposite of the jacking
position. For example, if changing the
right front tire, block the left rear wheel.
08020300-121-001Blocking Right Front Tire And Left
Rear Tire
203
Page 211 of 292

3. Shift the gear selector to Reverse (R)
for a manual transmission, and shift the
gear selector to Park (P) for an
automatic transmission.
4. Apply the parking brake with the
brake pedal depressed and turn off the
engine.
5. Unload passengers and cargo and
remove the Tire Service Kit.
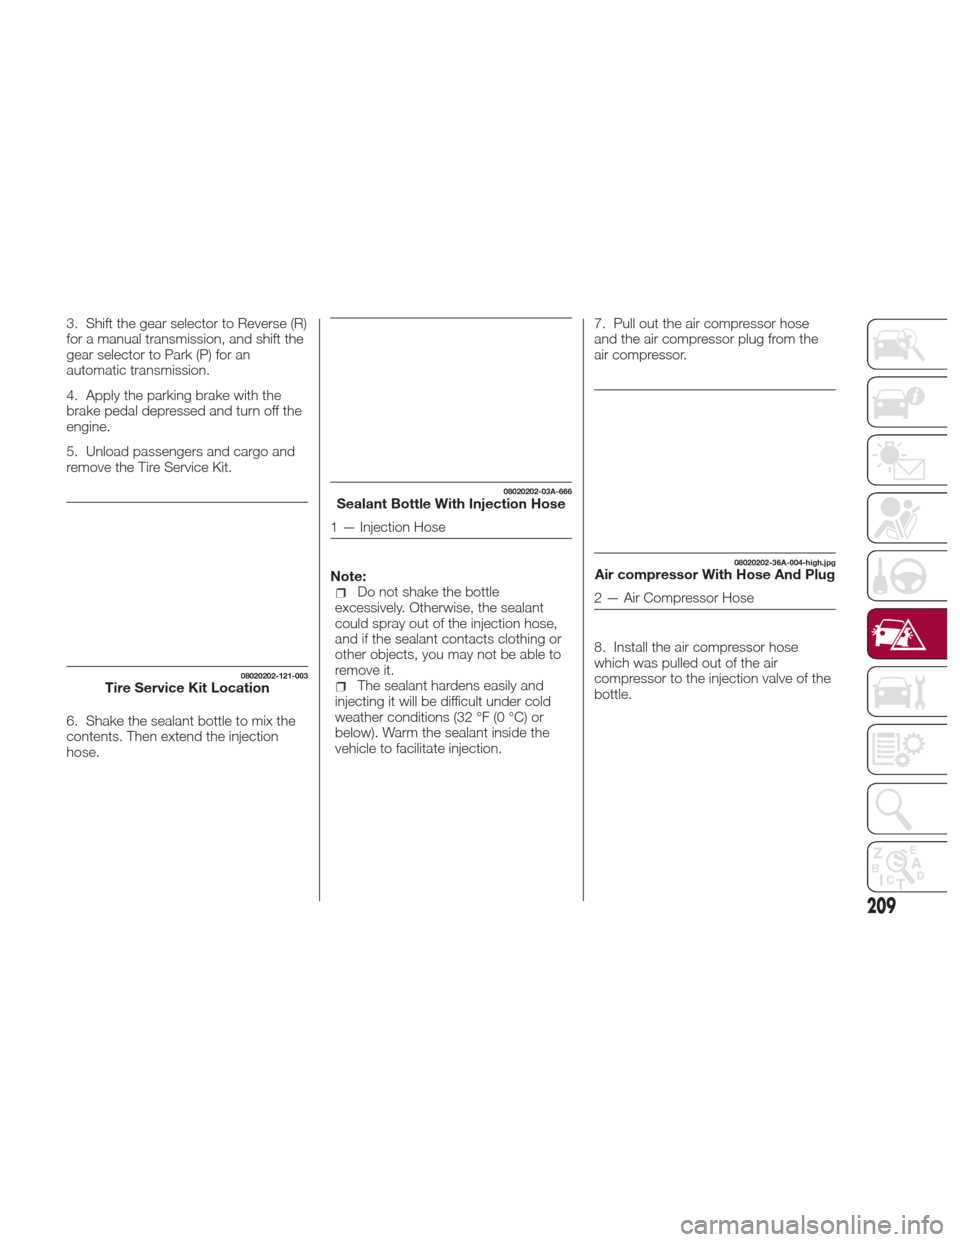
6. Shake the sealant bottle to mix the
contents. Then extend the injection
hose.Note:
Do not shake the bottle
excessively. Otherwise, the sealant
could spray out of the injection hose,
and if the sealant contacts clothing or
other objects, you may not be able to
remove it.
The sealant hardens easily and
injecting it will be difficult under cold
weather conditions (32 °F (0 °C) or
below). Warm the sealant inside the
vehicle to facilitate injection. 7. Pull out the air compressor hose
and the air compressor plug from the
air compressor.
8. Install the air compressor hose
which was pulled out of the air
compressor to the injection valve of the
bottle.08020202-121-003Tire Service Kit Location
08020202-03A-666Sealant Bottle With Injection Hose
1 — Injection Hose
08020202-36A-004-high.jpgAir compressor With Hose And Plug
2 — Air Compressor Hose
209