2017 FIAT 124 SPIDER ABARTH run flat
[x] Cancel search: run flatPage 34 of 292

Settings Changing
Settings can be changed using the
following procedure:
1. Safely park the vehicle. Both doors
must remain closed.
2. Place the ignition in the ON position.
3. Push and hold the lock side of the
driver's door-lock switch within
20 seconds of placing the ignition in the
ON position, and make sure a beep
sound is heard about eight seconds
afterwards.
4. Refer to the auto lock/unlock
function setting table, determine the
function number for the desired setting.
Push the unlock side of the driver's
door-lock switch the same number of
times as the selected function number
(example: if you select function 2, push
the unlock side of the switch only two
times).
5. Three seconds after the function
setting has been changed, a beep
sound will beep in the amount of the
selected function number (example:
Function number 3 = three beep
sounds). Automatic Transmission Vehicles
The doors cannot be locked or
unlocked while the setting function is
being performed.
The procedure can be cancelled by
pushing the lock side of the door-lock
switch.
Note:
The vehicle lock-out prevention
feature prevents you from locking
yourself out of the vehicle. Both doors,
trunk lid, and the fuel filler door will
automatically unlock if they are locked
using the power door locks with any
door open. If both the doors are closed
even though the trunk lid is open, both
the doors and the fuel filler door will
lock.
Door Unlock (Control) System
With Collision Detection — if
equipped : this system automatically
unlocks the doors, trunk lid, and the
fuel filler door in the event the vehicle is
involved in an accident to allow
passengers to get out of the vehicle
immediately and prevent being trapped
inside. While the ignition is placed in the ON position and in the event the
vehicle receives an impact strong
enough to inflate the air bags, both the
doors, the trunk lid, and fuel filler door
are automatically unlocked after about
six seconds have elapsed from the
time of the accident. The doors, trunk
lid, and the fuel filler door may not
unlock depending on how an impact is
applied, the force of the impact, and
other conditions of the accident. If
door-related systems or the battery is
malfunctioning, the doors, trunk lid,
and the fuel filler door will not unlock.
When opening a door, the power
windows open a little automatically.
When closing the door, the power
windows close automatically. This is a
function for improving the sealing of
the window, and it does not mean
there is a problem. If the vehicle battery
is disconnected for vehicle
maintenance or other reasons, the
power windows will not open or close
automatically. If the power windows do
not open or close, the automatic
open/close mechanism for the
windows must be reset.
32
GETTING TO KNOW YOUR VEHICLE
Page 108 of 292

Key Left-In-Trunk Compartment
Warning Beep — If Equipped With
Advanced Keyless Function
If the key fob is left in the trunk with all
doors locked and the trunk lid closed, a
beep sound is heard for about
10 seconds to remind the driver the key
fob has been left in the trunk.
If this happens, open the trunk lid by
pushing the electric trunk lid opener
and remove the key fob.
A key fob removed from the trunk may
not function because its functions may
have been temporarily suspended. To
restore the key fob function, perform
the applicable procedure (see
paragraph “Keys” in “Getting to know
your vehicle” chapter).
Key Left-In-Vehicle Warning Beep
(with the advanced keyless function)
If a key fob is left in the vehicle and all
the doors and the trunk are locked
using a separate key fob, a beep sound
is heard for about 10 seconds to
remind the driver that the key fob has
been left in the vehicle.
If this happens, open the door and
remove the key fob. A key fob removed
from the vehicle this way may not
function because its functions may
have been temporarily suspended.
Perform the applicable procedure to
restore the functions of the key fob (see
paragraph “Keys” in “Getting To Know
Your Vehicle” chapter).Vehicle Speed Alarm — If equipped
The vehicle speed alarm function is
designed to alarm the driver via a single
beep sound and a warning indication in
the instrument cluster that the
previously set vehicle speed has been
exceeded.
You can change the vehicle speed
setting at which the warning is triggered
(see paragraph “Trip Computer” in
“Getting To Know Your Vehicle”
chapter).
Tire Inflation Pressure Warning
Beep — If Equipped
Vehicle With Conventional Tires
:the
warning beep sound will be heard for
about 3 seconds when there is any
abnormality in tire inflation pressures
(see “TMPS” in “Safety” chapter).
Vehicle With Run-Flat Tires (If
Equipped): the warning beep sound will
be heard for about 3 seconds if the tire
pressures decrease. If the tire pressure
decreases extremely, a beep sound will
be heard for approximately 30 seconds
(see “TMPS” in “Safety” chapter).
Blind Spot Monitoring (BSM)
System Warning Beep — If
Equipped
Driving Forward : the warning beep
operates when the direction indicator
lever is operated to the side where the
Blind Spot Monitoring (BSM) warning
light is illuminated. Note:
A personalized function is
available to change the Blind Spot
Monitoring (BSM) warning beep sound
volume.
Reversing : if a moving object such as
a vehicle or two-wheeled vehicle
approaches on the left or right from
behind your vehicle, the Blind Spot
Monitoring (BSM) warning sound is
activated.
Electronic Steering Lock Warning
Beep
The warning beep operates if the
steering wheel is not unlocked after the
keyless ignition START/STOP button is
pushed.
Speed Limiter Warning Beep — If
Equipped
If the vehicle speed exceeds the set
speed by about 2 MPH (3 km/h) or
more, a warning beep operates
continuously.
The warning beep operates until the
vehicle speed decreases to the set
speedorless.
106
GETTING TO KNOW YOUR INSTRUMENT PANEL
Page 121 of 292

The size, manufacturer, or the type of
a tire is different from the others, or the
level of tire wear is excessively different
between them.
A run-flat tire, snow tire, or tire chains
are used.
An emergency tire is used (thewarning light may flash and then
continue illuminating).
A tire is repaired using the
emergency flat tire repair kit.
The tire pressure is excessively
higher than the specified pressure, or
the tire pressure is suddenly lowered for
some reason such as a tire burst during
driving.
The vehicle speed is lower than
about 9 mph (15 km/h) (including when
the vehicle is stopped), or the drive
period is shorter than 5 minutes.
The vehicle is driven on an extremely
rough road or a slippery, icy road.
Hard steering and rapid
acceleration/deceleration are repeated
such as during aggressive driving on a
winding road.
Load on the vehicle is applied to a
tire such as by loading heavy luggage
to one side of the vehicle.
System initialization has not been
implemented with the specified tire
pressure. Tire Pressure Monitoring System
Initialization
In the following cases, system
initialization must be performed so that
the system operates normally:
A tire pressure is adjusted.
A tire rotation is performed. A tire or
wheel is replaced.
The battery is replaced or completely
discharged.
Thewarning light is illuminated.
Initialization Method
Proceed as follows:
1. Park the car in a safe place and
firmly apply the parking brake.
2. Be sure the tires are cool, then
adjust the tire pressure of all four (4)
tires to the specified pressure indicated
on the tire placard label located on the
driver's door frame (door open).
3. Place the ignition in the ON mode.
4. While the vehicle is parked, press
and hold the TPMS system set switch
and verify that the
warning light in
the instrument cluster flashes twice and
a beep sound is heard once. Note:
If the system initialization is
performed without adjusting the tire
pressure, the system cannot detect the
normal tire pressure and it may not
illuminate the
warning light even if a
tire pressure is low, or it may illuminate
the light even if the pressures are
normal.
Adjust the tire pressure on all four
tires and initialize the system when the
warning light is turned on. If the
warning light turns on for a reason
other than a flat tire, the tire pressure of
all four tires may have decreased
naturally.
The system initialization will not be
performed if the switch is pressed
while the vehicle is being driven.
05120101-12A-001TPMS Set Switch
119
Page 147 of 292

Maintaining Your Air Bag
System
Warning!
Modifications to any part of the air bag
system could cause it to fail when you
need it. You could be injured if the air bag
system is not there to protect you. Do not
modify the components or wiring, including
adding any kind of badges or stickers to
the steering wheel hub trim cover or the
upper right side of the instrument panel.
Do not modify the front bumper, vehicle
body structure, or add aftermarket side
steps or running boards.
It is dangerous to try to repair any part
of the air bag system yourself. Be sure to
tell anyone who works on your vehicle that
it has an air bag system.
Do not attempt to modify any part of
your air bag system. The air bag may
inflate accidentally or may not function
properly if modifications are made. Take
your vehicle to an authorized dealer for any
air bag system service. If your seat,
including your trim cover and cushion,
needs to be serviced in any way (including
removal or loosening/tightening of seat
attachment bolts), take the vehicle to your
authorized dealer. Only manufacturer
approved seat accessories may be used.
If it is necessary to modify the air bag
system for persons with disabilities,
contact your authorized dealer.
EVENT DATA
RECORDER (EDR)
This vehicle is equipped with an event
data recorder (EDR).
The main purpose of an EDR is to
record, in certain crash or near
crash-like situations, such as an air bag
deployment or hitting a road obstacle,
data that will assist in understanding
how a vehicle’s systems performed.
The EDR is designed to record data
related to vehicle dynamics and safety
systems for a short period of time,
typically 30 seconds or less.
The EDR in this vehicle is designed to
record such data as:
How various systems in your vehicle
were operating.
Whether or not the driver and
passenger safety belts were
buckled/fastened.
How far (if at all) the driver was
pushing the accelerator and/or brake
pedal.
How fast the vehicle was traveling.
This data can help provide a better
understanding of the circumstances in
which crashes and injuries occur. Note:
EDR data are recorded by your
vehicle only if a non-trivial crash or near
crash-like situation occurs; no data are
recorded by the EDR under normal
driving conditions and no personal
data (e.g., name, gender, age, and
crash location) are recorded. However,
other parties, such as law
enforcement, could combine the EDR
data with the type of personally
identifying data routinely acquired
during a crash investigation.
To read data recorded by an EDR,
special equipment is required, and
access to the vehicle or the EDR is
needed. In addition to the vehicle
manufacturer, other parties, such as
law enforcement, that have the special
equipment, can read the information if
they have access to the vehicle or the
EDR.
FCA will not disclose any of the data
recorded in an EDR to a third party
unless:
A written agreement from the
vehicle owner or the lessee is
obtained.
Officially requested by the police or
other law enforcement authorities.
Used as a defense for FCA in a law
suit, claim, or arbitration.
Ordered by a judge or court.
145
Page 157 of 292

Warning!
Do not downshift for additional engine
braking on a slippery surface. The drive
wheels could lose their grip and the vehicle
could skid, causing a collision or personal
injury.
Active Adaptive Shift
(AAS)
Active Adaptive Shift (AAS)
automatically controls the transmission
shift points to best suit the road
conditions and driver input. This
improves driving feel.
The transmission may switch to AAS
mode when driving up and down
slopes, cornering, driving at high
elevations, or depressing the
accelerator pedal quickly while the gear
selector is in the DRIVE (D) position.
Depending on the road and driving
conditions/vehicle operations, gear
shifting could be delayed or not occur,
however, this does not indicate a
problem because the AAS mode will
maintain the optimum gear position.
Shift-Lock System
The shift-lock system prevents shifting
out of PARK (P) unless the brake pedal
is depressed.
To shift from PARK (P):
1. Depress and hold the brake pedal.
2. Turn the ignition to the ON/RUN
mode.
3. Press and hold the lock-release
button on the gear selector.
4. Move the gear selector.
When the ignition is in the ACC or OFF
mode, the gear selector cannot be
shifted from PARK (P).
The ignition cannot be placed in the
OFF mode if the gear selector is not in
PARK (P).
Shift — Lock Override
If the gear selector will not move from
Park (P) using the proper shift
procedure, continue to press the brake
pedal.
Proceed as follows:
1. Remove the shift — lock override
cover using a cloth-wrapped flat head
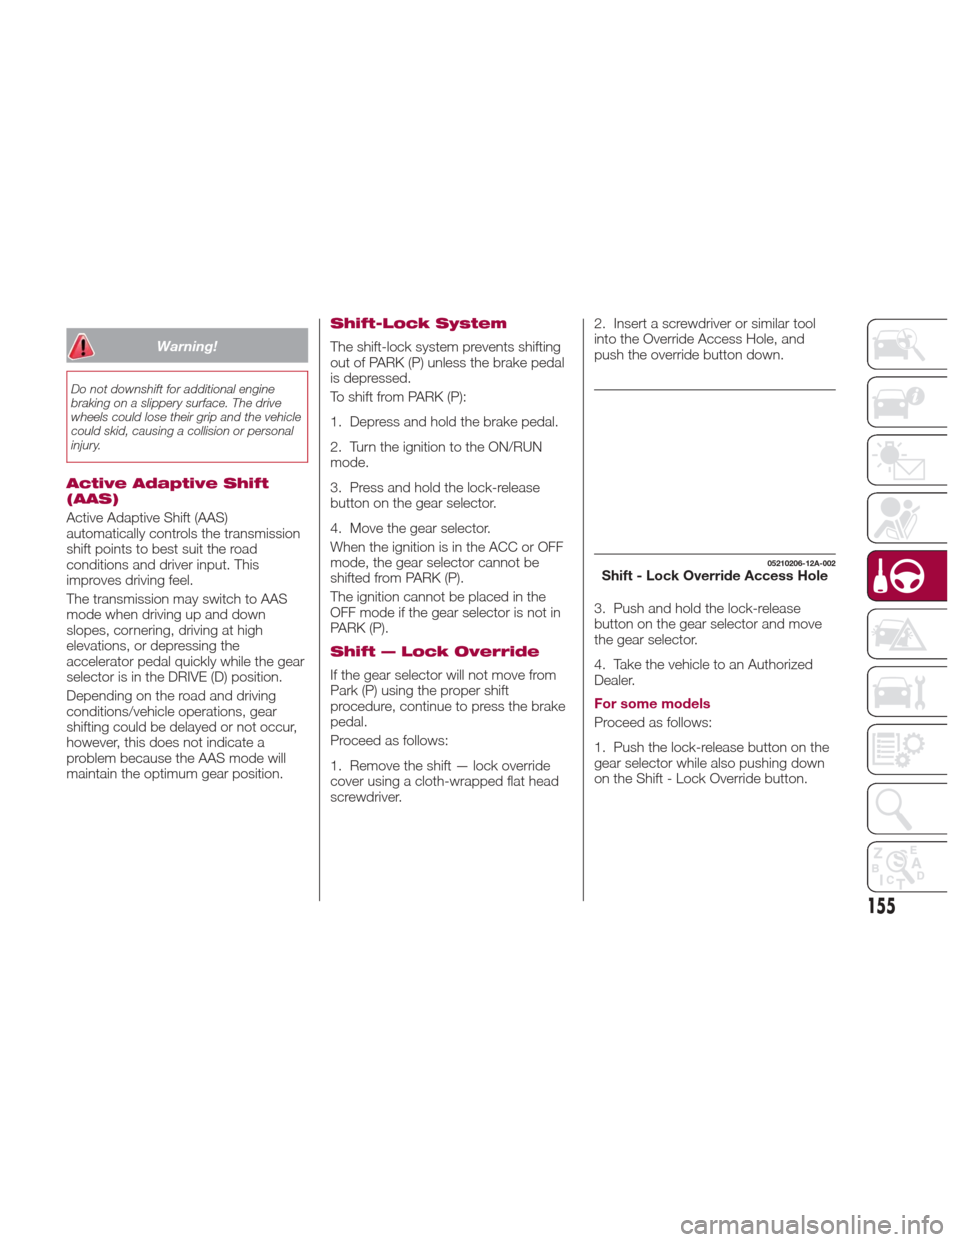
screwdriver.2. Insert a screwdriver or similar tool
into the Override Access Hole, and
push the override button down.
3. Push and hold the lock-release
button on the gear selector and move
the gear selector.
4. Take the vehicle to an Authorized
Dealer.
For some models
Proceed as follows:
1. Push the lock-release button on the
gear selector while also pushing down
on the Shift - Lock Override button.
05210206-12A-002Shift - Lock Override Access Hole
155
Page 177 of 292

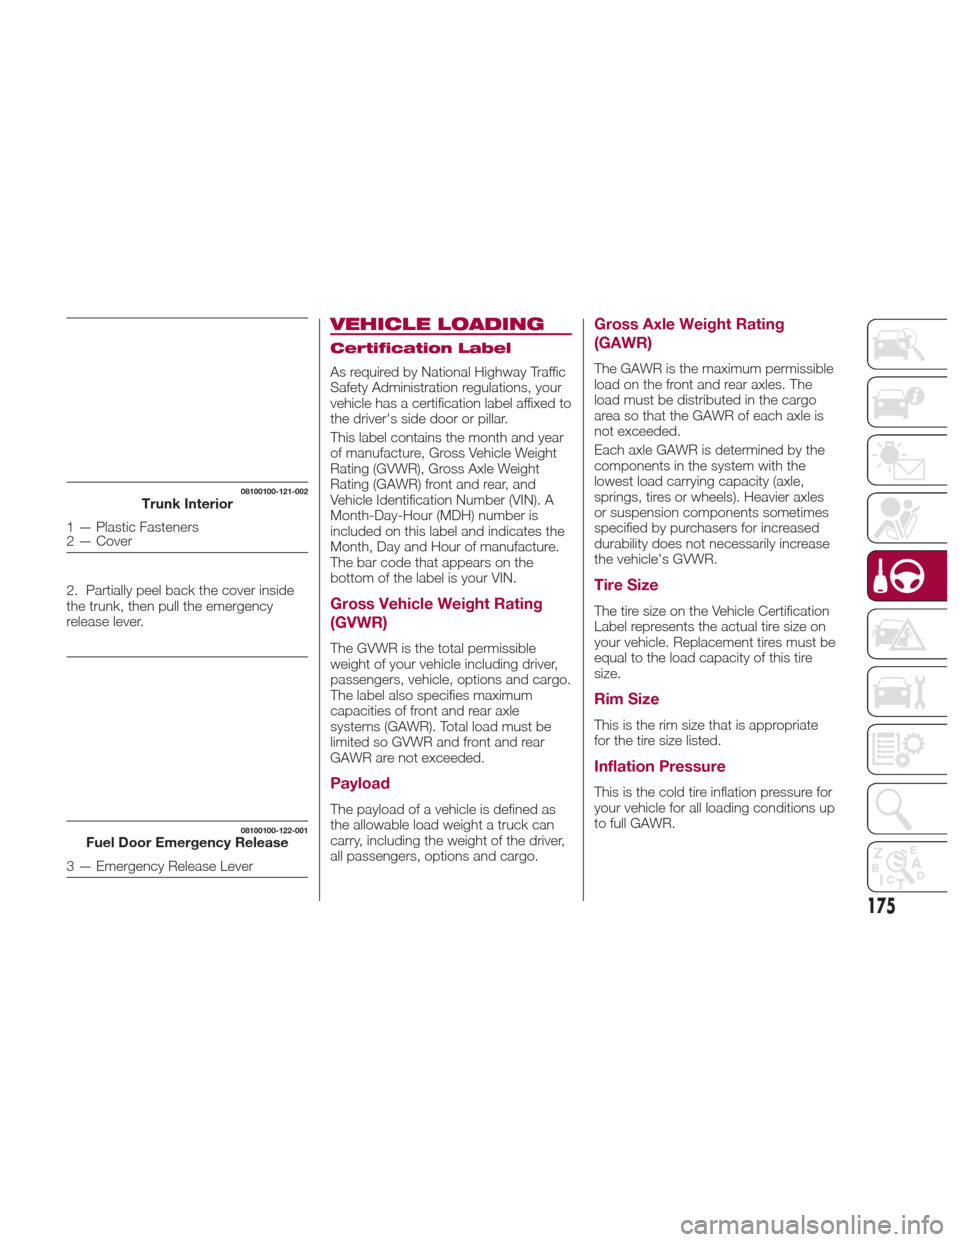
2. Partially peel back the cover inside
the trunk, then pull the emergency
release lever.
VEHICLE LOADING
Certification Label
As required by National Highway Traffic
Safety Administration regulations, your
vehicle has a certification label affixed to
the driver's side door or pillar.
This label contains the month and year
of manufacture, Gross Vehicle Weight
Rating (GVWR), Gross Axle Weight
Rating (GAWR) front and rear, and
Vehicle Identification Number (VIN). A
Month-Day-Hour (MDH) number is
included on this label and indicates the
Month, Day and Hour of manufacture.
The bar code that appears on the
bottom of the label is your VIN.
Gross Vehicle Weight Rating
(GVWR)
The GVWR is the total permissible
weight of your vehicle including driver,
passengers, vehicle, options and cargo.
The label also specifies maximum
capacities of front and rear axle
systems (GAWR). Total load must be
limited so GVWR and front and rear
GAWR are not exceeded.
Payload
The payload of a vehicle is defined as
the allowable load weight a truck can
carry, including the weight of the driver,
all passengers, options and cargo.
Gross Axle Weight Rating
(GAWR)
The GAWR is the maximum permissible
load on the front and rear axles. The
load must be distributed in the cargo
area so that the GAWR of each axle is
not exceeded.
Each axle GAWR is determined by the
components in the system with the
lowest load carrying capacity (axle,
springs, tires or wheels). Heavier axles
or suspension components sometimes
specified by purchasers for increased
durability does not necessarily increase
the vehicle's GVWR.
Tire Size
The tire size on the Vehicle Certification
Label represents the actual tire size on
your vehicle. Replacement tires must be
equal to the load capacity of this tire
size.
Rim Size
This is the rim size that is appropriate
for the tire size listed.
Inflation Pressure
This is the cold tire inflation pressure for
your vehicle for all loading conditions up
to full GAWR.
08100100-121-002Trunk Interior
1 — Plastic Fasteners
2 — Cover
08100100-122-001Fuel Door Emergency Release
3 — Emergency Release Lever
175
Page 179 of 292

DRIVING TIPS
Engine Break-In
Recommendation
No special break-in is necessary, but a
few precautions in the first 620 miles
(1000 km) may add to the performance,
economy, and life of the vehicle:
Do not race the engine.
Do not maintain one constant speed,
either slow or fast, for a long period of
time.
Do not drive constantly at full-throttle
or high engine rpm for extended
periods of time.
Avoid unnecessary hard stops.
Avoid full-throttle starts.
Saving Fuel And
Protection Of The
Environment
How you operate your vehicle
determines how far it will travel on a
tankoffuel.
Use these suggestions to help save fuel
and reduce CO
2:
Avoid long warm-ups. Once the
engine runs smoothly, begin driving.
Avoid fast starts.
Drive at lower speeds.
Anticipate when to apply the brakes
(avoid sudden braking).
Follow the maintenance schedule
and contact your Authorized Dealer.
Use the air conditioner only when
necessary.
Slow down on rough roads.
Keep the tires properly inflated.
Do not carry unnecessary weight.
Do not rest your foot on the brake
pedal while driving.
Keep the wheels in correct
alignment.
Keep windows closed at high
speeds.
Slow down when driving in
crosswinds and headwinds.
Hazardous Driving
When driving on ice or in water, snow,
mud, sand, or similar hazards:
Be cautious and allow extra distance
for braking.
Avoid sudden braking and sudden
maneuvering.
Do not pump the brakes. Continue to
press down on the brake pedal.
If you get stuck, select a lower gear
and accelerate slowly. Do not spin the
rear wheels.
For more traction in starting on
slippery surfaces such as ice or packed
snow, use sand, rock salt, chains, carpeting, or other nonslip material
under the rear wheels.
Note:
Use snow chains only on the
rear wheels.
Floor Mat Safety
Information
Always use floor mats designed to fit
the footwell of your vehicle. Use only
floor mats that leave the pedal area
unobstructed and that are firmly
secured so that they cannot slip out of
position and interfere with the pedals or
impair safe operation of your vehicle in
other ways.
04090400-USA-001Floor Mat Retention Post Location
177
Page 181 of 292

Contact an Authorized Dealer to check
the following:
Have the proper ratio of antifreeze in
the radiator.
Inspect the battery and its leads.
Cold reduces battery capacity.
Use an engine oil appropriate for the
lowest ambient temperatures that the
vehicle will be driven in.
Inspect the ignition system for
damage and loose connections.
Use winter windshield washer fluid
that will not freeze.
Note:
Remove snow before driving. Snow
left on the windshield is dangerous as
it could obstruct vision.
Drive slowly. Braking performance
can be adversely affected if snow or
ice adheres to the brake components.
If this situation occurs, drive the vehicle
slowly, releasing the accelerator pedal
and lightly applying the brakes several
times until the brake performance
returns to normal.
Do not open or close the soft top when
the temperature is 41 °F (5 °C) or less.
The material of the soft top could be
damaged by freezing.
Do not apply excessive force to a
window scraper when removing ice or
frozen snow on the mirror glass and
windshield. Never use warm or hot water for
removing snow or ice from windows
and mirrors as it could result in the
glass cracking.
Snow Tires
If your vehicle is equipped with the tire
pressure monitoring system (vehicle
with run-flat tires), the system may not
function correctly when using tires with
steel wire reinforcement in the
sidewalls.
Use Snow Tires on all Four Wheels
:
Do not exceed the maximum
permissible speed for your snow tires or
legal speed limits.
When snow tires are used, select the
specified size and pressure.
Tire Chains
Check local regulations before using tire
chains.
If your vehicle is equipped with the
TPMS system, the system may not
function correctly when using tire
chains.
Install the chains on the rear tires only.
Do not use chains on the front tires.
Note:
Chains may affect handling.
Do not go faster than 30 mph
(50 km/h) or the chain manufacturer's
recommended limit, whichever is lower.
Drive carefully and avoid bumps,
holes, and sharp turns.
Avoid locked-wheel braking.
Do not use chains on roads that are
free of snow or ice. The tires and
chains could be damaged.
Chains may scratch or chip
aluminium wheels.
Warning!
Using tires of different size and type (M+S,
Snow) between front and rear axles can
cause unpredictable handling. You could
lose control and have a collision.
179