Page 213 of 530

electrical device has been removed from the outlet, the
inverter should automatically reset. If the power rating
exceeds approximately 170 Watts, the power inverter may
have to be reset manually. To reset the inverter manually
push the power inverter button OFF and ON. To avoid
overloading the circuit, check the power ratings on electri-
cal devices prior to using the inverter.
WARNING!
To avoid serious injury or death:
•Do not insert any objects into the receptacles.
• Do not touch with wet hands.
• Close the lid when not in use.
• If this outlet is mishandled, it may cause an electric
shock and failure.
CUPHOLDERS
There are cupholders located throughout the interior. All
liners are removable for cleaning. Pull the flexible liner
from the cupholder drawer or tray starting at one edge for
easy removal. Refer to “Cleaning The Instrument Panel
Cupholders” in “Maintaining Your Vehicle” for further
information.
Instrument Panel Cupholders
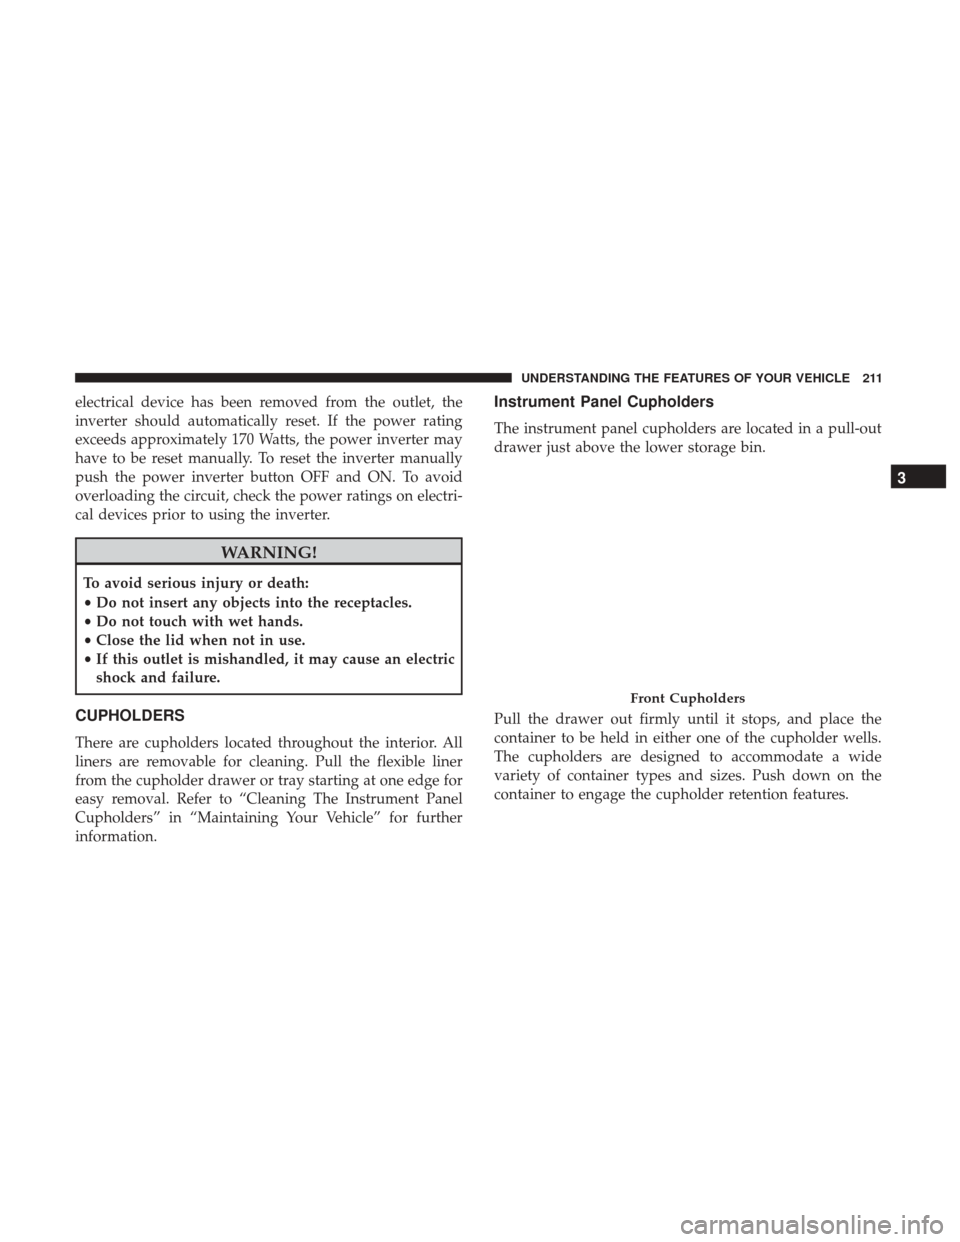
The instrument panel cupholders are located in a pull-out
drawer just above the lower storage bin.
Pull the drawer out firmly until it stops, and place the
container to be held in either one of the cupholder wells.
The cupholders are designed to accommodate a wide
variety of container types and sizes. Push down on the
container to engage the cupholder retention features.
Front Cupholders
3
UNDERSTANDING THE FEATURES OF YOUR VEHICLE 211
Page 216 of 530
Smoker’s Package Kit — If Equipped
With the optional Authorized Dealer-installed Smoker’s
Package Kit, a removable ash receiver is inserted into one
of the two cupholders in the center front instrument panel.
To install the ash receiver, align the receiver so the thumb
grip on the lid is facing rearward. Push the ash receiver
into either of the cup wells to secure. Pull upward on the
ash receiver to remove for cleaning and/or storage.
The left rear trim panel cupholder is designed to accom-
modate a second ash receiver, if desired.
STORAGE
Glove Compartments
Upper and lower glove compartments are located on the
passenger side of the instrument panel.
Upper And Lower Glove Compartments
214 UNDERSTANDING THE FEATURES OF YOUR VEHICLE
Page 226 of 530
NOTE:The front cupholder light ring and pass through
lighting is controlled by a dimming switch located on the
instrument panel, refer to “Lights” in “Understanding The
Features Of Your Vehicle” for further information.
Located in the back of the Super Console is a storage
drawer and cupholders for the rear passengers.
REAR WINDOW FEATURES
Rear Window Defroster
The rear window defroster button is located on the
climate control (Mode) knob. Push this button to
turn on the rear window defroster and the heated outside
mirrors (if equipped). An indicator in the button will
illuminate when the rear window defroster is on. The rear
window defroster automatically turns off after approxi-
mately 10 minutes. For an additional five minutes of
operation, push the button a second time.
Super Console
1 — Front Sliding Tambour Door
2 — Cupholder Light Ring
3 — Rear Sliding Tambour Door
Rear Drawer Storage
224 UNDERSTANDING THE FEATURES OF YOUR VEHICLE
Page 235 of 530

UNDERSTANDING YOUR INSTRUMENT PANEL
CONTENTS
�INSTRUMENT PANEL FEATURES ...........236
� INSTRUMENT CLUSTER ..................237
� WARNING AND INDICATOR LIGHTS ........241
▫ Red Telltale Indicator Lights ...............242
▫ Yellow Telltale Indicator Lights .............249
▫ Green Telltale Indicator Lights ..............256
▫ Blue Telltale Indicator Lights ...............257
▫ White Telltale Indicator Lights ..............258
� INSTRUMENT CLUSTER DISPLAY— IF
EQUIPPED ............................259
▫ Instrument Cluster Display ................260
▫ Oil Change Required ....................263
▫ Fuel Economy ........................ .264
▫ Vehicle Speed ........................ .265▫
Trip Info ............................ .265
▫ Tire Pressure ..........................266
▫ Units ............................... .266
▫ Vehicle Info (Customer Information Features) . . .266
▫ Messages # .......................... .266
▫ Compass / Temperature Display ...........267
▫ Turn Menu Off ........................ .269
▫ Customer-Programmable Features
(System Setup) ........................269
� CYBERSECURITY ........................274
� RADIO 430/430N CD/DVD/HDD/NAV — IF
EQUIPPED ............................275
▫ Operating Instructions (Voice Command System) —
If Equipped .......................... .2754
Page 236 of 530

▫Operating Instructions (Uconnect Phone) — If
Equipped ............................275
� RADIO 130 ............................276
▫ Operating Instructions — Radio Mode .......276
▫ Operation Instructions — CD MODE For CD And
MP3 Audio Play .......................278
▫ Notes On Playing MP3 Files ...............280
▫ Operation Instructions — Auxiliary Mode .....282
� RADIO 130 WITH SATELLITE RADIO ........283
▫ Operating Instructions — Radio Mode ........283
▫ Operation Instructions — CD MODE For CD And
MP3 Audio Play ........................288
▫ Notes On Playing MP3 Files ...............289
▫ LIST Button — CD Mode For MP3 Play .......291
▫ INFO Button — CD Mode For MP3 Play ......292
▫ Uconnect (Satellite Radio) — If Equipped .....292
▫ Operating Instructions (Uconnect Phone) — If
Equipped ............................295 �
IPOD/USB/MP3 CONTROL — IF EQUIPPED . . .295
▫ Connecting The iPod Or External USB Device . . .296
▫ Using This Feature ..................... .296
▫ Controlling The iPod Or External USB Device Using
Radio Buttons ........................ .297
▫ Play Mode ............................297
▫ List Or Browse Mode ....................298
▫ Bluetooth Streaming Audio (BTSA) ..........300
� UCONNECT MULTIMEDIA — VIDEO
ENTERTAINMENT SYSTEM (VES) — IF
EQUIPPED ............................300
▫ Getting Started ........................301
▫ Play Video Games ..................... .301
▫ Play A DVD Using The Touchscreen Radio . . . .303
▫ Play A DVD Using The VES Player — If
Equipped ............................304
▫ VES
Remote Control — If Equipped .........306
▫ Remote Control Storage ..................308
234 UNDERSTANDING YOUR INSTRUMENT PANEL
Page 237 of 530

▫Locking The Remote Control ...............308
▫ Replacing The Remote Control Batteries .......308
▫ Headphones Operation ...................309
▫ Controls ............................ .309
▫ Replacing The Headphone Batteries ..........310
▫ Unwired Stereo Headphone Lifetime Limited
Warranty ............................ .310
▫ System Information .....................311
� STEERING WHEEL AUDIO CONTROLS — IF
EQUIPPED ............................321
▫ Radio Operation ........................321 ▫
CD Player ............................321
� CD/DVD/BLU-RAY DISC MAINTENANCE . . . .322
� RADIO OPERATION AND MOBILE DEVICES . . .322
▫ General Information .....................322
� CLIMATE CONTROLS ....................323
▫ Manual Heating And Air Conditioning System — If
Equipped ............................323
▫ Rear Manual Climate Control — If Equipped . . .327
▫ Automatic Temperature Control (ATC) — If
Equipped ............................329
▫ Operating Tips ........................336
4
UNDERSTANDING YOUR INSTRUMENT PANEL 235
Page 238 of 530
INSTRUMENT PANEL FEATURES
Instrument Panel
1 — Air Vents5 — Upper Glove Compartment 9 — Storage Bin 13 — Hood Release
2 — Instrument Cluster 6 — Lower Glove Compartment 10 — Cup Holders 14 — Dimmer Switch
3 — Gear Selector 7 — Climate Controls11 — Switch Bank15 — Headlight Switch
4 — Radio 8 — DVD – If Equipped12 — Ignition Switch
236 UNDERSTANDING YOUR INSTRUMENT PANEL
Page 239 of 530
INSTRUMENT CLUSTER
Base Instrument Cluster
4
UNDERSTANDING YOUR INSTRUMENT PANEL 237