2017 DODGE GRAND CARAVAN light
[x] Cancel search: lightPage 113 of 530
RCP monitors the rear detection zones on both sides of the
vehicle, for objects that are moving toward the side of the
vehicle with a minimum speed of approximately 3 mph
(5 km/h), to objects moving a maximum of approximately
20 mph (32 km/h), such as in parking lot situations.
NOTE:In a parking lot situation, oncoming vehicles can be
obscured by vehicles parked on either side. If the sensors
are blocked by other structures or vehicles, the system will
not be able to alert the driver.
When RCP is on and the vehicle is in REVERSE, the driver
is alerted using both the visual and audible alarms, includ-
ing reducing the radio volume.
WARNING!
RCP is not a back up aid system. It is intended to be
used to help a driver detect an oncoming vehicle in a
parking lot situation. Drivers must be careful when
backing up, even when using RCP. Always check
carefully behind your vehicle, look behind you, and be
sure to check for pedestrians, animals, other vehicles,
obstructions, and blind spots before backing up. Fail-
ure to do so can result in serious injury or death.
Modes Of Operation
Modes Of Operation With Instrument Cluster Display
Three selectable modes of operation are available in the
Instrument Cluster Display. Refer to “Instrument Cluster
Display/Personal Settings (Customer-Programmable Fea-
tures)” in “Understanding Your Instrument Panel” for
further information.
Blind Spot Alert Lights Only
When operating in Blind Spot Alert mode, the BSM system
will provide a visual alert in the appropriate side view
mirror based on a detected object. However, when the
system is operating in RCP, the system will respond with
both visual and audible alerts when a detected object is
present. Whenever an audible alert is requested, the radio
volume is reduced.
Blind Spot Alert Lights/Chime
When operating in Blind Spot Alert Lights/Chime mode,
the BSM system will provide a visual alert in the appro-
priate side view mirror based on a detected object. If the
turn signal is then activated, and it corresponds to an alert
present on that side of the vehicle, an audible chime will
also be sounded. Whenever a turn signal and detected
object are present on the same side at the same time, both
3
UNDERSTANDING THE FEATURES OF YOUR VEHICLE 111
Page 125 of 530
If the phone is not reachable and the Uconnect Phone is
operational, you may reach the emergency number as
follows:
•Push the Phone
button to begin.
•After the “Ready” prompt and the following beep, say
“Emergency” and the Uconnect Phone will instruct the
paired mobile phone to call the emergency number. This
feature is supported in the U.S., Canada, and Mexico.
NOTE:
• The emergency number dialed is based on the country
where the vehicle is purchased (911 for the U.S. and
Canada and 060 for Mexico). The number dialed may
not be applicable with the available mobile service and
area.
• If supported, this number may be programmable on
some systems. To do this, push the Phone
button and
say “Setup,” followed by “Emergency.”
• The Uconnect Phone does slightly lower your chances of
successfully making a phone call as to that for the
mobile phone directly.
WARNING!
To use your Uconnect Phone System in an emergency,
your mobile phone must be:
•Turned on.
• Paired to the Uconnect System.
• Have network coverage.
Roadside Assistance/Towing Assistance
If you need roadside assistance:
• Push the Phone
button to begin.
•After the “Ready” prompt and the following beep, say
“Towing Assistance.”
NOTE: You should program the desired Towing Assistance
phone number using the Voice Command system. To do
this, push the Phone
button and say “Setup,” fol-
lowed by “Towing Assistance.” When prompted say
1-800-521-2779 for U.S./Canada, say 55-14-3454 for
Mexico City and 1-800-712-3040 for outside Mexico City
in Mexico. 3
UNDERSTANDING THE FEATURES OF YOUR VEHICLE 123
Page 147 of 530
Front Heated Seats
There are two heated seat switches that allow the driver
and passenger to operate the seats independently. The
controls for each heater are located on the switch bank
below the climate controls.
You can choose from HI, LO or OFF heat settings. Amber
indicator lights in each switch indicate the level of heat in
use. Two indicator lights will illuminate for HI, one for LO
and none for OFF.Push the switch once to select HI-level heating.
Push the switch a second time to select LO-level
heating. Push the switch a third time to shut the
heating elements OFF.
NOTE: Once a heat setting is selected, heat will be felt
within two to five minutes.
If the HI-level setting is selected, the system will automati-
cally switch to LO-level after approximately 60 minutes of
continuous operation. At that time, the display will change
from HI to LO, indicating the change. The LO-level setting
will turn OFF automatically after approximately 45 min-
utes.
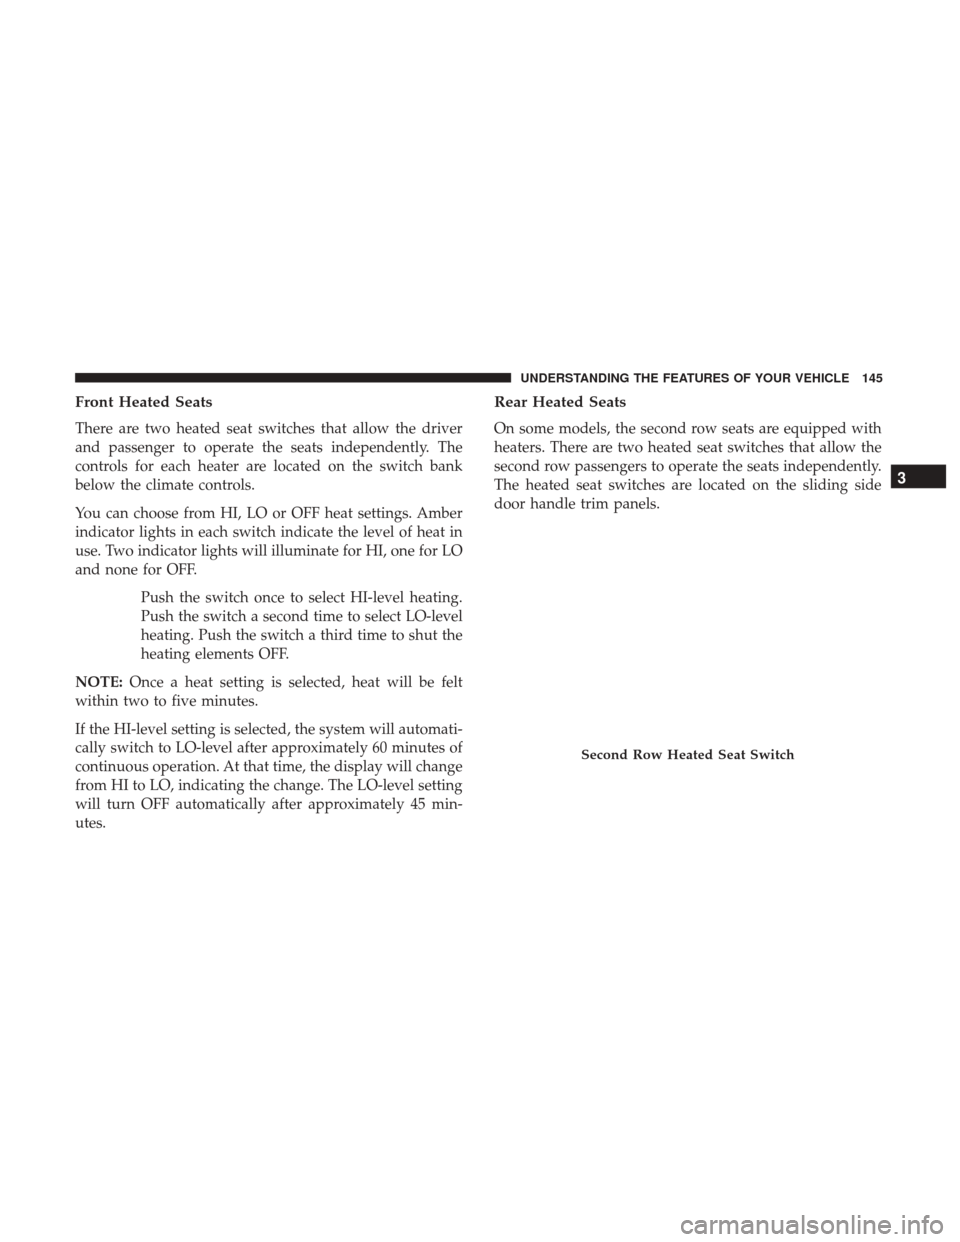
Rear Heated Seats
On some models, the second row seats are equipped with
heaters. There are two heated seat switches that allow the
second row passengers to operate the seats independently.
The heated seat switches are located on the sliding side
door handle trim panels.
Second Row Heated Seat Switch
3
UNDERSTANDING THE FEATURES OF YOUR VEHICLE 145
Page 148 of 530
You can choose from HI, LO or OFF heat settings. Amber
indicator lights in each switch indicate the level of heat in
use. Two indicator lights will illuminate for HI, one for LO
and none for OFF.Push the switch once to select HI-level heating.
Push the switch a second time to select LO-level
heating. Push the switch a third time to shut the
heating elements OFF.
NOTE: Once a heat setting is selected, heat will be felt
within two to five minutes.
When the HI-level setting is selected, the heater will
provide a boosted heat level during the initial stages of
operation. Then, the heat output will drop to the normal
HI-level. If the HI-level setting is selected, the system will
automatically switch to LO-level after approximately 60
minutes of continuous operation. At that time, the display
will change from HI to LO, indicating the change. The
LO-level setting will turn OFF automatically after approxi-
mately 45 minutes.
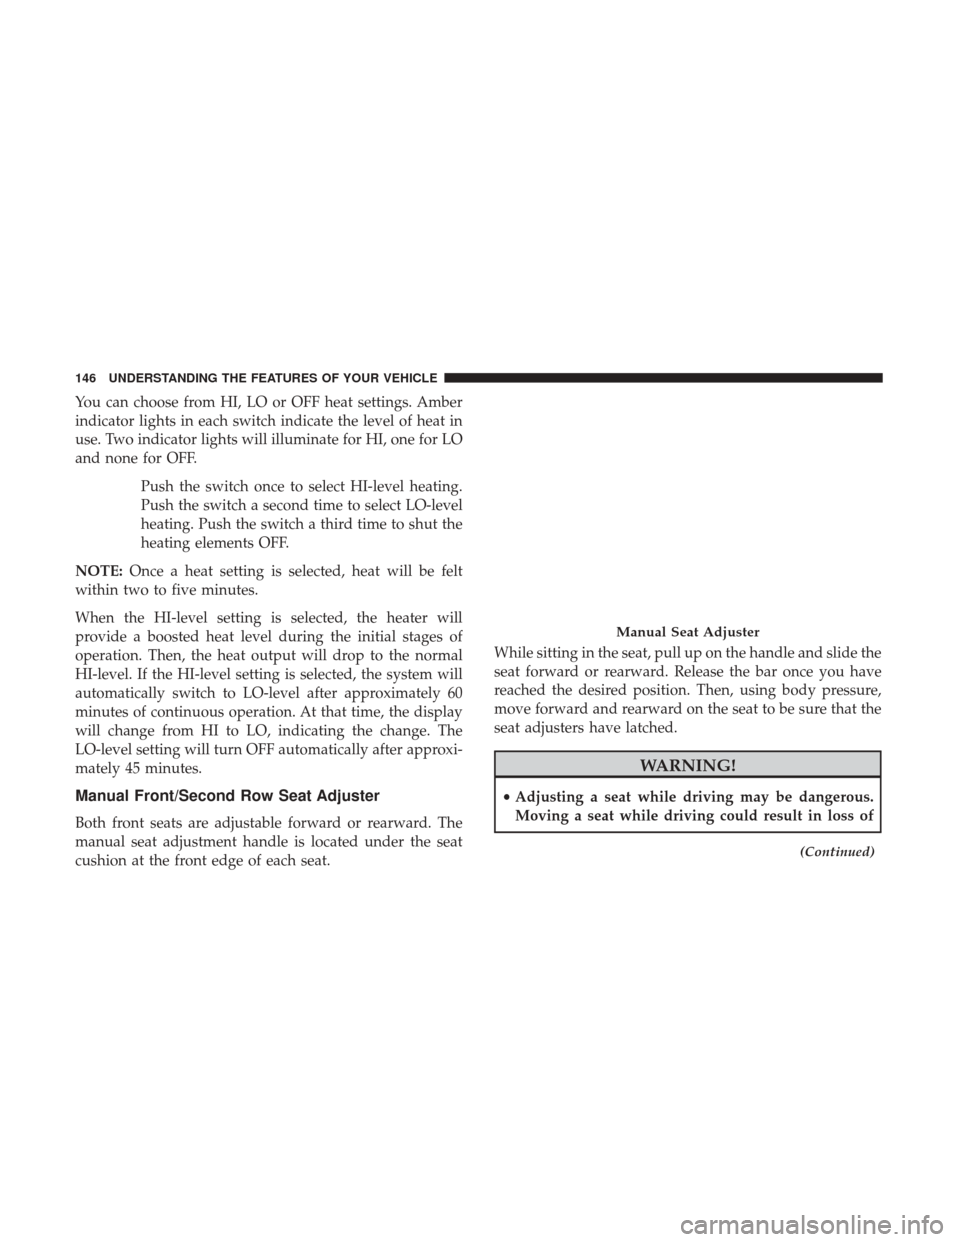
Manual Front/Second Row Seat Adjuster
Both front seats are adjustable forward or rearward. The
manual seat adjustment handle is located under the seat
cushion at the front edge of each seat. While sitting in the seat, pull up on the handle and slide the
seat forward or rearward. Release the bar once you have
reached the desired position. Then, using body pressure,
move forward and rearward on the seat to be sure that the
seat adjusters have latched.
WARNING!
•
Adjusting a seat while driving may be dangerous.
Moving a seat while driving could result in loss of
(Continued)
Manual Seat Adjuster
146 UNDERSTANDING THE FEATURES OF YOUR VEHICLE
Page 149 of 530
WARNING!(Continued)
control which could cause a collision and serious
injury or death.
• Seats should be adjusted before fastening the seat
belts and while the vehicle is parked. Serious injury
or death could result from a poorly adjusted seat belt.
Manual Reclining Seats — If Equipped
For models equipped with manual reclining seats, the
recline lever is located on the outboard side of the seat. To recline, lean forward slightly, lift the lever, then push
back to the desired position and release the lever. Lean
forward and lift the lever to return the seatback to its
normal position. Using body pressure, lean forward and
rearward on the seat to be sure the seatback has latched.
WARNING!
Do not ride with the seatback reclined so that the
shoulder belt is no longer resting against your chest. In
a collision you could slide under the seat belt, which
could result in serious injury or death.
Head Restraints
Head restraints are designed to reduce the risk of injury by
restricting head movement in the event of a rear impact.
Head restraints should be adjusted so that the top of the
head restraint is located above the top of your ear.
WARNING!
•
All occupants, including the driver, should not oper-
ate a vehicle or sit in a vehicle’s seat until the head
restraints are placed in their proper positions in
(Continued)
Manual Recline Lever
3
UNDERSTANDING THE FEATURES OF YOUR VEHICLE 147
Page 159 of 530
Quad Seats — If Equipped
Both Quad seats are adjustable forward or rearward. The
manual seat adjustment handle is located under the seat
cushion at the front edge of each seat.
While sitting in the seat, pull up on the handle and slide the
seat forward or rearward. Release the bar once you have
reached the desired position. Then, using body pressure,
move forward and rearward on the seat to be sure that the
seat adjusters have latched.
WARNING!
•Adjusting a seat while driving may be dangerous.
Moving a seat while driving could result in loss of
control which could cause a collision and serious
injury or death.
• Seats should be adjusted before fastening the seat
belts and while the vehicle is parked. Serious injury
or death could result from a poorly adjusted seat belt.
Manual Recline
To recline, lean forward slightly, lift the lever, then push
back to the desired position and release the lever. Lean
forward and lift the lever to return the seatback to its
normal position. Using body pressure, lean forward and
rearward on the seat to be sure the seatback has latched.
Manual Seat Adjuster
3
UNDERSTANDING THE FEATURES OF YOUR VEHICLE 157
Page 174 of 530
CAUTION!
To prevent possible damage, do not slam the hood to
close it. Lower hood to approximately 12 in (30 cm) and
drop the hood to close. Make sure hood is fully closed
for both latches. Never drive vehicle unless hood is
fully closed, with both latches engaged.
LIGHTS
Headlight Switch
The headlight switch is located on the left side of the
instrument panel. The switch controls the operation of the
headlights, parking lights, instrument panel lights, interior
lights and the fog lights.Rotate the headlight switch clockwise to the first detent for
parking light and instrument panel light operation. Rotate
the headlight switch to the second detent for headlight,
parking light and instrument panel operation.
Headlight Switch With Halo Control
172 UNDERSTANDING THE FEATURES OF YOUR VEHICLE
Page 175 of 530
Automatic Headlights — If Equipped
This system automatically turns your headlights on or off
based on ambient light levels. To turn the system on, turn
the headlight switch to the extreme counterclockwise po-
sition aligning the indicator with the AUTO on the head-
light switch. When the system is on, the Headlight Time
Delay feature is also on. This means your headlights will
stay on for up to 90 seconds after you turn the ignition
switch OFF. To turn the Automatic System off, turn the
headlight switch clockwise to the O (OFF) position.
NOTE:The engine must be running before the headlights
will come on in the Automatic mode.
Headlights On With Wipers — If Equipped
When your headlights are in the AUTO mode and the
engine is running, the headlights will automatically turn
on when the wiper system is also turned on. Headlights on
when windshield wipers are on may be found on vehicles
equipped with an automatic headlight system.
NOTE: The Headlights with Wipers feature can be turned
on or off through the Instrument Cluster Display — if
equipped. Refer to “Instrument Cluster Display/Customer
Programmable Features” in “Understanding Your Instru-
ment Panel” for further information.
Headlight Delay — If Equipped
This feature provides the safety of headlight illumination
for up to 90 seconds after exiting your vehicle.
To activate the delay feature, turn OFF the ignition switch
while the headlights are still on. Then turn off the head-
lights within 45 seconds. The 90 second delay interval
begins when headlight switch is turned off. If the head-
lights or parking lights are turned back on or the ignition
switch is turned ON, the delay will be cancelled.
When exiting the vehicle the driver can choose to have the
headlights remain on for 30, 60 or 90 seconds or not remain
on. To change the timer setting, see your Authorized
Dealer.
The headlight delay time is programmable on vehicles
equipped with an Instrument Cluster Display. Refer to
“Instrument Cluster Display/Customer-Programmable
Features” in “Understanding Your Instrument Panel” for
further information.
If the headlights are turned off before the ignition, they will
turn off in the normal manner.
NOTE: The headlights must be turned off within 45 sec-
onds of turning the ignition OFF to activate this feature.
3
UNDERSTANDING THE FEATURES OF YOUR VEHICLE 173