Page 288 of 348
286
C5_en_Chap10b_SMEGplus_ed01-2016
Factory settingsDisplay screen
Configuration
Adjust date and time
Level 1
Level 2
Audio and Telematics
Page 289 of 348
287
C5_en_Chap10b_SMEGplus_ed01-2016
Level 1Level 2 Comments
Settings
Secondary page
System Settings Delete data
Select the desired data in the list then press
Delete.
Factory settings Return to factory settings.
Confirm Save the settings.
Settings
Secondary page Time/Date Confirm
Set the date and time then confirm.
Settings
Secondary page Screen settings Activate automatic text scrolling
Activate or deactivate the setting then confirm.
Activate animations
Confirm
.
Audio and Telematics
Page 293 of 348
291
C5_en_Chap10b_SMEGplus_ed01-2016
Press on Settings to display the
primary page. Press on "Settings"
to display the
primary page.
Press on Settings
to display the
primary page.
Press on the secondary page. Press on the secondary page
Press on the secondary page.
Select " System Settings ". Select "Time/Date " to change the
time zone, the synchronisation with
GPS, the time and its format, then
the date.
Select "
Screen settings ".
Activate or deactivate "Activate
automatic text scrolling" and
" Activate animations" .
Select "
Delete data " to delete the
list of recent destinations, personal
points of interest, contacts in the list. Select "
Calculator " to display a
calculator.
Choose the item then select " Delete". Select "
Calendar " to display a
calendar.
Select " Factory settings " to return
to the original settings.
Modifying system settings
.
Audio and Telematics
Page 295 of 348

293
C5_en_Chap10b_SMEGplus_ed01-2016
As a safety measure and because it
requires sustained attention by the
driver, using a smartphone when
driving is prohibited.
All operations must be done with the
vehicle stationary.
The synchronisation of a
smartphone allows applications on a
smartphone that are adapted to the
MirrorLink
TM technology to be displayed
i
n the vehicle's screen.
The principles and standards
are constantly evolving. For the
communication process between the
smartphone and the system to work
correctly, the smartphone must be
unlocked; update the operating system
of your smartphone as well as the date
and time in the smartphone and the
system.
For the list of eligible smartphones,
connect to the brand's internet website
in your country.
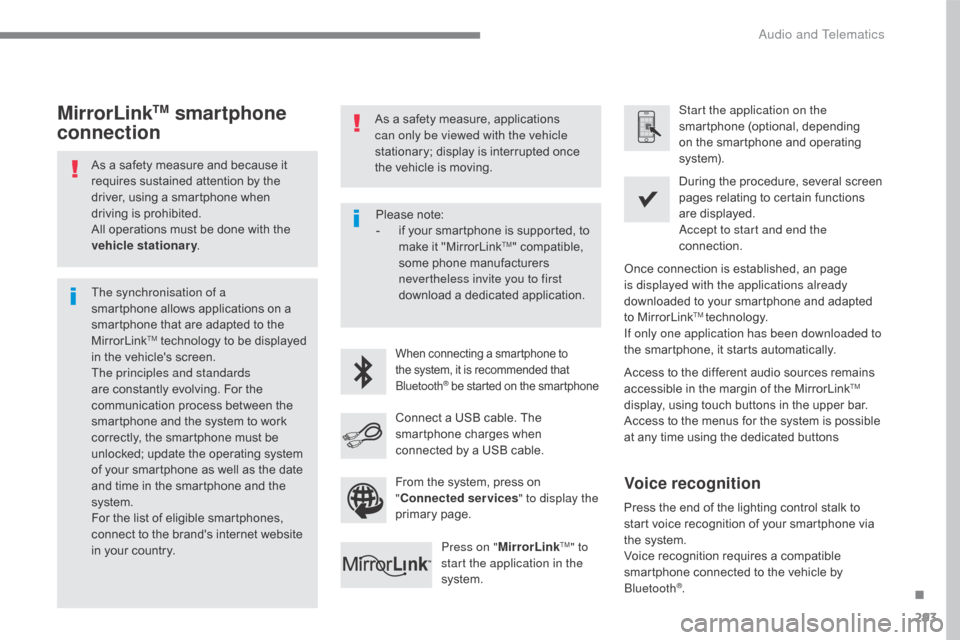
MirrorLinkTM smartphone
connectionAs a safety measure, applications
can only be viewed with the vehicle
stationary; display is interrupted once
the vehicle is moving.
When connecting a smartphone to
the system, it is recommended that
Bluetooth
® be started on the smartphone
Start the application on the
smartphone (optional, depending
on the smartphone and operating
syste m).
Access to the different audio sources remains
accessible in the margin of the MirrorLink
TM
display, using touch buttons in the upper bar.
Access to the menus for the system is possible
at any time using the dedicated buttons During the procedure, several screen
pages relating to certain functions
are displayed.
Accept to start and end the
connection.
Connect a USB cable. The
smartphone charges when
connected by a USB cable. Press on " MirrorLink
TM" to
start the application in the
system. Once connection is established, an page
is displayed with the applications already
downloaded to your smartphone and adapted
to MirrorLink
TM technology.
If only one application has been downloaded to
the smartphone, it starts automatically.
Press the end of the lighting control stalk to
start voice recognition of your smartphone via
the system.
Voice recognition requires a compatible
smartphone connected to the vehicle by
Bluetooth
®.
Voice recognition
Please note:
- i f your smartphone is supported, to
make it "MirrorLink
TM" compatible,
some phone manufacturers
nevertheless invite you to first
download a dedicated application.
From the system, press on
" Connected services " to display the
primary page.
.
Audio and Telematics
Page 305 of 348

303
C5_en_Chap10b_SMEGplus_ed01-2016
The services available depend
on the network, the SIM card and
the compatibility of the Bluetooth
®
telephone used. Check the telephone
manual and with your network provider
for details of the services available to
you.
The ability of the system to connect
with only one profile depends on the
telephone. The three profiles may all
connect by default.
Visit www.citroen.co.uk for more information
(compatibility, additional help, ...).
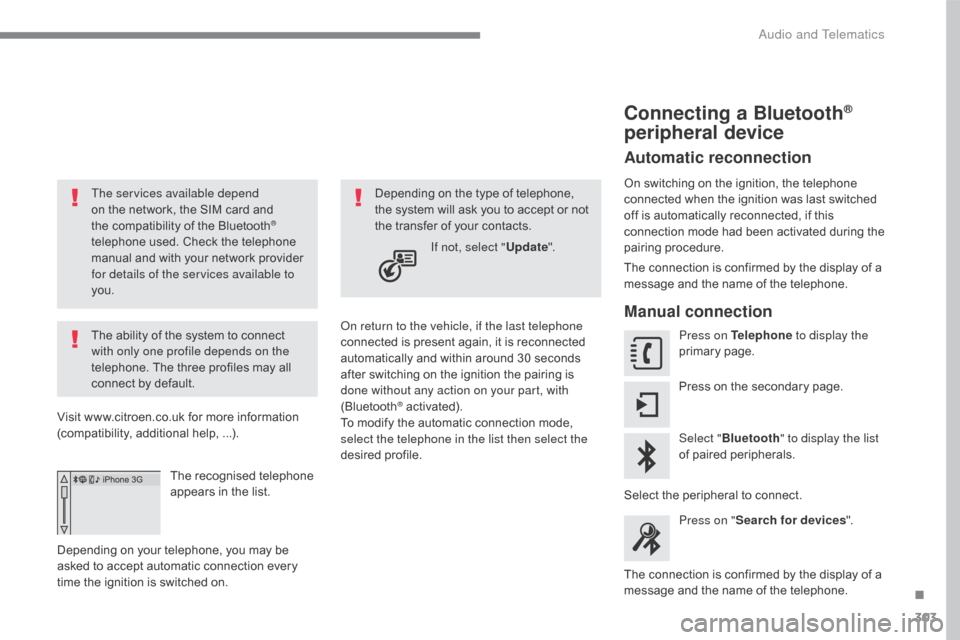
The recognised telephone
appears in the list.
Depending on your telephone, you may be
asked to accept automatic connection every
time the ignition is switched on. On return to the vehicle, if the last telephone
connected is present again, it is reconnected
automatically and within around 30 seconds
after switching on the ignition the pairing is
done without any action on your part, with
(Bluetooth
® activated).
To modify the automatic connection mode,
select the telephone in the list then select the
desired profile. Depending on the type of telephone,
the system will ask you to accept or not
the transfer of your contacts.
If not, select " Update".
Connecting a Bluetooth®
peripheral device
Automatic reconnection
On switching on the ignition, the telephone
connected when the ignition was last switched
off is automatically reconnected, if this
connection mode had been activated during the
pairing procedure.
The connection is confirmed by the display of a
message and the name of the telephone.
Manual connection
Press on Telephone to display the
primary page.
Press on the secondary page.
Select " Bluetooth " to display the list
of paired peripherals.
Select the peripheral to connect. Press on " Search for devices ".
The connection is confirmed by the display of a
message and the name of the telephone.
.
Audio and Telematics
Page 320 of 348
318
C5_en_Chap10c_RD45_ed01-2016
Menus
Screen C
Audio functions
Radio; CD; USB; AUX.
Trip computer
Enter distances; Alerts; State of
functions.
Bluetooth
®: Telephone - Audio
Pairing; Hands-free kit; Streaming.
Personalisation-configuration
Vehicle parameters; Display;
Languages. For an overview of the menus available,
refer to the "Screen menu map"
section.
Radio
Selecting a station
Press the SOURCE
button several
times in succession and select the
radio.
Press the BAND AST button to
select a waveband.
Briefly press one of the buttons to
carry out an automatic search of the
radio stations.
Press one of the buttons to carry out
a manual search up / down for radio
frequencies.
Press the LIST REFRESH button to
display the list of stations received
locally (30 stations maximum).
To update this list, press for more
than two seconds.
Audio and Telematics
Page 322 of 348

320
C5_en_Chap10c_RD45_ed01-2016
Media
USB player
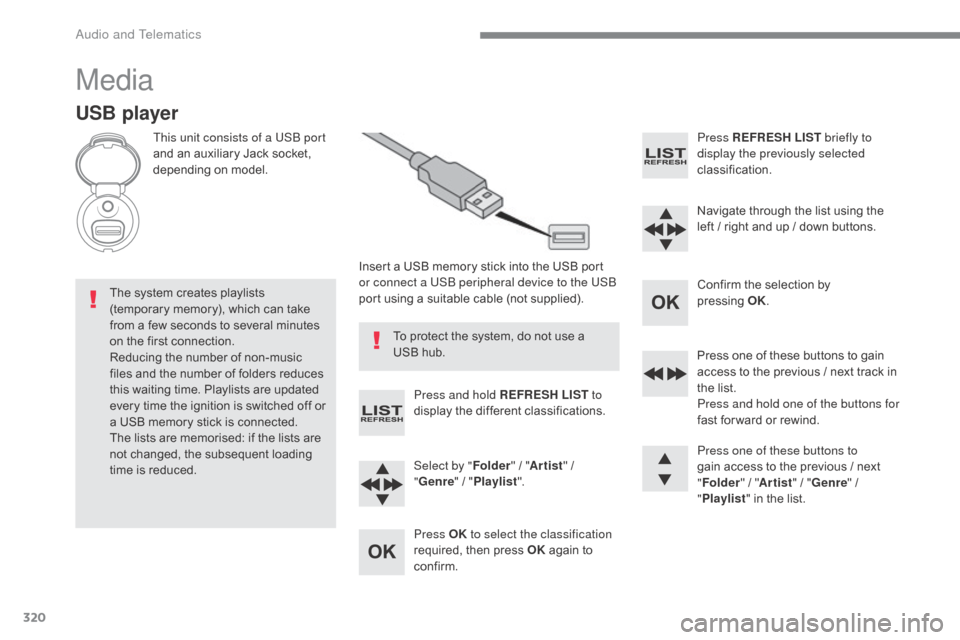
This unit consists of a USB port
and an auxiliary Jack socket,
depending on model.Insert a USB memory stick into the USB port
or connect a USB peripheral device to the USB
port using a suitable cable (not supplied).
The system creates playlists
(temporary memory), which can take
from a few seconds to several minutes
on the first connection.
Reducing the number of non-music
files and the number of folders reduces
this waiting time. Playlists are updated
every time the ignition is switched off or
a USB memory stick is connected.
The lists are memorised: if the lists are
not changed, the subsequent loading
time is reduced. Press and hold REFRESH LIST
to
display the different classifications.
Select by " Folder" / "Artist " /
" Genre " / "Playlist ".
Press OK to select the classification
required, then press OK again to
confirm. Press REFRESH LIST
briefly to
display the previously selected
classification.
Navigate through the list using the
left / right and up / down buttons.
Confirm the selection by
pressing
O
K.
Press one of these buttons to gain
access to the previous / next track in
the list.
Press and hold one of the buttons for
fast for ward or rewind.
Press one of these buttons to
gain access to the previous / next
" Folder " / "Artist " / "Genre " /
" Playlist " in the list.
To protect the system, do not use a
USB hub.
Audio and Telematics
Page 329 of 348
327
C5_en_Chap10c_RD45_ed01-2016
Screen C
Audio functions
Alternative frequencies (RDS)Activate / deactivate
FM
preferences
Regional mode (REG) Activate / deactivate
Radio-text information (RDTXT) Activate / deactivate
1
2
3
4
3
4
3
4
Play modes
Album repeat (RPT)Activate / deactivate
Track random play (RDM) Activate / deactivate2
3
4
3
4
Pressing the MENU button displays:
Audio functions
Normal video
Brightness-video adjustment
Display configuration
Inverse video
Brightness (- +) adjustment
Date and time adjustment
Setting the day / month / year
Setting the hour / minute
Choice of 12 h / 24 h mode
Choice of units
l/100 km - mpg - km/l °Celsius / °Fahrenheit
1
3
3
2
3
2
3
3
2
3
3
3
Personalisation-
configuration
Choice of language
1
.
Audio and Telematics