Page 5 of 306
3
.
.Starting-switching off the engine 102
Parking brake 1 05
Manual gearbox
1
05
Electronic gearbox
1
06
Automatic gearbox (EAT6)
1
10
Gear shift indicator
1
15
Stop & Start
1
16
Speed limiter
1
19
Cruise control
1
22
Rear parking sensors
1
25
Reversing camera
1
27
Fuel
129
Misfuel prevention (Diesel)
1
30
Compatibility of fuels
1
31
AdBlue
® and SCR system (Diesel BlueHDi) 1 32
Snow chains 1 36
Energy savings mode
1
37
Changing a window wiper
1
38
Towing a trailer
1
39
Advice on care and maintenance
1
40
Roof bars
1
40
Bonnet
141
Engines
142
Checking levels
1
43
Checks
1
46
Running out of fuel (Diesel)
1
48
Temporary puncture repair kit
1
49Spare wheel
1
54
Changing a bulb
1
61
Changing a fuse
1
67
12 V batter y
1
72
Towing the vehicle
1
77
Engines and specifications
1
79
Weights and towed loads
1
79
Dimensions
182
Identification markings
1
83
Audio system / Bluetooth
1
84
Audio system 2 08To find out about the
CITROËN Connect
Nav or the CITROËN Connect Radio,
please visit:
http://service.citroen.com/ddb/
Driving
Practical information In the event of a breakdown
Technical dataAudio and telematics
Alphabetical index
.
Contents
Page 33 of 306
31
Date and time adjustment
Instrument PanelAudio system / Bluetooth
With
CITROËN Connect
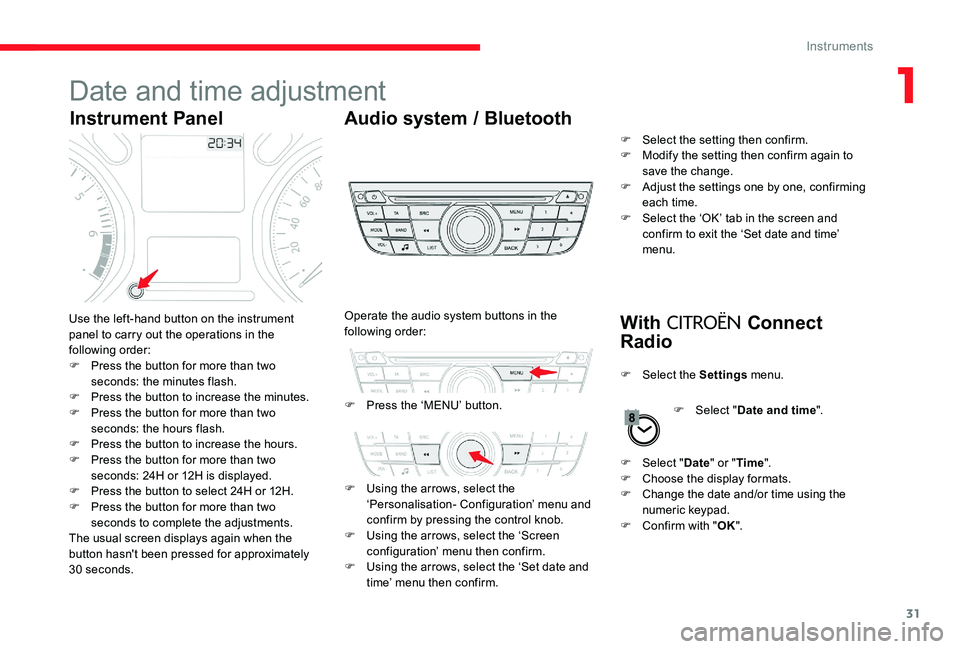
RadioUse the left-hand button on the instrument
panel to carry out the operations in the
following order:
F
P
ress the button for more than two
seconds: the minutes flash.
F
P
ress the button to increase the minutes.
F
P
ress the button for more than two
seconds: the hours flash.
F
P
ress the button to increase the hours.
F
P
ress the button for more than two
seconds: 24H or 12H is displayed.
F
P
ress the button to select 24H or 12H.
F
P
ress the button for more than two
seconds to complete the adjustments.
The usual screen displays again when the
button hasn't been pressed for approximately
30 seconds. F
P
ress the ‘MENU’ button.
Operate the audio system buttons in the
following order:
F
U
sing the arrows, select the
‘Personalisation- Configuration’ menu and
confirm by pressing the control knob.
F
U
sing the arrows, select the ‘Screen
configuration’ menu then confirm.
F
U
sing the arrows, select the ‘Set date and
time’ menu then confirm. F
S
elect the setting then confirm.
F
M
odify the setting then confirm again to
save the change.
F
A
djust the settings one by one, confirming
each time.
F
S
elect the ‘OK’ tab in the screen and
confirm to exit the ‘Set date and time’
menu.
F
Sel
ect the Settings menu.
F
Sel
ect "Date " or "Time ".
F
C
hoose the display formats.
F
C
hange the date and/or time using the
numeric keypad.
F
C
onfirm with "OK".
F
Sel
ect "Date and time ".
1
Instruments
Page 171 of 306
169
Fuses in the dashboard
The fusebox is placed in the lower dashboard
(left-hand side).
Access to the fuses
F Unclip the cover by pulling at the top right, then left. Fuse no.
Rating Functions
F02 5 AHeadlamp height adjuster, diagnostic socket, air conditioning
panel.
F09 5 AAlarm, alarm (after-market).
F11 5 AAdditional heating.
F13 5 AParking sensors, parking sensors (after-market).
F14 10 AAir conditioning panel.
F16 15 ACigar lighter, 12 V socket.
F17 15 AAudio system, radio (after-market).
F18 20 AAudio system / Bluetooth, radio (after-market).
F19 5 AMonochrome screen C.
F23 5 ACourtesy lamps, map reading lamps.
F26 15 AHorn.
F27 15 AScreenwash pump.
F28 5 AAnti-theft.
8
In the event of a breakdown
Page 186 of 306
184
BACK
VOL+
TA
Audio system /
Bluetooth
Your audio system is coded in such a way that
it will only operate in your vehicle.
First steps
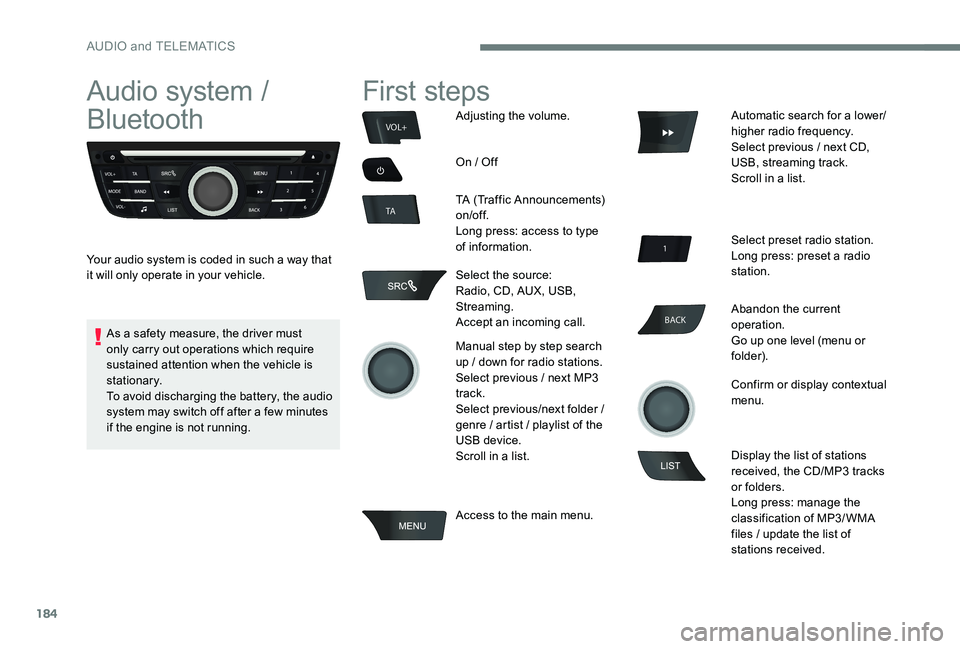
Adjusting the volume.
On / Off
TA (Traffic Announcements)
on/of f.
Long press: access to type
of information.
Select the source:
Radio, CD, AUX, USB,
Streaming.
Accept an incoming call.
Manual step by step search
up / down for radio stations.
Select previous / next MP3
track.
Select previous/next folder /
genre / artist / playlist of the
USB device.
Scroll in a list.
Access to the main menu. Automatic search for a lower/
higher radio frequency.
Select previous / next CD,
USB, streaming track.
Scroll in a list.
Select preset radio station.
Long press: preset a radio
station.
Abandon the current
operation.
Go up one level (menu or
folder).
Confirm or display contextual
menu.
Display the list of stations
received, the CD/MP3 tracks
or folders.
Long press: manage the
classification of MP3/ WMA
files / update the list of
stations received.
As a safety measure, the driver must
only carry out operations which require
sustained attention when the vehicle is
stationary.
To avoid discharging the battery, the audio
system may switch off after a few minutes
if the engine is not running.
AUDIO and TELEMATICS
Page 188 of 306
186
Main menu
Screen C
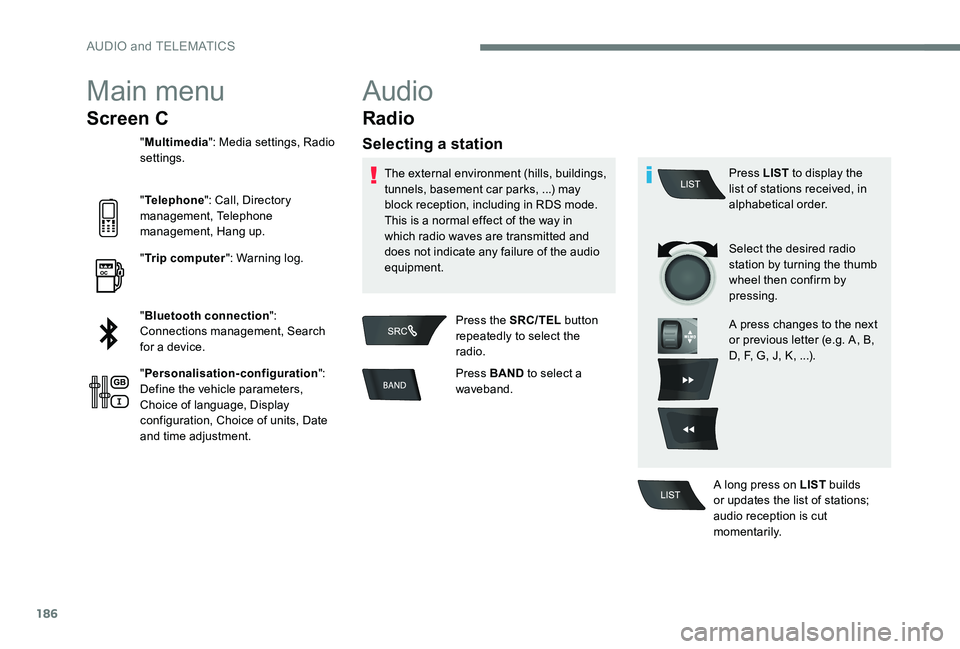
"Multimedia ": Media settings, Radio
settings.
" Telephone ": Call, Directory
management, Telephone
management, Hang up.
" Trip computer ": Warning log.
" Bluetooth connection ":
Connections management, Search
for a device.
" Personalisation-configuration ":
Define the vehicle parameters,
Choice of language, Display
configuration, Choice of units, Date
and time adjustment.
Audio
Radio
Selecting a station
The external environment (hills, buildings,
tunnels, basement car parks, ...) may
block reception, including in RDS mode.
This is a normal effect of the way in
which radio waves are transmitted and
does not indicate any failure of the audio
equipment.
Press the SRC/TEL button
repeatedly to select the
radio.
Press BAND to select a
waveband. Press LIST
to display the
list of stations received, in
alphabetical order.
Select the desired radio
station by turning the thumb
wheel then confirm by
pressing.
A press changes to the next
or previous letter (e.g. A, B,
D, F, G, J, K, ...).
A long press on LIST builds
or updates the list of stations;
audio reception is cut
m o m e nt a r i l y.
AUDIO and TELEMATICS
Page 194 of 306
192
VOL+
VOL-
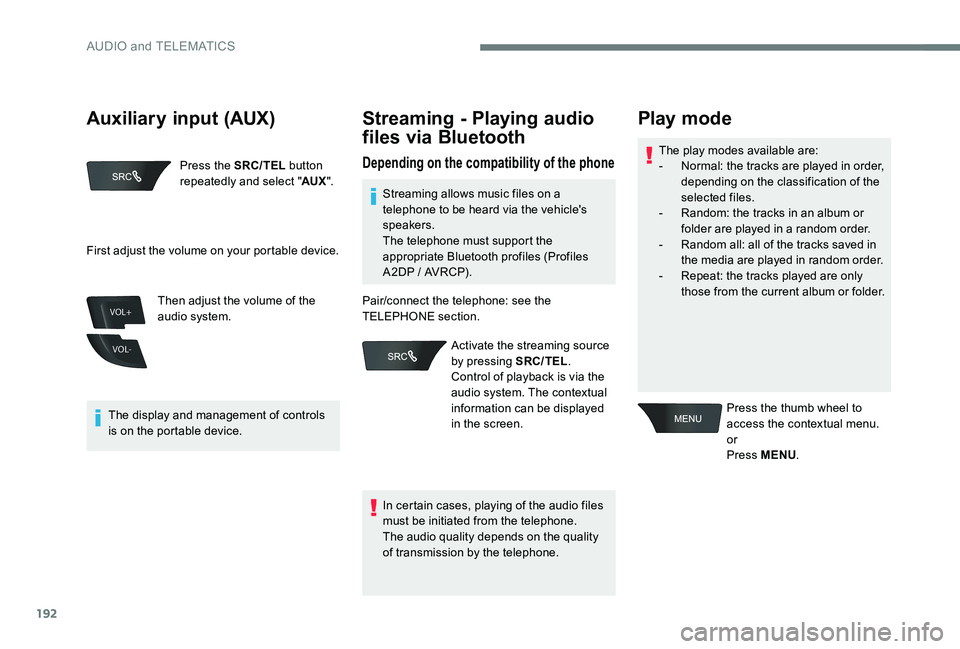
Press the SRC/TEL button
repeatedly and select " AUX".
The display and management of controls
is on the portable device. Then adjust the volume of the
audio system.
Streaming - Playing audio
files via Bluetooth
Depending on the compatibility of the phoneThe play modes available are:
-
N ormal: the tracks are played in order,
depending on the classification of the
selected files.
-
R
andom: the tracks in an album or
folder are played in a random order.
-
R
andom all: all of the tracks saved in
the media are played in random order.
-
R
epeat: the tracks played are only
those from the current album or folder.
Play mode
Press the thumb wheel to
access the contextual menu.
or
Press MENU .
First adjust the volume on your portable device.
Streaming allows music files on a
telephone to be heard via the vehicle's
speakers.
The telephone must support the
appropriate Bluetooth profiles (Profiles
A2DP / AVRCP).
In certain cases, playing of the audio files
must be initiated from the telephone.
The audio quality depends on the quality
of transmission by the telephone.
Pair/connect the telephone: see the
TELEPHONE section.
Activate the streaming source
by pressing SRC/TEL .
Control of playback is via the
audio system. The contextual
information can be displayed
in the screen.
Auxiliary input (AUX)
AUDIO and TELEMATICS
Page 195 of 306
193
Using the telephone
Pairing a telephone
First connection
The services offered depend on
the network, the SIM card and the
compatibility of the Bluetooth telephone
used.
Check the instructions for your telephone
and with your service provider for the
services to which you have access.
As a safety measure and because they
require prolonged attention on the part
of the driver, the operations for pairing
of the Bluetooth mobile telephone with
the Bluetooth hands-free system of your
audio system must be carried out with the
vehicle stationary and the ignition on.
Visit www.citroen.co.uk for more
information (compatibility, more help, ...).
Select "
Read mode " and
confirm
Choose the desired playback
method then press the thumb
wheel to validate and save
the changes.
Select "
Multimedia " and
confirm
Select " Media settings " and
confirm
.
AUDIO and TELEMATICS
Page 196 of 306
194
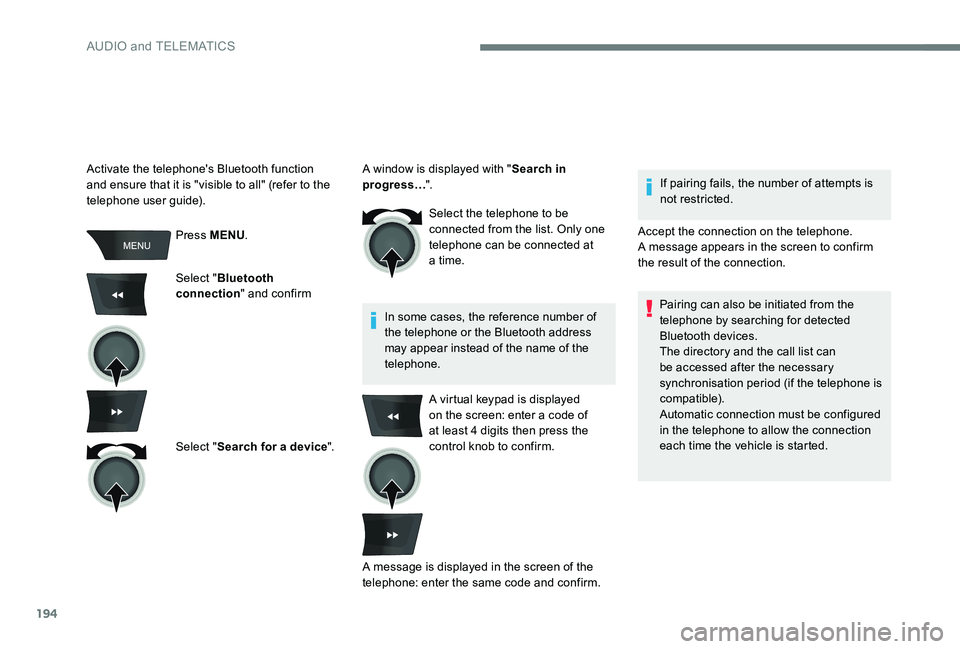
Press MENU.
Select " Bluetooth
connection " and confirm
Select " Search for a device ".Select the telephone to be
connected from the list. Only one
telephone can be connected at
a time.
In some cases, the reference number of
the telephone or the Bluetooth address
may appear instead of the name of the
telephone. If pairing fails, the number of attempts is
not restricted.
Activate the telephone's Bluetooth function
and ensure that it is "visible to all" (refer to the
telephone user guide). A window is displayed with "
Search in
progress… ".
Accept the connection on the telephone.
A message appears in the screen to confirm
the result of the connection.Pairing can also be initiated from the
telephone by searching for detected
Bluetooth devices.
The directory and the call list can
be accessed after the necessary
synchronisation period (if the telephone is
compatible).
Automatic connection must be configured
in the telephone to allow the connection
each time the vehicle is started.
A virtual keypad is displayed
on the screen: enter a code of
at least 4 digits then press the
control knob to confirm.
A message is displayed in the screen of the
telephone: enter the same code and confirm.
AUDIO and TELEMATICS