2017 Citroen BERLINGO MULTISPACE RHD ignition
[x] Cancel search: ignitionPage 184 of 292

182
Berlingo2VP_en_Chap08_Aide-rapide_ed02-2016Berlingo2VP_en_Chap08_Aide-rapide_ed02-2016
2. Sidelamps
Type A, W5W - 5W
-
Remove the cover by pullin
g the
flexible
rubber tab.
-
Remove
the bulb holder fitted by
pressure
by pulling the connector.
-
Change
the bulb.
-
Ensure
that the cover is refitted
correctly all round to assure correct
sealing.
Front lamps
1. Dipped / Main beam headlamps
T ype C, H4 - 55W
-
Remove the centre cover by pullin
g
the
flexible rubber tab.
-
Disconnect
the electrical connector.
-
Release
the retaining tab.
-
Change
the bulb taking care
to align the metal part with the
grooves
on the lamp.
-
Reposition
the retaining tab.
-
Ensure
that the cover is refitted
correctly all round to assure correct
sealing.
High pressure washing Open
the
bonnet.
T
o
access
the
bulbs,
reach
behind
the
headlamp
unit.
Carry out the operations in reverse
order
to
refit
each
bulb
and
check
that
the
bonnet
is
closed
securely.
Halogen bulbs must be changed
with
the
headlamp
off.
Wait
a
few
minutes
(risk
of
serious
burns).
Do not touch the bulb directly with your
fingers,
use
lint-free
cloths.
It is normal for condensation to form
inside
the
headlamps.
Regular
use
of
the
vehicle
eliminates
this
misting.
The bulbs must be changed with
the ignition off or with the battery
disconnected.
Wait
approximately
3
minutes after changing the bulb
before
reconnecting
the
battery.
Check
that
the
lamps
operate
correctly
after
each
operation.
When using this type of washing
on stubborn dirt, do not persist on
the headlamps, the lamps and their
edges to avoid damaging their coating
and
seals.
Changing a bulb
Page 190 of 292

188
Berlingo2VP_en_Chap08_Aide-rapide_ed02-2016Berlingo2VP_en_Chap08_Aide-rapide_ed02-2016
Dashboard fuses
Tilt the cover to gain access to the
fuses.Fuses
F Amperes
A Allocation
1 15 Rear wiper
2 - Not used
3 5 Airbag
4 10 Air
conditioning, diagnostic socket, mirror control,
headlamp beam
5 30 Electric windows
6 30 Locks
7 5Rear courtesy lamp, front map reading lamp, roof
console
8 20 Audio
equipment, screen, tyre under-inflation
detection, alarm and siren
9 30 Front
and rear 12V socket
10 15 Central column 11 15 Low current ignition switch
12 15 Rain and sunshine sensor, airbag
13 5 Instrument panel
14 15 Parking
sensors, digital air conditioning controls,
hands-free
phone kit
15 30 Locks
16 - Not used
17 40Rear
screen/mirrors demist/defrost
Changing a fuse
Page 193 of 292

191
Berlingo2VP_en_Chap08_Aide-rapide_ed02-2016Berlingo2VP_en_Chap08_Aide-rapide_ed02-2016
Placing the windscreen wiper
blades in the special positionChanging a front wiper blade
- Lift
the wiper arm.
-
Unclip
the blade and remove it.
-
Fit
the new blade.
-
Push
back the wiper arm.
Changing the rear wiper blade
- Lift the wiper arm, then unclip the
blade and remove it.
-
Fit
the new blade and push back
the
wiper arm.
CHANGING A WIPER BLADE
- Within a minute after switching of f
the ignition, press the wiper stalk
downwards to position the wiper
blades along the windscreen pilla
rs
(special
position). To return the windscreen wipers to
their normal position, switch on the
ignition
and operate the wiper stalk.
QUICK HELP
8
Changing a wiper blade
Page 234 of 292

232
Berlingo2VP_en_Chap10a_SMEGplus_ed02-2016
The audio system will only play audio files
with ".wma, .aac, .flac, .ogg and .mp3" file
e
xtensions and with a bit rate of between
32 Kbps
and 320 Kbps.
It
also supports VBR (Variable Bit Rate) mode.
No
other type of file (.mp4, ...) can be played.
".wma"
files must be of the standard wma 9 type.
The sampling rates supported are 32, 44 and
48
KHz.
Information and advice
Media
USB port
Selection of source
The steering mounted SRC (s o u r c e)
button can be used to go to the next
media source, available if the source
is
active.
Select
change
of
source.
Press on Radio Media
to display the
primary
pag
e.
The system builds playlists (in temporary
memory),
an
operation
which
can
take
from
a f
ew seconds to several minutes at the first
connection.
Reduce the number of non-music files and the
number
of
folders
to
reduce
the
waiting
time.
The playlists are updated every time the
ignition is switched off or on connection of a
USB
memory
stick.
The
lists
are
memorised:
if
t
hey are not modified, the subsequent loading
time
will
be
shorter.
Insert
the
USB
memory
stick
into
the
USB
port
o
r connect the USB device to the USB port
using
a
suitable
cable
(not
supplied).
Auxiliary socket (AUx)
Connect the portable device (MP3 player…) to
the auxiliary Jack socket using an audio cable
(
not
sup
plied).
This source is only available if the "Auxiliary
socket"
option has been activated in the
"
Media" settings.
First adjust the volume of your portable device
(
to a high level). Then adjust the volume of your
a
udio system.
Display and management of the controls are
via
the portable device. Choose
the source.
To protect the system, do not use a
USB
hub.
Audio and Telematics
Page 255 of 292

253
Berlingo2VP_en_Chap10a_SMEGplus_ed02-2016
The services available depend
on the network, the SIM card and
t
he compatibility of the Bluetooth
®
telephone
used.
Check
the
telephone
m
anual
and
with
your
network
provider
f
or details of the services available
to you.
The ability of the system to connect
with only one profile depends on the
telephone.
The
three
profiles
may
all
c
onnect
by
default.
Visit
www.citroen.co.uk
for
more
information
(
compatibility,
additional
help,
...).
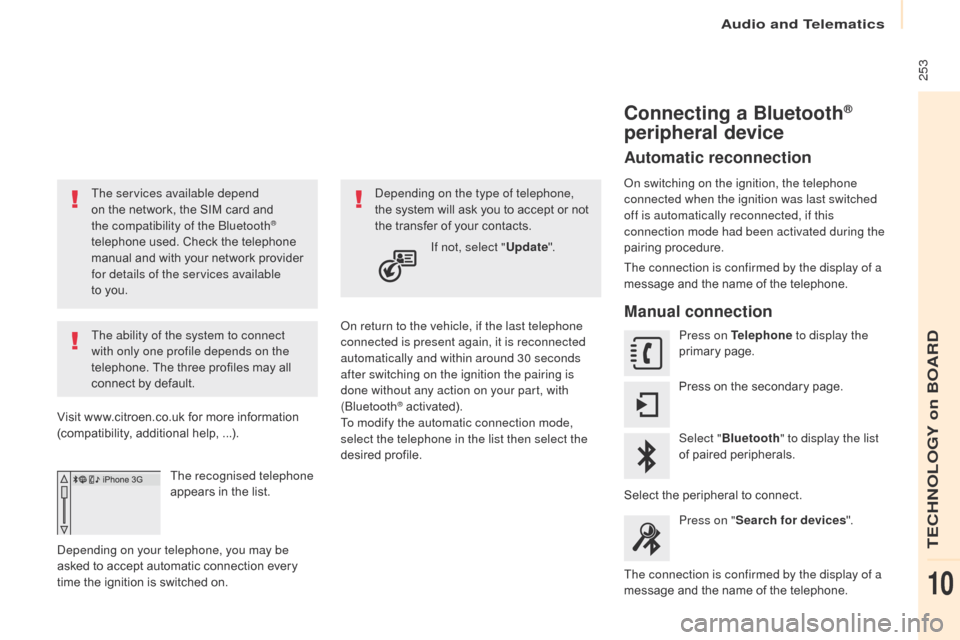
The recognised telephone
appears
in
the
list.
Depending on your telephone, you may be
asked
to
accept
automatic
connection
every
t
ime
the
ignition
is
switched
on. On return to the vehicle, if the last telephone
connected is present again, it is reconnected
automatically and within around 30 seconds
after switching on the ignition the pairing is
done without any action on your part, with
(Bluetooth
® activated).
To modify the automatic connection mode,
select the telephone in the list then select the
desired
p
rofile.
Depending on the type of telephone,
the
system will ask you to accept or not
t
he
transfer of your contacts.
If not, select " Update".
Connecting a Bluetooth®
peripheral device
Automatic reconnection
On switching on the ignition, the telephone
connected when the ignition was last switched
off is automatically reconnected, if this
connection mode had been activated during the
pairing
p
rocedure.
The connection is confirmed by the display of a
message
and the name of the telephone.
Manual connection
Press on Telephone to display the
primary pag e.
Press
on the secondary page.
Select " Bluetooth " to display the list
of
paired peripherals.
Select
the peripheral to connect.
Press on " Search for devices ".
The connection is confirmed by the display of a
message
and the name of the telephone.
Audio and Telematics
TECHNOLOGY on BOARD
10
Page 272 of 292

270
Berlingo2VP_en_Chap10b_RD45_ed02-2016
Media
USB port
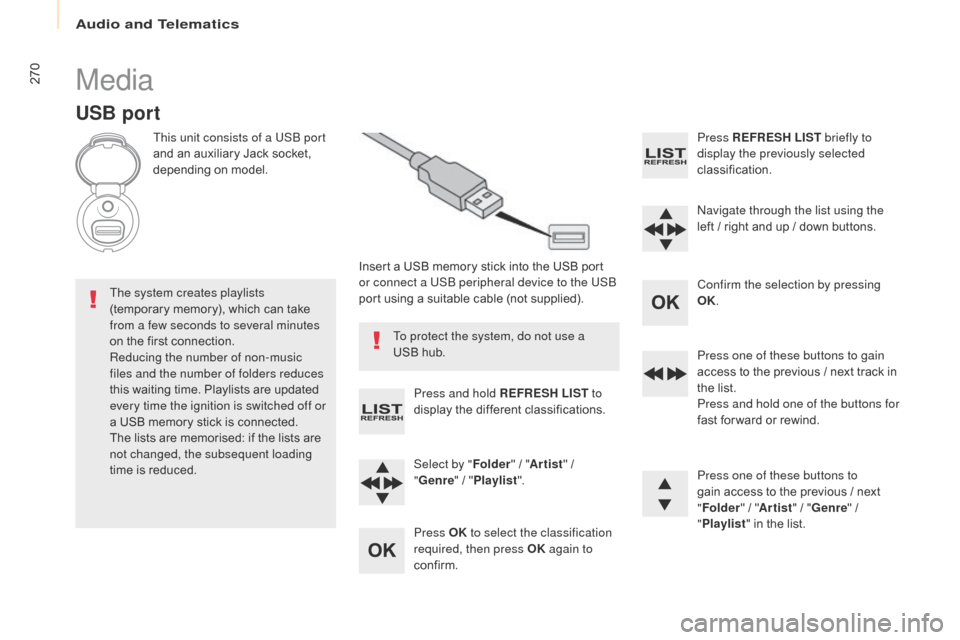
This unit consists of a USB port
and an auxiliary Jack socket,
d
epending on model.
Insert
a USB memory stick into the USB port
o
r connect a USB peripheral device to the USB
port
using a suitable cable (not supplied).
The system creates playlists
(temporary
memory), which can take
f
rom a few seconds to several minutes
on
the
first connection.
Reducing the number of non-music
files and the number of folders reduces
this
waiting time. Playlists are updated
e
very time the ignition is switched off or
a
USB
memory stick is connected.
The
lists are memorised: if the lists are
n
ot changed, the subsequent loading
time
is
reduced. Press and hold REFRESH LIST
to
display
the different classifications.
Select by " Folder"
/ "Artist "
/
"G
enre"
/
"Pl
aylist".
Press OK to select the classification
required, then press OK again to
confirm. Press REFRESH LIST
briefly to
display the previously selected
classification.
Navigate through the list using the
left
/
r
ight and up / down buttons.
Confirm the selection by pressing
OK.
Press one of these buttons to gain
access
to the previous / next track in
t
he list.
Press and hold one of the buttons for
fast
for ward or rewind.
Press one of these buttons to
gain
access to the previous / next
"Fo
lder"
/ "Artist "
/ "Genre "
/
"Pl
aylist"
in the list.
To protect the system, do not use a
USB
hub.
Audio and Telematics
Page 276 of 292

274
Berlingo2VP_en_Chap10b_RD45_ed02-2016
Telephone
Pairing a Bluetooth® telephone
Screen C
(Available according to model and version)
As a safety measure and because they
require prolonged attention on the part
of the driver, the operations for pairing
of the Bluetooth
® mobile telephone with
the Bluetooth® hands-free system of
your audio equipment must be carried
out with the vehicle stationary and the
ignition
o
n.
Go
to
www.citroen.co.uk for more information
(
compatibility,
more
help, ...).
Activate the telephone's Bluetooth
® function
and ensure that it is "visible to all" (telephone
configuration).
Press the MENU
button. In
the menu, select:
- "
Bluetooth : Telephone - Audio "
- "
Bluetooth configuration "
- "
Perform a Bluetooth search "
A window is displayed with a message that a
search is in progress.
The services available depend on
the network, the SIM card and the
c
ompatibility of the Bluetooth
® device
used.
Consult your telephone's manual and
your operator to find out which services
are
available
to
you.
*
If
your
telephone
is
fully
compatible. The first 4 telephones recognised are displayed
in
this
window.
The " Telephone " menu permits access to the
following
functions
in
particular:
" Directory " *,
" Calls list ", "Consult the paired equipment ".Select the telephone to be connected from the
list.
Only one telephone can be connected at
a
time.
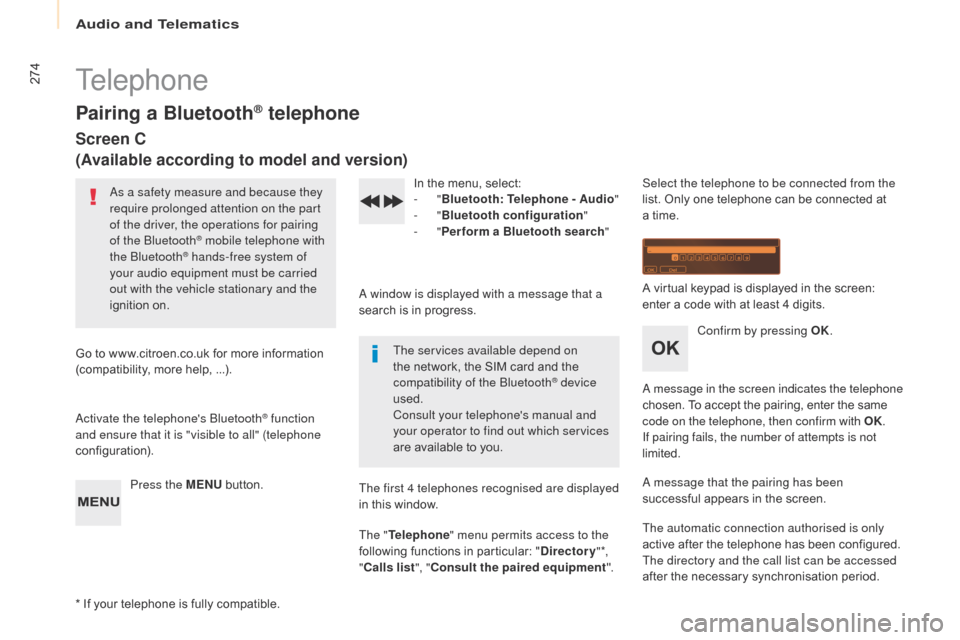
A virtual keypad is displayed in the screen:
e
nter a code with at least 4 digits.
Confirm by pressing OK.
A message in the screen indicates the telephone
chosen. To accept the pairing, enter the same
c
ode on the telephone, then confirm with OK.
If pairing fails, the number of attempts is not
limited.
A message that the pairing has been
successful
appears in the screen.
The automatic connection authorised is only
active
after the telephone has been configured.
The directory and the call list can be accessed
after
the necessary synchronisation period.
Audio and Telematics
Page 286 of 292

284
Berlingo2VP_en_Chap10c_BTA-3R_ed02-2016
Localised Assistance Call
Operation of the systemIf you purchased your vehicle outside
the Brand's dealer network, we
i
nvite you to have a dealer check the
c
onfiguration of these services and, if
desired,
modified to suit your wishes. In
a m
ulti-lingual country, configuration is
possible in the official national language
of
your choice.
For technical reasons and in particular
to improve the quality of "Telematic
services" services to customers, the
manufacturer reserves the right to carry
out updates to the vehicle's on-board
telematic
system.
When the ignition is switched
on, the green LED comes on for
3 seconds indicating that the
system
is
operating
correctly.
The red indicator lamp is on
continuously:
there
is
a
system
f
ault.
A fault with the system does not prevent
the
vehicle
being
driven. Press this button for more than
2
seconds to request assistance if
the
vehicle
breaks
down.
**
D
epending on the geographical cover of
"Localised Emergency Call", "Localised
Assistance Call" and the official national
language selected by the owner of the
vehicle.
T
he list of countries covered and Telematic
services is available from dealers or on the
website
for your country.
Pressing this button again immediately cancels
the
request.
The cancellation is confirmed by a voice
message.
Geo-location
You can deactivate geo-location by
simultaneously pressing the "Localised
Emergency Call" and "Localised Assistance
Call" buttons, followed by a press on "Localised
Assistance
Call" to confirm.
To reactivate geo-location, simultaneously
press the "Localised Emergency Call" and
"Localised Assistance Call" buttons again,
followed by a press on "Localised Assistance
CallLocalisé"
to confirm.
The
red
indicator
lamp
flashes:
replace
the
b
ack-up
battery. A voice message confirms that the call has
been made**.
In either case, the emergency and assistance
calls
may
not
function.
Contact a qualified repairer as soon as
possible. For Russia, Belarus and Kazakhstan.
Audio and Telematics