2017 CHEVROLET MALIBU brake
[x] Cancel search: brakePage 285 of 419

Chevrolet Malibu Owner Manual (GMNA-Localizing-U.S./Canada/Mexico-10122664) - 2017 - crc - 5/23/16
284 Vehicle Care
1.Engine Air Cleaner/Filter0292.
2. Engine Oil Fill Cap. SeeEngine Oil0288.
3. Engine Oil Dipstick. SeeEngine Oil0288.
4. Engine Cooling Fan (Out ofView). SeeCooling System(Engine)0293orCoolingSystem (PowerElectronics)0294.
5. Brake Fluid Reservoir. SeeBrakes0299.
6. Coolant Surge Tank andPressure Cap. SeeEngineCoolant0295.
7.Battery - North America0301.
8. Remote Positive (+) BatteryTe r m i n a l ( U n d e r C o v e r ) . S e eJump Starting - NorthAmerica0352.
9.Engine Compartment FuseBlock0311.
10. Windshield Washer FluidReservoir. SeeWasherFluid0299.
11 . R e m o t e N e g a t i v e ( - ) B a t t e r yTe r m i n a l . S e eJump Starting -North America0352.
Page 287 of 419

Chevrolet Malibu Owner Manual (GMNA-Localizing-U.S./Canada/Mexico-10122664) - 2017 - crc - 5/23/16
286 Vehicle Care
1.Engine Air Cleaner/Filter0292.
2. Engine Cooling Fan (Out ofView). SeeCooling System(Engine)0293orCoolingSystem (PowerElectronics)0294.
3. Engine Oil Dipstick. SeeEngine Oil0288.
4. Engine Oil Fill Cap. SeeEngine Oil0288.
5. Brake Fluid Reservoir. SeeBrakes0299.
6. Automatic Transmission FluidFill Cap. SeeAutomaticTr a n s m i s s i o n F l u i d0292.
7. Coolant Surge Tank andPressure Cap. SeeEngineCoolant0295.
8. Remote Positive (+) BatteryTe r m i n a l ( U n d e r C o v e r ) . S e eJump Starting - NorthAmerica0352.
9. Power Electronics CoolantReservoir. SeeCooling System(Engine)0293orCoolingSystem (PowerElectronics)0294.
10.Engine Compartment FuseBlock0311.
11 . W i n d s h i e l d Wa s h e r F l u i dReservoir. SeeWasherFluid0299.
12. Remote Negative (-) BatteryTe r m i n a l . S e eJump Starting -North America0352.
Page 289 of 419
Chevrolet Malibu Owner Manual (GMNA-Localizing-U.S./Canada/Mexico-10122664) - 2017 - crc - 5/23/16
288 Vehicle Care
1.Engine Air Cleaner/Filter0292.
2. Engine Oil Fill Cap. SeeEngine Oil0288.
3. Engine Oil Dipstick. SeeEngine Oil0288.
4. Engine Cooling Fan (Out ofView). SeeCooling System(Engine)0293orCoolingSystem (PowerElectronics)0294.
5. Brake Fluid Reservoir. SeeBrakes0299.
6. Coolant Surge Tank andPressure Cap. SeeEngineCoolant0295.
7.Battery - North America0301.
8. Remote Positive (+) BatteryTe r m i n a l ( U n d e r C o v e r ) . S e eJump Starting - NorthAmerica0352.
9.Engine Compartment FuseBlock0311.
10. Windshield Washer FluidReservoir. SeeWasherFluid0299.
11 . R e m o t e N e g a t i v e ( - ) B a t t e r yTe r m i n a l . S e eJump Starting -North America0352.
Engine Oil
To e n s u r e p r o p e r e n g i n eperformance and long life, carefulattention must be paid to engine oil.Following these simple, butimportant steps will help protectyour investment:
.Use engine oil approved to theproper specification and of theproper viscosity grade. See“Selecting the Right Engine Oil”in this section.
.Check the engine oil levelregularly and maintain theproper oil level. See“CheckingEngine Oil”and“When to AddEngine Oil”in this section.
.Change the engine oil at theappropriate time. SeeEngine OilLife System0291.
.Always dispose of engine oilproperly. See“What to Do withUsed Oil”later in this section.
Checking Engine Oil
Check the engine oil level regularly(every 650 km (400 mi), especiallyprior to a long trip. The engine oildipstick handle is a loop. SeeEngine Compartment Overview0283for the location.
{Warning
The engine oil dipstick handle
may be hot; it could burn you.
Use a towel or glove to touch the
dipstick handle.
If a low oil Driver Information Center(DIC) message displays, check theoil level.
Follow these guidelines:
.To g e t a n a c c u r a t e r e a d i n g , p a r kthe vehicle on level ground.Check the engine oil level afterthe engine has been off for atleast two hours. Checking theengine oil level on steep gradesor too soon after engine shutoffcan result in incorrect readings.Accuracy improves when
Page 300 of 419
Chevrolet Malibu Owner Manual (GMNA-Localizing-U.S./Canada/Mexico-10122664) - 2017 - crc - 5/23/16
Vehicle Care 299
Washer Fluid
What to Use
When windshield washer fluid isneeded, be sure to read themanufacturer's instructions beforeuse. If operating the vehicle in anarea where the temperature may fallbelow freezing, use a fluid that hassufficient protection againstfreezing.
Adding Washer Fluid
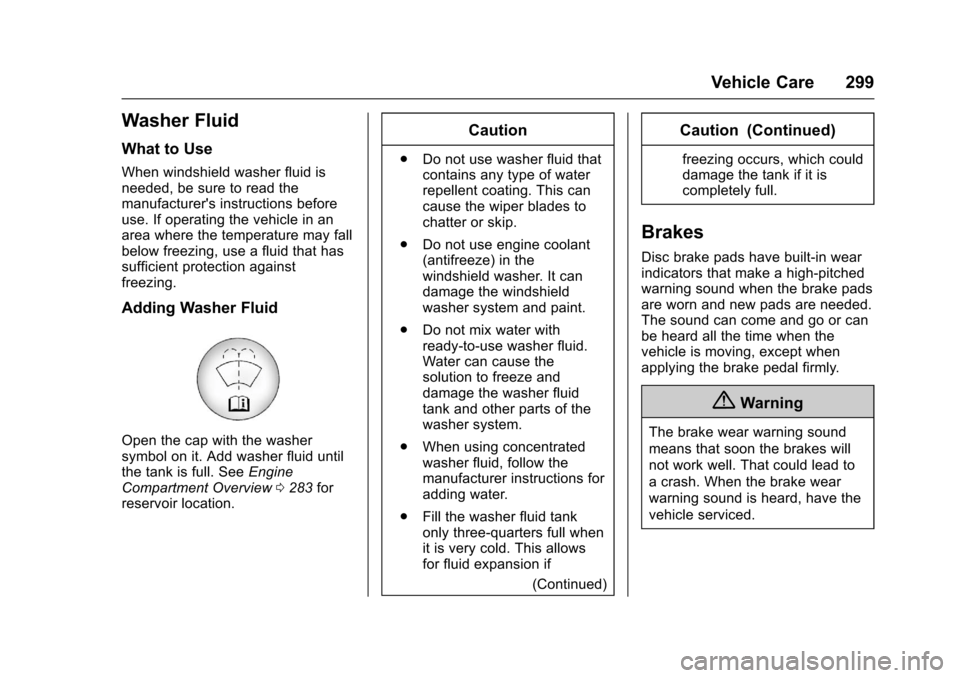
Open the cap with the washersymbol on it. Add washer fluid untilthe tank is full. SeeEngineCompartment Overview0283forreservoir location.
Caution
.Do not use washer fluid thatcontains any type of waterrepellent coating. This cancause the wiper blades tochatter or skip.
.Do not use engine coolant(antifreeze) in thewindshield washer. It candamage the windshieldwasher system and paint.
.Do not mix water withready-to-use washer fluid.Water can cause thesolution to freeze anddamage the washer fluidtank and other parts of thewasher system.
.When using concentratedwasher fluid, follow themanufacturer instructions foradding water.
.Fill the washer fluid tankonly three-quarters full whenit is very cold. This allowsfor fluid expansion if
(Continued)
Caution (Continued)
freezing occurs, which coulddamage the tank if it iscompletely full.
Brakes
Disc brake pads have built-in wearindicators that make a high-pitchedwarning sound when the brake padsare worn and new pads are needed.The sound can come and go or canbe heard all the time when thevehicle is moving, except whenapplying the brake pedal firmly.
{Warning
The brake wear warning sound
means that soon the brakes will
not work well. That could lead to
acrash.Whenthebrakewear
warning sound is heard, have the
vehicle serviced.
Page 301 of 419
Chevrolet Malibu Owner Manual (GMNA-Localizing-U.S./Canada/Mexico-10122664) - 2017 - crc - 5/23/16
300 Vehicle Care
Caution
Continuing to drive with worn-out
brake pads could result in costly
brake repair.
Some driving conditions or climatescan cause a brake squeal when thebrakes are first applied or lightlyapplied. This does not meansomething is wrong with the brakes.
Properly torqued wheel nuts arenecessary to help prevent brakepulsation. When tires are rotated,inspect brake pads for wear andevenly tighten wheel nuts in theproper sequence to torquespecifications. SeeCapacities andSpecifications0381.
Brake pads should be replaced ascomplete sets.
Brake Pedal Travel
See your dealer if the brake pedaldoes not return to normal height,or if there is a rapid increase inpedal travel. This could be a signthat brake service may be required.
Replacing Brake System Parts
Always replace brake system partswith new, approved replacementparts. If this is not done, the brakesmay not work properly. The brakingperformance expected can changein many other ways if the wrongreplacement brake parts areinstalled or if parts are improperlyinstalled.
Brake Fluid
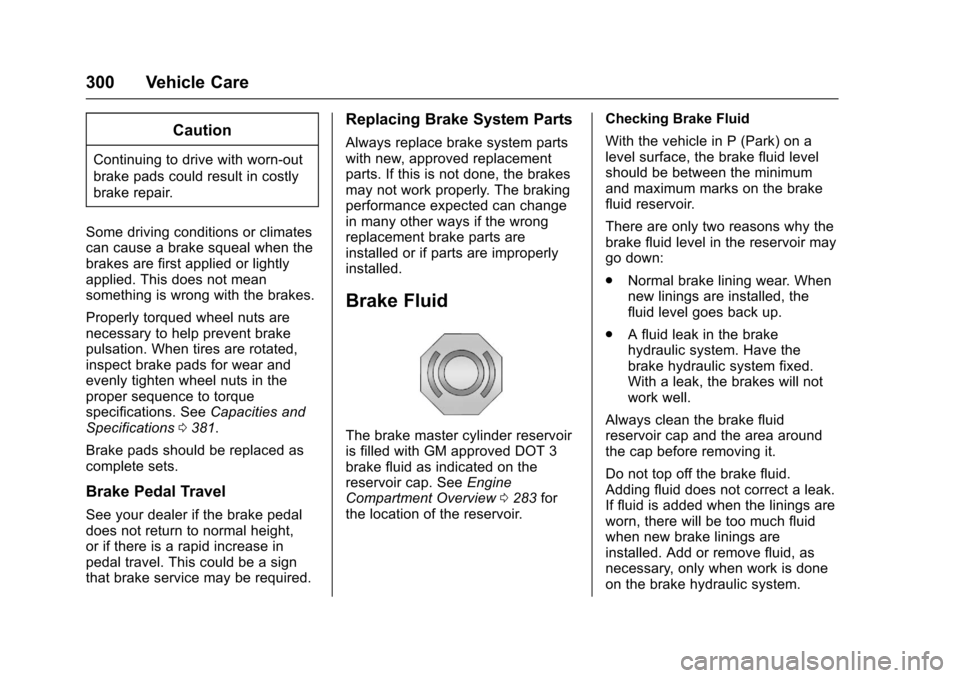
The brake master cylinder reservoiris filled with GM approved DOT 3brake fluid as indicated on thereservoir cap. SeeEngineCompartment Overview0283forthe location of the reservoir.
Checking Brake Fluid
With the vehicle in P (Park) on alevel surface, the brake fluid levelshould be between the minimumand maximum marks on the brakefluid reservoir.
There are only two reasons why thebrake fluid level in the reservoir maygo down:
.Normal brake lining wear. Whennew linings are installed, thefluid level goes back up.
.Afluidleakinthebrakehydraulic system. Have thebrake hydraulic system fixed.With a leak, the brakes will notwork well.
Always clean the brake fluidreservoir cap and the area aroundthe cap before removing it.
Do not top off the brake fluid.Adding fluid does not correct a leak.If fluid is added when the linings areworn, there will be too much fluidwhen new brake linings areinstalled. Add or remove fluid, asnecessary, only when work is doneon the brake hydraulic system.
Page 302 of 419
Chevrolet Malibu Owner Manual (GMNA-Localizing-U.S./Canada/Mexico-10122664) - 2017 - crc - 5/23/16
Vehicle Care 301
{Warning
If too much brake fluid is added, it
can spill on the engine and burn,
if the engine is hot enough. You
or others could be burned, and
the vehicle could be damaged.
Add brake fluid only when work is
done on the brake hydraulic
system.
When the brake fluid falls to a lowlevel, the brake warning light comeson. SeeBrake System WarningLight0124.
Brake fluid absorbs water over timewhich degrades the effectiveness ofthe brake fluid. Replace brake fluidat the specified intervals to preventincreased stopping distance. SeeMaintenance Schedule0369.
What to Add
Use only GM approved DOT 3brake fluid from a clean, sealedcontainer. SeeRecommendedFluids and Lubricants0377.
{Warning
The wrong or contaminated brake
fluid could result in damage to the
brake system. This could result in
the loss of braking leading to a
possible injury. Always use the
proper GM approved brake fluid.
Caution
If brake fluid is spilled on the
vehicle's painted surfaces, the
paint finish can be damaged.
Immediately wash off any painted
surface.
Battery - North America
The original equipment battery ismaintenance free. Do not removethe cap and do not add fluid.
The non-hybrid vehicle has astandard 12-volt battery under thehood. SeeEngine CompartmentOverview0283.
Refer to the replacement numbershown on the original battery labelwhen a new 12-volt battery isneeded.
Hybrid Vehicle
The hybrid vehicle 12-volt battery isin the trunk on the driver side.Hybrid vehicles also have a highvoltage battery. Only a trainedservice technician with the properknowledge and tools should inspect,test, or replace the high voltagebattery. See your dealer if the highvoltage battery needs service. Thedealer has information on how torecycle the high voltage battery.
The hybrid high voltage battery iscooled with air drawn from thevehicle interior. The cold air intakefor the battery is under the rearseat. Do not block the area in frontof the cold air intake.
Page 304 of 419
Chevrolet Malibu Owner Manual (GMNA-Localizing-U.S./Canada/Mexico-10122664) - 2017 - crc - 5/23/16
Vehicle Care 303
Extended Storage: Remove the12-volt battery black, negative (✓)cable from the battery or use abattery trickle charger.
Remember to reconnect the batterywhen ready to drive the vehicle.
Starter Switch Check
{Warning
When you are doing this
inspection, the vehicle could
move suddenly. If the vehicle
moves, you or others could be
injured.
1. Before starting this check, besure there is enough roomaround the vehicle.
2. Apply both the parking brakeand the regular brake.
Do not use the acceleratorpedal, and be ready to turn offthe engine immediately if itstarts.
3. Try to start the engine in eachgear. The vehicle should startonly in P (Park) or N (Neutral).If the vehicle starts in any otherposition, contact your dealer forservice.
Automatic Transmission
Shift Lock Control
Function Check
{Warning
When you are doing this
inspection, the vehicle could
move suddenly. If the vehicle
moves, you or others could be
injured.
1. Before starting this check, besure there is enough roomaround the vehicle. It should beparked on a level surface.
2. Apply the parking brake. Beready to apply the regularbrake immediately if the vehiclebegins to move.
3. With the engine off, turn theignition on, but do not start theengine. Without applying theregular brake, try to move theshift lever out of P (Park) withnormal effort. If the shift levermoves out of P (Park), contactyour dealer for service.
Park Brake and P (Park)
Mechanism Check
{Warning
When you are doing this check,
the vehicle could begin to move.
Yo u o r o t h e r s c o u l d b e i n j u r e d
and property could be damaged.
Make sure there is room in front
of the vehicle in case it begins to
roll. Be ready to apply the regular
brake at once should the vehicle
begin to move.
Page 305 of 419
Chevrolet Malibu Owner Manual (GMNA-Localizing-U.S./Canada/Mexico-10122664) - 2017 - crc - 5/23/16
304 Vehicle Care
Park on a fairly steep hill, with thevehicle facing downhill. Keepingyour foot on the regular brake, setthe parking brake.
.To c h e c k t h e p a r k i n g b r a k e ' sholding ability: With the enginerunning and the transmission inN(Neutral), slowly remove footpressure from the regular brakepedal. Do this until the vehicle isheld by the parking brake only.
.To c h e c k t h e P ( P a r k )mechanism's holding ability:With the engine running, shift toP(Park). Then release theparking brake followed by theregular brake.
Contact your dealer if service isrequired.
Wiper Blade Replacement
Windshield wiper blades should beinspected for wear or cracking.
It is a good idea to clean the wiperblade assembly on a regular basis.When worn, or when cleaning isineffective, replace the wiper blade.For proper windshield wiper bladelength and type, seeMaintenanceReplacement Parts0378.
Caution
Allowing the wiper arm to touch
the windshield when no wiper
blade is installed could damage
the windshield. Any damage that
occurs would not be covered by
the vehicle warranty. Do not allow
the wiper arm to touch the
windshield.
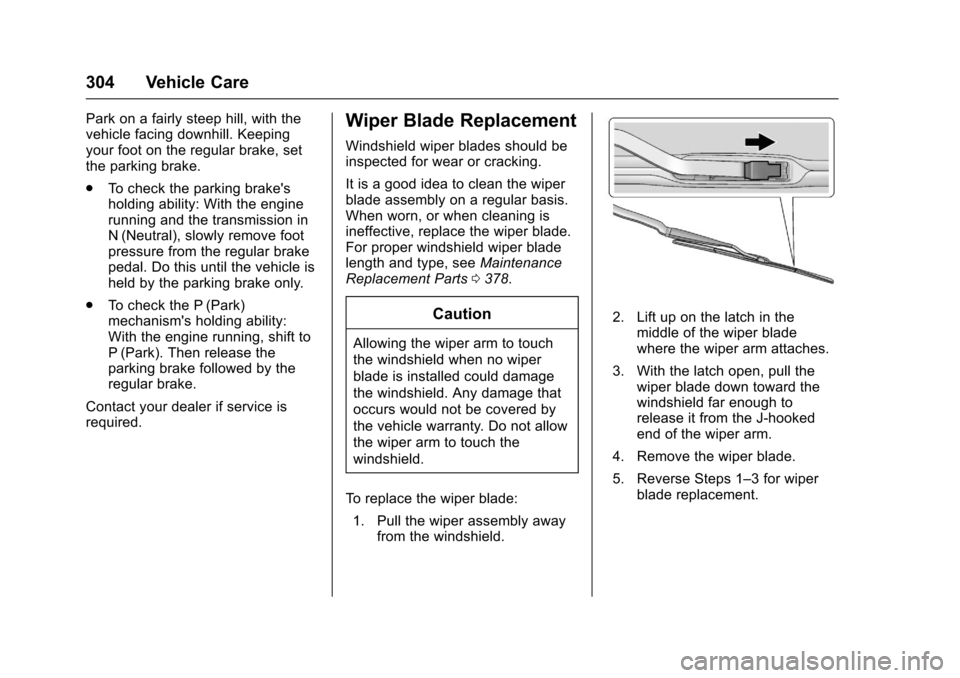
To r e p l a c e t h e w i p e r b l a d e :
1. Pull the wiper assembly awayfrom the windshield.
2. Lift up on the latch in themiddle of the wiper bladewhere the wiper arm attaches.
3. With the latch open, pull thewiper blade down toward thewindshield far enough torelease it from the J-hookedend of the wiper arm.
4. Remove the wiper blade.
5. Reverse Steps 1–3forwiperblade replacement.