2017 CHEVROLET MALIBU ignition
[x] Cancel search: ignitionPage 304 of 419
Chevrolet Malibu Owner Manual (GMNA-Localizing-U.S./Canada/Mexico-10122664) - 2017 - crc - 5/23/16
Vehicle Care 303
Extended Storage: Remove the12-volt battery black, negative (✓)cable from the battery or use abattery trickle charger.
Remember to reconnect the batterywhen ready to drive the vehicle.
Starter Switch Check
{Warning
When you are doing this
inspection, the vehicle could
move suddenly. If the vehicle
moves, you or others could be
injured.
1. Before starting this check, besure there is enough roomaround the vehicle.
2. Apply both the parking brakeand the regular brake.
Do not use the acceleratorpedal, and be ready to turn offthe engine immediately if itstarts.
3. Try to start the engine in eachgear. The vehicle should startonly in P (Park) or N (Neutral).If the vehicle starts in any otherposition, contact your dealer forservice.
Automatic Transmission
Shift Lock Control
Function Check
{Warning
When you are doing this
inspection, the vehicle could
move suddenly. If the vehicle
moves, you or others could be
injured.
1. Before starting this check, besure there is enough roomaround the vehicle. It should beparked on a level surface.
2. Apply the parking brake. Beready to apply the regularbrake immediately if the vehiclebegins to move.
3. With the engine off, turn theignition on, but do not start theengine. Without applying theregular brake, try to move theshift lever out of P (Park) withnormal effort. If the shift levermoves out of P (Park), contactyour dealer for service.
Park Brake and P (Park)
Mechanism Check
{Warning
When you are doing this check,
the vehicle could begin to move.
Yo u o r o t h e r s c o u l d b e i n j u r e d
and property could be damaged.
Make sure there is room in front
of the vehicle in case it begins to
roll. Be ready to apply the regular
brake at once should the vehicle
begin to move.
Page 314 of 419
Chevrolet Malibu Owner Manual (GMNA-Localizing-U.S./Canada/Mexico-10122664) - 2017 - crc - 5/23/16
Vehicle Care 313
The vehicle may not be equippedwith all of the fuses, relays, andfeatures shown.
Fuses Usage
1–
2–
3ABSpump
5ACDCinverter
6Rearclosure
7ATWS/Horn
8Window/Mirror/Seats
9Eboost
10 Left seat lumbar/Airbag HEV
11 D C D C b a t t e r y 1
12 Rear defogger
13 Heated mirror
14–
15 Passive entry/Passivestart
16 Front wiper
17 Passenger power seat
18 ABS valve
Fuses Usage
19 Driver power seat
21 Sunroof
22 Parking lamp
23 Active headlampleveling
24–
26 Transmission controlmodule/Ignition
27 Instrument panelbody/Ignition
28 Fuel pump
29 Regulated voltagecontrol/Ventilation
30 Malfunction indicatorlamp/SS
32 CVS
33 Front heated seat
34 Rear heated seat/BSM/ESS fan
35 Body controlmodule 6/Body controlmodule 7
36 Fuel module
Fuses Usage
38–
39–
40 Steering column lock
41–
43 Heated steering wheel
44 Active headlampleveling
45–
46 Engine controlmodule/Ignition
47–
48 Eboost (HEV)
49 DC DC battery 2
50–
51–
52–
53–
54–
55–
56–
Page 315 of 419
Chevrolet Malibu Owner Manual (GMNA-Localizing-U.S./Canada/Mexico-10122664) - 2017 - crc - 5/23/16
314 Vehicle Care
FusesUsage
57 Transmissionauxiliary pump
58–
59 High-beamheadlamps
60 Cooling fan
61–
62–
63–
65 A/C (HEV)
67–
68–
69 Right low-beam HIDheadlamp
70 Left low-beam HIDheadlamp
72 Starter pinion
74 Starter motor
75 Engine control module
76 Powertrain off engine
77–
FusesUsage
78 Horn
79 Washer pump
81 Transmission controlmodule/Engine controlmodule
83 Ignition coil
84 Powertrain on engine
85 Engine control moduleswitch 2
86 Engine control moduleswitch 1
87 SAIR pump
88 Aeroshutter
89 Headlamp washer
91–
92 TPIM MGU pump
93 Active headlampleveling
95 SAIR solenoid
96 Fuel heater
97–
99 Coolant pump
RelaysUsage
04 AC DC inverter
20 Rear defogger
25 Front wiper control
31 Run/Crank
37 Front wiper speed
42 Transmissionauxiliary pump
64 A/C control
66 Powertrain
71 Low-beam HIDheadlamps
73 Starter motor
80 Starter pinion
90 SAIR solenoid
94 Headlamp washer
98 SAIR pump
Page 329 of 419
Chevrolet Malibu Owner Manual (GMNA-Localizing-U.S./Canada/Mexico-10122664) - 2017 - crc - 5/23/16
328 Vehicle Care
Tire Pressure Monitor
Operation
This vehicle may have a TirePressure Monitor System (TPMS).The TPMS is designed to warn thedriver when a low tire pressurecondition exists. TPMS sensors aremounted onto each tire and wheelassembly, excluding the spare tireand wheel assembly. The TPMSsensors monitor the air pressure inthe tires and transmits the tirepressure readings to a receiverlocated in the vehicle.
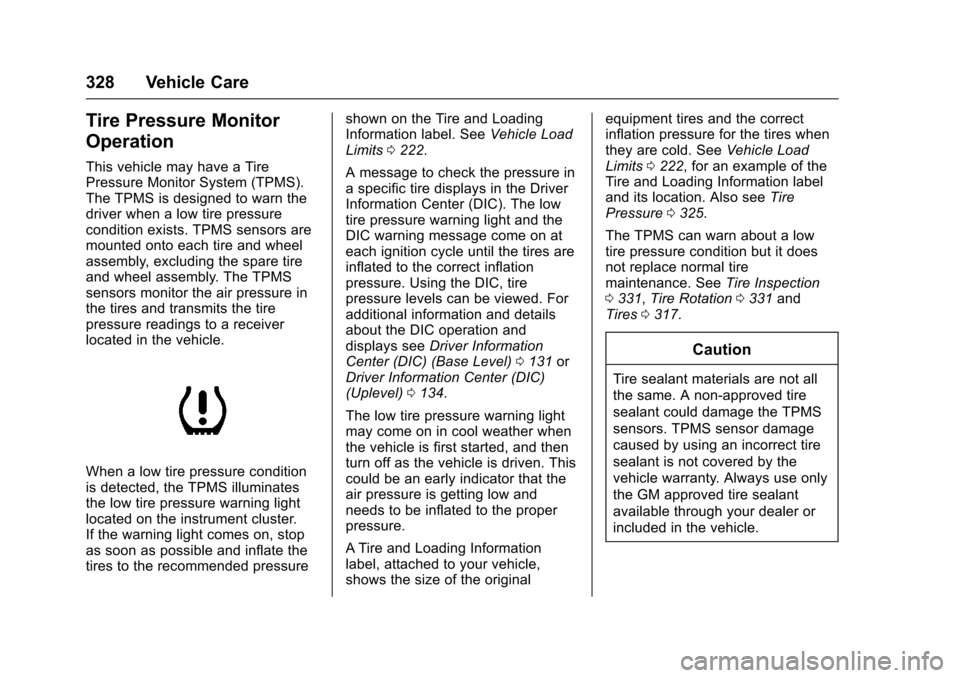
When a low tire pressure conditionis detected, the TPMS illuminatesthe low tire pressure warning lightlocated on the instrument cluster.If the warning light comes on, stopas soon as possible and inflate thetires to the recommended pressure
shown on the Tire and LoadingInformation label. SeeVehicle LoadLimits0222.
AmessagetocheckthepressureinaspecifictiredisplaysintheDriverInformation Center (DIC). The lowtire pressure warning light and theDIC warning message come on ateach ignition cycle until the tires areinflated to the correct inflationpressure. Using the DIC, tirepressure levels can be viewed. Foradditional information and detailsabout the DIC operation anddisplays seeDriver InformationCenter (DIC) (Base Level)0131orDriver Information Center (DIC)(Uplevel)0134.
The low tire pressure warning lightmay come on in cool weather whenthe vehicle is first started, and thenturn off as the vehicle is driven. Thiscould be an early indicator that theair pressure is getting low andneeds to be inflated to the properpressure.
ATire and Loading Informationlabel, attached to your vehicle,shows the size of the original
equipment tires and the correctinflation pressure for the tires whenthey are cold. SeeVehicle LoadLimits0222,foranexampleoftheTire and Loading Information labeland its location. Also seeTirePressure0325.
The TPMS can warn about a lowtire pressure condition but it doesnot replace normal tiremaintenance. SeeTire Inspection0331,Tire Rotation0331andTires0317.
Caution
Tire sealant materials are not all
the same. A non-approved tire
sealant could damage the TPMS
sensors. TPMS sensor damage
caused by using an incorrect tire
sealant is not covered by the
vehicle warranty. Always use only
the GM approved tire sealant
available through your dealer or
included in the vehicle.
Page 330 of 419
Chevrolet Malibu Owner Manual (GMNA-Localizing-U.S./Canada/Mexico-10122664) - 2017 - crc - 5/23/16
Vehicle Care 329
Factory-installed Tire Inflator Kitsuse a GM-approved liquid tiresealant. Using non-approved tiresealants could damage the TPMSsensors. SeeTire Sealant andCompressor Kit0339forinformation regarding the inflator kitmaterials and instructions.
TPMS Malfunction Light and
Message
The TPMS will not function properlyif one or more of the TPMS sensorsare missing or inoperable. When thesystem detects a malfunction, thelow tire warning light flashes forabout one minute and then stays onfor the remainder of the ignitioncycle. A DIC warning message alsodisplays. The malfunction light andDIC warning message come on ateach ignition cycle until the problemis corrected. Some of the conditionsthat can cause these to comeon are:
.One of the road tires has beenreplaced with the spare tire. Thespare tire does not have aTPMS sensor. The malfunctionlight and DIC message should
go off after the road tire isreplaced and the sensormatching process is performedsuccessfully. See“TPMS SensorMatching Process”later in thissection.
.The TPMS sensor matchingprocess was not done or notcompleted successfully afterrotating the tires. Themalfunction light and the DICmessage should go off aftersuccessfully completing thesensor matching process. See"TPMS Sensor MatchingProcess" later in this section.
.One or more TPMS sensors aremissing or damaged. Themalfunction light and the DICmessage should go off when theTPMS sensors are installed andthe sensor matching process isperformed successfully. Seeyour dealer for service.
.Replacement tires or wheels donot match the original equipmenttires or wheels. Tires and wheelsother than those recommended
could prevent the TPMS fromfunctioning properly. SeeBuyingNew Tires0333.
.Operating electronic devices orbeing near facilities using radiowave frequencies similar to theTPMS could cause the TPMSsensors to malfunction.
If the TPMS is not functioningproperly it cannot detect or signal alow tire condition. See your dealerfor service if the TPMS malfunctionlight and DIC message comes onand stays on.
TPMS Sensor Matching
Process
Each TPMS sensor has a uniqueidentification code. The identificationcode needs to be matched to a newtire/wheel position after rotating thevehicle’stiresorreplacingoneormore of the TPMS sensors. TheTPMS sensor matching processshould also be performed afterreplacing a spare tire with a roadtire containing the TPMS sensor.The malfunction light and the DICmessage should go off at the nextignition cycle. The sensors are
Page 331 of 419
Chevrolet Malibu Owner Manual (GMNA-Localizing-U.S./Canada/Mexico-10122664) - 2017 - crc - 5/23/16
330 Vehicle Care
matched to the tire/wheel positions,using a TPMS relearn tool, in thefollowing order: driver side front tire,passenger side front tire, passengerside rear tire, and driver side rear.See your dealer for service or topurchase a relearn tool. A TPMSrelearn tool can also be purchased.See Tire Pressure Monitor SensorActivation Tool atwww.gmtoolsandequipment.com orcall 1-800-GM TOOLS(1-800-468-6657).
There are two minutes to match thefirst tire/wheel position, andfive minutes overall to match all fourtire/wheel positions. If it takeslonger, the matching process stopsand must be restarted.
The TPMS sensor matchingprocess is:
1. Set the parking brake.
2. Place the vehicle in ON/RUN/START. SeeIgnitionPositions0225.
3. Make sure the Tire Pressureinfo page option is turned on.The info pages on the DIC can
be turned on and off throughthe Settings menu. SeeDriverInformation Center (DIC) (BaseLevel)0131orDriverInformation Center (DIC)(Uplevel)0134.
4. Use the DIC controls on theright side of the steering wheelto scroll to the Tire Pressurescreen under the DICinfo page.
5. Press and holdVin the center
of the DIC controls.
The horn sounds twice tosignal the receiver is in relearnmode and the TIRELEARNING ACTIVE messagedisplays on the DIC screen.
6. Start with the driver sidefront tire.
7. Place the relearn tool againstthe tire sidewall, near the valvestem. Then press the button toactivate the TPMS sensor.Ahornchirpconfirmsthatthesensor identification code hasbeen matched to this tire andwheel position.
8. Proceed to the passenger sidefront tire, and repeat theprocedure in Step 7.
9. Proceed to the passenger siderear tire, and repeat theprocedure in Step 7.
10. Proceed to the driver side reartire, and repeat the procedurein Step 7. The horn sounds twotimes to indicate the sensoridentification code has beenmatched to the driver side reartire, and the TPMS sensormatching process is no longeractive. The TIRE LEARNINGACTIVE message on the DICdisplay screen goes off.
11 . Tu r n t h e i g n i t i o n o f f .
12. Set all four tires to therecommended air pressurelevel as indicated on the Tireand Loading Information label.
Page 355 of 419
Chevrolet Malibu Owner Manual (GMNA-Localizing-U.S./Canada/Mexico-10122664) - 2017 - crc - 5/23/16
354 Vehicle Care
involved in the jump startprocedure. Put an automatictransmission in P (Park) or amanual transmission in Neutralbefore setting the parkingbrake.
3. Set the parking brake firmly onboth vehicles. Put an automatictransmission in P (Park) or amanual transmission in Neutralbefore setting the parkingbrake.
Caution
If any accessories are left on or
plugged in during the jump
starting procedure, they could be
damaged. The repairs would not
be covered by the vehicle
warranty. Whenever possible, turn
off or unplug all accessories on
either vehicle when jump starting.
4. Turn the ignition to LOCK/OFFand switch off all lights andaccessories in both vehicles,except the hazard warningflashers if needed.
{Warning
An electric fan can start up even
when the engine is not running
and can injure you. Keep hands,
clothing, and tools away from any
underhood electric fan.
{Warning
Using a match near a battery can
cause battery gas to explode.
People have been hurt doing this,
and some have been blinded.
Use a flashlight if you need more
light.
Battery fluid contains acid that
can burn you. Do not get it on
you. If you accidentally get it in
your eyes or on your skin, flush
the place with water and get
medical help immediately.
{Warning
Fans or other moving engine
parts can injure you badly. Keep
your hands away from moving
parts once the engine is running.
6. Connect the red positive (+)cable to the positive (+) orremote positive (+) terminal ofthe discharged battery.
7. Connect the other end of thepositive (+) cable to thepositive (+) terminal of thegood battery. Use a remotepositive (+) terminal if thevehicle has one.
8. Connect one end of the blacknegative (✓)cabletothenegative (✓)terminalofthegood battery.
9. Connect the other end of thenegative (✓)cabletothenegative (–)groundterminalforthe discharged battery.
Page 357 of 419
Chevrolet Malibu Owner Manual (GMNA-Localizing-U.S./Canada/Mexico-10122664) - 2017 - crc - 5/23/16
356 Vehicle Care
Recreational Vehicle
Towing
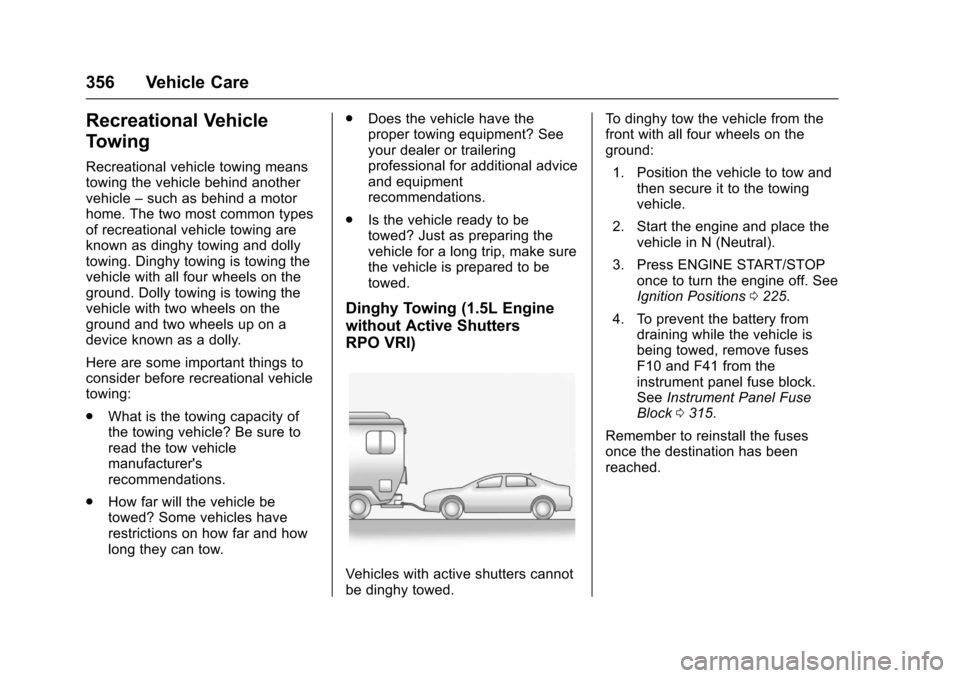
Recreational vehicle towing meanstowing the vehicle behind anothervehicle–such as behind a motorhome. The two most common typesof recreational vehicle towing areknown as dinghy towing and dollytowing. Dinghy towing is towing thevehicle with all four wheels on theground. Dolly towing is towing thevehicle with two wheels on theground and two wheels up on adevice known as a dolly.
Here are some important things toconsider before recreational vehicletowing:
.What is the towing capacity ofthe towing vehicle? Be sure toread the tow vehiclemanufacturer'srecommendations.
.How far will the vehicle betowed? Some vehicles haverestrictions on how far and howlong they can tow.
.Does the vehicle have theproper towing equipment? Seeyour dealer or traileringprofessional for additional adviceand equipmentrecommendations.
.Is the vehicle ready to betowed? Just as preparing thevehicle for a long trip, make surethe vehicle is prepared to betowed.
Dinghy Towing (1.5L Engine
without Active Shutters
RPO VRI)
Vehicles with active shutters cannotbe dinghy towed.
To d i n g h y t o w t h e v e h i c l e f r o m t h efront with all four wheels on theground:
1. Position the vehicle to tow andthen secure it to the towingvehicle.
2. Start the engine and place thevehicle in N (Neutral).
3. Press ENGINE START/STOPonce to turn the engine off. SeeIgnition Positions0225.
4. To prevent the battery fromdraining while the vehicle isbeing towed, remove fusesF10 and F41 from theinstrument panel fuse block.SeeInstrument Panel FuseBlock0315.
Remember to reinstall the fusesonce the destination has beenreached.