2017 CHEVROLET IMPALA key
[x] Cancel search: keyPage 143 of 378

Chevrolet Impala Owner Manual (GMNA-Localizing-U.S./Canada-9921197) -
2017 - crc - 3/30/16
142 Instruments and Controls
Chime Volume
This allows the selection of the
chime volume level.
Press + or−to adjust the volume.
Reverse Tilt Mirror
When on, both the driver and
passenger, driver, or passenger
mirrors will tilt downward when the
vehicle is shifted to R (Reverse) to
improve visibility of the ground near
the rear wheels. They will return to
their previous driving position when
the vehicle is shifted out of
R (Reverse) or the ignition is turned
to OFF.
Select Off, On - Driver and
Passenger, On - Driver, or On -
Passenger.
Lighting
Select and the following may
display:
. Vehicle Locator Lights
. Exit Lighting
. Daytime Tail Lights Vehicle Locator Lights
This feature will flash the exterior
lamps when
Kon the Remote
Keyless Entry (RKE) transmitter is
pressed to locate the vehicle.
Select Off or On.
Exit Lighting
This allows the selection of how
long the exterior lamps stay on
when leaving the vehicle when it is
dark outside.
Select Off, 30 Seconds, 60
Seconds, or 120 Seconds.
Daytime Tail Lights
This feature allows the taillamps to
be on during the day.
Select Off or On.
Power Door Locks
Select and the following may
display:
. Unlocked Door Anti-Lockout
. Auto Door Unlock
. Delayed Door Lock Unlocked Door Anti-Lockout
When on, this feature will keep the
driver door from locking when the
door is open. If Off is selected, the
Delayed Door Lock menu will be
available.
Select Off or On.
Auto Door Unlock
This allows selection of which of the
doors will automatically unlock when
the vehicle is shifted into P (Park).
Select Off, All Doors, or Driver Door.
Delayed Door Lock
When on, this feature will delay the
locking of the doors. To override the
delay, press the power door lock
switch on the door.
Select Off or On.
Remote Lock, Unlock, Start
Select and the following may
display:
.
Remote Unlock Light Feedback
. Remote Lock Feedback
. Remote Door Unlock
Page 144 of 378

Chevrolet Impala Owner Manual (GMNA-Localizing-U.S./Canada-9921197) -
2017 - crc - 3/30/16
Instruments and Controls 143
.Remote Start Auto Cool Seats
. Remote Start Auto Heat Seats
. Passive Door Unlock
. Passive Door Lock
. Remote Left in Vehicle Alert
Remote Unlock Light Feedback
When on, the exterior lamps will
flash when unlocking the vehicle
with the RKE transmitter.
Select Off or Flash Lights.
Remote Lock Feedback
This allows selection of what type of
feedback is given when locking the
vehicle with the RKE transmitter.
Select Off, Lights and Horn, Lights
Only, or Horn Only.
Remote Door Unlock
This allows selection of which doors
will unlock when pressing
Kon the
RKE transmitter.
Select All Doors or Driver Door. Remote Start Auto Cool Seats
If equipped and turned on, this
feature will turn the ventilated seats
on when using remote start on
warm days.
Select Off or On.
Remote Start Auto Heat Seats
If equipped and turned on, this
feature will turn the heated seats on
when using remote start on
cold days.
Select Off or On.
Passive Door Unlock
This allows the selection of what
doors will unlock when using the
button on the driver door to unlock
the vehicle.
Select All Doors or Driver Door.
Passive Door Lock
This feature can be turned on or off,
or can be used to select feedback
when using the button on the driver
door to lock the vehicle. See
Remote Keyless Entry (RKE)
System Operation
030. Select Off, On with Horn
Chirp, or On.
Remote Left in Vehicle Alert
This feature sounds an alert when
the RKE transmitter is left in the
vehicle.
Select Off or On.
Bluetooth
Select and the following may
display:
.
Pair New Device
. Device Management
. Ringtones
. Voice Mail Numbers
Pair New Device
Select to pair a new device. See
“Pairing” underBluetooth
(Overview) 0169 orBluetooth
(Infotainment Controls - Base
Radio) 0171 orBluetooth (Voice
Recognition - Base Radio) 0175 or
“Pairing” under“Bluetooth” in the
infotainment manual.
Page 155 of 378

Chevrolet Impala Owner Manual (GMNA-Localizing-U.S./Canada-9921197) -
2017 - crc - 3/30/16
154 Lighting
Lighting Features
Entry Lighting
Some exterior lamps and most of
the interior lamps turn on briefly at
night or in areas with limited lighting
when the Remote Keyless Entry
(RKE) transmitter
Kbutton is
pressed. See Remote Keyless Entry
(RKE) System Operation 030. After
about 30 seconds the exterior lamps
turn off, then the dome lamps and
remaining interior lamps dim to off.
Entry lighting can be disabled
manually by changing the ignition
out of the OFF position, or by
pressing the RKE transmitter
Q
button.
This feature can be changed. See
Vehicle Personalization 0139.
Exit Lighting
Some exterior lamps come on at
night, or in areas with limited
lighting, when the key is removed
from the ignition. The dome lamps
also come on when the key is
removed from the ignition. The exterior lamps and dome lamps
remain on after the door is closed
for a set amount of time, then
automatically turn off.
If equipped with Keyless Access,
the exterior lamps automatically turn
on when a door is opened after the
ignition is changed to the OFF
position. The dome lamps also
come on after the ignition is
changed to the OFF position. See
Ignition Positions (Keyless Access)
0
204 orIgnition Positions (Key
Access) 0202.
The exterior lamps turn off
immediately by turning the exterior
lamps control off.
This feature can be changed. See
Vehicle Personalization 0139.
Battery Load
Management
The vehicle has Electric Power
Management (EPM), which
estimates the battery's temperature
and state of charge. It then adjusts
the voltage for best performance
and extended life of the battery. When the battery's state of charge
is low, the voltage is raised slightly
to quickly bring the charge back up.
When the state of charge is high,
the voltage is lowered slightly to
prevent overcharging. If the vehicle
has a voltage display on the Driver
Information Center (DIC), you may
see the voltage move up or down.
This is normal. If there is a problem,
an alert will be displayed.
The battery can be discharged at
idle if the electrical loads are very
high. This is true for all vehicles.
This is because the generator
(alternator) may not be spinning fast
enough at idle to produce all the
power that is needed for very high
electrical loads.
A high electrical load occurs when
several of the following are on, such
as: headlamps, high beams, fog
lamps, rear window defogger,
climate control fan at high speed,
heated seats, engine cooling fans,
trailer loads, and loads plugged into
accessory power outlets.
Page 161 of 378
Chevrolet Impala Owner Manual (GMNA-Localizing-U.S./Canada-9921197) -
2017 - crc - 3/30/16
160 Infotainment System
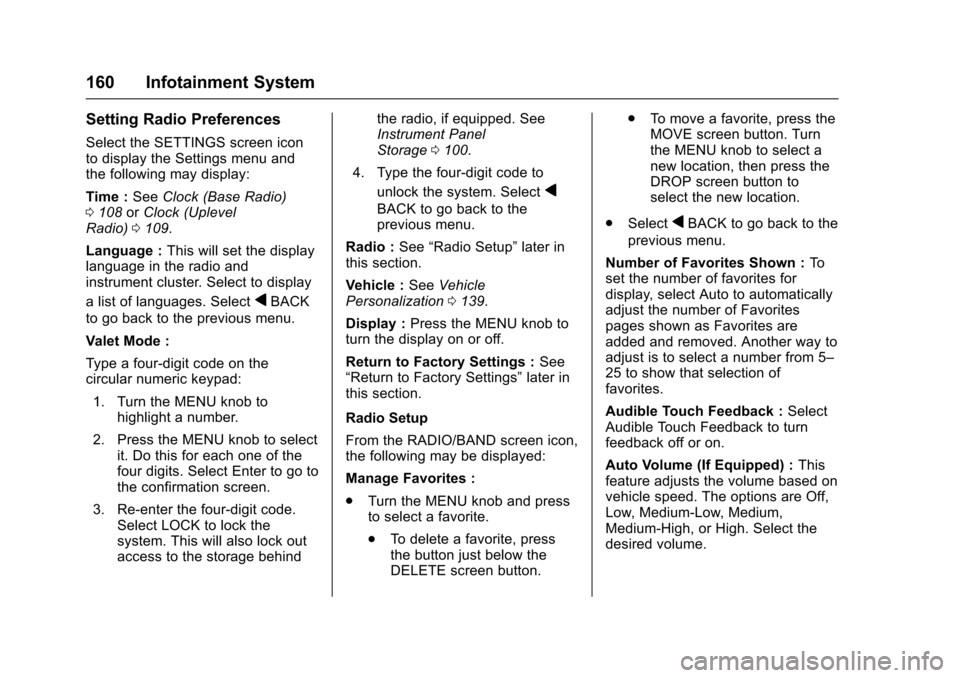
Setting Radio Preferences
Select the SETTINGS screen icon
to display the Settings menu and
the following may display:
Time :SeeClock (Base Radio)
0 108 orClock (Uplevel
Radio) 0109.
Language : This will set the display
language in the radio and
instrument cluster. Select to display
a list of languages. Select
qBACK
to go back to the previous menu.
Valet Mode :
Type a four-digit code on the
circular numeric keypad:
1. Turn the MENU knob to highlight a number.
2. Press the MENU knob to select it. Do this for each one of the
four digits. Select Enter to go to
the confirmation screen.
3. Re-enter the four-digit code. Select LOCK to lock the
system. This will also lock out
access to the storage behind the radio, if equipped. See
Instrument Panel
Storage
0100.
4. Type the four-digit code to unlock the system. Select
q
BACK to go back to the
previous menu.
Radio : See“Radio Setup” later in
this section.
Vehicle : SeeVehicle
Personalization 0139.
Display : Press the MENU knob to
turn the display on or off.
Return to Factory Settings : See
“Return to Factory Settings” later in
this section.
Radio Setup
From the RADIO/BAND screen icon,
the following may be displayed:
Manage Favorites :
. Turn the MENU knob and press
to select a favorite.
.To delete a favorite, press
the button just below the
DELETE screen button. .
To move a favorite, press the
MOVE screen button. Turn
the MENU knob to select a
new location, then press the
DROP screen button to
select the new location.
. SelectqBACK to go back to the
previous menu.
Number of Favorites Shown : To
set the number of favorites for
display, select Auto to automatically
adjust the number of Favorites
pages shown as Favorites are
added and removed. Another way to
adjust is to select a number from 5–
25 to show that selection of
favorites.
Audible Touch Feedback : Select
Audible Touch Feedback to turn
feedback off or on.
Auto Volume (If Equipped) : This
feature adjusts the volume based on
vehicle speed. The options are Off,
Low, Medium-Low, Medium,
Medium-High, or High. Select the
desired volume.
Page 164 of 378
Chevrolet Impala Owner Manual (GMNA-Localizing-U.S./Canada-9921197) -
2017 - crc - 3/30/16
Infotainment System 163
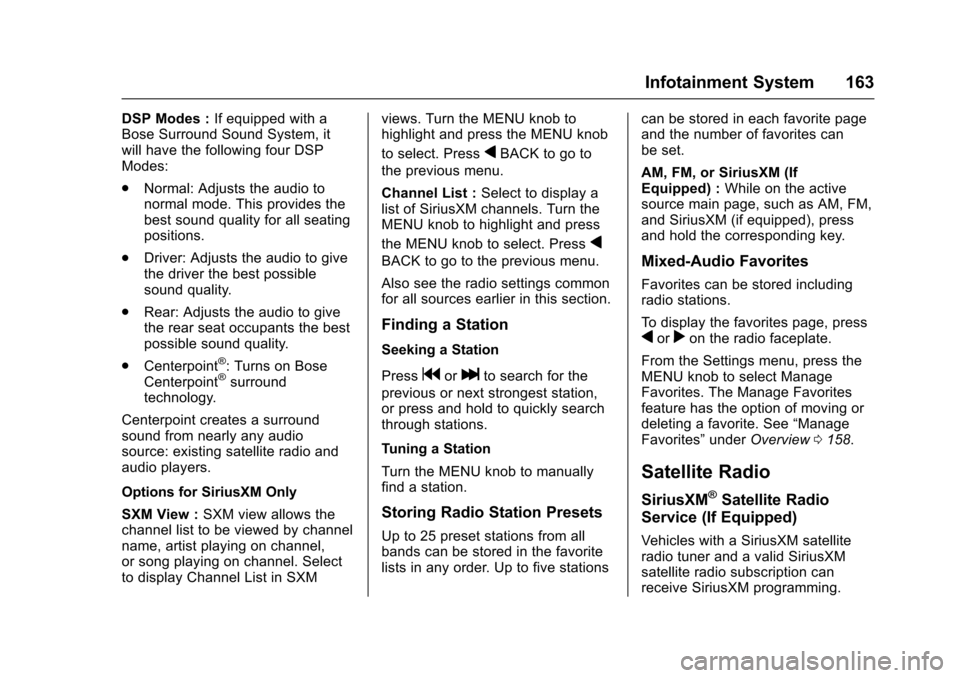
DSP Modes :If equipped with a
Bose Surround Sound System, it
will have the following four DSP
Modes:
. Normal: Adjusts the audio to
normal mode. This provides the
best sound quality for all seating
positions.
. Driver: Adjusts the audio to give
the driver the best possible
sound quality.
. Rear: Adjusts the audio to give
the rear seat occupants the best
possible sound quality.
. Centerpoint
®: Turns on Bose
Centerpoint®surround
technology.
Centerpoint creates a surround
sound from nearly any audio
source: existing satellite radio and
audio players.
Options for SiriusXM Only
SXM View : SXM view allows the
channel list to be viewed by channel
name, artist playing on channel,
or song playing on channel. Select
to display Channel List in SXM views. Turn the MENU knob to
highlight and press the MENU knob
to select. Press
qBACK to go to
the previous menu.
Channel List : Select to display a
list of SiriusXM channels. Turn the
MENU knob to highlight and press
the MENU knob to select. Press
q
BACK to go to the previous menu.
Also see the radio settings common
for all sources earlier in this section.
Finding a Station
Seeking a Station
Press
gorlto search for the
previous or next strongest station,
or press and hold to quickly search
through stations.
Tuning a Station
Turn the MENU knob to manually
find a station.
Storing Radio Station Presets
Up to 25 preset stations from all
bands can be stored in the favorite
lists in any order. Up to five stations can be stored in each favorite page
and the number of favorites can
be set.
AM, FM, or SiriusXM (If
Equipped) :
While on the active
source main page, such as AM, FM,
and SiriusXM (if equipped), press
and hold the corresponding key.
Mixed-Audio Favorites
Favorites can be stored including
radio stations.
To display the favorites page, press
qorron the radio faceplate.
From the Settings menu, press the
MENU knob to select Manage
Favorites. The Manage Favorites
feature has the option of moving or
deleting a favorite. See “Manage
Favorites” underOverview 0158.
Satellite Radio
SiriusXM®Satellite Radio
Service (If Equipped)
Vehicles with a SiriusXM satellite
radio tuner and a valid SiriusXM
satellite radio subscription can
receive SiriusXM programming.
Page 174 of 378
Chevrolet Impala Owner Manual (GMNA-Localizing-U.S./Canada-9921197) -
2017 - crc - 3/30/16
Infotainment System 173
4. Press the button just below theCONNECT screen button to
connect to the highlighted
device.
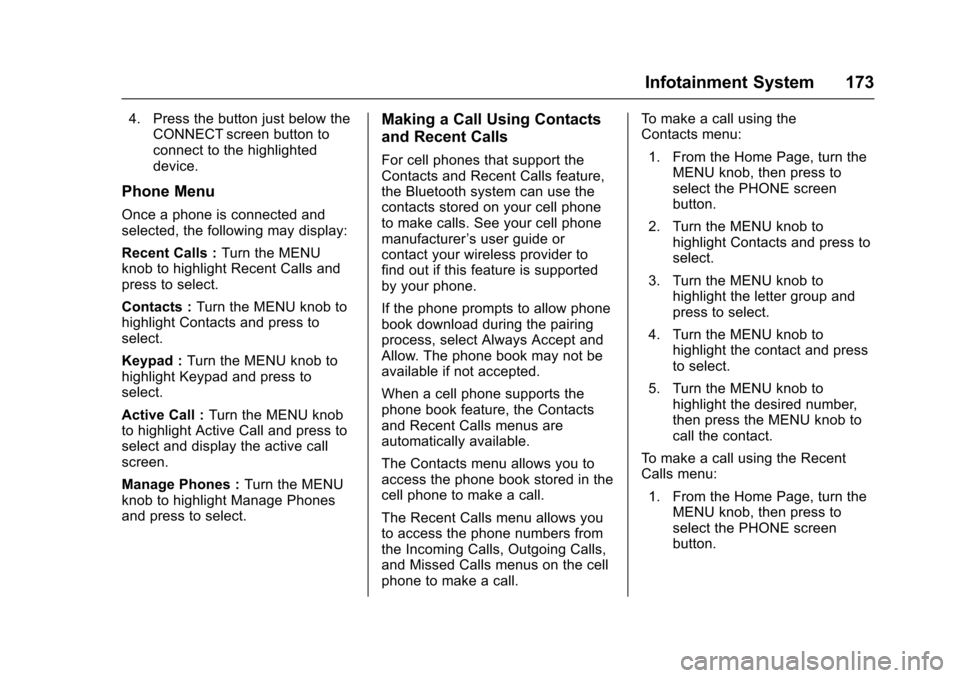
Phone Menu
Once a phone is connected and
selected, the following may display:
Recent Calls : Turn the MENU
knob to highlight Recent Calls and
press to select.
Contacts : Turn the MENU knob to
highlight Contacts and press to
select.
Keypad : Turn the MENU knob to
highlight Keypad and press to
select.
Active Call : Turn the MENU knob
to highlight Active Call and press to
select and display the active call
screen.
Manage Phones : Turn the MENU
knob to highlight Manage Phones
and press to select.
Making a Call Using Contacts
and Recent Calls
For cell phones that support the
Contacts and Recent Calls feature,
the Bluetooth system can use the
contacts stored on your cell phone
to make calls. See your cell phone
manufacturer ’s user guide or
contact your wireless provider to
find out if this feature is supported
by your phone.
If the phone prompts to allow phone
book download during the pairing
process, select Always Accept and
Allow. The phone book may not be
available if not accepted.
When a cell phone supports the
phone book feature, the Contacts
and Recent Calls menus are
automatically available.
The Contacts menu allows you to
access the phone book stored in the
cell phone to make a call.
The Recent Calls menu allows you
to access the phone numbers from
the Incoming Calls, Outgoing Calls,
and Missed Calls menus on the cell
phone to make a call. To make a call using the
Contacts menu:
1. From the Home Page, turn the MENU knob, then press to
select the PHONE screen
button.
2. Turn the MENU knob to highlight Contacts and press to
select.
3. Turn the MENU knob to highlight the letter group and
press to select.
4. Turn the MENU knob to highlight the contact and press
to select.
5. Turn the MENU knob to highlight the desired number,
then press the MENU knob to
call the contact.
To make a call using the Recent
Calls menu:
1. From the Home Page, turn the MENU knob, then press to
select the PHONE screen
button.
Page 175 of 378
Chevrolet Impala Owner Manual (GMNA-Localizing-U.S./Canada-9921197) -
2017 - crc - 3/30/16
174 Infotainment System
2. Turn the MENU knob tohighlight Recent Calls and
press to select.
If necessary, select between
Missed, Recent, and Sent calls
by pressing the button below
the appropriate screen button.
3. Turn the MENU knob to highlight the contact or the
phone number.
4. Press the MENU knob to call the contact.
Making a Call Using the
Keypad
To make a call:
1. From the Home Page, turn the MENU knob, then press to
select the PHONE screen
button.
2. Turn the MENU knob and press to select Keypad.
3. Turn the MENU knob to highlight the first digit and
press to select. Continue this
process through the number.
To call, press the button just
below the CALL screen button.
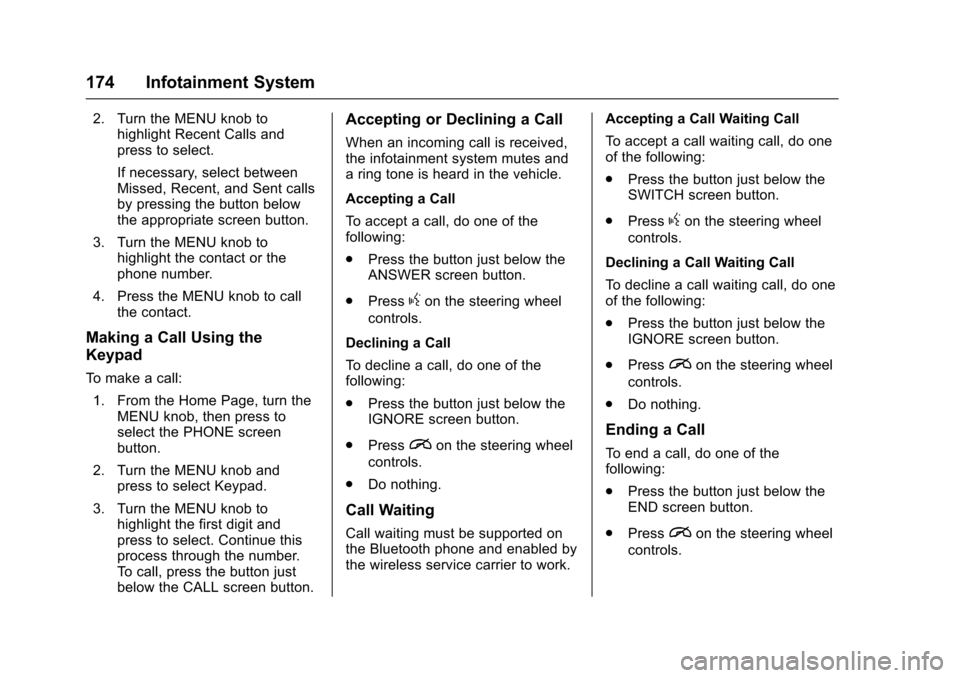
Accepting or Declining a Call
When an incoming call is received,
the infotainment system mutes and
a ring tone is heard in the vehicle.
Accepting a Call
To accept a call, do one of the
following:
.Press the button just below the
ANSWER screen button.
. Press
gon the steering wheel
controls.
Declining a Call
To decline a call, do one of the
following:
. Press the button just below the
IGNORE screen button.
. Press
ion the steering wheel
controls.
. Do nothing.
Call Waiting
Call waiting must be supported on
the Bluetooth phone and enabled by
the wireless service carrier to work. Accepting a Call Waiting Call
To accept a call waiting call, do one
of the following:
.
Press the button just below the
SWITCH screen button.
. Press
gon the steering wheel
controls.
Declining a Call Waiting Call
To decline a call waiting call, do one
of the following:
. Press the button just below the
IGNORE screen button.
. Press
ion the steering wheel
controls.
. Do nothing.
Ending a Call
To end a call, do one of the
following:
.Press the button just below the
END screen button.
. Press
ion the steering wheel
controls.
Page 176 of 378
Chevrolet Impala Owner Manual (GMNA-Localizing-U.S./Canada-9921197) -
2017 - crc - 3/30/16
Infotainment System 175
Dual Tone Multi-Frequency
(DTMF) Tones
The in-vehicle Bluetooth system can
send numbers during a call. This is
used when calling a menu-driven
phone system.1. When a call is active, press the button just below the KEYPAD
screen button.
2. Turn the MENU knob to highlight the first digit and
press to select.
If not initially in the phone
application, from the Home Page,
turn the MENU knob, then press to
select the PHONE screen button.
From the PHONE main menu, turn
the MENU knob to highlight Active
Call and press to select.
Bluetooth (Voice
Recognition - Base
Radio)
Using Voice Recognition
To use voice recognition, pressg
on the steering wheel. Use the
commands below for the various
voice features. For additional
information, say “Help”while you
are in a voice recognition menu.
Pairing
Pairing a Phone
1. Press
g. The system responds
“Ready,” followed by a tone.
2. Say “Bluetooth.”
3. Say “Pair.”The system
responds with instructions and
a four-digit Personal
Identification Number (PIN).
The PIN is used in Step 5.
4. Start the pairing process on the cell phone that you want to
pair. For help with this process,
see your cell phone
manufacturer's user guide. 5. Locate the device named
“Your
Vehicle” in the list on the cell
phone. Follow the instructions
on the cell phone to enter the
PIN provided in Step 3. The
system may respond with a six
digit code to be confirmed on
the cell phone (instead of
entering a four digit code),
check that the same digits are
shown on the cell phone and
say "Yes" to confirm. Select
Confirm on the cell phone as
well. After the PIN is
successfully entered, the
system prompts you to provide
a name for the paired cell
phone. This name will be used
to indicate which phones are
paired and connected to the
vehicle. The system responds
with “
successfully paired” after the
pairing process is complete.
6. Repeat Steps 1−5 to pair additional phones.