2017 CHEVROLET CITY EXPRESS steering
[x] Cancel search: steeringPage 178 of 348
Chevrolet Express Owner Manual (GMNA-Localizing-U.S./Canada/Mexico-
9967827) - 2017 - crc - 9/26/16
Driving and Operating 177
A warning tone will sound when the
driver door is opened, the ignition is
in ACC/ACCESSORY or LOCK/OFF
and the key is in the ignition.
Starting the Engine
If the vehicle has a diesel engine,
see the Duramax diesel
supplement.
To place the transmission in the
proper gear:
Move the shift lever to P (Park) or
N (Neutral). The engine will not start
in any other position. To restart the
engine when the vehicle is already
moving, use N (Neutral) only.
Caution
If you add electrical parts or
accessories, you could change
the way the engine operates. Any
resulting damage would not be
covered by the vehicle warranty.
SeeAdd-On Electrical Equipment
0 212.
Caution
Do not try to shift to P (Park) if the
vehicle is moving. If you do, you
could damage the transmission.
Shift to P (Park) only when the
vehicle is stopped.
Caution
If the steering wheel is turned
until it reaches the end of its
travel, and is held in that position
while starting the vehicle, damage
may occur to the hydraulic power
steering system and there may be
loss of power steering assist.
Starting Procedure 1. With your foot off the accelerator pedal, turn the
ignition key to START. When
the engine starts, let go of the
key. The idle speed will go
down as your engine gets
warm. Do not race the engine
immediately after starting it. Operate the engine and
transmission gently to allow the
oil to warm up and lubricate all
moving parts.
When the Low Fuel warning
lamp is on and the FUEL
LEVEL LOW message is
displayed in the Driver
Information Center (DIC), the
Computer-Controlled Cranking
System is disabled to prevent
possible vehicle component
damage. When this happens,
hold the ignition switch in the
START position to continue
engine cranking.
Caution
Cranking the engine for long
periods of time, by returning the
ignition to the START position
immediately after cranking has
ended, can overheat and damage
the cranking motor, and drain the
battery. Wait at least 15 seconds
between each try, to let the
cranking motor cool down.
Page 179 of 348

Chevrolet Express Owner Manual (GMNA-Localizing-U.S./Canada/Mexico-
9967827) - 2017 - crc - 9/26/16
178 Driving and Operating
2. If the engine does not startafter 5-10 seconds, especially
in very cold weather (below
−18 °C or 0 °F), it could be
flooded with too much
gasoline. Try pushing the
accelerator pedal all the way to
the floor and holding it there as
you hold the key in START for
up to 15 seconds. Wait at least
15 seconds between each try,
to allow the cranking motor to
cool down. When the engine
starts, let go of the key and
accelerator. If the vehicle starts
briefly but then stops again, do
the same thing. This clears the
extra gasoline from the engine.
Do not race the engine
immediately after starting it.
Operate the engine and
transmission gently until the oil
warms up and lubricates all
moving parts.Fast Idle System
If equipped, this feature is available
only with cruise control. The manual
fast idle switch is operated using the
cruise control buttons on the left
side of the steering wheel.
This system can be used to
increase engine idle speed
whenever the following conditions
are met:
.The parking brake is set.
. The brake pedal is not pressed.
. The vehicle must not be moving
and the accelerator must not be
pressed.
To control the fast idle:
. To enable the Fast Idle System,
press and release the cruise
control on/off button and ensure
that the switch indicator light
is lit.
. Press and release the cruise
control SET- button. Engine
speed will be held at
approximately 1200 rpm. When the fast idle is active, the
Driver Information Center (DIC) will
display FAST IDLE ON.
One of the following actions will turn
off the fast idle:
.
Pressing the brake.
. Selecting the cruise control
cancel button.
. Releasing the parking brake.
. Moving the transmission shift
lever out of P (Park) or
N (Neutral).
. Selecting the cruise control on/
off button when it was
previously on.
. Pressing the cruise control SET-
button a second time.
. Pressing the accelerator more
than one-quarter of the
way down.
. Turning the ignition switch to the
LOCK/OFF position.
Page 180 of 348
Chevrolet Express Owner Manual (GMNA-Localizing-U.S./Canada/Mexico-
9967827) - 2017 - crc - 9/26/16
Driving and Operating 179
Retained Accessory
Power (RAP)
These vehicle accessories can be
used for up to 10 minutes after the
engine is turned off:
.Audio System
. Power Windows (if equipped)
These features will work when the
ignition key is in ON/RUN or ACC/
ACCESSORY. Once the key is
turned from ON/RUN to LOCK/OFF,
power to the radio and power
windows will continue to work
10 minutes or until the driver door is
opened.
Engine Coolant Heater
If the vehicle has a diesel engine,
see the Duramax diesel
supplement.
{Warning
Do not plug in the engine block
heater while the vehicle is in
parked in a garage or under a (Continued)
Warning (Continued)
carport. Property damage or
personal injury may result. Always
park the vehicle in a clear open
area away from buildings or
structures.
The engine coolant heater can
provide easier starting and better
fuel economy during engine
warm-up in cold weather conditions
at or below −18 °C (0 °F). Vehicles
with an engine coolant heater
should be plugged in at least four
hours before starting. An internal
thermostat in the plug end of the
cord may exist which will prevent
engine coolant heater operation at
temperatures above −18 °C (0 °F).
To Use the Engine Coolant
Heater
1. Turn off the engine.
2. Open the hood and unwrap the
electrical cord. The cord for the engine coolant
heater is on the driver side of
the engine compartment and is
attached to the hose for the
power steering reservoir.
Check the heater cord for
damage. If it is damaged, do
not use it. See your dealer for
a replacement. Inspect the
cord for damage yearly.
3. Plug it into a normal, grounded 110-volt AC outlet.
{Warning
Improper use of the heater cord
or an extension cord can damage
the cord and may result in
overheating and fire.
. Plug the cord into a
three-prong electrical utility
receptacle that is protected
by a ground fault detection
(Continued)
Page 188 of 348
Chevrolet Express Owner Manual (GMNA-Localizing-U.S./Canada/Mexico-
9967827) - 2017 - crc - 9/26/16
Driving and Operating 187
2. Press the +/−buttons on the
shift lever, to select the desired
range of gears for current
driving conditions.
When M (Manual Mode) is selected
a number displays in the DIC next to
the M indicating the current gear.
This number is the highest gear that
can be used. However, the vehicle
can automatically shift to lower
gears as it adjusts to driving
conditions. This means that all
gears below that number are
available. When 5 (Fifth) is selected,
1 (First) through 5 (Fifth) gears are
automatically shifted by the vehicle,
but 6 (Sixth) cannot be used until
the +/− button on the steering
column lever is used to change to
the gear.
Grade Braking is not available when
Range Selection Mode is active.
See Tow/Haul Mode 0187.
While using Range Selection Mode,
cruise control and the Tow/Haul
Mode can be used.Caution
Spinning the tires or holding the
vehicle in one place on a hill
using only the accelerator pedal
may damage the transmission.
The repair will not be covered by
the vehicle warranty. If the vehicle
is stuck, do not spin the tires.
When stopping on a hill, use the
brakes to hold the vehicle in
place.
Low Traction Mode
Low Traction Mode can assist in
vehicle acceleration when road
conditions are slippery. While the
vehicle is at a stop, select the
second gear range using Range
Selection Mode. This will limit
torque to the wheels after it detects
wheel slip, preventing the tires from
spinning.
Tow/Haul Mode
If equipped, Tow/Haul Mode adjusts
the transmission shift pattern to
reduce shift cycling, providing
increased performance, vehicle
control, and transmission cooling
when towing or hauling heavy loads.
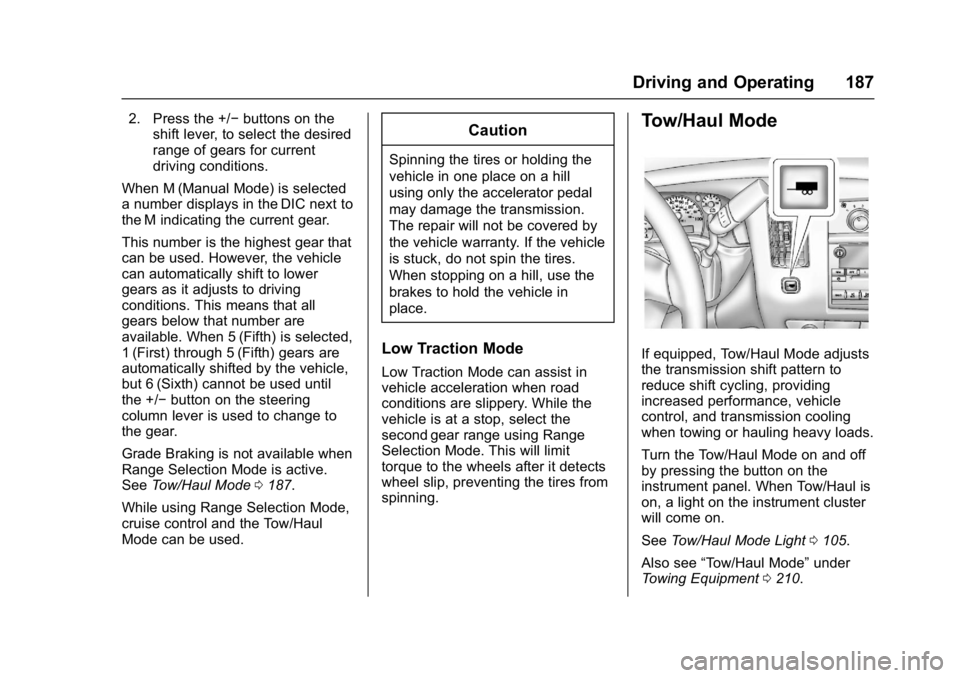
Turn the Tow/Haul Mode on and off
by pressing the button on the
instrument panel. When Tow/Haul is
on, a light on the instrument cluster
will come on.
See Tow/Haul Mode Light 0105.
Also see “Tow/Haul Mode” under
Towing Equipment 0210.
Page 190 of 348
Chevrolet Express Owner Manual (GMNA-Localizing-U.S./Canada/Mexico-
9967827) - 2017 - crc - 9/26/16
Driving and Operating 189
Using ABS
Do not pump the brakes. Just hold
the brake pedal down firmly and let
ABS work. You may hear the ABS
pump or motor operating and feel
the brake pedal pulsate. This is
normal.
Braking in Emergencies
ABS allows you to steer and brake
at the same time. In many
emergencies, steering can help
more than even the very best
braking.
Parking Brake
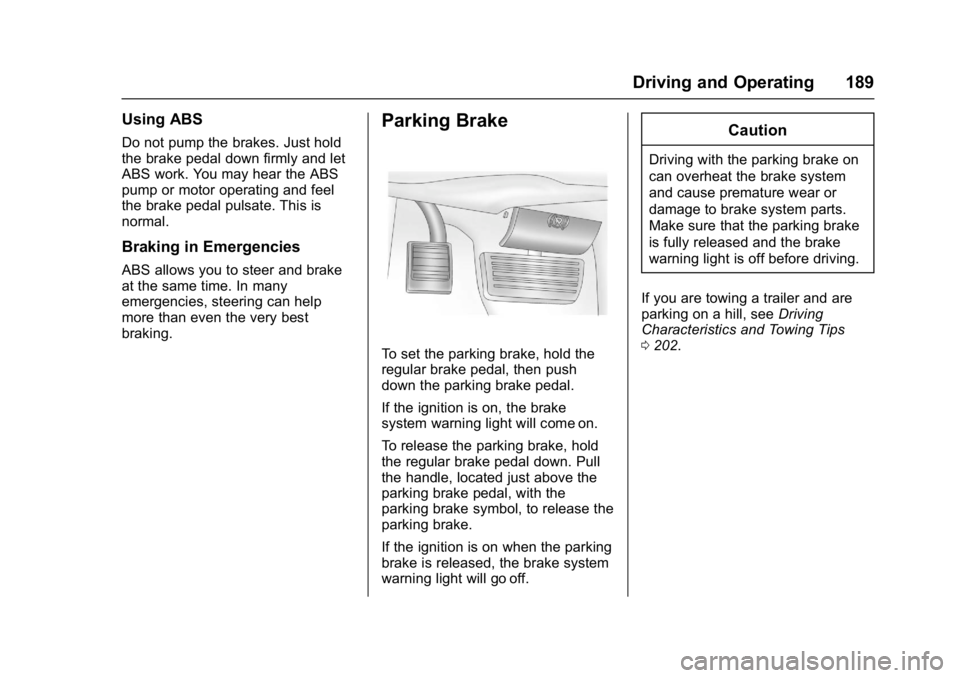
To set the parking brake, hold the
regular brake pedal, then push
down the parking brake pedal.
If the ignition is on, the brake
system warning light will come on.
To release the parking brake, hold
the regular brake pedal down. Pull
the handle, located just above the
parking brake pedal, with the
parking brake symbol, to release the
parking brake.
If the ignition is on when the parking
brake is released, the brake system
warning light will go off.
Caution
Driving with the parking brake on
can overheat the brake system
and cause premature wear or
damage to brake system parts.
Make sure that the parking brake
is fully released and the brake
warning light is off before driving.
If you are towing a trailer and are
parking on a hill, see Driving
Characteristics and Towing Tips
0 202.
Page 205 of 348
Chevrolet Express Owner Manual (GMNA-Localizing-U.S./Canada/Mexico-
9967827) - 2017 - crc - 9/26/16
204 Driving and Operating
Passing
More passing distance is needed
when towing a trailer. The
combination will not accelerate as
quickly and is longer so it is
necessary to go much farther
beyond the passed vehicle before
returning to the lane.
Backing Up
Hold the bottom of the steering
wheel with one hand. To move the
trailer to the left, move that hand to
the left. To move the trailer to the
right, move your hand to the right.
Always back up slowly and,
if possible, have someone
guide you.
Making TurnsCaution
Making very sharp turns while
trailering could cause the trailer to
come in contact with the vehicle.
The vehicle could be damaged.
Avoid making very sharp turns
while trailering. When turning with a trailer, make
wider turns than normal. Do this so
the trailer will not strike soft
shoulders, curbs, road signs, trees,
or other objects. Avoid jerky or
sudden maneuvers. Signal well in
advance.
If the trailer turn signal bulbs burn
out, the arrows on the instrument
cluster will still flash for turns. It is
important to check occasionally to
be sure the trailer bulbs are still
working.
Driving on Grades
Reduce speed and shift to a lower
gear
before starting down a long or
steep downgrade. If the
transmission is not shifted down, the
brakes might get hot and no longer
work well.
Vehicles can tow in D (Drive). Shift
the transmission to a lower gear if
the transmission shifts too often
under heavy loads and/or hilly
conditions.
The Tow/Haul Mode may be used if
the transmission shifts too often.
See Tow/Haul Mode 0187. When towing at high altitude on
steep uphill grades, consider the
following: Engine coolant will boil at
a lower temperature than at normal
altitudes. If the engine is turned off
immediately after towing at high
altitude on steep uphill grades, the
vehicle may show signs similar to
engine overheating. To avoid this,
let the engine run while parked,
preferably on level ground, with the
transmission in P (Park) for a few
minutes before turning the engine
off. If the overheat warning comes
on, see
Engine Overheating 0230.Parking on Hills
{Warning
Parking the vehicle on a hill with
the trailer attached can be
dangerous. If something goes
wrong, the rig could start to move.
People can be injured, and both
the vehicle and the trailer can be
damaged. When possible, always
park the rig on a flat surface.
Page 213 of 348
Chevrolet Express Owner Manual (GMNA-Localizing-U.S./Canada/Mexico-
9967827) - 2017 - crc - 9/26/16
212 Driving and Operating
Tow/Haul Mode
This button is on the instrument
panel, to the right of the steering
wheel.
Pressing this button turns on and off
the Tow/Haul Mode.
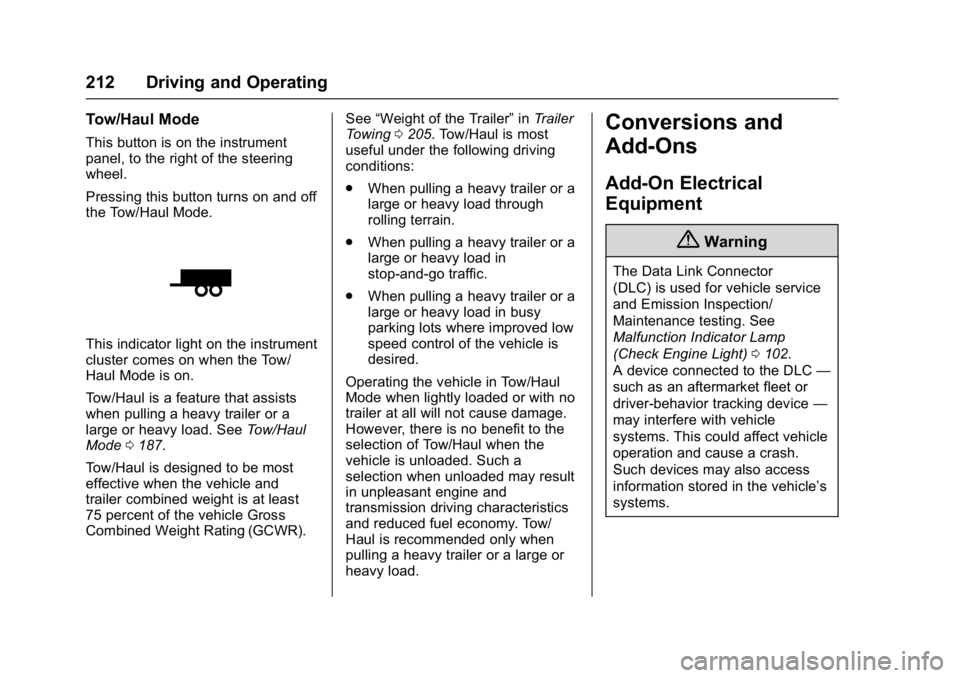
This indicator light on the instrument
cluster comes on when the Tow/
Haul Mode is on.
Tow/Haul is a feature that assists
when pulling a heavy trailer or a
large or heavy load. SeeTow/Haul
Mode 0187.
Tow/Haul is designed to be most
effective when the vehicle and
trailer combined weight is at least
75 percent of the vehicle Gross
Combined Weight Rating (GCWR). See
“Weight of the Trailer” inTrailer
Towing 0205. Tow/Haul is most
useful under the following driving
conditions:
. When pulling a heavy trailer or a
large or heavy load through
rolling terrain.
. When pulling a heavy trailer or a
large or heavy load in
stop-and-go traffic.
. When pulling a heavy trailer or a
large or heavy load in busy
parking lots where improved low
speed control of the vehicle is
desired.
Operating the vehicle in Tow/Haul
Mode when lightly loaded or with no
trailer at all will not cause damage.
However, there is no benefit to the
selection of Tow/Haul when the
vehicle is unloaded. Such a
selection when unloaded may result
in unpleasant engine and
transmission driving characteristics
and reduced fuel economy. Tow/
Haul is recommended only when
pulling a heavy trailer or a large or
heavy load.
Conversions and
Add-Ons
Add-On Electrical
Equipment
{Warning
The Data Link Connector
(DLC) is used for vehicle service
and Emission Inspection/
Maintenance testing. See
Malfunction Indicator Lamp
(Check Engine Light) 0102.
A device connected to the DLC —
such as an aftermarket fleet or
driver-behavior tracking device —
may interfere with vehicle
systems. This could affect vehicle
operation and cause a crash.
Such devices may also access
information stored in the vehicle’s
systems.
Page 215 of 348

Chevrolet Express Owner Manual (GMNA-Localizing-U.S./Canada/Mexico-
9967827) - 2017 - crc - 9/26/16
214 Vehicle Care
Vehicle Care
General Information
General Information . . . . . . . . . . 215
California Proposition65 Warning . . . . . . . . . . . . . . . . . 215
California Perchlorate Materials Requirements . . . . . 215
Accessories and Modifications . . . . . . . . . . . . . . . . 216
Vehicle Checks
Doing Your OwnService Work . . . . . . . . . . . . . . . 216
Hood . . . . . . . . . . . . . . . . . . . . . . . . . 217
Engine Compartment Overview . . . . . . . . . . . . . . . . . . . . 218
Engine Oil . . . . . . . . . . . . . . . . . . . . 219
Engine Oil Life System . . . . . . . 221
Automatic Transmission Fluid . . . . . . . . . . . . . . . . . . . . . . . . 222
Engine Air Cleaner/Filter . . . . . . 225
Cooling System . . . . . . . . . . . . . . 226
Engine Coolant . . . . . . . . . . . . . . . 227
Engine Overheating . . . . . . . . . . 230
Engine Fan . . . . . . . . . . . . . . . . . . . 232
Power Steering Fluid . . . . . . . . . 232
Washer Fluid . . . . . . . . . . . . . . . . . 233
Brakes . . . . . . . . . . . . . . . . . . . . . . . 234
Brake Fluid . . . . . . . . . . . . . . . . . . . 234 Battery - North America . . . . . . 236
Rear Axle . . . . . . . . . . . . . . . . . . . . 236
Noise Control System . . . . . . . . 237
Starter Switch Check . . . . . . . . . 238
Automatic Transmission Shift
Lock Control Function
Check . . . . . . . . . . . . . . . . . . . . . . . 238
Ignition Transmission Lock Check . . . . . . . . . . . . . . . . . . . . . . . 239
Park Brake and P (Park) Mechanism Check . . . . . . . . . . 239
Wiper Blade Replacement . . . . 239Headlamp Aiming
Headlamp Aiming . . . . . . . . . . . . 240
Bulb Replacement
Bulb Replacement . . . . . . . . . . . . 240
Halogen Bulbs . . . . . . . . . . . . . . . . 240
Headlamps . . . . . . . . . . . . . . . . . . . 241
Front Turn Signal, Sidemarker, and Parking Lamps . . . . . . . . . 242
Taillamps . . . . . . . . . . . . . . . . . . . . . 243
Center High-Mounted Stoplamp (CHMSL) . . . . . . . . . 244
License Plate Lamp . . . . . . . . . . 244
Replacement Bulbs . . . . . . . . . . . 245
Electrical System
Electrical System Overload . . . 245
Fuses and Circuit Breakers . . . 246 Engine Compartment Fuse
Block . . . . . . . . . . . . . . . . . . . . . . . . 246
Floor Console Fuse Block . . . . 250
Wheels and Tires
Tires . . . . . . . . . . . . . . . . . . . . . . . . . . 252
All-Season Tires . . . . . . . . . . . . . . 253
Winter Tires . . . . . . . . . . . . . . . . . . 253
All-Terrain Tires . . . . . . . . . . . . . . . 253
Tire Sidewall Labeling . . . . . . . . 254
Tire Designations . . . . . . . . . . . . . 256
Tire Terminology and Definitions . . . . . . . . . . . . . . . . . . 257
Tire Pressure . . . . . . . . . . . . . . . . . 260
Tire Pressure Monitor System . . . . . . . . . . . . . . . . . . . . . . 261
Tire Pressure Monitor
Operation . . . . . . . . . . . . . . . . . . . 262
Tire Inspection . . . . . . . . . . . . . . . . 265
Tire Rotation . . . . . . . . . . . . . . . . . 265
Dual Tire Rotation . . . . . . . . . . . . 266
When It Is Time for New Tires . . . . . . . . . . . . . . . . . . . . . . . . 267
Buying New Tires . . . . . . . . . . . . . 268
Different Size Tires and Wheels . . . . . . . . . . . . . . . . . . . . . . 269
Uniform Tire Quality Grading . . . . . . . . . . . . . . . . . . . . . 270
Wheel Alignment and Tire Balance . . . . . . . . . . . . . . . . . . . . . 271
Wheel Replacement . . . . . . . . . . 271