2017 BMW 6 SERIES GRAN COUPE USB port
[x] Cancel search: USB portPage 23 of 261

SymbolMeaning Text message was received. Check the SIM card. SIM card is blocked. SIM card is missing. Enter PIN.
Entertainment symbols
SymbolMeaning CD/DVD player. Music collection. Gracenote® database. AUX-IN port. USB audio interface. Mobile phone audio interface.
Additional symbols
SymbolMeaning Spoken instructions are turned off. Check the current vehicle position.
Split screen
General information Additional information can be displayed on the
right side of the split screen, for example, infor‐
mation from the onboard computer.
In the divided screen view, the so-called split
screen, this information remains visible even when you change to another menu.
Switching the split screen on/off
On the Control Display:1. Press button.2."Split screen"
Selecting the display
On the Control Display:
1. Press button.2."Split screen"3.Move the Controller until the split screen is
selected.4.Press the Controller or select "Split screen
content".5.Select the desired menu item.
Programmable memory
buttons
General information
The iDrive functions can be stored on the pro‐
grammable memory buttons and called up di‐
rectly, for example, radio stations, navigation
destinations, phone numbers and menu en‐
tries.
Settings are stored for the profile currently
used.
Saving a function
1.Highlight the function via the iDrive.Seite 23iDriveAt a glance23
Online Edition for Part no. 01 40 2 969 305 - II/16
Page 37 of 261

On the Control Display:1."Settings"2."Profiles"3.Open "Options".4."Rename current profile"
Resetting profilesThe settings of the active profile are reset to
their default values.
On the Control Display:
1."Settings"2."Profiles"3.Open "Options".4."Reset current profile"
Exporting profiles Most settings of the active profile can be ex‐
ported.
This can be helpful for securing and retrieving
personal settings, before delivering the vehicle
to a workshop, for example. Profiles can be
taken to another vehicle equipped with the
Personal Profile function.
The following export options are available:
▷Via BMW Online.▷Via the USB port to a USB device.
Popular file systems for USB devices are
supported. FAT32 and exFAT are the rec‐
ommended formats for profile export.
Other formats may not support the export.
On the Control Display:
1."Settings"2."Profiles"3."Export profile"4.BMW Online: "BMW Online"
USB interface: "USB device"Importing profiles
Profiles exported via BMW Online can also be
imported via BMW Online.
Profiles stored on a USB device can be im‐
ported via the USB interface.
Existing settings are overwritten with the im‐
ported profile.
On the Control Display:1."Settings"2."Profiles"3."Import profile"4.BMW Online: "BMW Online"
USB interface: "USB device"
Using the guest profile
The guest profile is for individual settings that
are saved in none of the three personal pro‐
files.
This can be useful for drivers who are using
the vehicle temporarily and do not have their
own profile.
On the Control Display:
1."Settings"2."Profiles"3."Guest"
The guest profile cannot be renamed. It is not
assigned to the current remote control.
Display profile list during start
The profile list can be displayed during each
start to select the desired profile.
On the Control Display:
1."Settings"2."Profiles"3.Open "Options".4."Display user list at startup"Seite 37Opening and closingControls37
Online Edition for Part no. 01 40 2 969 305 - II/16
Page 173 of 261

Center armrest
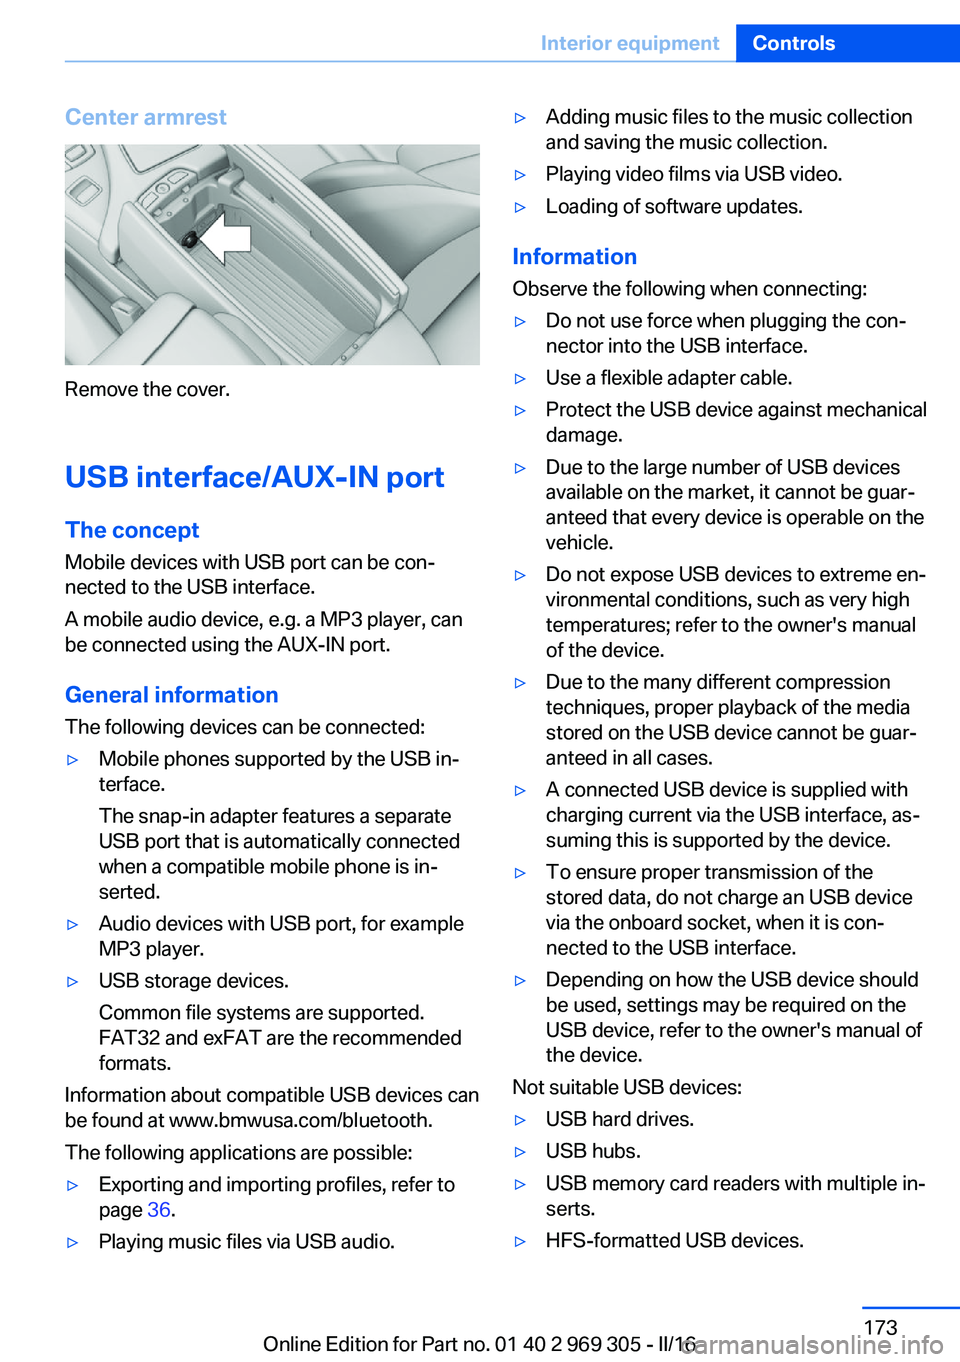
Remove the cover.
USB interface/AUX-IN port The concept
Mobile devices with USB port can be con‐
nected to the USB interface.
A mobile audio device, e.g. a MP3 player, can
be connected using the AUX-IN port.
General information
The following devices can be connected:
▷Mobile phones supported by the USB in‐
terface.
The snap-in adapter features a separate
USB port that is automatically connected
when a compatible mobile phone is in‐
serted.▷Audio devices with USB port, for example
MP3 player.▷USB storage devices.
Common file systems are supported.
FAT32 and exFAT are the recommended
formats.
Information about compatible USB devices can
be found at www.bmwusa.com/bluetooth.
The following applications are possible:
▷Exporting and importing profiles, refer to
page 36.▷Playing music files via USB audio.▷Adding music files to the music collection
and saving the music collection.▷Playing video films via USB video.▷Loading of software updates.
Information
Observe the following when connecting:
▷Do not use force when plugging the con‐
nector into the USB interface.▷Use a flexible adapter cable.▷Protect the USB device against mechanical
damage.▷Due to the large number of USB devices
available on the market, it cannot be guar‐
anteed that every device is operable on the
vehicle.▷Do not expose USB devices to extreme en‐
vironmental conditions, such as very high
temperatures; refer to the owner's manual
of the device.▷Due to the many different compression
techniques, proper playback of the media
stored on the USB device cannot be guar‐
anteed in all cases.▷A connected USB device is supplied with
charging current via the USB interface, as‐
suming this is supported by the device.▷To ensure proper transmission of the
stored data, do not charge an USB device
via the onboard socket, when it is con‐
nected to the USB interface.▷Depending on how the USB device should
be used, settings may be required on the
USB device, refer to the owner's manual of
the device.
Not suitable USB devices:
▷USB hard drives.▷USB hubs.▷USB memory card readers with multiple in‐
serts.▷HFS-formatted USB devices.Seite 173Interior equipmentControls173
Online Edition for Part no. 01 40 2 969 305 - II/16
Page 174 of 261

▷MTP devices.▷Devices such as fans or lights.
Overview
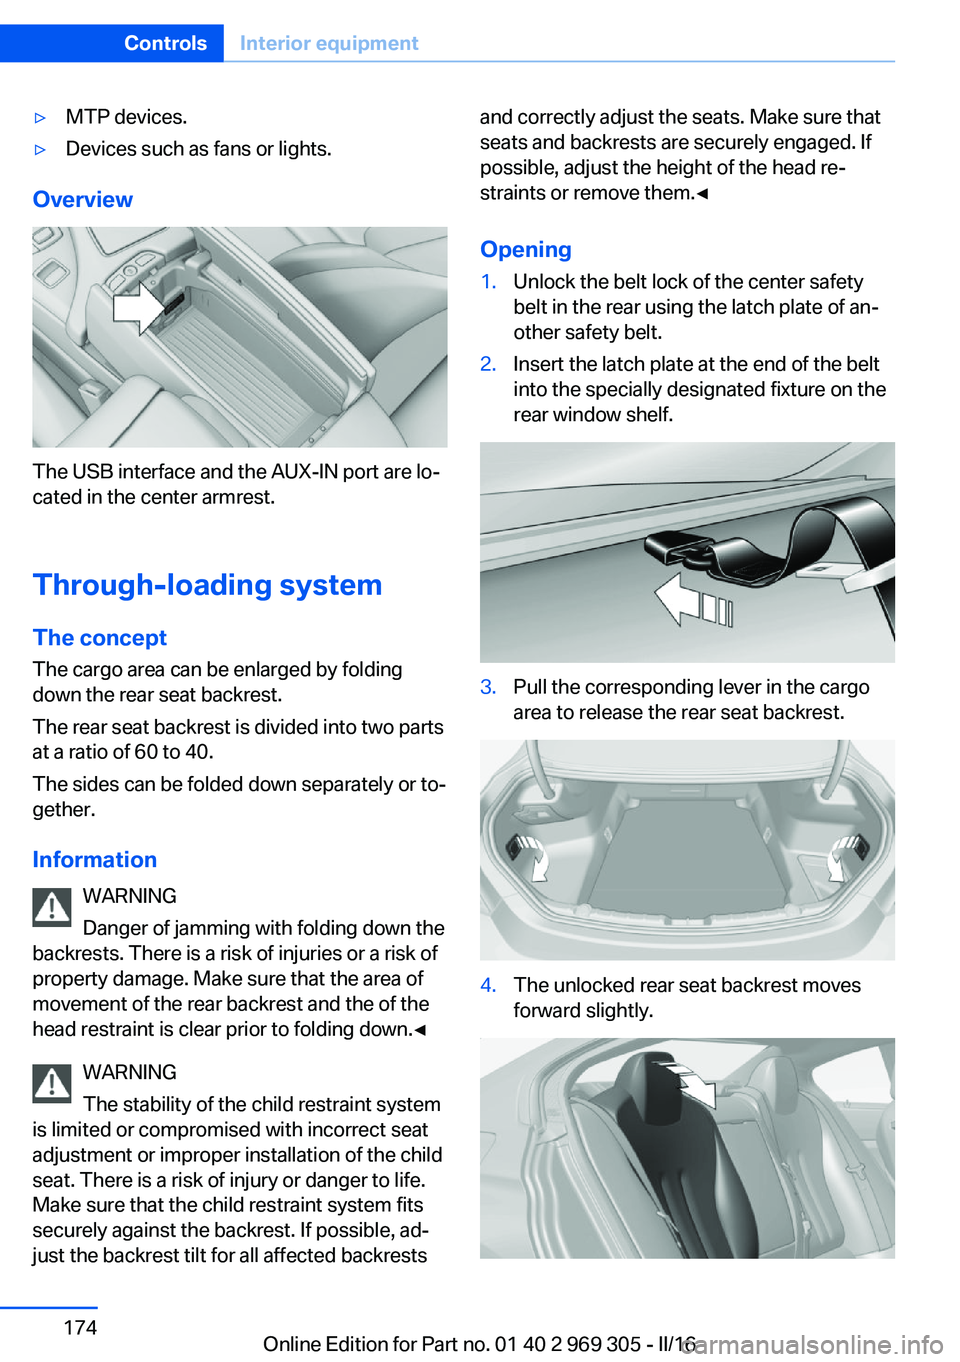
The USB interface and the AUX-IN port are lo‐
cated in the center armrest.
Through-loading system The concept The cargo area can be enlarged by folding
down the rear seat backrest.
The rear seat backrest is divided into two parts
at a ratio of 60 to 40.
The sides can be folded down separately or to‐
gether.
Information WARNING
Danger of jamming with folding down the
backrests. There is a risk of injuries or a risk of
property damage. Make sure that the area of
movement of the rear backrest and the of the
head restraint is clear prior to folding down.◀
WARNING
The stability of the child restraint system
is limited or compromised with incorrect seat
adjustment or improper installation of the child
seat. There is a risk of injury or danger to life.
Make sure that the child restraint system fits
securely against the backrest. If possible, ad‐
just the backrest tilt for all affected backrests
and correctly adjust the seats. Make sure that
seats and backrests are securely engaged. If
possible, adjust the height of the head re‐
straints or remove them.◀
Opening1.Unlock the belt lock of the center safety
belt in the rear using the latch plate of an‐
other safety belt.2.Insert the latch plate at the end of the belt
into the specially designated fixture on the
rear window shelf.3.Pull the corresponding lever in the cargo
area to release the rear seat backrest.4.The unlocked rear seat backrest moves
forward slightly.Seite 174ControlsInterior equipment174
Online Edition for Part no. 01 40 2 969 305 - II/16
Page 178 of 261

Front center armrest
Opening A storage compartment is located in the center
armrest between the front seats.
Press buttons next to the lock.
Locking the storage compartment
The storage compartment in the armrest can
be locked with an integrated key to separately
secure the tailgate, refer to page 42, for exam‐
ple.
After the storage compartment is locked, the
remote control can be handed out without the
integrated key, refer to page 34, for instance at
a hotel.
This prevents access to the storage compart‐
ment and to the cargo area.
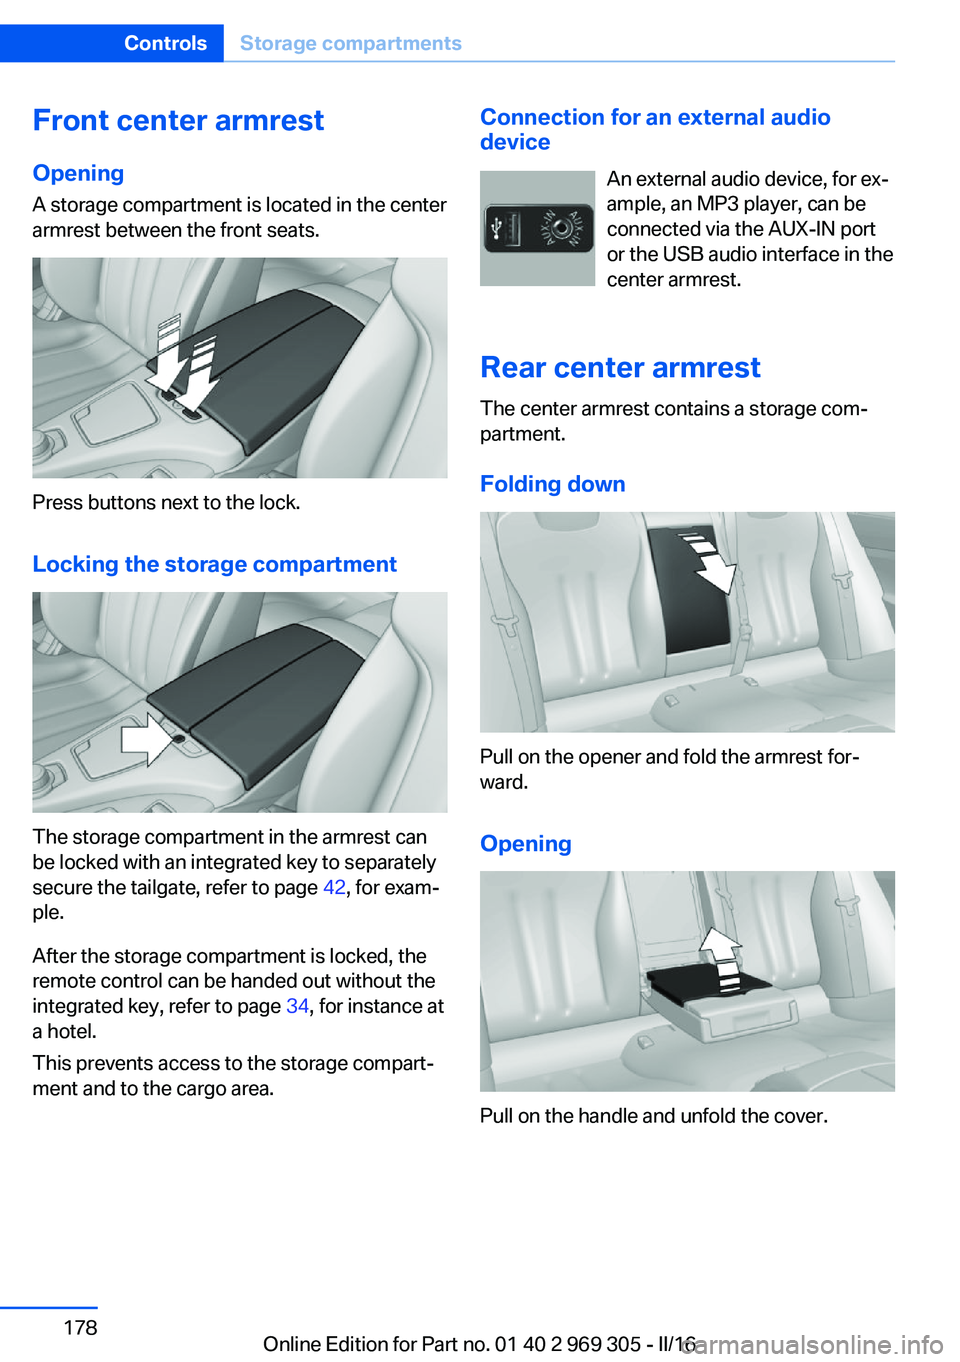
Connection for an external audio
device
An external audio device, for ex‐
ample, an MP3 player, can be
connected via the AUX-IN port
or the USB audio interface in the
center armrest.
Rear center armrest
The center armrest contains a storage com‐
partment.
Folding down
Pull on the opener and fold the armrest for‐
ward.
Opening
Pull on the handle and unfold the cover.
Seite 178ControlsStorage compartments178
Online Edition for Part no. 01 40 2 969 305 - II/16
Page 258 of 261

Storage compartments 177
Storage compartments, loca‐ tions 177
Storage, tires 211
Storing the vehicle 242
Suitable engine oil types 222
Summer tires, tread 209
Sun visor 171
Supplementary text mes‐ sage 88
Surround View 152
Suspension settings 137
Switch for Dynamic Driving Control 137
Switch-on times, parked-car ventilation 168
Switch, see Cockpit 14
Symbols 6
Symbols in the status field 22
SYNC program, automatic cli‐ mate control 164
T Tachometer 89
Tail and brake lights 230
Tailgate closing 41
Tailgate, emergency unlock‐ ing 42
Tailgate, hotel function 42
Tailgate opening 41
Tailgate via remote con‐ trol 39
Tail lamps 230
Tail lamps, bulb replace‐ ment 230
Technical changes, see Own Safety 7
Technical data 246
Telephone, see Owner's Manual for Navigation, En‐
tertainment and Communi‐
cation
Temperature, automatic cli‐ mate control 163 Temperature display for ex‐
ternal temperature 89
Temperature, engine oil 89
Terminal, starting aid 235
Text message, supplemen‐ tary 88
Theft alarm system, see Alarm system 45
Thermal camera, see Night Vision 123
Thigh support 52
Through-loading system 174
Tilt alarm sensor 46
Tilt glass roof 49
Tilt, seats 51
Time of arrival 95
Tire damage 210
Tire identification marks 208
Tire inflation pressure 202
Tire inflation pressure moni‐ tor, see FTM 112
Tire Pressure Monitor TPM 108
Tire repair kit, see Mobility System 212
Tires, changing 210
Tire sealant, see Mobility System 212
Tires, everything on wheels and tires 202
Tires, run-flat tires 212
Tire tread 209
Tone, see Owner's Manual for Navigation, Entertainment
and Communication
Tool 228
Top View 156
Total vehicle weight 247
Touchpad 21
Towing 236
Tow-starting 236
TPM Tire Pressure Moni‐ tor 108
Traction control 134
TRACTION, driving dynam‐ ics 134 TRACTION program, driving
dynamics 138
Transmission lock, electronic unlocking 79
Transmission, see Steptronic transmission 77
Transporting children safely 62
Tread, tires 209
Triple turn signal activa‐ tion 73
Trip odometer 89
Trip onboard computer 95
Trip recorder, see Trip odom‐ eter 89
Turning circle 246
Turning circle lines, rearview camera 154
Turn signals, operation 73
Turn signals, rear, bulb re‐ placement 230
U
Unintentional alarm 46
Units of measurement 97
Universal remote control 169
Unlock button, Steptronic transmission 77
Unlocking/locking via door lock 39
Unlocking/locking with re‐ mote control 38
Unlocking, settings 44
Updates made after the edito‐ rial deadline 7
Upholstery care 241
USB interface, general infor‐ mation 173
USB port, see USB inter‐ face 173
V Vanity mirror 171 Seite 258ReferenceEverything from A to Z258
Online Edition for Part no. 01 40 2 969 305 - II/16