2017 BMW 6 SERIES GRAN COUPE tailgate
[x] Cancel search: tailgatePage 45 of 261

WARNING
There is risk of jamming when moving
the seats. There is a risk of injury or risk of
property damage. Make sure that the area of
movement of the seat is clear prior to any ad‐
justment.◀
The adjustment procedure is interrupted:▷When a seat position switch is pressed.▷When a button of the seat, mirror, and
steering wheel memory is pressed briefly.
Activating the setting
1."Settings"2."Doors/key"3."Last seat position autom."
Alarm system
The conceptWhen the vehicle is locked, the vehicle alarm
system responds to:
▷Opening a door, the hood or the tailgate.▷Movements in the interior.▷Changes in the vehicle tilt, e.g., during at‐
tempts at stealing a wheel or when towing
the car.▷Disconnected battery voltage.
The alarm system briefly signals tampering:
▷Acoustic alarm.▷By switching on the hazard warning sys‐
tem.▷By flashing the daytime running lights.
Switching on and off
When you unlock or lock the vehicle, either
with the remote control, Comfort Access or at
the door lock, the alarm system is switched on
and off at the same time.
Door lock with the alarm system
switched on
Unlocking via the door lock will trigger the
alarm on some country-specific versions.
Switching off the alarm, refer to page 46.
Tailgate with the alarm system
switched on
The tailgate can be opened even when the
alarm system is switched on.
After the tailgate is closed, it is locked and
monitored again when the doors are locked.
The hazard warning system flashes once.
Panic mode You can trigger the alarm system if you find
yourself in a dangerous situation.
Press button on the remote control for
at least 3 seconds.
To switch off the alarm: press any button.
Indicator lamp on the interior mirror▷The indicator lamp flashes briefly every
2 seconds:
The alarm system is switched on.▷Indicator lamp flashes for approx. 10 sec‐
onds, then it flashes briefly every 2 sec‐
onds:
Interior motion sensor and tilt alarm sensor
are not active, as doors, hood, or tailgate
are not correctly closed. Correctly closed
access points are secured.Seite 45Opening and closingControls45
Online Edition for Part no. 01 40 2 969 305 - II/16
Page 58 of 261

Overview
Storing
1.Switch on the ignition.2.Set the desired position.3. Press button. The LED in the but‐
ton lights up.4.Press selected button 1 or 2 while the LED
is lit. The LED goes out.
Button was pressed inadvertently:
Press button again.
The LED goes out.
Calling up settings
General information
There are two ways to call up the memory
function:
▷Comfort function.▷Safety function.
Comfort function
1.Open the driver's door.2.If necessary, switch off the ignition.3.Briefly press the desired button 1 or 2.
The corresponding seat position is performed
automatically.
The procedure stops when a switch for adjust‐
ing the seat or one of the buttons is pressed.
Safety mode1.Close the driver's door or switch on the ig‐
nition.2.Press and hold the desired button 1 or 2
until the adjustment procedure is com‐
pleted.
Calling up of a seat position
deactivated
After a brief period, calling up stored seat posi‐
tions is deactivated to save battery power.
To reactivate calling up of a seat position:
▷Open or close the door or tailgate.▷Press a button on the remote control.▷Press the Start/Stop button.
Mirrors
Exterior mirrors
General information The mirror on the passenger side is more
curved than the driver's side mirror.
Depending on the vehicle equipment, the mir‐
ror setting is stored for the profile currently
used. When the vehicle is unlocked via the re‐
mote control, the position is automatically re‐
trieved if this function is active.
Information WARNING
Objects reflected in the mirror are closer
than they appear. The distance to the traffic
behind could be incorrectly estimated, e.g.,
while changing lanes. There is risk of an acci‐
dent. Estimate the distance to the traffic be‐
hind by looking over your shoulder.◀
Seite 58ControlsAdjusting58
Online Edition for Part no. 01 40 2 969 305 - II/16
Page 153 of 261

Overview
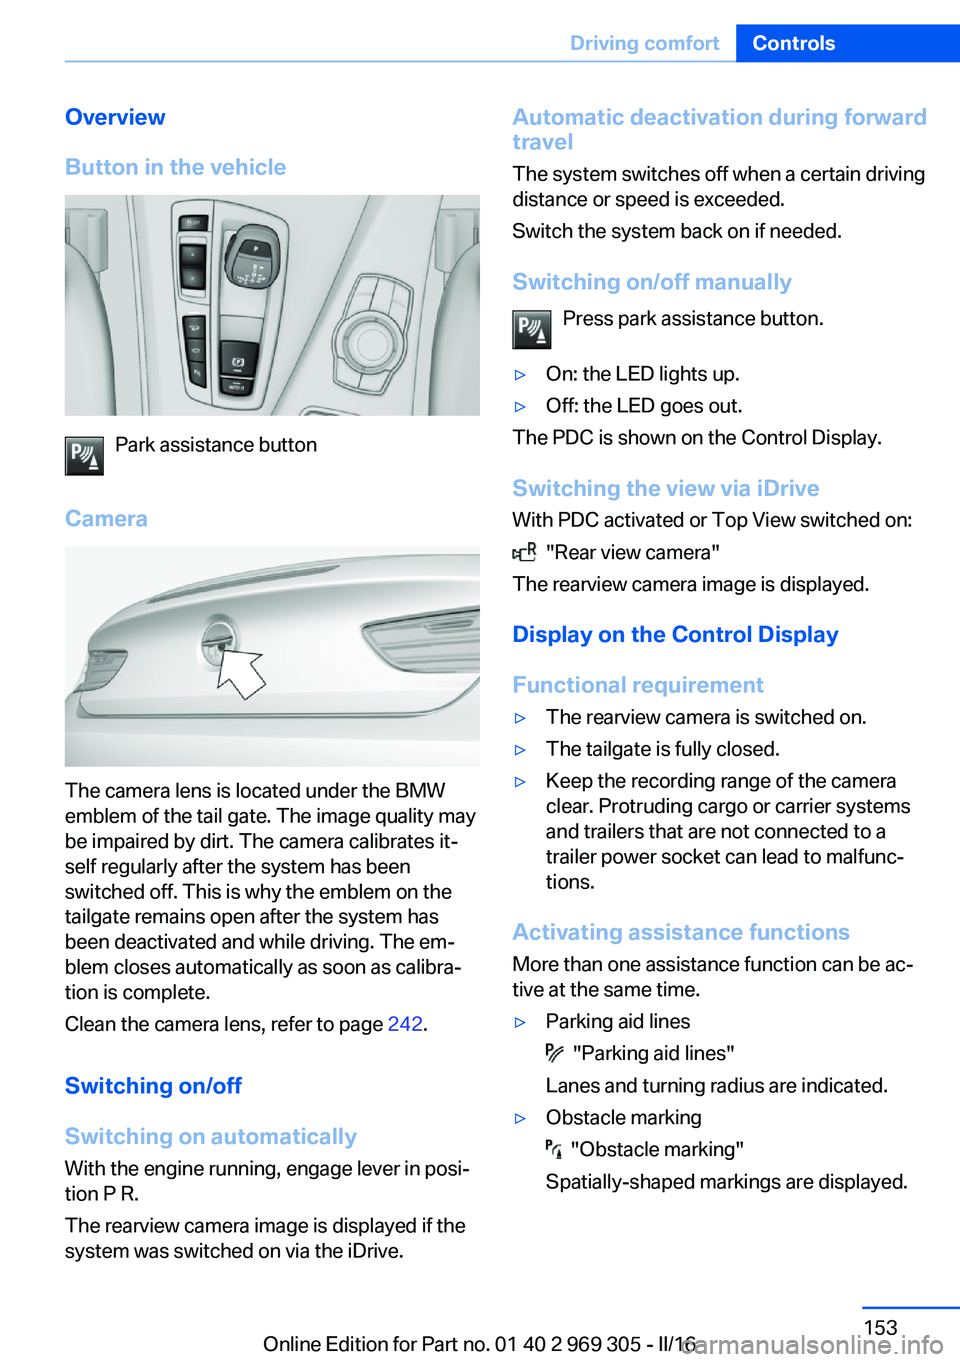
Button in the vehicle
Park assistance button
Camera
The camera lens is located under the BMW
emblem of the tail gate. The image quality may
be impaired by dirt. The camera calibrates it‐
self regularly after the system has been
switched off. This is why the emblem on the
tailgate remains open after the system has
been deactivated and while driving. The em‐
blem closes automatically as soon as calibra‐
tion is complete.
Clean the camera lens, refer to page 242.
Switching on/off
Switching on automatically With the engine running, engage lever in posi‐
tion P R.
The rearview camera image is displayed if the
system was switched on via the iDrive.
Automatic deactivation during forward
travel
The system switches off when a certain driving
distance or speed is exceeded.
Switch the system back on if needed.
Switching on/off manually Press park assistance button.▷On: the LED lights up.▷Off: the LED goes out.
The PDC is shown on the Control Display.
Switching the view via iDrive With PDC activated or Top View switched on:
"Rear view camera"
The rearview camera image is displayed.
Display on the Control Display
Functional requirement
▷The rearview camera is switched on.▷The tailgate is fully closed.▷Keep the recording range of the camera
clear. Protruding cargo or carrier systems
and trailers that are not connected to a
trailer power socket can lead to malfunc‐
tions.
Activating assistance functions
More than one assistance function can be ac‐
tive at the same time.
▷Parking aid lines
"Parking aid lines"
Lanes and turning radius are indicated.
▷Obstacle marking
"Obstacle marking"
Spatially-shaped markings are displayed.
Seite 153Driving comfortControls153
Online Edition for Part no. 01 40 2 969 305 - II/16
Page 158 of 261

Displaying the turning radius and
pathway lines▷The static, red turning radius line shows
the space needed to the side of the vehicle
when the steering wheel is turned all the
way.▷The variable, green pathway line assists
you in assessing the amount of space ac‐
tually needed to the side of the vehicle.
The lane line depends on the engaged
gear and the current steering angle. The
track line is continuously adjusted for the
steering wheel movement.
"Parking aid lines"
Turning circle and pathway lines are displayed.
System limits
Top View cannot be used in the following sit‐
uations:
▷With a door open.▷With the tailgate open.▷With an exterior mirror folded in.▷In poor light.
A Check Control message is displayed in some
of these situations.
Parking assistant The concept
This system assists the driver in parking paral‐
lel to the road.
Parking assistant handling is divided into three
steps:▷Switching on and activating.▷Parking space search.▷Parking.
System status and instructions on required ac‐
tions are displayed on the Control Display.
Ultrasound sensors measure parking spaces
on both sides of the vehicle.
The parking assistant calculates the best pos‐
sible parking line and takes control of steering
during the parking procedure.
Information A component of the parking assistant is the
PDC Park Distance Control.
When parking, also take note of the visual and
acoustic information and instructions issued
by the PDC, the parking assistant and the rear‐
view camera and react accordingly.
Loud noises from outside and inside the vehi‐
cle may prevent you from hearing the PDC's
signal tone.
WARNING
The system does not release from the
personal responsibility to correctly assess the
traffic situation. Based on the limits of the sys‐
tem, it cannot independently react to all traffic
situations. There is risk of an accident. Adjust
the driving style to the traffic conditions. Watch
traffic closely and actively intervene in the re‐
spective situations.◀
ATTENTION
The parking assistant can steer the vehi‐
cle over or onto curbs. There is a risk of dam‐
age to property. Watch traffic closely and ac‐
tively intervene in the respective situations.◀
An engine that has been switched off by the
Auto Start Stop function is restarted automati‐
cally when the parking assistant is activated.
Seite 158ControlsDriving comfort158
Online Edition for Part no. 01 40 2 969 305 - II/16
Page 159 of 261

Overview
Button in the vehicle
Park assistance button
Ultrasound sensors
The ultrasound sensors for measuring parking
spaces are located on the side of the vehicle.
To ensure full functionality:
▷Keep the sensors clean and free of ice.▷When using high-pressure washers, do not
spray the sensors for long periods and
maintain a distance of at least 12 in‐
ches/30 cm.▷Do not put stickers over sensors.
Requirements
For measuring parking spaces
▷Maximum speed while driving forward ap‐
prox. 22 mph/35 km/h.▷Maximum distance to row of parked vehi‐
cles: 5 ft/1.5 m.Suitable parking space▷Gap between two objects with a minimum
length of approx. 5 ft/1.5 m.▷Min. length of gap between two objects:
your vehicle's length plus approx.
4 ft/1.2 m.▷Minimum depth: approx. 5 ft/1.5 m.
Regarding the parking procedure
▷Doors and tailgate closed.▷Parking brake released.▷When parking in parking spaces on the
driver's side, the corresponding turn signal
must be set where applicable.
Switching on and activating
Switching on with the button Press park assistance button.
The LED lights up.
The current status of the parking space search
is indicated on the Control Display.
Parking assistant is activated automatically.
Switching on with reverse gear
Shift into reverse.
The current status of the parking space search
is indicated on the Control Display.
To activate:
"Parking Assistant"
Display on the Control Display
System activated/deactivated
SymbolMeaning Gray: the system is not available.
White: the system is available but
not activated. The system is activated.Seite 159Driving comfortControls159
Online Edition for Part no. 01 40 2 969 305 - II/16
Page 178 of 261

Front center armrest
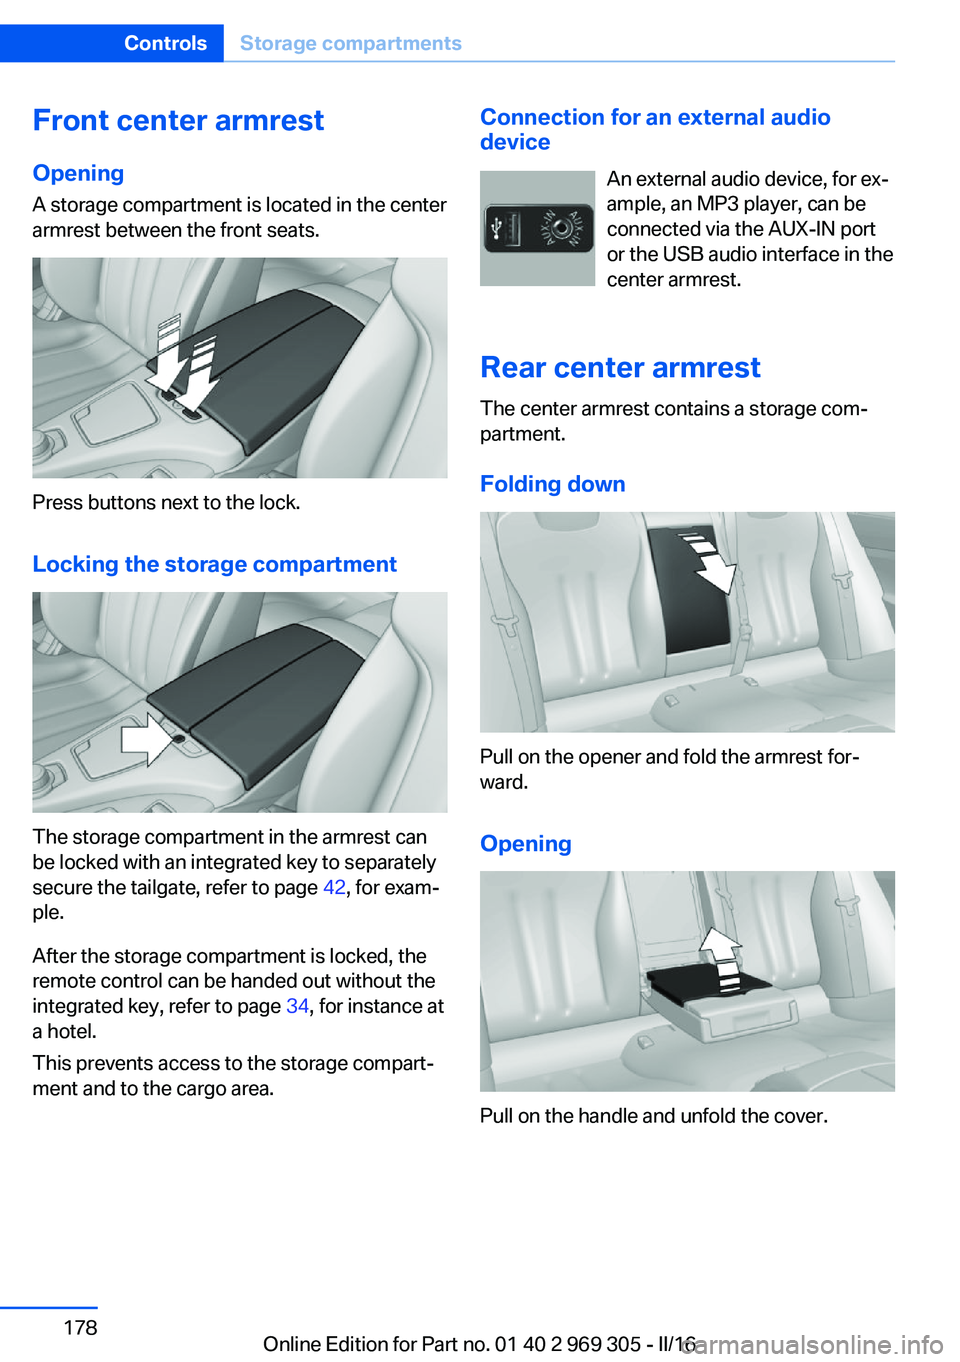
Opening A storage compartment is located in the center
armrest between the front seats.
Press buttons next to the lock.
Locking the storage compartment
The storage compartment in the armrest can
be locked with an integrated key to separately
secure the tailgate, refer to page 42, for exam‐
ple.
After the storage compartment is locked, the
remote control can be handed out without the
integrated key, refer to page 34, for instance at
a hotel.
This prevents access to the storage compart‐
ment and to the cargo area.
Connection for an external audio
device
An external audio device, for ex‐
ample, an MP3 player, can be
connected via the AUX-IN port
or the USB audio interface in the
center armrest.
Rear center armrest
The center armrest contains a storage com‐
partment.
Folding down
Pull on the opener and fold the armrest for‐
ward.
Opening
Pull on the handle and unfold the cover.
Seite 178ControlsStorage compartments178
Online Edition for Part no. 01 40 2 969 305 - II/16
Page 184 of 261

Things to remember when drivingVehicle features and options
This chapter describes all standard, country-
specific and optional features offered with the
series. It also describes features that are not
necessarily available in your car, e. g., due to
the selected options or country versions. This
also applies to safety-related functions and
systems. The respectively applicable country
provisions must be observed when using the
respective features and systems.
Breaking-in period General information
Moving parts need time to adjust to one an‐
other (break-in time).
The following instructions will help accomplish
a long vehicle life and good efficiency.
During break-in, do not use the Launch Con‐
trol.
Information WARNING
Due to new parts and components,
safety and driver assistance systems can react
with a delay. There is risk of an accident. After
installing new parts or with a new vehicle, drive
conservatively and intervene early if necessary.
Observe the break-in procedures of the re‐
spective parts and components.◀
Engine, transmission, and axle drive
Up to 1,200 miles/2,000 km
Do not exceed the maximum engine and road
speed:▷For gasoline engine 4,500 rpm and
100 mph/160 km/h.Avoid full load or kickdown under all circum‐
stances.
From 1,200 miles/2,000 km The engine and vehicle speed can gradually be
increased.
Tires
Tire traction is not optimal due to manufactur‐
ing circumstances when tires are brand-new;
they achieve their full traction potential after a
break-in time.
Drive conservatively for the first
200 miles/300 km.
Brake system
Brakes require an initial break-in period of ap‐
prox. 300 miles/500 km to achieve optimal per‐
formance between brake discs and brake
pads. Drive moderately during this break-in pe‐
riod.
Following part replacement
The same break-in procedures should be ob‐
served if any of the components above-men‐
tioned have to be renewed in the course of the
vehicle's operating life.
General driving notes
Closing the tailgate WARNING
An open tailgate protrudes from the vehi‐
cle and can endanger occupants and other
traffic participants or damage the vehicle in the
event of an accident, braking or evasive ma‐
neuvers. In addition, exhaust fumes may enter
the vehicle interior. There is a risk of injury or
risk of property damage. Do not drive with the
tailgate open.◀Seite 184Driving tipsThings to remember when driving184
Online Edition for Part no. 01 40 2 969 305 - II/16
Page 185 of 261

If driving with the tailgate open cannot be
avoided:▷Close all windows and the glass sunroof.▷Greatly increase the air flow from the vents.▷Drive moderately.
Hot exhaust system
WARNING
During driving operation, high tempera‐
tures can occur underneath the vehicle body,
e.g., caused by the exhaust gas system. If
combustible materials, such as leaves or grass,
come in contact with hot parts of the exhaust
gas system, these materials can ignite. There
is a risk of injury or risk of property damage.
Do not remove the heat shields installed and
never apply undercoating to them. Make sure
that no combustible materials can come in
contact with hot vehicle parts in driving opera‐
tion, idle or during parking. Do not touch the
hot exhaust system.◀
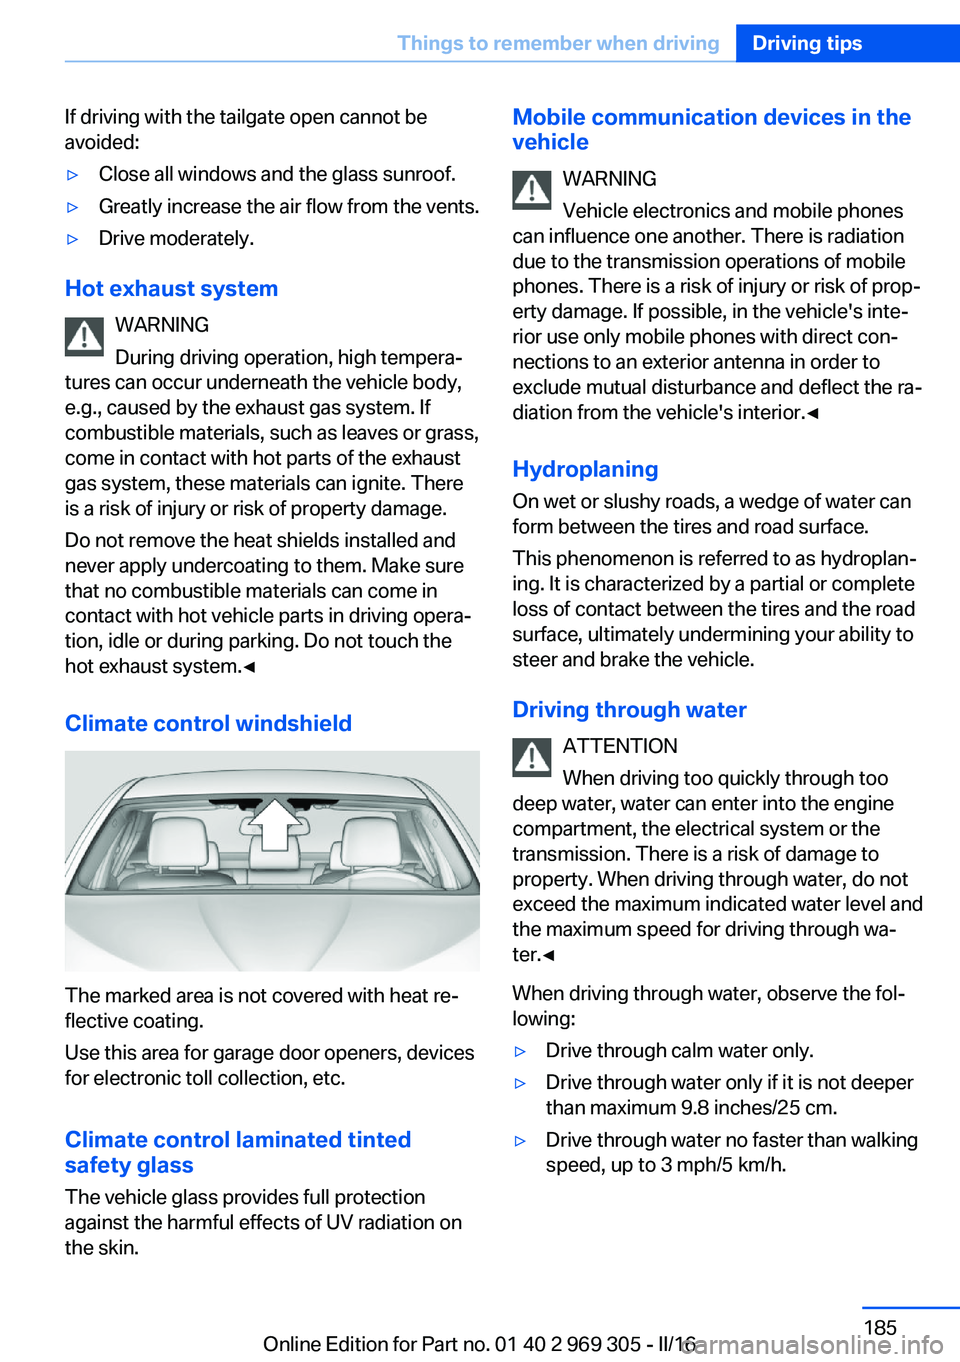
Climate control windshield
The marked area is not covered with heat re‐
flective coating.
Use this area for garage door openers, devices
for electronic toll collection, etc.
Climate control laminated tinted
safety glass
The vehicle glass provides full protection
against the harmful effects of UV radiation on
the skin.
Mobile communication devices in the
vehicle
WARNING
Vehicle electronics and mobile phones
can influence one another. There is radiation
due to the transmission operations of mobile
phones. There is a risk of injury or risk of prop‐
erty damage. If possible, in the vehicle's inte‐
rior use only mobile phones with direct con‐
nections to an exterior antenna in order to
exclude mutual disturbance and deflect the ra‐
diation from the vehicle's interior.◀
Hydroplaning
On wet or slushy roads, a wedge of water can
form between the tires and road surface.
This phenomenon is referred to as hydroplan‐
ing. It is characterized by a partial or complete
loss of contact between the tires and the road
surface, ultimately undermining your ability to
steer and brake the vehicle.
Driving through water ATTENTION
When driving too quickly through too
deep water, water can enter into the engine
compartment, the electrical system or the
transmission. There is a risk of damage to
property. When driving through water, do not
exceed the maximum indicated water level and
the maximum speed for driving through wa‐
ter.◀
When driving through water, observe the fol‐
lowing:▷Drive through calm water only.▷Drive through water only if it is not deeper
than maximum 9.8 inches/25 cm.▷Drive through water no faster than walking
speed, up to 3 mph/5 km/h.Seite 185Things to remember when drivingDriving tips185
Online Edition for Part no. 01 40 2 969 305 - II/16