2017 Alfa Romeo Giulia warning light
[x] Cancel search: warning lightPage 54 of 268

HOOD
Opening
To open the hood, proceed as follows:
1. Pull the release lever located on the
driver’s side kick panel.
2. Go to the outside of the vehicle and
position yourself in front of the grille.
3. Lift the hood slightly.
4. From right to left, move the
under-hood latch to release the hood.5. Raise the hood completely. The
operation is assisted by the addition of
two gas shock absorbers which hold it
in the open position.
Note:
Do not tamper with the shock
absorber and accompany the hood
while lifting it.
Use both hands to lift the hood.
Before lifting, check that the windshield
wiper arms are not raised from the
windshield or in operation, that the
vehicle is stationary and that the
electric park brake is engaged.
Closing
As it is extremely light, to close the
hood, lower it to approximately
16 inches (40 cm) from the engine
compartment then apply a slight
pressure. Make sure that the hood is
completely closed and not only
fastened by the locking latch by trying
to open it. If it is not perfectly closed,
do not try to push the hood down but
open it and repeat the procedure
Note: Always check that the hood is
closed correctly to prevent it from
opening while the vehicle is travelling.
Since the hood is equipped with a
double locking system, one for each
side, you must check that it is closed
on both its side ends.
Warning!
Be sure the hood is fully latched before
driving your vehicle. If the hood is not fully
latched, it could open when the vehicle is
in motion and block your vision. Failure to
follow this warning could result in serious
injury or death.
04196S0001EMHood Release Lever
GUID-04196S0002EMLift Under Hood Latch Up Then Left
52
GETTING TO KNOW YOUR VEHICLE
Page 57 of 268

INTERNAL
EQUIPMENT
Glove Compartment
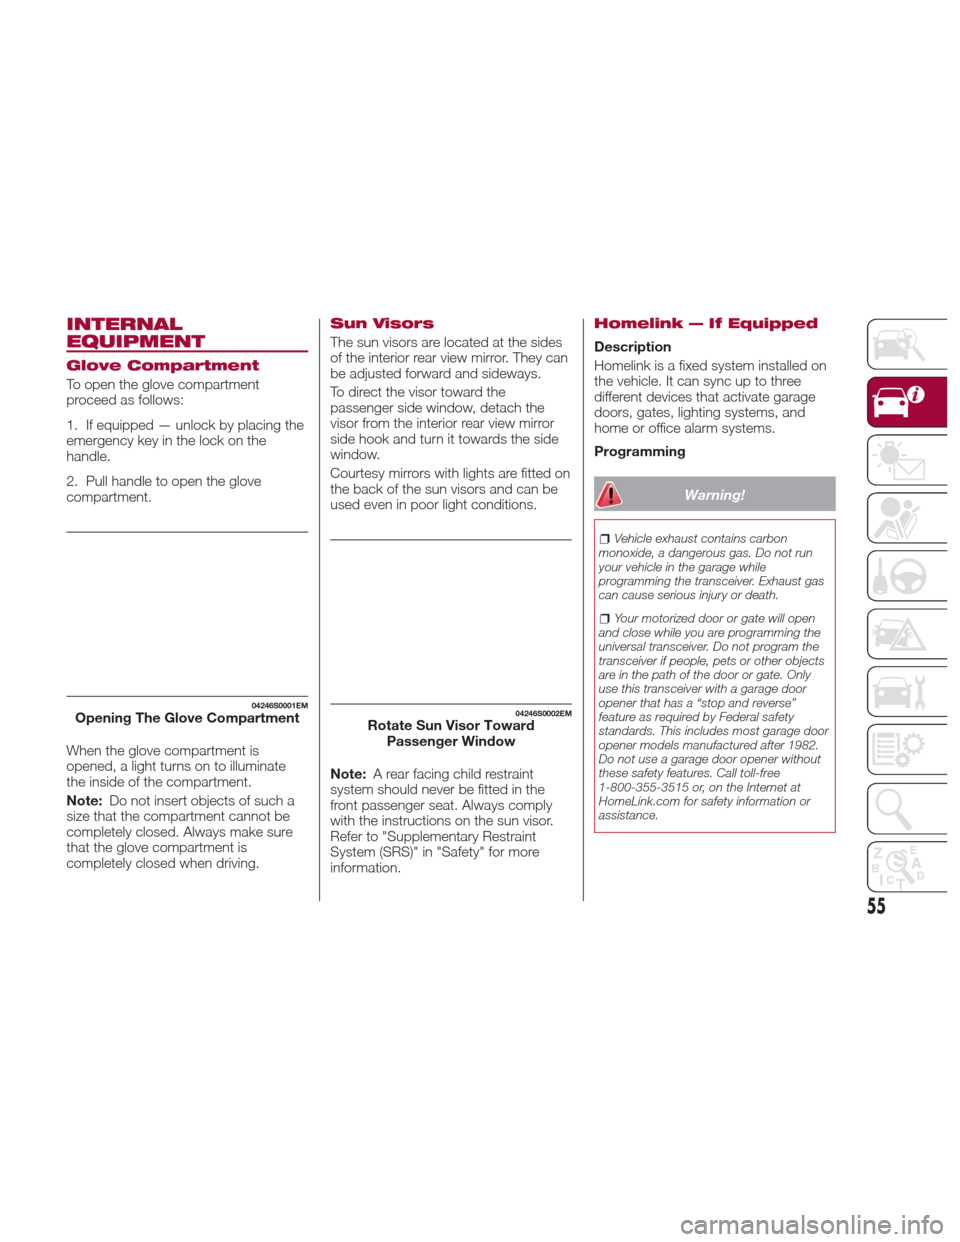
To open the glove compartment
proceed as follows:
1. If equipped — unlock by placing the
emergency key in the lock on the
handle.
2. Pull handle to open the glove
compartment.
When the glove compartment is
opened, a light turns on to illuminate
the inside of the compartment.
Note:Do not insert objects of such a
size that the compartment cannot be
completely closed. Always make sure
that the glove compartment is
completely closed when driving.
Sun Visors
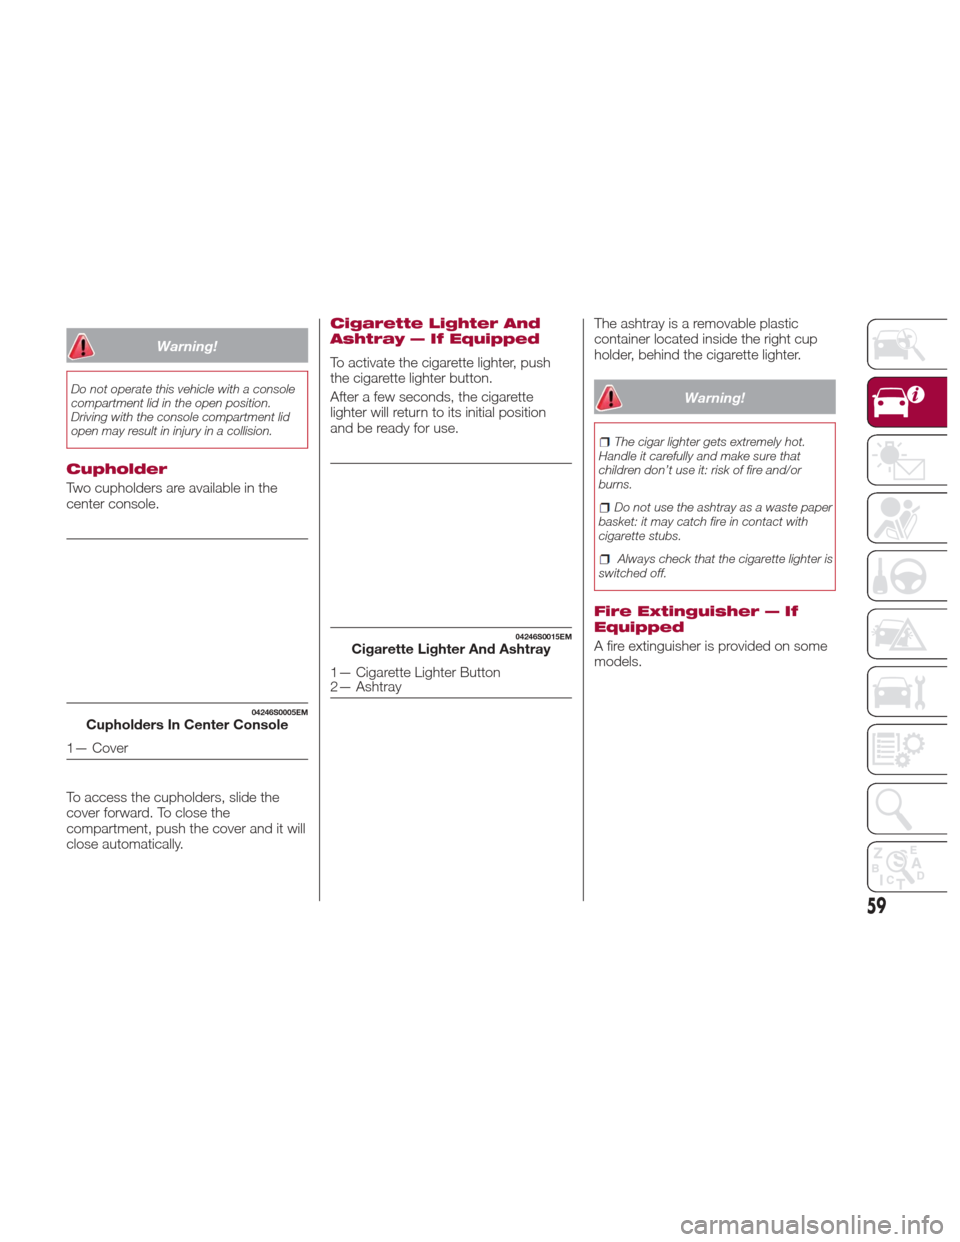
The sun visors are located at the sides
of the interior rear view mirror. They can
be adjusted forward and sideways.
To direct the visor toward the
passenger side window, detach the
visor from the interior rear view mirror
sidehookandturnittowardstheside
window.
Courtesy mirrors with lights are fitted on
the back of the sun visors and can be
used even in poor light conditions.
Note: A rear facing child restraint
system should never be fitted in the
front passenger seat. Always comply
with the instructions on the sun visor.
Refer to "Supplementary Restraint
System (SRS)" in "Safety" for more
information.
Homelink — If Equipped
Description
Homelink is a fixed system installed on
the vehicle. It can sync up to three
different devices that activate garage
doors, gates, lighting systems, and
home or office alarm systems.
Programming
Warning!
Vehicle exhaust contains carbon
monoxide, a dangerous gas. Do not run
your vehicle in the garage while
programming the transceiver. Exhaust gas
can cause serious injury or death.
Your motorized door or gate will open
and close while you are programming the
universal transceiver. Do not program the
transceiver if people, pets or other objects
are in the path of the door or gate. Only
use this transceiver with a garage door
opener that has a “stop and reverse”
feature as required by Federal safety
standards. This includes most garage door
opener models manufactured after 1982.
Do not use a garage door opener without
these safety features. Call toll-free
1-800-355-3515 or, on the Internet at
HomeLink.com for safety information or
assistance.
04246S0001EMOpening The Glove Compartment04246S0002EMRotate Sun Visor Toward Passenger Window
55
Page 59 of 268

Warning!
Vehicle exhaust contains carbon
monoxide, a dangerous gas. Do not run
your vehicle in the garage while
programming the transceiver. Exhaust gas
can cause serious injury or death.
Your motorized door or gate will open
and close while you are programming the
universal transceiver. Do not program the
transceiver if people, pets or other objects
are in the path of the door or gate. Only
use this transceiver with a garage door
opener that has a “stop and reverse”
feature as required by Federal safety
standards. This includes most garage door
opener models manufactured after 1982.
Do not use a garage door opener without
these safety features. Call toll-free
1-800-355-3515 or, on the Internet at
HomeLink.com for safety information or
assistance.
Note: To program Homelink using an
Alternative Code, the car must be
within range of the garage door.
Activate the handbrake and turn the
ignition to ON, without starting the
engine. Proceed as follows:
1. Locate the “Learn” or “Train” button
on the garage door or gate motor. The
color and position may vary depending
on the manufacturer (consult the
garage door or gate manual). Push the
“Learn” or “Train” button (this normally
activates the setting warning light).
2. Push the desired HomeLink button
(1, 2 or 3). When the HomeLink
indicator begins to flash slowly, move
the portable remote control one to three
inches from the HomeLink system
(keeping the programmable button
pushed down).
3. Within 30 seconds, push the
programmed key (1, 2 or 3) and release
it. Push the programmed button a
second time and release it to conclude
the operation. For some motors, the
operation will probably have to be
repeated a third time to end the setting.
The motor should now be capable of
recognizing the signal transmitted by
HomeLink and then open/close the
door or gate.
Programming A Single Key
It is possible to program another
original remote control on an already
programmed HomeLink key by
canceling the previously stored
frequency.
Warning!
Vehicle exhaust contains carbon
monoxide, a dangerous gas. Do not run
your vehicle in the garage while
programming the transceiver. Exhaust gas
can cause serious injury or death.
Your motorized door or gate will open
and close while you are programming the
universal transceiver. Do not program the
transceiver if people, pets or other objects
are in the path of the door or gate. Only
use this transceiver with a garage door
opener that has a “stop and reverse”
feature as required by Federal safety
standards. This includes most garage door
opener models manufactured after 1982.
Do not use a garage door opener without
these safety features. Call toll-free
1-800-355-3515 or, on the Internet at
HomeLink.com for safety information or
assistance.
57
Page 61 of 268

Warning!
Do not operate this vehicle with a console
compartment lid in the open position.
Driving with the console compartment lid
open may result in injury in a collision.
Cupholder
Two cupholders are available in the
center console.
To access the cupholders, slide the
cover forward. To close the
compartment, push the cover and it will
close automatically.
Cigarette Lighter And
Ashtray — If Equipped
To activate the cigarette lighter, push
the cigarette lighter button.
After a few seconds, the cigarette
lighter will return to its initial position
and be ready for use.The ashtray is a removable plastic
container located inside the right cup
holder, behind the cigarette lighter.
Warning!
The cigar lighter gets extremely hot.
Handle it carefully and make sure that
children don’t use it: risk of fire and/or
burns.
Do not use the ashtray as a waste paper
basket: it may catch fire in contact with
cigarette stubs.
Always check that the cigarette lighter is
switched off.
Fire Extinguisher — If
Equipped
A fire extinguisher is provided on some
models.
04246S0005EMCupholders In Center Console
1— Cover
04246S0015EMCigarette Lighter And Ashtray
1— Cigarette Lighter Button
2— Ashtray
59
Page 63 of 268

GETTING TO KNOW YOUR INSTRUMENT PANEL
This section gives you all the
information you need to understand
and use the instrument panel correctly.INSTRUMENT PANEL FEATURES . .62
INSTRUMENT CLUSTER
DISPLAY..................64
WARNING LIGHTS AND
MESSAGES ON THE INSTRUMENT
PANEL....................70
ONBOARD DIAGNOSTIC
SYSTEM ..................94
61
Page 64 of 268

INSTRUMENT PANEL FEATURES
Instrument Cluster
1. Tachometer
2. Digital Engine Oil Temperature Gauge With Overheating Warning Light
3. Instrument Cluster Display
4.
Digital Fuel Level Gauge (The Triangle On The Left Side Of The Symbol Indicates The Side Of The Vehicle With The Fuel Door)
5. Speedometer (Speed Indicator)
05026S0006EMInstrument Cluster
62
GETTING TO KNOW YOUR INSTRUMENT PANEL
Page 65 of 268

Tachometer
The Tachometer indicates the engine
Revolutions Per Minute (RPM).
Adjusting Instrument Panel Lighting
(Brightness Sensor)
Inside the Tachometer there is a light
sensor capable of detecting light and
adjusting the brightness of the
instrument panel and the Connect
system display.
Engine Oil Temperature
Gauge
The digital indicator monitors the
temperature of the engine oil and starts
supplying indications when the oil
temperature reaches approximately
122° F (50°C).Under normal usage, the temperature
should remain around the middle of the
digital scale according to the working
conditions.
The
warning light will turn on to
signal the excessive increase of the
engine oil temperature.
In the event of excessive engine oil
temperature, stop the engine
immediately and contact an authorized
dealer.
Fuel Level Gauge
The digital fuel gauge monitors the
amount of fuel in the tank.
When the
warning light turns on, a
message is displayed, and a chime is
sound when 2.38 Gallons (9.0 L) of fuel
are left in the tank. Note:
If the low fuel warning light turns
on, refuel the vehicle at your nearest
fuel station.
Caution!
Do not travel with the fuel tank almost
empty: any gaps in fuel supply could
damage the catalytic converter.
Speedometer
The speedometer shows the vehicle
speed in miles per hour and/or
kilometers per hour (mph/km/h).
63
Page 67 of 268

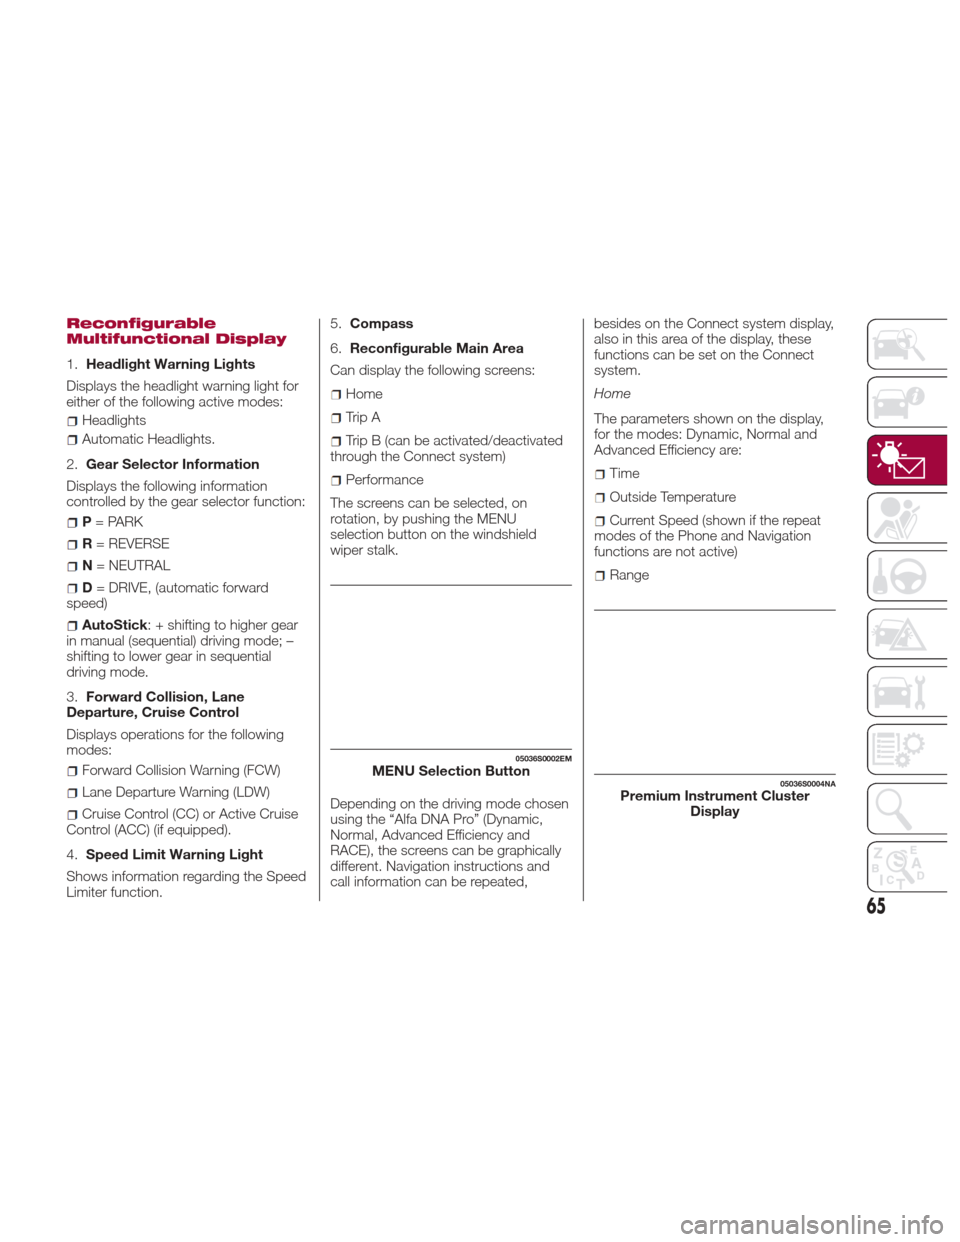
Reconfigurable
Multifunctional Display
1.Headlight Warning Lights
Displays the headlight warning light for
either of the following active modes:
Headlights
Automatic Headlights.
2. Gear Selector Information
Displays the following information
controlled by the gear selector function:
P = PARK
R = REVERSE
N = NEUTRAL
D= DRIVE, (automatic forward
speed)
AutoStick : + shifting to higher gear
in manual (sequential) driving mode; –
shifting to lower gear in sequential
driving mode.
3. Forward Collision, Lane
Departure, Cruise Control
Displays operations for the following
modes:
Forward Collision Warning (FCW)
Lane Departure Warning (LDW)
Cruise Control (CC) or Active Cruise
Control (ACC) (if equipped).
4. Speed Limit Warning Light
Shows information regarding the Speed
Limiter function. 5.
Compass
6. Reconfigurable Main Area
Can display the following screens:
Home
Trip A
Trip B (can be activated/deactivated
through the Connect system)
Performance
The screens can be selected, on
rotation, by pushing the MENU
selection button on the windshield
wiper stalk.
Depending on the driving mode chosen
using the “Alfa DNA Pro” (Dynamic,
Normal, Advanced Efficiency and
RACE), the screens can be graphically
different. Navigation instructions and
call information can be repeated, besides on the Connect system display,
also in this area of the display, these
functions can be set on the Connect
system.
Home
The parameters shown on the display,
for the modes: Dynamic, Normal and
Advanced Efficiency are:Time
Outside Temperature
Current Speed (shown if the repeat
modes of the Phone and Navigation
functions are not active)
Range
05036S0002EMMENU Selection Button05036S0004NAPremium Instrument Cluster Display
65