2017 Alfa Romeo Giulia warning
[x] Cancel search: warningPage 175 of 268
The label indicates the fuel type
(UNLEADED FUEL = gasoline).
Emergency Fuel Door Opening
In the event of an emergency the fuel
filler door can be opened by operating
from inside the trunk.
Proceed as follows:
1. Open the deck lid and reach the
emergency opening cable placed on
the side of the fuel filler
2. Pull the cord to unlock the fuel filler
door3. Open the fuel filler door by pressing
on it (see the previous instructions)
Warning!
Never have any smoking materials lit in
or near the vehicle when the fuel door is
open or the tank is being filled.
Never add fuel when the engine is
running. This is in violation of most state
and federal fire regulations and may cause
the MIL to turn on.
A fire may result if gasoline is pumped
into a portable container that is inside of a
vehicle. You could be burned. Always place
gas containers on the ground while filling.
Note: If the filler compartment is
washed with a pressure washer, keep it
at a distance of at least 8 inches
(20 cm).
VEHICLE LOADING
Certification Label
As required by National Highway Traffic
Safety Administration regulations, your
vehicle has a certification label affixed to
the driver's side door or pillar.
This label contains the month and year
of manufacture, Gross Vehicle Weight
Rating (GVWR), Gross Axle Weight
Rating (GAWR) front and rear, and
Vehicle Identification Number (VIN). A
Month-Day-Hour (MDH) number is
included on this label and indicates the
Month, Day and Hour of manufacture.
The bar code that appears on the
bottom of the label is your VIN.
Gross Vehicle Weight Rating
(GVWR)
The GVWR is the total permissible
weight of your vehicle including driver,
passengers, vehicle, options and cargo.
The label also specifies maximum
capacities of front and rear axle
systems (GAWR). Total load must be
limited so GVWR and front and rear
GAWR are not exceeded.
07206S0002EMFuel Door Label
173
Page 178 of 268

Max. Speed
Fuel consumption considerably
increases as speed increases. Maintain
a constant speed, avoiding
unnecessary braking and acceleration,
which cost in terms of both fuel
consumption and emissions.
Acceleration
Accelerating violently severely affects
consumption and emissions:
acceleration should be gradual and
should not exceed the maximum
torque.
Conditions Of Use
Cold Starting
Short trips and frequent cold starts will
not allow the engine to reach optimum
operating temperature. This results in a
significant increase in consumption
levels (from +15 to +30% in city driving)
and emissions.
Traffic And Road Conditions
High fuel consumption is caused by
heavy traffic, for instance when
travelling in traffic with frequent use of
low gears or in cities with many traffic
lights. Winding mountain roads and
rough road surfaces also adversely
affect consumption.
Stops In Traffic
During prolonged stops (e.g. railway
crossings) switch off the engine.
Transporting
Passengers
Warning!
It is extremely dangerous to leave
children in a parked vehicle when the
temperature outside is very high. The heat
inside the passenger compartment may
have serious, or even fatal, consequences.
Never travel in the trunk of the vehicle. In
the event of an accident, anyone inside the
trunk would be at greater risk of serious or
even fatal injury.
Ensure that all the occupants of the
vehicle wear their seat belts correctly and
that any children are positioned correctly
on the dedicated child restraint systems.
Transporting Animals
The intervention of the airbags may be
dangerous for an animal on the front
seat. It is therefore advised to arrange
animals on the rear seat inside
dedicated cages restrained by the
vehicle’s seat belts.
Keep in mind that, in the event of a
sudden braking or an accident, an
inadequately restrained animal may be
projected within the passenger
compartment, risking injury to the
animal itself and the other occupants of
the vehicle.
Exhaust Gas
Exhaust emissions are very dangerous,
and may be lethal. They contain carbon
monoxide, a colorless, odorless gas
which can cause fainting and poisoning
if inhaled.
To avoid inhaling carbon monoxide,
take the following measures:
Do not keep the engine running in
closed spaces.
If, for some reason (e.g. transporting
bulky loads), it is necessary to drive
with the trunk open, close all the
windows and run the climate control fan
at maximum speed. DO NOT activate
air recirculation mode.
Should it be necessary to stay in the
stationary vehicle with engine running,
adjust the ventilation/heating system
and operate the fan in such a way that
outside air will enter the passenger
compartment. Activate the maximum
fan speed.
Maintenance of the exhaust system
provides the best protection against
leaks of carbon monoxide into the
passenger compartment.
Should an unusual noise from the
exhaust system or the presence of
exhaust gas in the passenger
compartment be identified, or if the
underbody or rear section of the vehicle
is damaged, have the entire exhaust
system and bodywork areas checked
to identify any components which are
176
STARTING AND OPERATING
Page 181 of 268
IN CASE OF EMERGENCY
Have a flat tire or a burnt-out bulb?
At times, a problem such as these may
interfere with your driving experience.
The pages on emergencies can help
you to deal with critical situations
independently and with calm.
In an emergency, we recommend that
you call the phone number found in the
Warranty Book.
You may also consider contacting your
nearest authorized dealer.HAZARD WARNING LIGHTS . . . .180
BULB REPLACEMENT.........180
FUSES .................. .186
TIRE REPAIR KIT —
IF EQUIPPED ..............192
EMERGENCYSTARTING ......196
REFUELING IN EMERGENCY . . . .198
ENGINE OVERHEATING .......199
TOWING A DISABLED VEHICLE . .200
TOW HOOKS ..............201
ENHANCED ACCIDENT
RESPONSE SYSTEM (EARS) . . . .203
EVENT DATA RECORDER (EDR) . .203
179
Page 182 of 268
HAZARD WARNING
LIGHTS
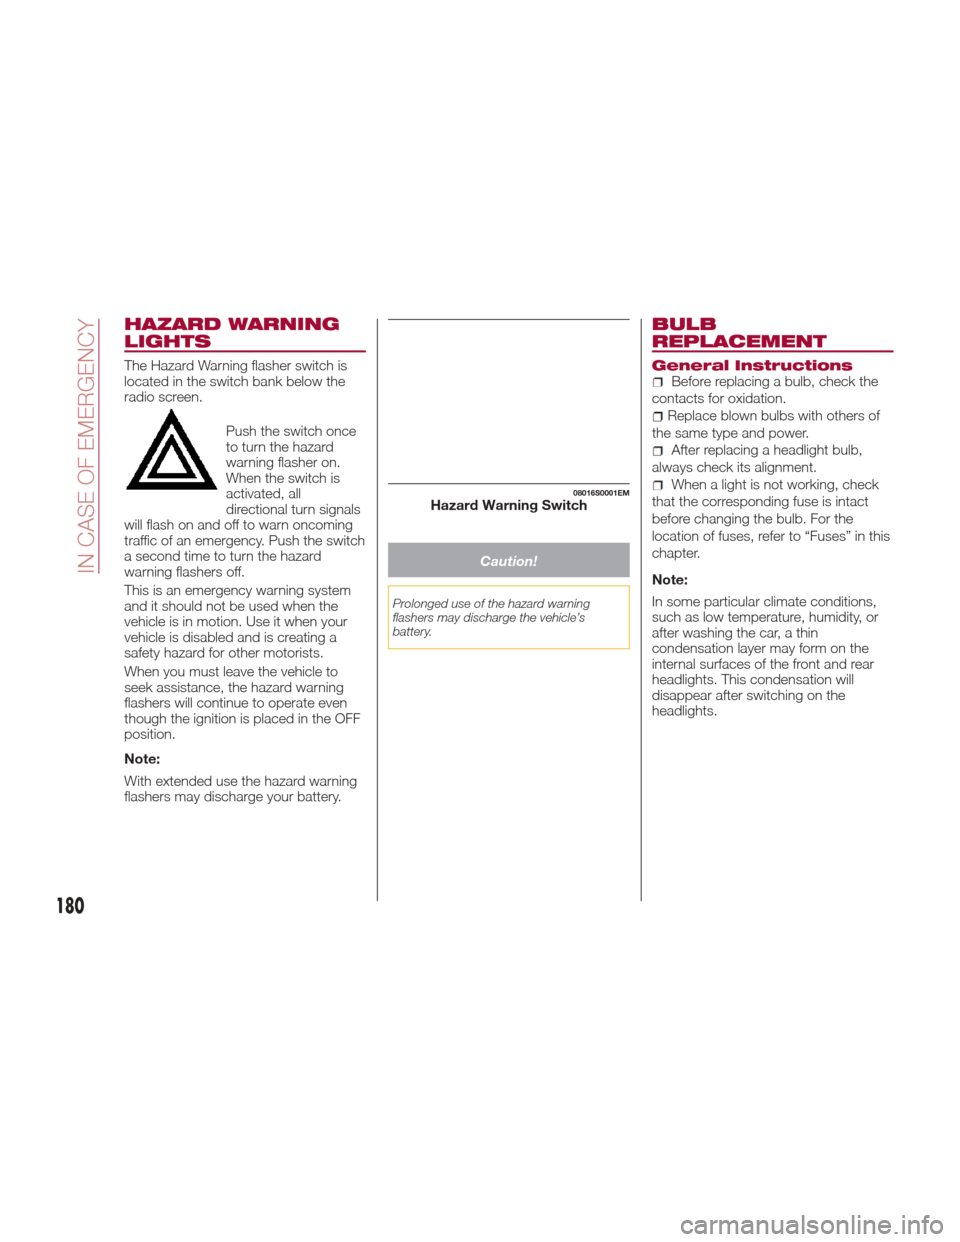
The Hazard Warning flasher switch is
located in the switch bank below the
radio screen.Push the switch once
to turn the hazard
warning flasher on.
When the switch is
activated, all
directional turn signals
will flash on and off to warn oncoming
traffic of an emergency. Push the switch
a second time to turn the hazard
warning flashers off.
This is an emergency warning system
and it should not be used when the
vehicle is in motion. Use it when your
vehicle is disabled and is creating a
safety hazard for other motorists.
When you must leave the vehicle to
seek assistance, the hazard warning
flashers will continue to operate even
though the ignition is placed in the OFF
position.
Note:
With extended use the hazard warning
flashers may discharge your battery.
Caution!
Prolonged use of the hazard warning
flashers may discharge the vehicle’s
battery.
BULB
REPLACEMENT
General InstructionsBefore replacing a bulb, check the
contacts for oxidation.
Replace blown bulbs with others of
the same type and power.
After replacing a headlight bulb,
always check its alignment.
When a light is not working, check
that the corresponding fuse is intact
before changing the bulb. For the
location of fuses, refer to “Fuses” in this
chapter.
Note:
In some particular climate conditions,
such as low temperature, humidity, or
after washing the car, a thin
condensation layer may form on the
internal surfaces of the front and rear
headlights. This condensation will
disappear after switching on the
headlights.08016S0001EMHazard Warning Switch
180
IN CASE OF EMERGENCY
Page 189 of 268
Warning!
When replacing a blown fuse, always
use an appropriate replacement fuse with
the same amp rating as the original fuse.
Never replace a fuse with another fuse of
higher amp rating. Never replace a blown
fuse with metal wires or any other material.
Failure to use proper fuses may result in
serious personal injury, fire and/or property
damage.
Before replacing a fuse, make sure that
the ignition is off and that all the other
services are switched off and/or
disengaged.
If the replaced fuse blows again, contact
an authorized dealer.
If a general protection fuse for safety
systems (air bag system, braking system),
power unit systems (engine system,
transmission system) or steering system
blows, contact an authorized dealer.
Fuse Location
The fuses, which can be replaced by
the user, are grouped in two boxes
below the passenger side foot board
and inside the trunk.
Control Unit Under
Passenger Side
Footboard
To access the fuses, proceed as
follows:
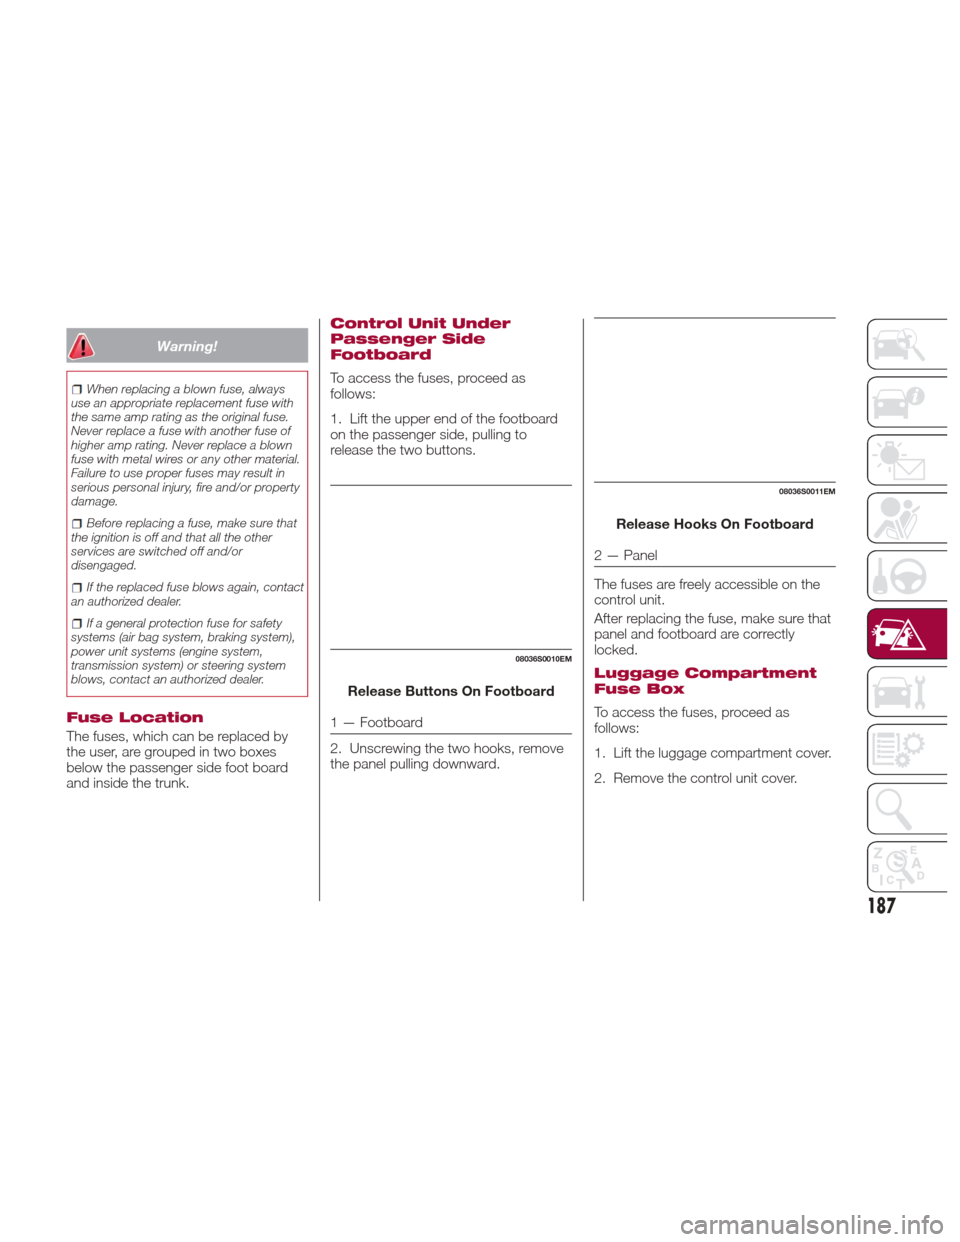
1. Lift the upper end of the footboard
on the passenger side, pulling to
release the two buttons.
Release Buttons On Footboard
1 — Footboard
2. Unscrewing the two hooks, remove
the panel pulling downward. Release Hooks On Footboard
2 — Panel
The fuses are freely accessible on the
control unit.
After replacing the fuse, make sure that
panel and footboard are correctly
locked.
Luggage Compartment
Fuse Box
To access the fuses, proceed as
follows:
1. Lift the luggage compartment cover.
2. Remove the control unit cover.
08036S0010EM
08036S0011EM
187
Page 194 of 268
TIRE REPAIR KIT —
IF EQUIPPED
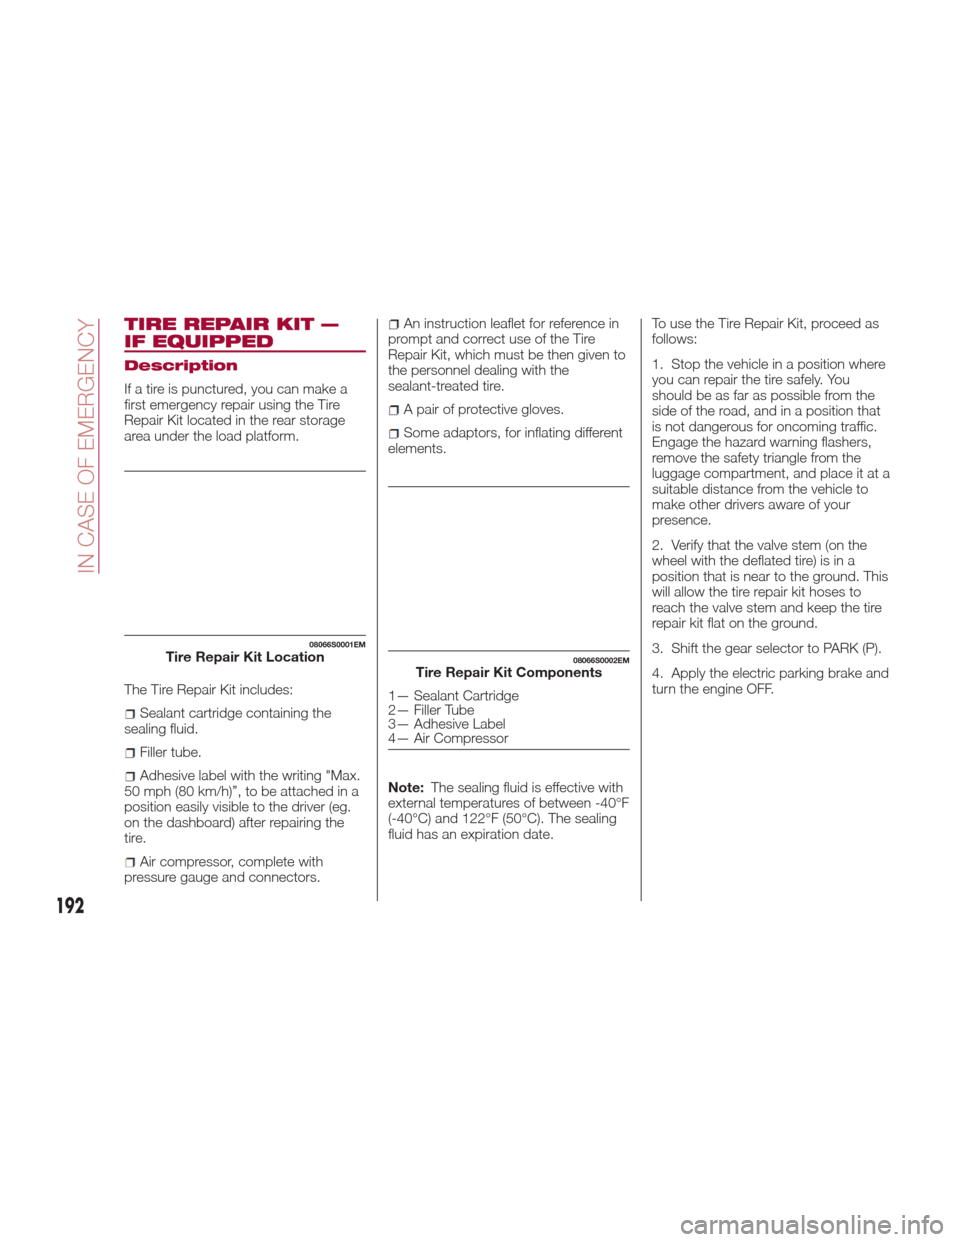
Description
If a tire is punctured, you can make a
first emergency repair using the Tire
Repair Kit located in the rear storage
area under the load platform.
The Tire Repair Kit includes:
Sealant cartridge containing the
sealing fluid.
Filler tube.
Adhesive label with the writing "Max.
50 mph (80 km/h)”, to be attached in a
position easily visible to the driver (eg.
on the dashboard) after repairing the
tire.
Air compressor, complete with
pressure gauge and connectors.
An instruction leaflet for reference in
prompt and correct use of the Tire
Repair Kit, which must be then given to
the personnel dealing with the
sealant-treated tire.
A pair of protective gloves.
Some adaptors, for inflating different
elements.
Note: The sealing fluid is effective with
external temperatures of between -40°F
(-40°C) and 122°F (50°C). The sealing
fluid has an expiration date. To use the Tire Repair Kit, proceed as
follows:
1. Stop the vehicle in a position where
you can repair the tire safely. You
should be as far as possible from the
side of the road, and in a position that
is not dangerous for oncoming traffic.
Engage the hazard warning flashers,
remove the safety triangle from the
luggage compartment, and place it at a
suitable distance from the vehicle to
make other drivers aware of your
presence.
2. Verify that the valve stem (on the
wheel with the deflated tire) is in a
position that is near to the ground. This
will allow the tire repair kit hoses to
reach the valve stem and keep the tire
repair kit flat on the ground.
3. Shift the gear selector to PARK (P).
4. Apply the electric parking brake and
turn the engine OFF.
08066S0001EMTire Repair Kit Location08066S0002EMTire Repair Kit Components
1— Sealant Cartridge
2— Filler Tube
3— Adhesive Label
4— Air Compressor
192
IN CASE OF EMERGENCY
Page 195 of 268
Inflation Procedure
Warning!
Do not attempt to seal a tire on the side
of the vehicle closest to traffic. Pull far
enough off the road to avoid the danger of
being hit when using the Tire Service Kit.
Do not use Tire Service Kit or drive the
vehicle under the following circumstances:
If the puncture in the tire tread is
approximately 1/4 inch (6 mm) or larger.
If the tire has any sidewall damage.
If the tire has any damage from driving
with extremely low tire pressure.
If the tire has any damage from driving
on a flat tire.
If the wheel has any damage.
If you are unsure of the condition of the
tire or the wheel.
Keep Tire Service Kit away from open
flames or heat sources.
A loose Tire Service Kit thrown forward
in a collision or hard stop could endanger
the occupants of the vehicle. Always stow
the Tire Service Kit in the place provided.
Failure to follow these warnings can result
in injuries that are serious or fatal to you,
your passengers, and others around you.
Take care not to allow the contents of
Tire Service Kit to come in contact with
hair, eyes, or clothing. Tire Service Kit
sealant is harmful if inhaled, swallowed, or
absorbed through the skin. It causes skin,
eye, and respiratory irritation. Flush
immediately with plenty of water if there is
any contact with eyes or skin. Change
clothing as soon as possible, if there is any
contact with clothing.
Tire Service Kit Sealant solution contains
latex. In case of an allergic reaction or rash,
consult a physician immediately. Keep Tire
Service Kit out of reach of children. If
swallowed, rinse mouth immediately with
plenty of water and drink plenty of water.
Do not induce vomiting! Consult a
physician immediately.
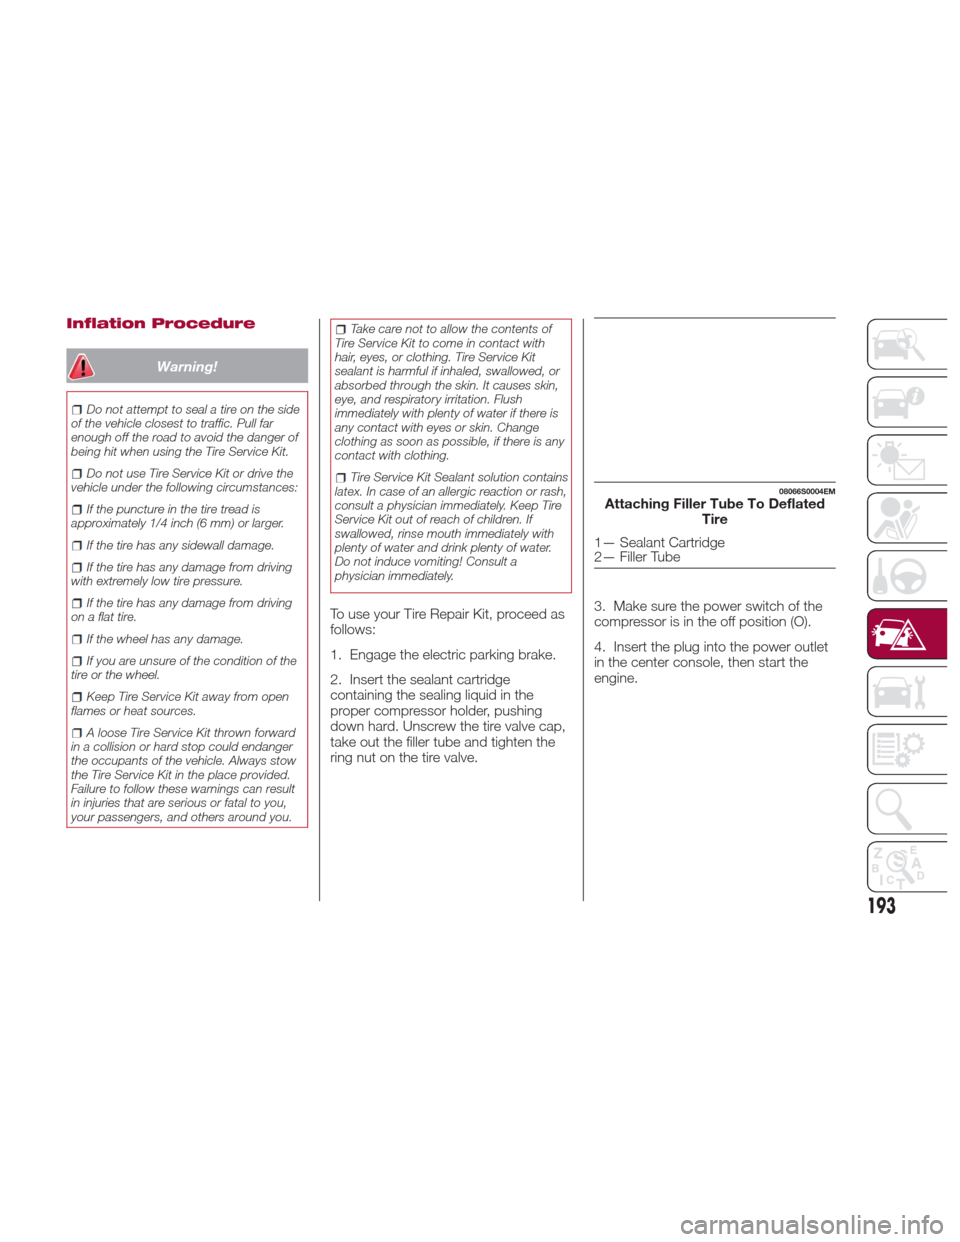
To use your Tire Repair Kit, proceed as
follows:
1. Engage the electric parking brake.
2. Insert the sealant cartridge
containing the sealing liquid in the
proper compressor holder, pushing
down hard. Unscrew the tire valve cap,
take out the filler tube and tighten the
ring nut on the tire valve. 3. Make sure the power switch of the
compressor is in the off position (O).
4. Insert the plug into the power outlet
in the center console, then start the
engine.
08066S0004EMAttaching Filler Tube To Deflated
Tire
1— Sealant Cartridge
2— Filler Tube
193
Page 196 of 268

5. Start the compressor by placing the
power switch in the on position (I).
6. Inflate the tire to the pressure
indicated on the tire placard, located on
the driver’s side B-Pillar or the rear edge
of the driver’s side door. Refer to “Tires”
in “Servicing And Maintenance” for
more information. In order to obtain a
more precise reading, check the
pressure value on pressure gauge with
the compressor off.7. If the pressure is not at least
26.1 psi (1.8 bar) after 15 minutes,
disengage the compressor from the
valve and power outlet. Then, move the
vehicle forwards approximately five tire
turns in order to distribute the sealing
fluid inside the tire evenly, and then
repeat the inflation operation.
8. If you still cannot obtain a pressure
of at least 26 psi (1.8 bar) within
15 minutes from the compressor
switching on, do not drive the vehicle,
and contact an authorized dealer.9. Drive the vehicle for about 5 miles
(8 km), stop, engage the electric
parking brake, and recheck the tire
pressure.
10. If the pressure is less than 26 psi
(1.8 bar),
Do Notdrive the vehicle, and
see an authorized dealer.
11. If a pressure value of at least 26 psi
(1.8 bar) is detected, restore the correct
pressure (with engine running and
electric parking brake engaged), and
drive immediately with great care to an
authorized dealer.
Warning!
Tire Repair Kit is not a permanent flat tire
repair. Have the tire inspected and repaired
or replaced after using Tire Repair Kit. Do
not exceed 50 mph (80 km/h) until the tire
is repaired or replaced. Failure to follow this
warning can result in injuries that are
serious or fatal to you, your passengers,
and others around you. Have the tire
checked as soon as possible at an
authorized dealer.
08066S0006EMCenter Console Power Outlet08066S0005EMAir Compressor
5— Power Switch
6— Pressure Gauge
194
IN CASE OF EMERGENCY