2017.5 VAUXHALL MOVANO_B AUX
[x] Cancel search: AUXPage 1 of 259

Vauxhall MovanoOwner's Manual
Page 5 of 259

Introduction3Vehicle specific dataPlease enter your vehicle's data on
the previous page to keep it easily
accessible. This information is
available in the sections "Service and
maintenance" and "Technical data"
as well as on the identification plate.
Introduction
Your vehicle is a designed
combination of advanced technology, safety, environmental friendliness
and economy.
This Owner's Manual provides you
with all the necessary information to
enable you to drive your vehicle
safely and efficiently.
Make sure your passengers are
aware of the possible risk of accident
and injury which may result from
improper use of the vehicle.
You must always comply with the
specific laws and regulations of the
country that you are in. These laws
may differ from the information in this Owner's Manual.
Disregarding the description given in
this manual may affect your warranty.When this Owner's Manual refers to a
workshop visit, we recommend your
Vauxhall Authorised Repairer.
All Vauxhall Authorised Repairers
provide first-class service at
reasonable prices. Experienced
mechanics trained by Vauxhall work according to specific Vauxhall
instructions.
The customer literature pack should
always be kept ready to hand in the
vehicle.
Using this manual ● This manual describes all options
and features available for this
model. Certain descriptions,
including those for display and
menu functions, may not apply to
your vehicle due to model
variant, country specifications,
special equipment or
accessories.
● The "In brief" section will give you
an initial overview.● The table of contents at the beginning of this manual and
within each section shows where the information is located.
● The index will enable you to search for specific information.
● This Owner's Manual depicts left-
hand drive vehicles. Operation is similar for right-hand drive
vehicles.
● The Owner's Manual uses the factory engine designations. The
corresponding sales
designations can be found in the
section "Technical data".
● Directional data, e.g. left or right, or front or back, always relate to
the direction of travel.
● The vehicle display screens may not support your specific
language.
● Display messages and interior labelling are written in bold
letters.
Page 6 of 259

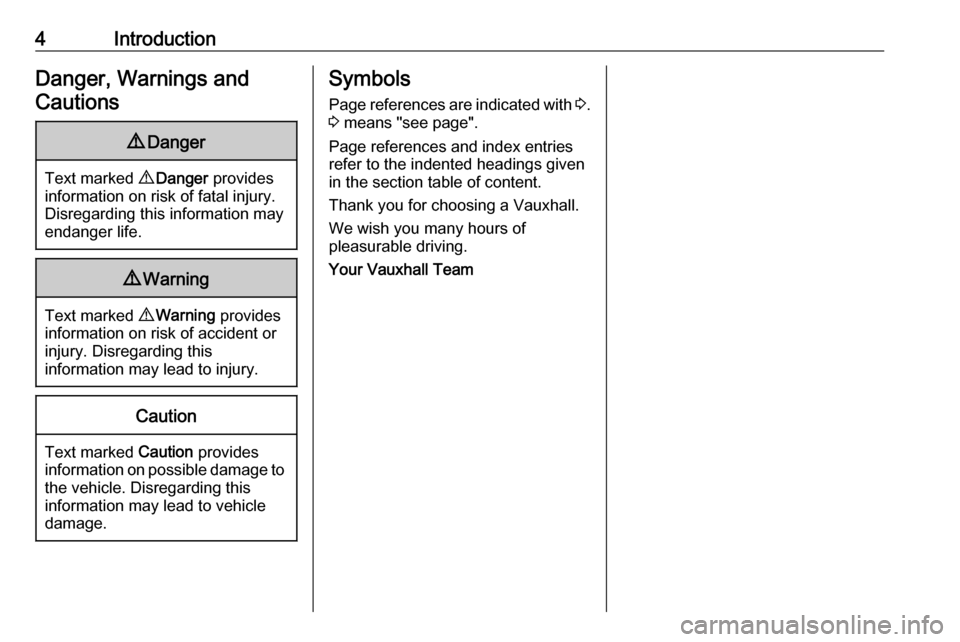
4IntroductionDanger, Warnings andCautions9 Danger
Text marked 9 Danger provides
information on risk of fatal injury.
Disregarding this information may
endanger life.
9 Warning
Text marked 9 Warning provides
information on risk of accident or
injury. Disregarding this
information may lead to injury.
Caution
Text marked Caution provides
information on possible damage to
the vehicle. Disregarding this
information may lead to vehicle
damage.
Symbols
Page references are indicated with 3.
3 means "see page".
Page references and index entries
refer to the indented headings given
in the section table of content.
Thank you for choosing a Vauxhall.
We wish you many hours of
pleasurable driving.
Your Vauxhall Team
Page 13 of 259

In brief111Fixed air vents .................... 128
2 Headlight range
adjustment ......................... 108
Ultrasonic parking assist .....161
Traction control system ......154
Electronic Stability
Program ............................. 155
3 Side air vents .....................127
4 Light switch ........................ 106
Turn and lane-change
signals ................................ 109
High beam and low beam,
headlight flash ....................107
Sidelights ............................ 106
Automatic light control .......106
Exit lighting ......................... 113
Front fog lights ...................110
Rear fog light ...................... 110
High beam assist ................107
5 Instruments .......................... 87
Transmission display ............91Driver Information Centre .... 100
Trip computer ...................... 102
6 Horn ..................................... 82
Driver airbag ........................ 58
7 Remote control on
steering wheel .......................82
Cruise control .....................157
8 Windscreen wiper,
windscreen washer system ..83
Trip computer ...................... 102
9 Coin tray ............................... 70
10 Power outlet, USB slot ..........85
11 Centre air vents .................. 127
12 Storage compartment ...........70
13 Info-display .......................... 100
14 Front passenger airbag .........58
15 Storage compartment ..........70
16 Glovebox .............................. 71
17 Seat belt reminder ................. 94
Front passenger airbag
deactivation ........................... 59
18 Cupholders ........................... 7119Climate control system ....... 114
Electronic climate control
system ................................. 116
20 Cigarette lighter .................... 87
Power outlet ......................... 85
21 Gear lever, Manual
transmission ........................ 148
Manual transmission
automated ........................... 148
22 Cruise control and speed
limiter ................................. 157
Manual transmission
automated,
Winter and Laden modes ....150
Idle speed control ...............134
Stop-start system ................134
ECO mode .......................... 131
23 Ignition switch with
steering wheel lock ............132
24 Steering column controls .....82
25 Steering wheel adjustment ..82
26 Bonnet release lever ..........174
27 Auxiliary heater ...................121
Page 35 of 259

Keys, doors and windows33It monitors:● doors, tailgate, bonnet
● passenger compartment
● load compartment
● ignition
● interruption of alarm siren power supply
Activation All doors and the bonnet must be
closed.
Press e to activate anti-theft alarm
system. Hazard warning lights flash
twice to confirm activation.
If the hazard warning lights do not
flash upon activation, a door or the
bonnet is not fully closed.
Notice
Changes to the vehicle interior, e.g.
the use of seat covers, and open
windows, could impair the function
of passenger compartment
monitoring.
Deactivation
Unlocking the vehicle or switching on the ignition deactivates the anti-theft
alarm system. Hazard warning lights
flash once to confirm deactivation.
Notice
If the alarm has been triggered,
unlocking the vehicle with the key
will not stop the alarm siren. To stop the siren, switch on the ignition. The
hazard warning lights will not flash
upon deactivation if the alarm has
been triggered.
Activation without monitoring of
passenger compartment
Switch off monitoring of the
passenger compartment when
people or animals are being left in thevehicle, or if the auxiliary heater
3 121 is set for a timed or remote
controlled start.
Depending on vehicle configuration:
● press and hold e, or
● switch ignition on and off twice quickly, then close doors and
activate the anti-theft alarm
system
An audible signal will sound as
confirmation.
The status will remain until the doors
are unlocked.
Page 39 of 259

Keys, doors and windows37Windows
Windscreen
Windscreen stickers
Do not attach stickers, e.g. toll road
stickers or similar, on the windscreen
in the area of the interior mirror.
Otherwise the detection zone of the
sensor in the mirror housing could be
restricted.
Windscreen replacementCaution
If the vehicle has a front-looking
camera sensor for the driver
assistance systems, it is very
important that any windscreen
replacement is performed
accurately according to Vauxhall
specifications. Otherwise, these systems may not work properly
and there is a risk of unexpected
behaviour and/or messages from
these systems.
Manual windows
The door windows can be opened or
closed with the window cranks.
Power windows9 Warning
Take care when operating the
power windows. Risk of injury,
particularly to children.
Keep a close watch on the
windows when closing them.
Ensure that nothing becomes
trapped in them as they move.
Switch on ignition to operate power
windows.
Operate the switch for the respective
window by pushing to open or pulling to close.
For vehicles with automatic opening
feature for the driver's door window;
when opening, operate the switch
again to stop window movement.
In the event of closing difficulties due
to frost or the like, operate the switch
several times to close the window in
stages.
Overload If the windows are repeatedly
operated within short intervals, the
window operation is disabled for
some time.
Page 88 of 259

86Instruments and controls
Depending on vehicle, an additional
outlet may be located in the rear of the
vehicle.
Connecting electrical accessories
while the engine is off will discharge
the vehicle battery. Do not exceed the
maximum power consumption of
120 watts.
9 Danger
To avoid the risk of fire, if multiple
power outlets are used
simultaneously, the total power
consumption of connected
accessories must not exceed
180 watts.
With ignition off the power outlet may
be deactivated.
Additionally, the power outlet may be
deactivated in case of low battery
voltage.
Electrical accessories that are
connected must comply with the
electromagnetic compatibility
requirements laid down in
DIN VDE 40 839.Caution
Do not connect any current- delivering accessories, e.g.
electrical charging devices or
batteries.
Do not damage the outlets by
using unsuitable plugs.
USB socket
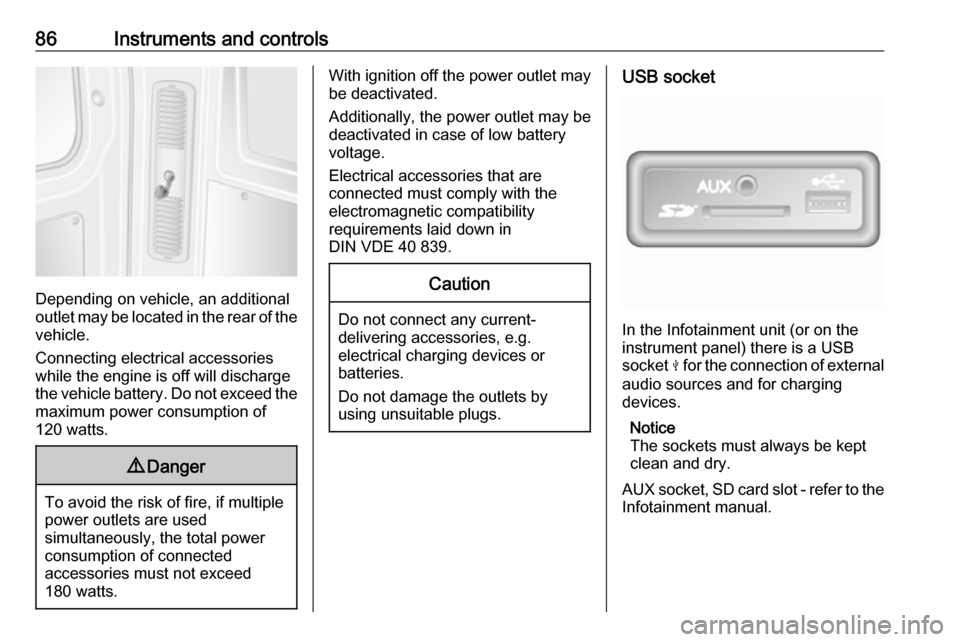
In the Infotainment unit (or on the
instrument panel) there is a USB
socket M for the connection of external
audio sources and for charging
devices.
Notice
The sockets must always be kept
clean and dry.
AUX socket, SD card slot - refer to the
Infotainment manual.
Page 116 of 259

114Climate controlClimate controlClimate control systems.............114
Heating and ventilation system 114
Air conditioning system ...........115
Electronic climate control system .................................... 116
Rear heating system ...............118
Rear air conditioning system ...120
Auxiliary heater ........................121
Air vents ..................................... 127
Adjustable air vents .................127
Fixed air vents ......................... 128
Glovebox cooler ......................128
Maintenance .............................. 128
Air intake ................................. 128
Pollen filter ............................... 128
Air conditioning regular operation ................................ 128
Service .................................... 128Climate control systems
Heating and ventilation system
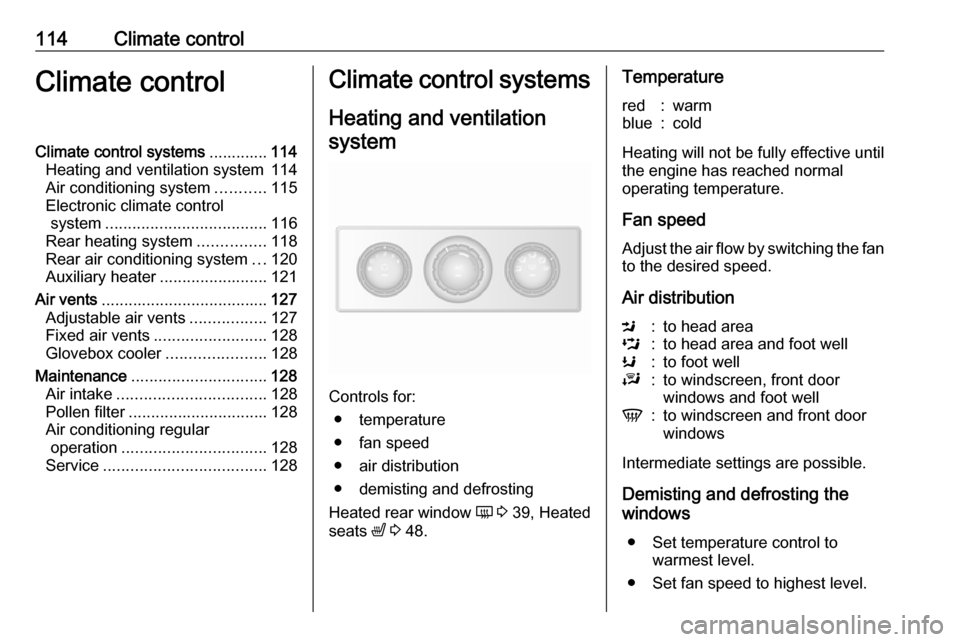
Controls for: ● temperature
● fan speed
● air distribution
● demisting and defrosting
Heated rear window Ü 3 39, Heated
seats ß 3 48.
Temperaturered:warmblue:cold
Heating will not be fully effective until
the engine has reached normal
operating temperature.
Fan speed
Adjust the air flow by switching the fan
to the desired speed.
Air distribution
M:to head areaL:to head area and foot wellK:to foot wellJ:to windscreen, front door
windows and foot wellV:to windscreen and front door
windows
Intermediate settings are possible.
Demisting and defrosting the
windows
● Set temperature control to warmest level.
● Set fan speed to highest level.