Page 41 of 233

Keys, doors and windows39
Press the button on any exterior door
handle.
- or -
Press e to activate the anti-theft alarm
system.
Electronic key system 3 24.
Deactivation
Unlocking the vehicle (with c or the
button on any exterior door handle) or switching on the ignition deactivates
the anti-theft alarm system. Hazard
warning lights flash to confirm
deactivation.
The system is not deactivated when
unlocking the driver's door with the
key or with the central locking switch
in the passenger compartment.
Note
If the alarm has been triggered,
unlocking the vehicle with the key
will not stop the alarm siren. To stop the siren, switch on the ignition. The
hazard warning lights will not flash
upon deactivation if the alarm has
been triggered.Activation without monitoring of
passenger compartment
Disable monitoring of the passenger
compartment, e.g. when animals are
being left in the vehicle, or if the
auxiliary heater has been set for a
timed or remote controlled start
3 121.
Press and hold e on the remote
control or electronic key; an audible
signal will sound as confirmation.
The status will remain until the doors
are unlocked.
Alarm When triggered, the alarm sounds via a separate battery-backed power
sounder, and the hazard warning
lights flash simultaneously. The
number and duration of alarm signals
are stipulated by legislation.
If the vehicle battery is disconnected
or its power supply is interrupted, the
alarm siren will be triggered. First
deactivate the anti-theft alarm system if the vehicle battery must be
disconnected.
Page 42 of 233

40Keys, doors and windowsTo silence the alarm siren (if
triggered) and therefore deactivate
the anti-theft alarm system, reconnect vehicle battery and unlock the vehicle
or switch on the ignition.
Immobiliser
The immobiliser is part of the ignition
switch and checks whether the
vehicle is allowed to be started with the key being used.
The immobiliser is activated
automatically after the key has been removed from the ignition switch and
also if the key is left in the ignition
switch when the engine is turned off.
If the engine cannot be started, switch off the ignition and remove key, wait
approx. two seconds and then repeat
the start attempt. If start attempt is
unsuccessful, attempt to start the
engine using the spare key and seek
the assistance of a workshop.Note
Radio Frequency Identification
(RFID) tags may cause interference with the key. Do not have it placednear the key when starting the
vehicle.
Note
The immobiliser does not lock the doors. You should always lock the
vehicle after leaving it and switch on the anti-theft alarm system 3 26,
3 38.Exterior mirrors
Convex shape The convex exterior mirror contains
an aspherical area and reduces blind spots. The shape of the mirror makes
objects appear smaller, which will affect the ability to estimate
distances.
Manual adjustment
Adjust mirrors by swivelling in
required direction.
Page 43 of 233

Keys, doors and windows41Electric adjustment
Select the relevant exterior mirror by
switching the control to the left or
right, then swivel the control to adjust
the mirror.
No mirror is selected when the control is in the centre position.
Folding mirrors
For pedestrian safety, the exterior
mirrors will swing out of their normal
mounting position if they are struck
with sufficient force. Reposition the mirror by applying slight pressure tothe mirror housing.
Parking position
The exterior mirrors can be folded in
by pressing gently on the outer edge
of the housing, e.g. when in a
confined parking situation.
Depending on version, exterior
mirrors can be automatically folded to the parking position upon locking the
vehicle. For further information, refer
to the Infotainment manual.
Heated mirrors
Operated by pressing Ü
. Activation is
indicated by the LED in the button.
Heating functions with the engine running. It is switched off
automatically after a short time.
Climate control system 3 116.
Page 44 of 233
42Keys, doors and windowsInterior mirrors
Manual anti-dazzle
To reduce dazzle, adjust the lever on the underside of the mirror housing.
Wide view mirror
Depending on vehicle, a large convex
mirror is located in the front
passenger sun visor which helps to
increase visibility and reduce blind
spots.
Automatic anti-dazzle
Dazzle from following vehicles at
night is automatically reduced.
Page 45 of 233

Keys, doors and windows43Windows
Windscreen
Heat-reflecting windscreen
The heat-reflecting windscreen has a
coating which reflects solar radiation. Also data signals, e.g. from toll
stations, might be reflected.
The marked areas on the windscreen are not covered with the coating.
Devices for electronic data recording
and fee payment must be attached in
these areas. Otherwise data
recording malfunctions may occur.
Windscreen stickers
Do not attach stickers such as toll
road stickers or similar on the
windscreen in the area of the interior
mirror.
Windscreen replacementCaution
If the vehicle has a front-looking
camera sensor for the driver
assistance systems, it is very
important that any windscreen
replacement is performed
accurately according to Opel
specifications. Otherwise, these
systems may not work properly
and there is a risk of unexpected
behaviour and/or messages from
these systems.
Power windows9 Warning
Take care when operating the
power windows. Risk of injury,
particularly to children.
Keep a close watch on the
windows when closing them.
Ensure that nothing becomes
trapped in them as they move.
Switch on ignition to operate the power windows.
Page 46 of 233

44Keys, doors and windowsOperate the switch for the respective
window by pushing to open or pulling to close.
For incremental operation: Push or
pull switch briefly.
For automatic opening or closing:
Push or pull switch for longer.
Window moves up or down
automatically with safety function
enabled. To stop movement, operate
the switch once more in the same
direction.
In the event of closing difficulties due
to frost or the like, operate the switch
several times to close the window in
stages.
Safety function
If the window glass encounters
resistance during automatic closing, it is immediately stopped and opened
again.
Overload
If the windows are repeatedly
operated within short intervals, the
window operation is disabled for
some time.Rear windows
Sliding side windows
To open or close, first release the
window by pushing the front part of
the handle down until it reaches the
vertical position then slide window.
Sun blind
Depending on vehicle, a sunblind is
integrated into the window cover.
To close, pull handle downwards and engage the locks at the bottom.
To open, disengage the locks by
pulling sunblind towards you slightly
and guide it upwards.
Page 47 of 233
Keys, doors and windows45Heated rear window
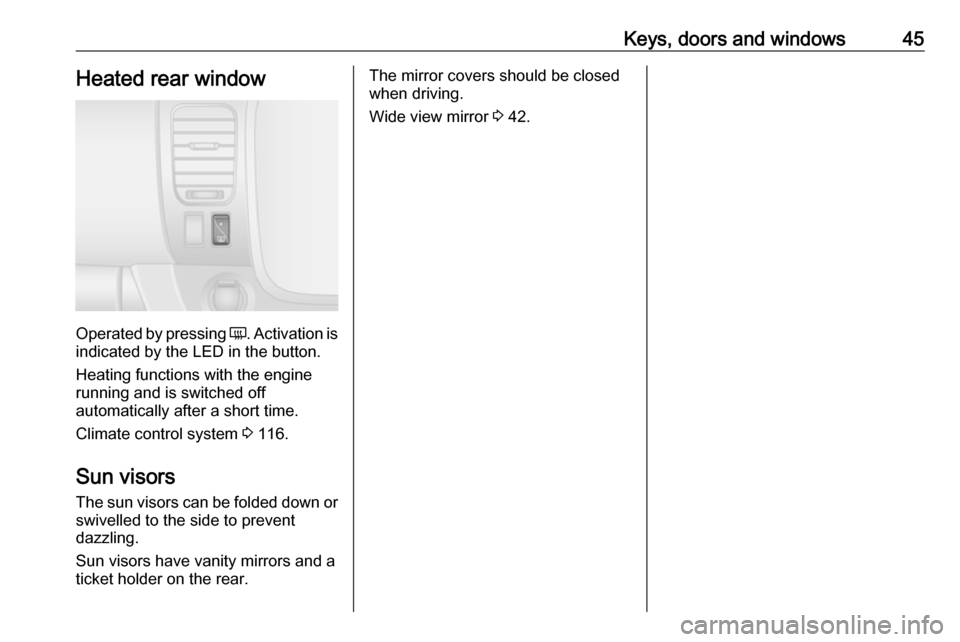
Operated by pressing Ü. Activation is
indicated by the LED in the button.
Heating functions with the engine running and is switched off
automatically after a short time.
Climate control system 3 116.
Sun visors
The sun visors can be folded down or swivelled to the side to prevent
dazzling.
Sun visors have vanity mirrors and a
ticket holder on the rear.
The mirror covers should be closed when driving.
Wide view mirror 3 42.
Page 48 of 233

46Seats, restraintsSeats, restraintsHead restraints............................ 46
Front seats ................................... 47
Seat position .............................. 47
Seat adjustment ........................48
Seat folding ............................... 50
Armrest ...................................... 50
Heating ...................................... 50
Rear seats ................................... 51
Seat belts ..................................... 55
Three-point seat belt .................56
Airbag system .............................. 59
Front airbag system ...................62
Side airbag system ....................63
Curtain airbag system ...............63
Airbag deactivation ....................64
Child restraints ............................. 65
Child restraint systems ..............65
Child restraint installation locations ................................... 68Head restraints
Position9 Warning
Only drive with the head restraint
set to the proper position.
The upper edge of the head restraint
should be at upper head level. If this
is not possible for extremely tall
people, set to highest position, and
set to lowest position for small people.
Adjustment
To raise, pull up head restraint and
engage.
To lower, press release button, adjust
height and engage.