2017.5 OPEL AMPERA E ESP
[x] Cancel search: ESPPage 56 of 265

54Seats, restraintsChild restraint installation locations
Permissible options for fastening a child restraint system with a three-point seat belt
Weight class
On front passenger seat
On rear outboard seatsOn rear centre seat
activated airbagdeactivated airbagGroup 0: up to 10 kgXU 1,2U/L 3UGroup 0+: up to 13 kgXU1,2U/L 3UGroup I: 9 to 18 kgXU1,2,4U/L 3,4U4Group II: 15 to 25 kgU 1,2,4XU/L 3,4U4Group III: 22 to 36 kgU1,2,4XU/L 3,4U4U:universal suitability in conjunction with three-point seat beltL:suitable for particular child restraint systems of the 'specific-vehicle', 'restricted' or 'semi-universal' categories. The
child restraint system must be approved for the specific vehicle type (refer to the vehicle type list of the child restraint
system)X:no child restraint system permitted in this weight class1:move seat forwards as far as necessary and adjust seat backrest as far as necessary to a vertical position to ensure that the belt runs forwards from the upper anchorage point2:move seat upwards as far as necessary and adjust seat backrest as far as necessary to a vertical position to ensurethat the belt is tight on the buckle side3:move the respective front seat ahead of the child restraint system forwards as far as necessary4:adjust the respective headrest as necessary or remove if required
Page 58 of 265

56Seats, restraintsIL:suitable for particular ISOFIX restraint systems of the 'specific-vehicle', 'restricted' or 'semi-universal' categories.
The ISOFIX restraint system must be approved for the specific vehicle type (refer to the vehicle type list of the child restraint system)IUF:suitable for ISOFIX forward-facing child restraint systems of universal category approved for use in this weight classX:no ISOFIX child restraint system approved in this weight class1:move seat forwards as far as necessary and adjust seat backrest as far as necessary to a vertical position to ensure
that the belt runs forwards from the upper anchorage point2:move seat upwards as far as necessary and adjust seat backrest as far as necessary to a vertical position to ensure that the belt is tight on the buckle side3:move the respective front seat ahead of the child restraint system forwards as far as necessary and adjust seat
backrest as far as necessary to a vertical position4:adjust the respective headrest as necessary or remove if required
ISOFIX size class and seat device
A – ISO/F3:forward-facing child restraint system for children of maximum size in the weight class 9 to 18 kgB – ISO/F2:forward-facing child restraint system for smaller children in the weight class 9 to 18 kgB1 – ISO/F2X:forward-facing child restraint system for smaller children in the weight class 9 to 18 kgC – ISO/R3:rear-facing child restraint system for children of maximum size in the weight class up to 18 kgD – ISO/R2:rear-facing child restraint system for smaller children in the weight class up to 18 kgE – ISO/R1:rear-facing child restraint system for young children in the weight class up to 13 kgF– ISO/L1:left lateral facing position child restraint system (carry-cot)G – ISO/L2:right lateral facing position child restraint system (carry-cot)
Permissible options for fitting an i-Size child restraint system with ISOFIX brackets
On front passenger seat
On rear outboard seatsOn rear centre seat
activated airbagdeactivated airbagi-Size child restraint systemsXXXX
Page 71 of 265

Instruments and controls69Activation or deactivation of this
function can be changed in the menu Settings in the Info display.
Vehicle personalisation 3 92.
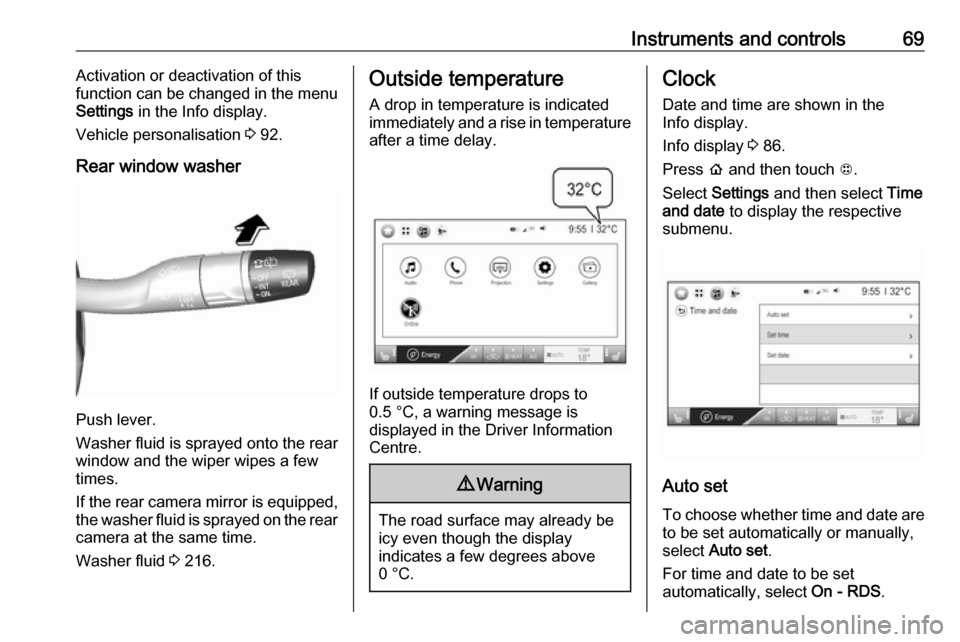
Rear window washer
Push lever.
Washer fluid is sprayed onto the rear
window and the wiper wipes a few
times.
If the rear camera mirror is equipped,
the washer fluid is sprayed on the rear camera at the same time.
Washer fluid 3 216.
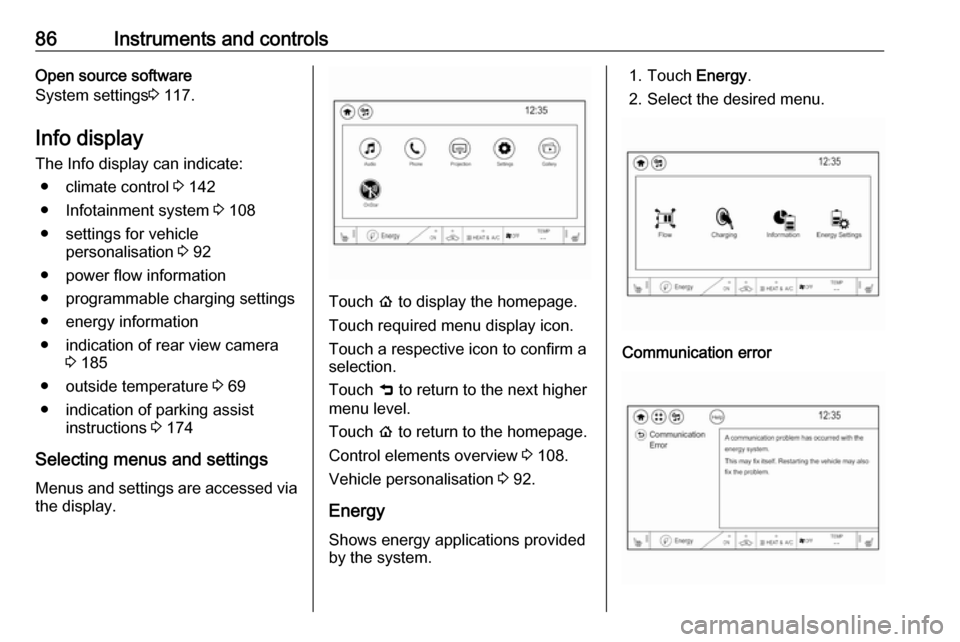
Outside temperature
A drop in temperature is indicated
immediately and a rise in temperature
after a time delay.
If outside temperature drops to
0.5 °C, a warning message is
displayed in the Driver Information
Centre.
9 Warning
The road surface may already be
icy even though the display
indicates a few degrees above
0 °C.
Clock
Date and time are shown in the
Info display.
Info display 3 86.
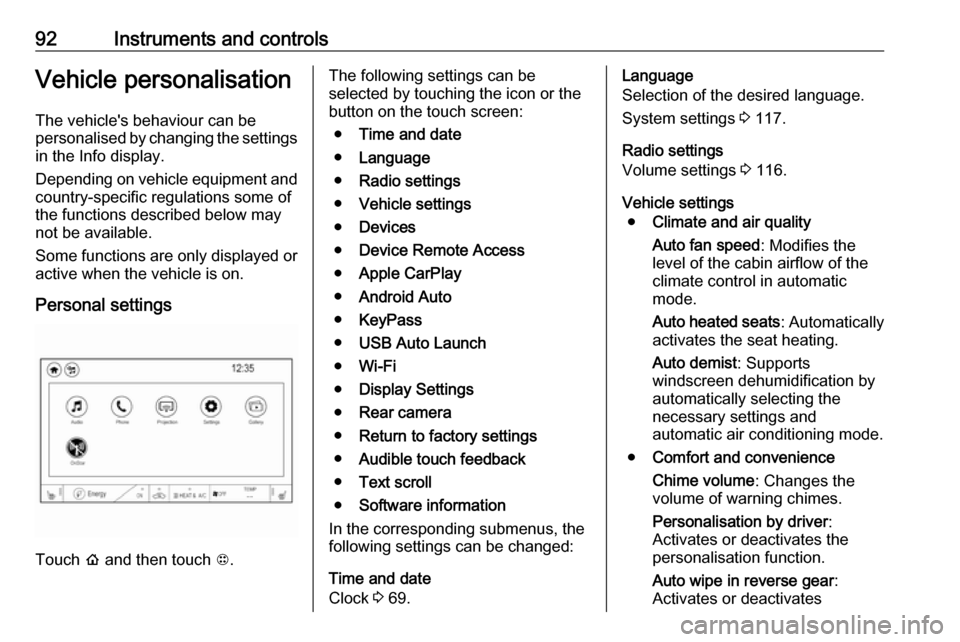
Press p and then touch 1.
Select Settings and then select Time
and date to display the respective
submenu.
Auto set
To choose whether time and date are to be set automatically or manually,
select Auto set .
For time and date to be set
automatically, select On - RDS.
Page 88 of 265

86Instruments and controlsOpen source software
System settings 3 117.
Info display
The Info display can indicate: ● climate control 3 142
● Infotainment system 3 108
● settings for vehicle personalisation 3 92
● power flow information
● programmable charging settings
● energy information
● indication of rear view camera 3 185
● outside temperature 3 69
● indication of parking assist instructions 3 174
Selecting menus and settings
Menus and settings are accessed via the display.
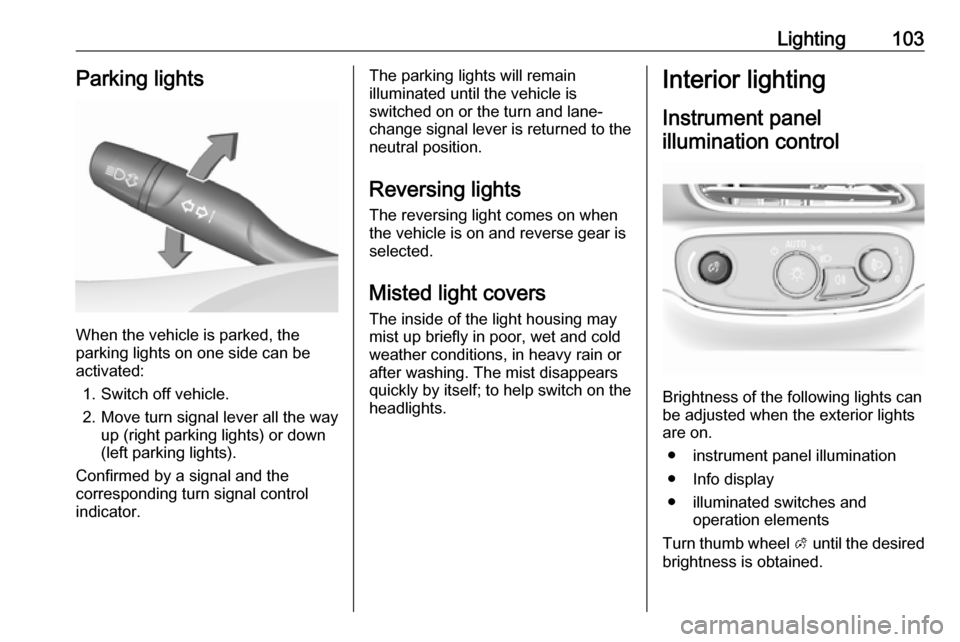
Touch p to display the homepage.
Touch required menu display icon.
Touch a respective icon to confirm a
selection.
Touch 9 to return to the next higher
menu level.
Touch p to return to the homepage.
Control elements overview 3 108.
Vehicle personalisation 3 92.
Energy
Shows energy applications provided by the system.
1. Touch Energy.
2. Select the desired menu.Communication error
Page 94 of 265

92Instruments and controlsVehicle personalisationThe vehicle's behaviour can be
personalised by changing the settings in the Info display.
Depending on vehicle equipment and
country-specific regulations some of
the functions described below may
not be available.
Some functions are only displayed or
active when the vehicle is on.
Personal settings
Touch p and then touch 1.
The following settings can be
selected by touching the icon or the
button on the touch screen:
● Time and date
● Language
● Radio settings
● Vehicle settings
● Devices
● Device Remote Access
● Apple CarPlay
● Android Auto
● KeyPass
● USB Auto Launch
● Wi-Fi
● Display Settings
● Rear camera
● Return to factory settings
● Audible touch feedback
● Text scroll
● Software information
In the corresponding submenus, the
following settings can be changed:
Time and date
Clock 3 69.Language
Selection of the desired language.
System settings 3 117.
Radio settings
Volume settings 3 116.
Vehicle settings ● Climate and air quality
Auto fan speed : Modifies the
level of the cabin airflow of the
climate control in automatic
mode.
Auto heated seats : Automatically
activates the seat heating.
Auto demist : Supports
windscreen dehumidification by
automatically selecting the
necessary settings and
automatic air conditioning mode.
● Comfort and convenience
Chime volume : Changes the
volume of warning chimes.
Personalisation by driver :
Activates or deactivates the
personalisation function.
Auto wipe in reverse gear :
Activates or deactivates
Page 99 of 265

Instruments and controls97Smartphone app
With the myOpel smartphone app,
some vehicle functions can be
operated remotely.
The following functions are available: ● Lock or unlock vehicle.
● Honk horn or flash lights.
● Operate parking heater.
● Check vehicle battery-related information.
● Check tyre pressure (only with tyre pressure monitoring
system).
● Send navigation destination to the vehicle for use with
navigation application via phone
projection.
● Locate vehicle on a map.
● Manage Wi-Fi settings.
To operate these functions, download the app from App Store ®
or
Google Play™ Store.Remote control
If desired, use any phone to call an
advisor, who can remotely operate
specific vehicle functions. Find the
respective OnStar phone number on
our country-specific website.
The following functions are available: ● Lock or unlock vehicle.
● Provide information on the vehicle location.
● Honk horn or flash lights.
Stolen vehicle assistance
If the vehicle is stolen, report the theft
to the authorities and request OnStar
stolen vehicle assistance. Use any
phone to call an advisor. Find the
respective OnStar phone number on
our country-specific website.
OnStar can provide support in
locating and recovering the vehicle.Theft alert
When the anti-theft alarm system is
triggered, a notification is sent to
OnStar. You are then informed about
this event by text message or email.Restart prevention
By sending remote signals, OnStar
can prevent the vehicle from
restarting once it has been turned off.
On-demand diagnostics
At any time e.g. if the vehicle displays a vehicle message, press Z to
contact an advisor and ask to
complete a real-time diagnostic check
to directly determine the issue.
Depending on the results, the advisor
will provide further support.
Diagnostic report
The vehicle automatically transmits
diagnostic data to OnStar which
sends a monthly email report to you
and your preferred workshop.
Note
The workshop notification function
can be disabled in your account.
The report contains the status of key
operating systems of the vehicle like
propulsion system, airbags, ABS, and
other major systems. It also provides
information on possible maintenance
items and tyre pressure (only with tyre
pressure monitoring system).
Page 105 of 265

Lighting103Parking lights
When the vehicle is parked, the
parking lights on one side can be
activated:
1. Switch off vehicle.
2. Move turn signal lever all the way up (right parking lights) or down
(left parking lights).
Confirmed by a signal and the
corresponding turn signal control
indicator.
The parking lights will remain
illuminated until the vehicle is
switched on or the turn and lane-
change signal lever is returned to the
neutral position.
Reversing lights
The reversing light comes on when
the vehicle is on and reverse gear is
selected.
Misted light covers
The inside of the light housing may
mist up briefly in poor, wet and cold weather conditions, in heavy rain or
after washing. The mist disappears
quickly by itself; to help switch on the
headlights.Interior lighting
Instrument panelillumination control
Brightness of the following lights can
be adjusted when the exterior lights
are on.
● instrument panel illumination
● Info display
● illuminated switches and operation elements
Turn thumb wheel A until the desired
brightness is obtained.
Page 114 of 265

112Infotainment system
Audio
Select Audio to open the main menu
of the last selected audio mode.
Select Source on the screen to
display the source list.To change to another audio mode:
touch one of the items in the list.
For a detailed description of: ● Radio functions 3 120
● External devices ( USB,
Bluetooth , iPod , AUX ) 3 128
Gallery
Select Gallery to open the picture and
movie menu for files stored on a USB device.
Select y or z to display the picture
or movie menu. Select the desired
picture or movie file to show the
respective item on the display.For a detailed description of:
● Picture functions 3 130
● Movie functions 3 131
Phone
Before the phone portal can be used, a connection has to be established
between the Infotainment system and
the mobile phone.
For a detailed description of
preparing and establishing a
Bluetooth connection between the Infotainment system and a mobile
phone 3 134.