2016 VOLVO XC90 T8 tailgate
[x] Cancel search: tailgatePage 143 of 546

INSTRUMENTS AND CONTROLS
}}
* Option/accessory, for more information, see Introduction.141
PositionResult
With the ignition in mode II or if the engine is running:
• In the
US: the Daytime Run-
ning Lights (DRL) will be off
• In
Canada : the Daytime Run-
ning Lights will be on
• High beam flash can be used
With the ignition in mode II or if the engine is running: A
• In the
US: the Daytime Run-
ning Lights will be off
• In
Canada : the Daytime Run-
ning Lights will be on
• High beam flash can be used
With the ignition in mode II or if the engine is running:
• The Daytime Running Lights will be
off
• The low beam headlights willbe
on
• High Beams/High Beam flash can be used
PositionResult
With the ignition in mode II or if the engine is running:
• The Daytime Running Lights will be
onB
(the low beam
headlights will automatically switch on in dark conditions orif the rear fog lights are on
• Tunnel detection
* will be acti-
vated
• Active High Beams (AHB) canbe activated
• High beam flash can be used
Active High Beams On/Off
A
The parking lights will be on in this position, even if the ignition is switched off. In dark conditions, the rear parking lights illumi-nate automatically when the tailgate is open, regardless of thecontrol's position or ignition mode.
B US models only: The use of Daytime Running Lights can beactivated/deactivated in the center display's Settings menu.
NOTE
The use of Daytime Running Lights is recom- mended in the United States and is manda-
tory in Canada .
Volvo recommends using the position
whenever possible.
WARNING
• Daytime Running Lights are a driving aid designed to help make the vehicle visibleto other roads users.
• The driver is always responsible foradapting the use of Daytime RunningLights/headlights according to ambientlighting and weather conditions.
Lighting panel
Instrument lighting
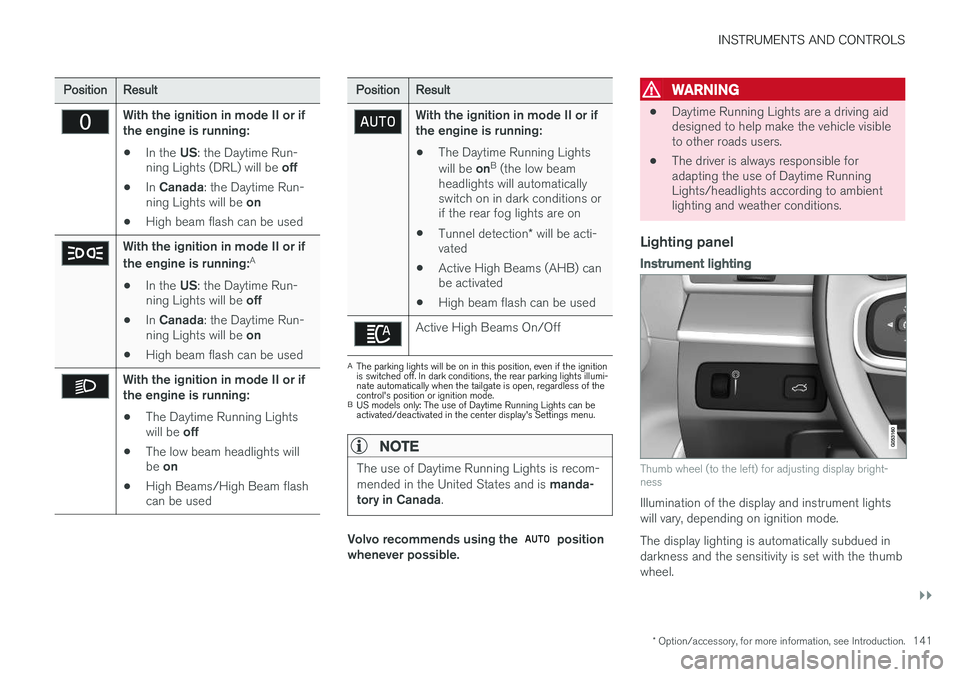
Thumb wheel (to the left) for adjusting display bright- ness
Illumination of the display and instrument lights will vary, depending on ignition mode. The display lighting is automatically subdued in darkness and the sensitivity is set with the thumbwheel.
Page 149 of 546

INSTRUMENTS AND CONTROLS
147
Hazard warning flashers
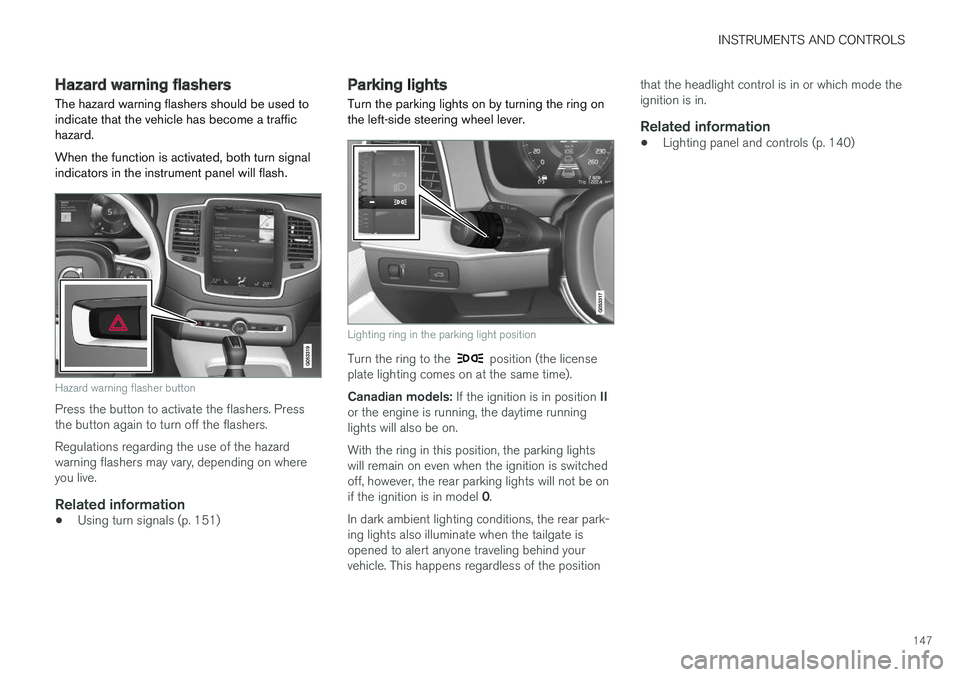
The hazard warning flashers should be used to indicate that the vehicle has become a traffichazard. When the function is activated, both turn signal indicators in the instrument panel will flash.
Hazard warning flasher button
Press the button to activate the flashers. Press the button again to turn off the flashers. Regulations regarding the use of the hazard warning flashers may vary, depending on whereyou live.
Related information
• Using turn signals (p. 151)
Parking lights Turn the parking lights on by turning the ring on the left-side steering wheel lever.
Lighting ring in the parking light position
Turn the ring to the position (the license
plate lighting comes on at the same time). Canadian models: If the ignition is in position II
or the engine is running, the daytime running lights will also be on. With the ring in this position, the parking lights will remain on even when the ignition is switchedoff, however, the rear parking lights will not be on if the ignition is in model 0.
In dark ambient lighting conditions, the rear park- ing lights also illuminate when the tailgate isopened to alert anyone traveling behind yourvehicle. This happens regardless of the position that the headlight control is in or which mode theignition is in.
Related information
•
Lighting panel and controls (p. 140)
Page 151 of 546

INSTRUMENTS AND CONTROLS
}}
* Option/accessory, for more information, see Introduction.149
Courtesy lighting (AUTO) switch
Passenger's side reading light
Front reading lights
Turn the reading lights on or off by pressing the respective buttons briefly. Adjust the brightnessby pressing and holding the button.
Courtesy lighting
Turn the footwell and overhead courtesy lighting on or off by pressing the button briefly.
Courtesy lighting switch
Activate the automatic function by briefly press- ing the AUTO button in the ceiling console. The
indicator light in the button will illuminate. WithAUTO activated, the courtesy lighting will switch
on and off as follows: The courtesy lighting: • comes on when the vehicle is unlocked and when the ignition is switched off
• goes off when the engine is started andwhen the vehicle is locked
• comes on or goes off when one of the sidedoors is opened or closed
• remains on for 2 minutes if a side door isopen
The courtesy lighting switches off when:
Rear interior lighting
Rear reading lights
Rear reading lights: second row of seats
The rear interior lighting/reading lights are located in the ceiling. Turn them on or off by briefly pressing the button in the side console. Adjust the brightness bypressing and holding the button.
Rear courtesy lighting
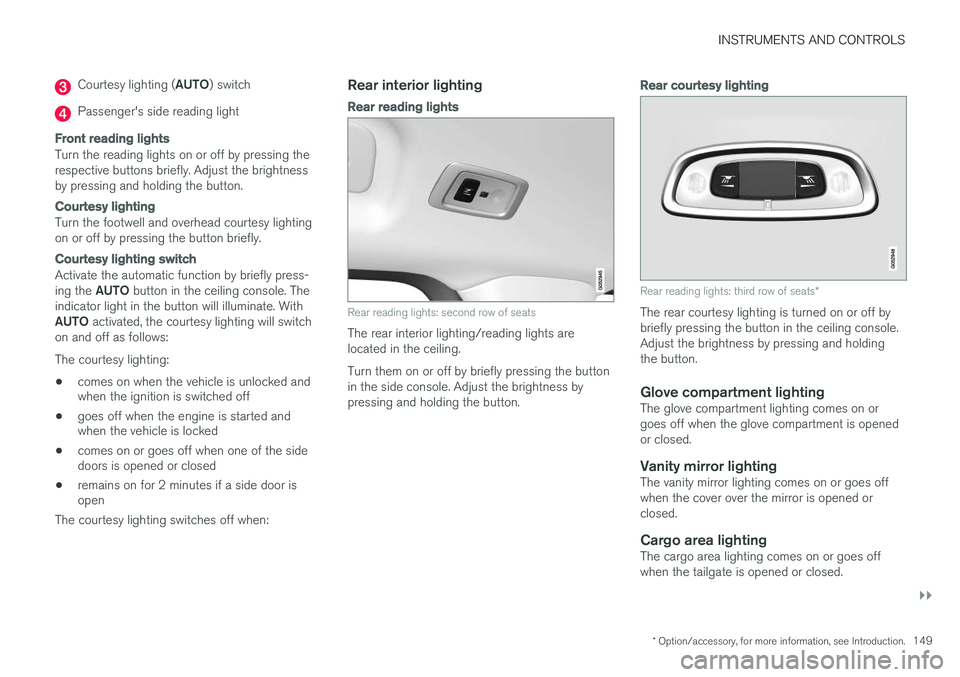
Rear reading lights: third row of seats *
The rear courtesy lighting is turned on or off by briefly pressing the button in the ceiling console.Adjust the brightness by pressing and holdingthe button.
Glove compartment lightingThe glove compartment lighting comes on orgoes off when the glove compartment is openedor closed.
Vanity mirror lightingThe vanity mirror lighting comes on or goes offwhen the cover over the mirror is opened orclosed.
Cargo area lightingThe cargo area lighting comes on or goes offwhen the tailgate is opened or closed.
Page 159 of 546

INSTRUMENTS AND CONTROLS
}}
157
Continuous wipersMove the lever upward for the wipers to operate at normal speed.
NOTE
Before using the wipers, be sure that the wiper blades are not frozen onto the wind-shield and that any ice or snow on the wind-shield has been removed.
Move the lever upward to the next posi- tion for maximum wiper speed.
Related information
•Tailgate window wiper and washer (p. 159)
• Activating/deactivating the rain sensor (p. 157)
• Windshield and headlight washers (p. 158)
Activating/deactivating the rain sensor
The rain sensor monitors the amount of water on the windshield and automatically regulates wiperspeed.
Right-side steering wheel lever
Rain sensor button
Thumb wheel for adjusting sensitivity/interval wiper speed
When the rain sensor is activated, the
symbol will illuminate in the instrument panel.
Activating the rain sensorWhen activating the rain sensor, the engine must be running or the ignition must be in mode I or II.
The windshield wiper lever must also be in posi-tion 0 or in the single sweep position. Activate the rain sensor by pressing the
button. The wipers will make one sweep. If the lever is pressed down, the wipers will make additional sweeps across the windshield. Move the thumb wheel upward for increased sen- sitivity or downward for decreased sensitivity. Thewipers will make one extra sweep if the thumbwheel is moved upward.
Deactivating the rain sensor
Deactivate the rain sensor by pressing the button or by moving the lever upward to another wiper position. The rain sensor is automatically deactivated in ignition mode
0.
The rain sensor is also automatically deactivated when the wipers blades are put in the serviceposition and will reactivate when the wipers havebeen returned to the normal operating position.
CAUTION
Deactivate the rain sensor when washing the vehicle in an automatic car wash if the engine is running or if the ignition is left in mode I or
II . The symbol in the instrument panel will go
out. If the rain sensor is not deactivated, the wipers may start inadvertently in the car washand could be damaged.
Page 160 of 546

||
INSTRUMENTS AND CONTROLS
* Option/accessory, for more information, see Introduction.
158
Activating/deactivating the memory function
The rain sensor's memory function can be set to activate the rain sensor each time the engine isstarted: 1.
In the center display, select
SettingsMy
Car
Wipers
2. Activate by selecting the Rain Sensor
Memory box.
Deactivate by deselecting the
Rain Sensor
Memory box.
Related information
• Using the windshield wipers (p. 156)
• Windshield wipers in the service position (p. 508)
• Tailgate window wiper and washer (p. 159)
Windshield and headlight washers
Use the windshield/headlight washers to help improve visibility.
Starting the windshield and headlight washers
Washing function
–Move the right-side steering wheel lever toward the wheel to start the windshield andheadlight washers.
> After the lever is released the wipers make several extra sweeps.
CAUTION
• Use ample washer fluid when washing the windshield. The windshield should bethoroughly wet when the wipers are inoperation.
• Avoid using the washers if the fluid reser-voir is frozen or empty to help avoid dam-age to the pump.
When the washing system is used, the length of time that the windshield washers operatedepends on the ambient temperature. In coldweather, the amount of washer fluid used willalso be increased automatically to help improvecleaning.
Heated washer nozzles
*The washer nozzles are heated automatically incold weather to help prevent the washer fluidfrom freezing.
High-pressure headlight washing *High-pressure headlight washing consumes alarge quantity of washer fluid. To save fluid, theheadlights are washed once for every five timesthe windshield is washed.
Reduced washingWhen approx. 1 US quart (1 liter) of washer fluidremains in the reservoir, the headlights will nolonger be washed to conserve fluid.
Page 161 of 546

INSTRUMENTS AND CONTROLS
159
A text message and the
symbol will be dis-
played in the instrument panel to remind the driver to fill the washer fluid reservoir.
Related information
• Refilling the windshield washer fluid reservoir (p. 511)
• Using the windshield wipers (p. 156)
• Tailgate window wiper and washer (p. 159)
Tailgate window wiper and washer
Start the tailgate window wiper/washer with con- trols on the right-side steering wheel lever.
NOTE
The rear wiper is equipped with a cut-off function, which means that it will not operateif its electric motor overheats. The wiper willfunction again after a cool-down period(30 seconds or longer, depending on the heatof the motor and ambient temperature condi-tions).
Using the tailgate wiper/washer
Press for tailgate interval wiper
Press for tailgate continuous wiper
–Move the lever forward to wash/wipe the tail- gate window.
Tailgate wiper and reverse gear1. In the center display, select SettingsMy
Car
Wipers.
2. Activate/deactivate by selecting/deselecting the
Auto Rear Wiper box.
If the windshield wipers are on and the transmis- sion is put into reverse gear, the tailgate wiperwill start. This function is deactivated when a dif-ferent gear is selected.
Related information
• Using the windshield wipers (p. 156)
• Windshield and headlight washers (p. 158)
• Refilling the windshield washer fluid reservoir (p. 511)
• Activating/deactivating the rain sensor(p. 157)
Page 182 of 546

||
CLIMATE
* Option/accessory, for more information, see Introduction.
180
PreconditioningPreconditioning the vehicle before driving can help reduce wear and reduce energy consump-tion during a trip.
NOTE
Full preconditioning is only possible when the vehicle's charging cable is connected. In other cases, the passenger compartment can be cooled for 3 minutes in warm weather. This function is started from the
Parking
climate tab in the center display's Climate
view.
With the charging cable connected, precondition- ing can be started immediately or a timer functioncan start this procedure at a later time. This feature utilizes several of the vehicle's sys- tems:
• The High Voltage Coolant Heater (HVCH) warms the hybrid battery and passengercompartment in cold weather.
• In warm weather, the ventilation system willattempt to cool the passenger compartmentto the current ambient temperature.
• In warm weather, the air conditioning systemwill cool the passenger compartment to acomfortable temperature.
• The electrically heated steering wheel andseats can be activated. •
Heating for the windshield, tailgate windowand door mirrors can be activated.
If preconditioning is used in warm weather, a cer- tain amount of water may condense under thevehicle, which is normal. When preconditioning is used, this system will attempt to establish a comfortable temperature in the passenger compartment but not necessarily
the temperature currently set in the climate system .
Maintaining a comfortable passenger compartment climate
The climate in the passenger compartment can be maintained even when the vehicle is parkedand the engine is turned off (e.g., if anyoneintends to remain in the vehicle). This function can only be direct-started.This function utilizes several of the vehicle's sys- tems:
• Residual heat from the engine is used help keep the passenger compartment warm incool temperatures.
• In warm weather, the ventilation system willattempt to cool the passenger compartmentto the current ambient temperature.
This function will not be activated if the vehicle is locked from the outside in order to avoid usingresidual engine heat unnecessarily. This functionis primarily intended for use when the engine isnot running but someone remains in the vehicle.
Related information
• Starting and stopping preconditioning (p. 184)
• Activating/deactivating the climate comfort retaining function
* (p. 181)
• Activating/deactivating the parking climate timer (p. 181)
• Charging the hybrid battery (p. 383)
• Hybrid battery charging cable (p. 375)
Page 212 of 546

||
LOADING AND STORAGE
* Option/accessory, for more information, see Introduction.
210 Unlocking the glove compartment
1. This function can be deactivated from the
center display's Function or Settings view:
• Go to Function view and tap
Private
locking locked.
• Go to settings and select
My CarLocking and Unlocking Feedback.
Deselect the Private Locking box.
> A pop-up window will appear.
2. Specify the code to be used to lock the glove compartment and tap
Confirm.
> The glove compartment will be unlocked.
Using the glove compartment as a cooler *
The glove compartment can be used to cool drinks or food and the cooling feature functionswhen the climate system is active (i.e., when the ignition is in mode II or when the engine is run-
ning).
Cooling activated
Cooling deactivated
–Activate/deactivate cooling by moving the control as far as possible toward the passen-ger compartment/glove compartment.
Related information
• Passenger compartment storage spaces (p. 208)
• Locking/unlocking the tailgate (p. 244)
Tunnel console The tunnel console, located between the front seats, contains a 12-volt electrical socket, cupholders and storage spaces, etc.
Storage space
Storage space with cup holders for the driver and passenger and a 12-volt socket
Storage space and USB/AUX sockets under the armrest
Climate control panel for the rear seats
*
NOTE
One of the alarm sensors, which is sensitive to metallic objects, is located under the tunnelconsole cup holders. Avoid leaving coins,keys, etc., in the cup holders because theymay inadvertently trigger the alarm.