2016 TOYOTA COROLLA USB
[x] Cancel search: USBPage 9 of 294
9
COROLLA_14CY_Navi_U
1
2
3
4
5
6
7
9
8
1. BASIC OPERATION ........................ 70
QUICK REFERENCE ............................ 70
SOME BASICS ...................................... 72
2. RADIO OPERATION ....................... 77
AM/FM RADIO....................................... 77
XM Satellite Radio ................................. 88
INTERNET RADIO ................................ 94
3. MEDIA OPERATION ....................... 95
CD ......................................................... 95
USB MEMORY ...................................... 98
iPod ..................................................... 102
Bluetooth
® AUDIO ............................... 107
AUX ..................................................... 113
4. AUDIO REMOTE CONTROLS ...... 115
STEERING SWITCHES ...................... 115
5. SETUP ........................................... 118
AUDIO SETTINGS .............................. 118
6. TIPS FOR OPERATING THE AUDIO SYSTEM .................. 120
OPERATING INFORMATION ............. 120
1. VOICE COMMAND SYSTEM OPERATION ................................ 130
VOICE COMMAND SYSTEM.............. 130
CASUAL SPEECH
RECOGNIZATION ............................ 136
COMMAND LIST ................................. 137
2. MOBILE ASSISTANT OPERATION ................................ 139
MOBILE ASSISTANT .......................... 139
1. USEFUL INFORMATION .............. 142
RECEIVING DOPPLER
WEATHER INFORMATION .............. 142
RECEIVING TRAFFIC MAP INFORMATION ................................. 144
DATA SERVICES SETTINGS ............. 145
1. REAR VIEW MONITOR SYSTEM ....... ............................ ... 148
REAR VIEW MONITOR SYSTEM ....... 148
REAR VIEW MONITOR SYSTEM
PRECAUTIONS ................................ 150
THINGS YOU SHOULD KNOW .......... 155
1. PHONE OPERATION (HANDS-FREE SYSTEM FOR
CELLULAR PHONES) ................ 158
QUICK REFERENCE .......................... 158
SOME BASICS .................................... 159
CALLING ON THE Bluetooth
®
PHONE .............................................. 162
RECEIVING ON THE Bluetooth
®
PHONE .............................................. 168
TALKING ON THE Bluetooth
®
PHONE .............................................. 169
Bluetooth
® PHONE MESSAGE
FUNCTION ........................................ 172
2. SETUP ........................................... 177
PHONE/MESSAGE SETTINGS .......... 177
3. WHAT TO DO IF... ....................... 189
TROUBLESHOOTING ......................... 189
3AUDIO SYSTEM
4VOICE COMMAND SYSTEM
5INFORMATION
6PERIPHERAL MONITORING
SYSTEM
7PHONE
Page 60 of 294
60
3. OTHER SETTINGS
COROLLA_14CY_Navi_U
■TRANSFERRING IMAGES
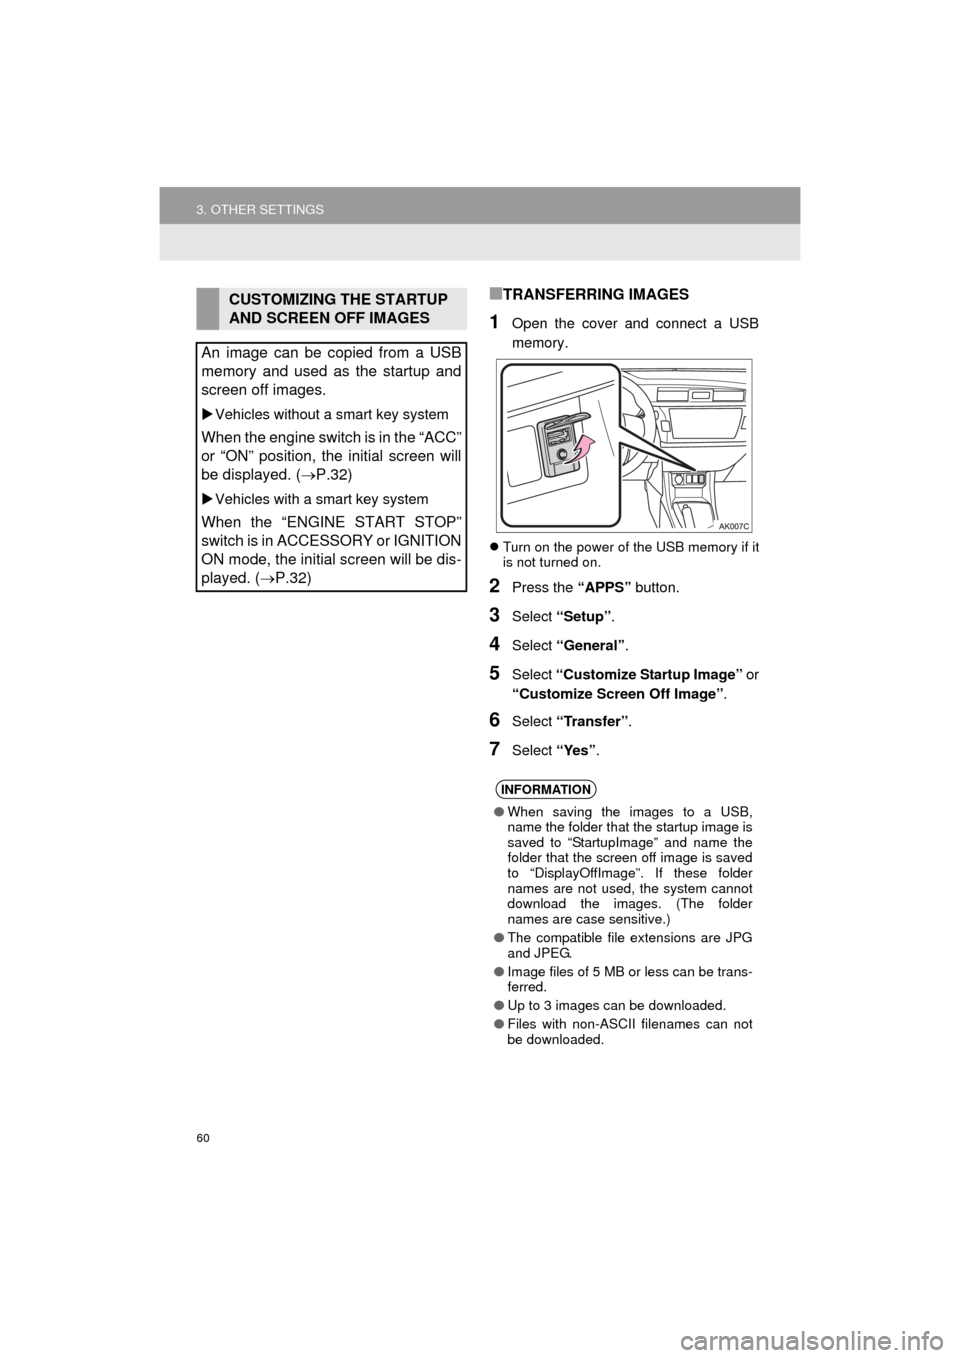
1Open the cover and connect a USB
memory.
Turn on the power of the USB memory if it
is not turned on.
2Press the “APPS” button.
3Select “Setup”.
4Select “General” .
5Select “Customize Startup Image” or
“Customize Screen Off Image” .
6Select “Transfer” .
7Select “Yes”.
CUSTOMIZING THE STARTUP
AND SCREEN OFF IMAGES
An image can be copied from a USB
memory and used as the startup and
screen off images.
Vehicles without a smart key system
When the engine switch is in the “ACC”
or “ON” position, the initial screen will
be displayed. (P.32)
Vehicles with a smart key system
When the “ENGINE START STOP”
switch is in ACCESSORY or IGNITION
ON mode, the initial screen will be dis-
played. ( P.32)
INFORMATION
●When saving the images to a USB,
name the folder that the startup image is
saved to “StartupImage” and name the
folder that the screen off image is saved
to “DisplayOffImage”. If these folder
names are not used, the system cannot
download the images. (The folder
names are case sensitive.)
● The compatible file extensions are JPG
and JPEG.
● Image files of 5 MB or less can be trans-
ferred.
● Up to 3 images can be downloaded.
● Files with non-ASCII filenames can not
be downloaded.
Page 68 of 294
68
COROLLA_14CY_Navi_U
1. QUICK REFERENCE ..................... 70
2. SOME BASICS............................... 72
TURNING THE SYSTEM ON AND OFF ...................................... 73
SELECTING AN AUDIO SOURCE ........ 73
DISC SLOT ............................................ 74
USB/AUX PORT .................................... 75
SOUND SETTINGS ............................... 75
VOICE COMMAND SYSTEM ................ 76
1. AM/FM RADIO ............................... 77
OVERVIEW ............................................ 77
PRESETTING A STATION .................... 81
SELECTING A STATION FROM THE LIST ............................................. 81
CACHING A RADIO PROGRAM ........... 82
RADIO BROADCAST DATA SYSTEM .............................................. 83
TRAFFIC ANNOUNCEMENT (FM RADIO) ......................................... 84
USING HD Radio™ TECHNOLOGY...... 84
AVAILABLE HD Radio™ TECHNOLOGY.................................... 85
TROUBLESHOOTING GUIDE ............... 87
2. XM Satellite Radio ........................ 88
OVERVIEW ............................................ 88
HOW TO SUBSCRIBE TO AN XM Satellite Radio ......................... 90
DISPLAYING THE RADIO ID................. 92
PRESETTING A CHANNEL ................... 92
SELECTING A CHANNEL FROM THE LIST ............................................. 92
IF THE SATELLITE RADIO TUNER MALFUNCTIONS ................... 93
3. INTERNET RADIO......................... 94
LISTENING TO INTERNET RADIO ....... 94
1BASIC OPERATION2RADIO OPERATION
3
AUDIO SYSTEM
Page 69 of 294
3
69
COROLLA_14CY_Navi_U
4
5
6
7
8
9
1
2
3
1. CD .................................................. 95
OVERVIEW ........................................... 95
PLAYING AN AUDIO CD ...................... 97
PLAYING AN MP3/WMA/AAC DISC ..... 97
2. USB MEMORY ............................... 98
OVERVIEW ........................................... 98
PLAYING A USB AUDIO ..................... 101
3. iPod .............................................. 102
OVERVIEW ......................................... 102
iPod AUDIO ......................................... 106
iPod VIDEO ......................................... 106
4. Bluetooth® AUDIO ...................... 107
OVERVIEW ......................................... 107
CONNECTING A Bluetooth®
DEVICE ............................................. 112
LISTENING TO Bluetooth
® AUDIO ..... 112
5. AUX .............................................. 113
OVERVIEW ......................................... 113
1. STEERING SWITCHES............... 115
1. AUDIO SETTINGS ...................... 118
AUDIO SETTINGS SCREEN............... 118
1. OPERATING INFORMATION ..... 120
RADIO.................................................. 120
CD PLAYER AND DISC ...................... 121
iPod ...................................................... 123
FILE INFORMATION ........................... 124
TERMS ................................................ 127
ERROR MESSAGES ........................... 128
3MEDIA OPERATION4AUDIO REMOTE CONTROLS
5SETUP
6TIPS FOR OPERATING THE
AUDIO SYSTEM
AUDIO SYSTEM
Page 71 of 294

71
1. BASIC OPERATION
COROLLA_14CY_Navi_U
AUDIO SYSTEM
3
FunctionPage
Using the radio77
Playing an audio CD or MP3/WMA/AAC disc95
Playing a USB memory98
Playing an iPod®102
Playing a Bluetooth® device107
Using the AUX port11 3
Using the steering wheel audio switches11 5
Audio system settings11 8
INFORMATION
●The display and button positions will differ depending on the type of the system.
Page 75 of 294
75
1. BASIC OPERATION
COROLLA_14CY_Navi_U
AUDIO SYSTEM
3
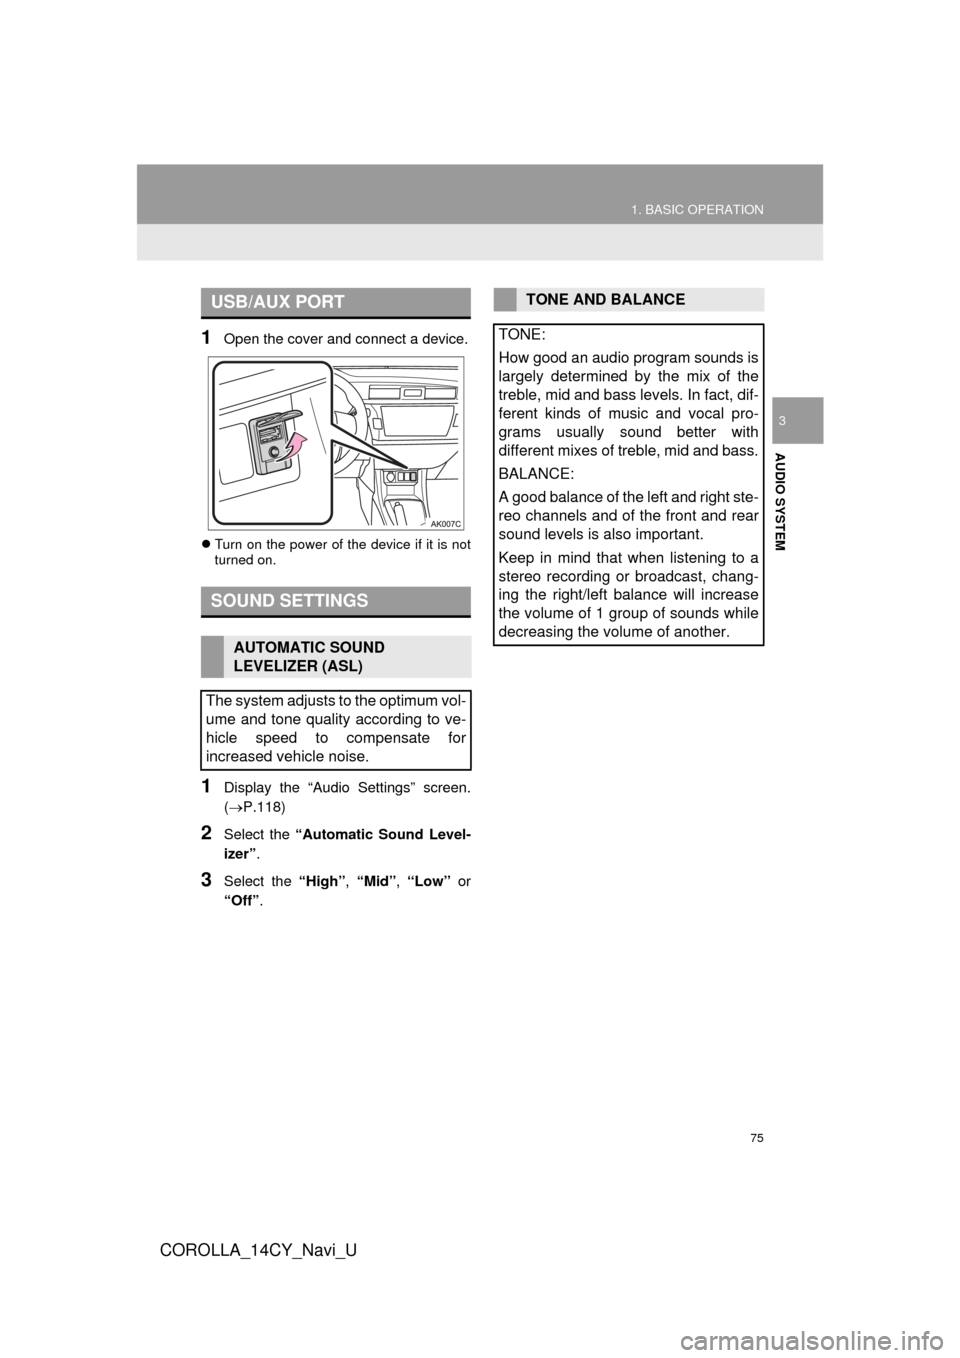
1Open the cover and connect a device.
Turn on the power of the device if it is not
turned on.
1Display the “Audio Settings” screen.
( P.118)
2Select the “Automatic Sound Level-
izer” .
3Select the “High”, “Mid”, “Low” or
“Off” .
USB/AUX PORT
SOUND SETTINGS
AUTOMATIC SOUND
LEVELIZER (ASL)
The system adjusts to the optimum vol-
ume and tone quality according to ve-
hicle speed to compensate for
increased vehicle noise.
TONE AND BALANCE
TONE:
How good an audio program sounds is
largely determined by the mix of the
treble, mid and bass levels. In fact, dif-
ferent kinds of music and vocal pro-
grams usually sound better with
different mixes of treble, mid and bass.
BALANCE:
A good balance of the left and right ste-
reo channels and of the front and rear
sound levels is also important.
Keep in mind that when listening to a
stereo recording or broadcast, chang-
ing the right/left balance will increase
the volume of 1 group of sounds while
decreasing the volume of another.
Page 94 of 294
94
2. RADIO OPERATION
COROLLA_14CY_Navi_U
3. INTERNET RADIO*
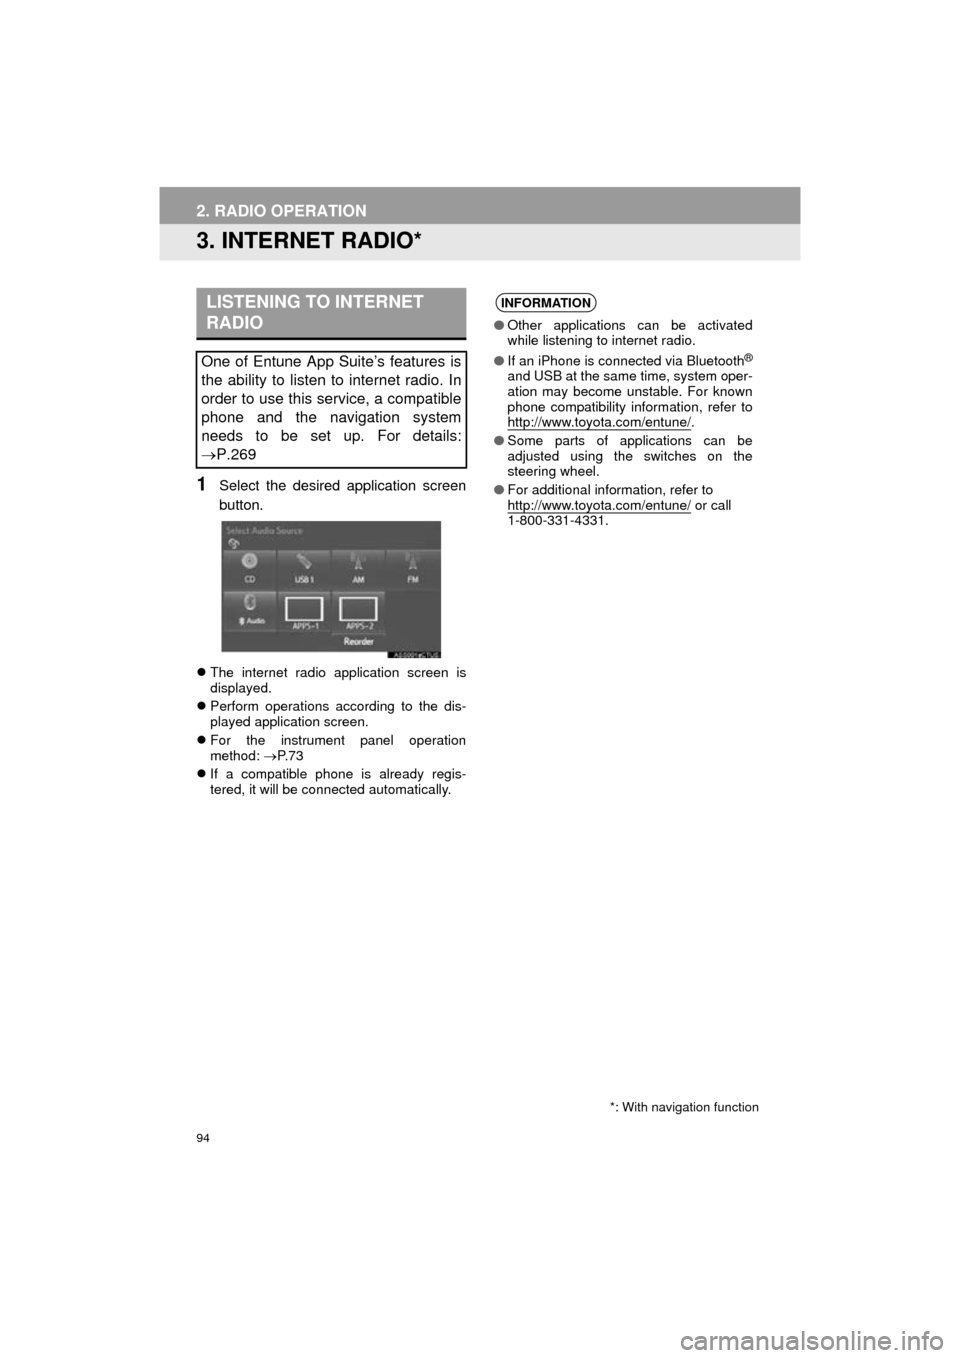
1Select the desired application screen
button.
The internet radio application screen is
displayed.
Perform operations according to the dis-
played application screen.
For the instrument panel operation
method: P. 7 3
If a compatible phone is already regis-
tered, it will be connected automatically.
LISTENING TO INTERNET
RADIO
One of Entune App Suite’s features is
the ability to listen to internet radio. In
order to use this service, a compatible
phone and the navigation system
needs to be set up. For details:
P.269
*: With navigation function
INFORMATION
●Other applications can be activated
while listening to internet radio.
● If an iPhone is connected via Bluetooth
®
and USB at the same time, system oper-
ation may become unstable. For known
phone compatibility information, refer to
http://www.toyota.com/entune/
.
● Some parts of applications can be
adjusted using the switches on the
steering wheel.
● For additional information, refer to
http://www.toyota.com/entune/
or call
1-800-331-4331.
Page 98 of 294

98
3. MEDIA OPERATION
COROLLA_14CY_Navi_U
2. USB MEMORY
■CONTROL SCREEN
■CONTROL PANEL
OVERVIEW
The USB memory operation screen can be reached by the following methods:
Connect a USB memory. ( P.75)
Select “USB” to display the audi o control screen. (P.73)