Page 70 of 304

70
AVA L O N _ N a v i _ U
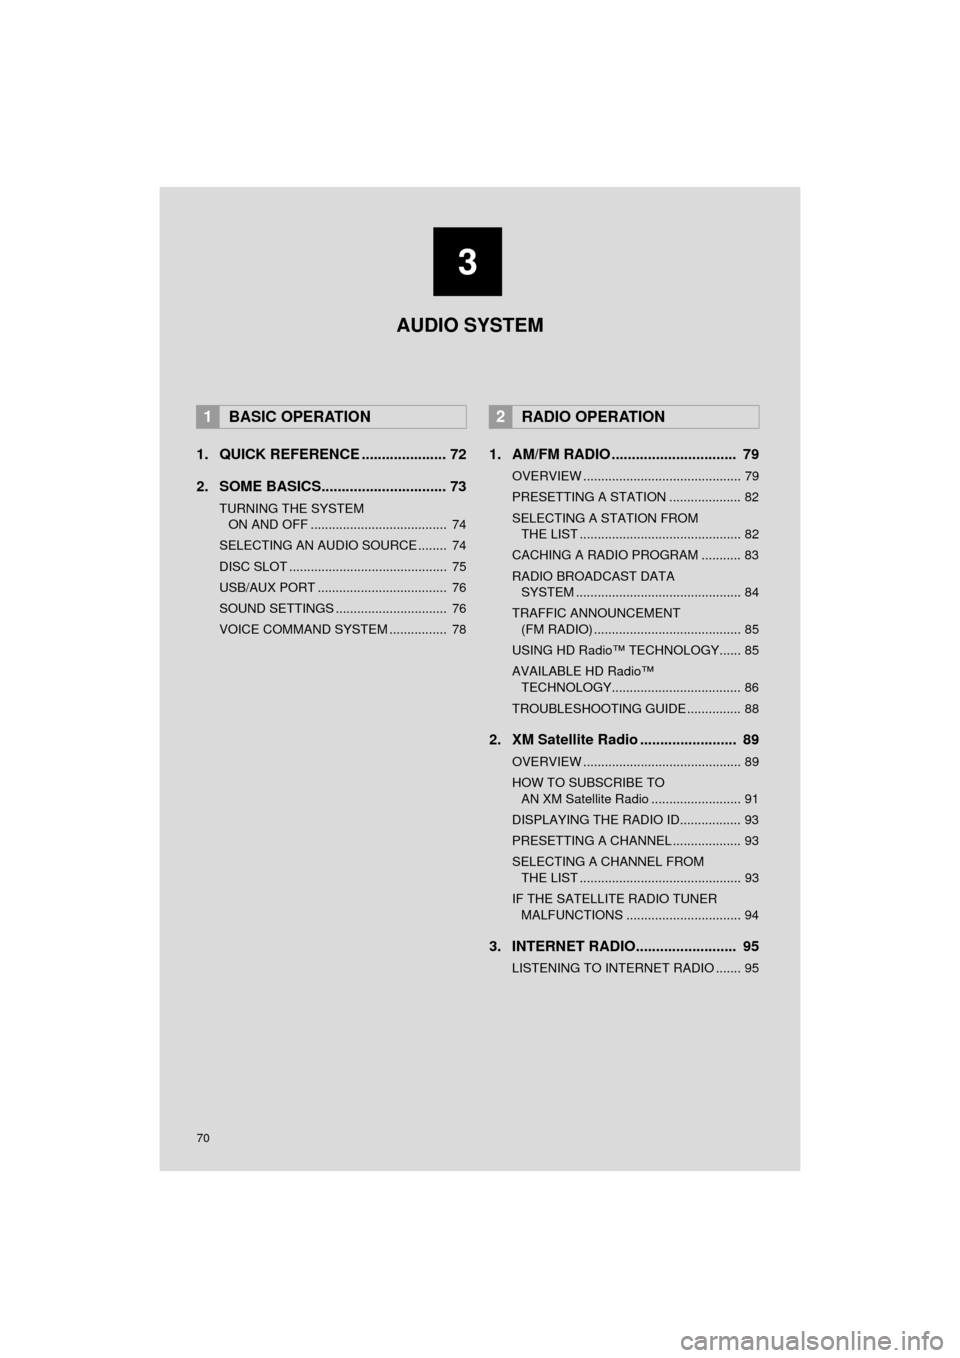
1. QUICK REFERENCE ..................... 72
2. SOME BASICS............................... 73
TURNING THE SYSTEM ON AND OFF ...................................... 74
SELECTING AN AUDIO SOURCE ........ 74
DISC SLOT ............................................ 75
USB/AUX PORT .................................... 76
SOUND SETTINGS ............................... 76
VOICE COMMAND SYSTEM ................ 78
1. AM/FM RADIO ............................... 79
OVERVIEW ............................................ 79
PRESETTING A STATION .................... 82
SELECTING A STATION FROM THE LIST ............................................. 82
CACHING A RADIO PROGRAM ........... 83
RADIO BROADCAST DATA SYSTEM .............................................. 84
TRAFFIC ANNOUNCEMENT (FM RADIO) ......................................... 85
USING HD Radio™ TECHNOLOGY...... 85
AVAILABLE HD Radio™ TECHNOLOGY.................................... 86
TROUBLESHOOTING GUIDE ............... 88
2. XM Satellite Radio ........................ 89
OVERVIEW ............................................ 89
HOW TO SUBSCRIBE TO AN XM Satellite Radio ......................... 91
DISPLAYING THE RADIO ID................. 93
PRESETTING A CHANNEL ................... 93
SELECTING A CHANNEL FROM THE LIST ............................................. 93
IF THE SATELLITE RADIO TUNER MALFUNCTIONS ................................ 94
3. INTERNET RADIO......................... 95
LISTENING TO INTERNET RADIO ....... 95
1BASIC OPERATION2RADIO OPERATION
3
AUDIO SYSTEM
Page 72 of 304
72
AVA L O N _ N a v i _ U
1. BASIC OPERATION
1. QUICK REFERENCE
The audio control screen can be reached by the following methods:
Using the “AUDIO” button
Press the “AUDIO” button to display the audio screen.
Using the “APPS” button
Press the “APPS” button, then select “Audio” to display the audio screen.
FunctionPage
Using the radio79, 89, 95
Playing an audio CD or MP3/WMA/AAC disc96
Playing a USB memory99
Playing an iPod103
Playing a Bluetooth® device107
Using the AUX port11 3
Using the steering wheel audio switches11 5
Audio system settings11 8
INFORMATION
●The display and button positions will differ depending on the type of the system.
Page 74 of 304
74
1. BASIC OPERATION
AVA L O N _ N a v i _ U
“PWR/VOL” knob: Press to turn the audio
system on and off. The system turns on in
the last mode used. Turn this knob to ad-
just the volume.
“AUDIO” button: Press to display screen
buttons for the audio system.
1Press the “AUDIO” button.
2Select “Source” or press “AUDIO”
button again.
3Select the desired source.
TURNING THE SYSTEM ON
AND OFF
A function that enables automatic return
to the home screen from the audio
screen can be selected. ( P.57)
SELECTING AN AUDIO
SOURCE
INFORMATION
● Dimmed screen buttons cannot be oper-
ated.
● When there are two pages, select
or to change the page.
Page 75 of 304
75
1. BASIC OPERATION
AVA L O N _ N a v i _ U
AUDIO SYSTEM
3
1Display the “Select Audio Source”
screen. (P.74)
2Select “Reorder” .
3Select the desired audio source then
or to reorder.
4Select “OK”.
1Insert a disc into the disc slot.
After insertion, the disc is automatically
loaded.
1Press the button and remove the
disc.
REORDERING THE AUDIO
SOURCEDISC SLOT
INSERTING A DISC
EJECTING A DISC
NOTICE
●Never try to disassemble or oil any part
of the CD player. Do not insert anything
other than a disc into the slot.
INFORMATION
●The player is intended for use with 4.7
in. (12 cm) discs only.
● When inserting a disc, gently insert the
disc with the label facing up.
Page 76 of 304

76
1. BASIC OPERATION
AVA L O N _ N a v i _ U
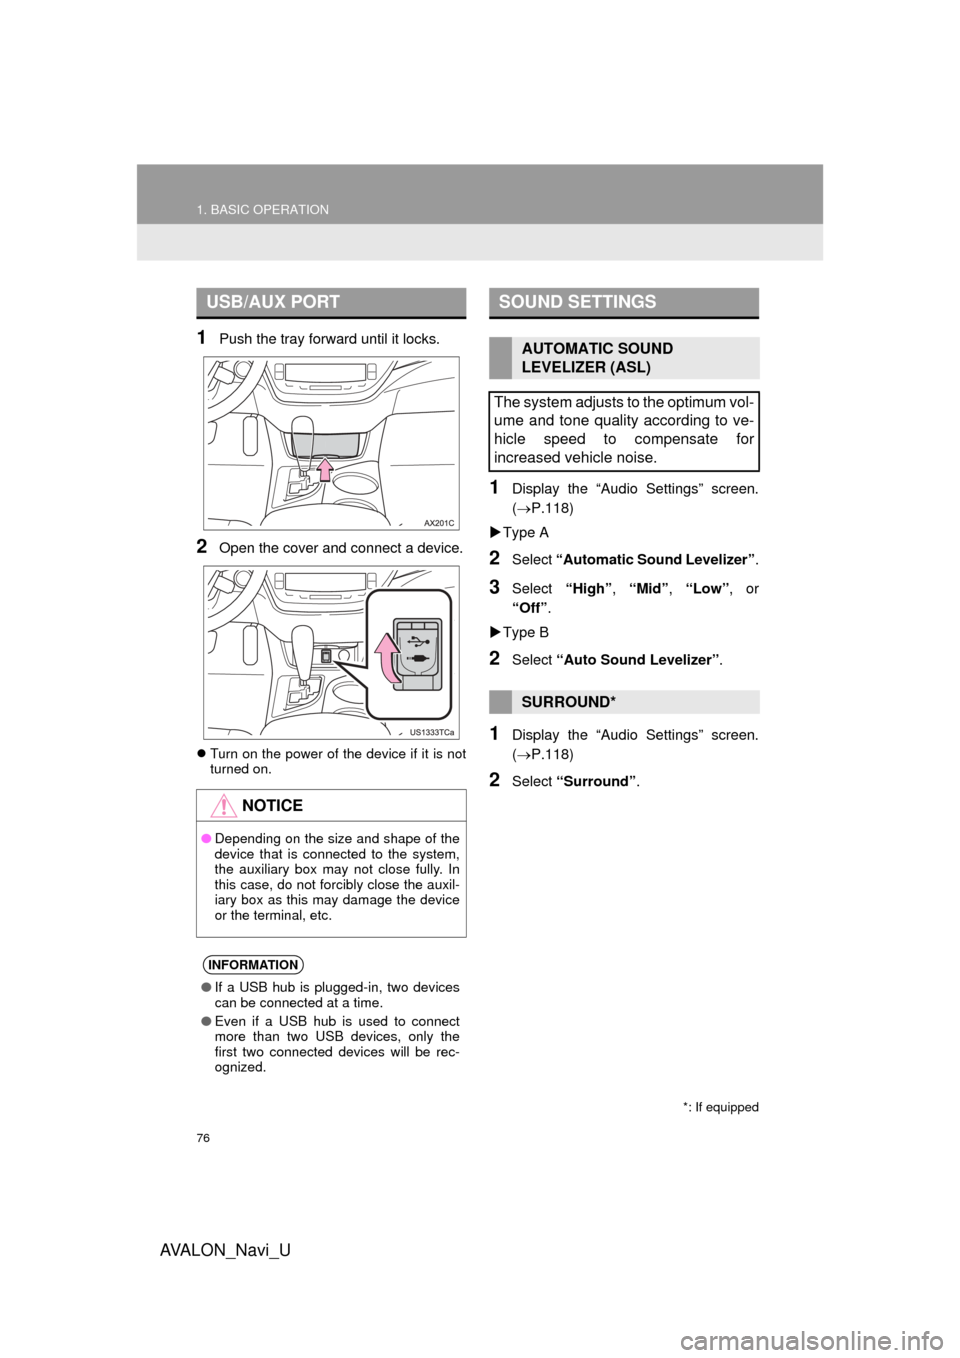
1Push the tray forward until it locks.
2Open the cover and connect a device.
Turn on the power of the device if it is not
turned on.
1Display the “Audio Settings” screen.
(P.118)
Type A
2Select “Automatic Sound Levelizer” .
3Select “High”, “Mid” , “Low” , or
“Off” .
Type B
2Select “Auto Sound Levelizer” .
1Display the “Audio Settings” screen.
(P.118)
2Select “Surround” .
USB/AUX PORT
NOTICE
●Depending on the size and shape of the
device that is connected to the system,
the auxiliary box may not close fully. In
this case, do not forcibly close the auxil-
iary box as this may damage the device
or the terminal, etc.
INFORMATION
●If a USB hub is plugged-in, two devices
can be connected at a time.
● Even if a USB hub is used to connect
more than two USB devices, only the
first two connected devices will be rec-
ognized.
SOUND SETTINGS
AUTOMATIC SOUND
LEVELIZER (ASL)
The system adjusts to the optimum vol-
ume and tone quality according to ve-
hicle speed to compensate for
increased vehicle noise.
SURROUND*
*: If equipped
Page 81 of 304

81
2. RADIO OPERATION
AVA L O N _ N a v i _ U
AUDIO SYSTEM
3
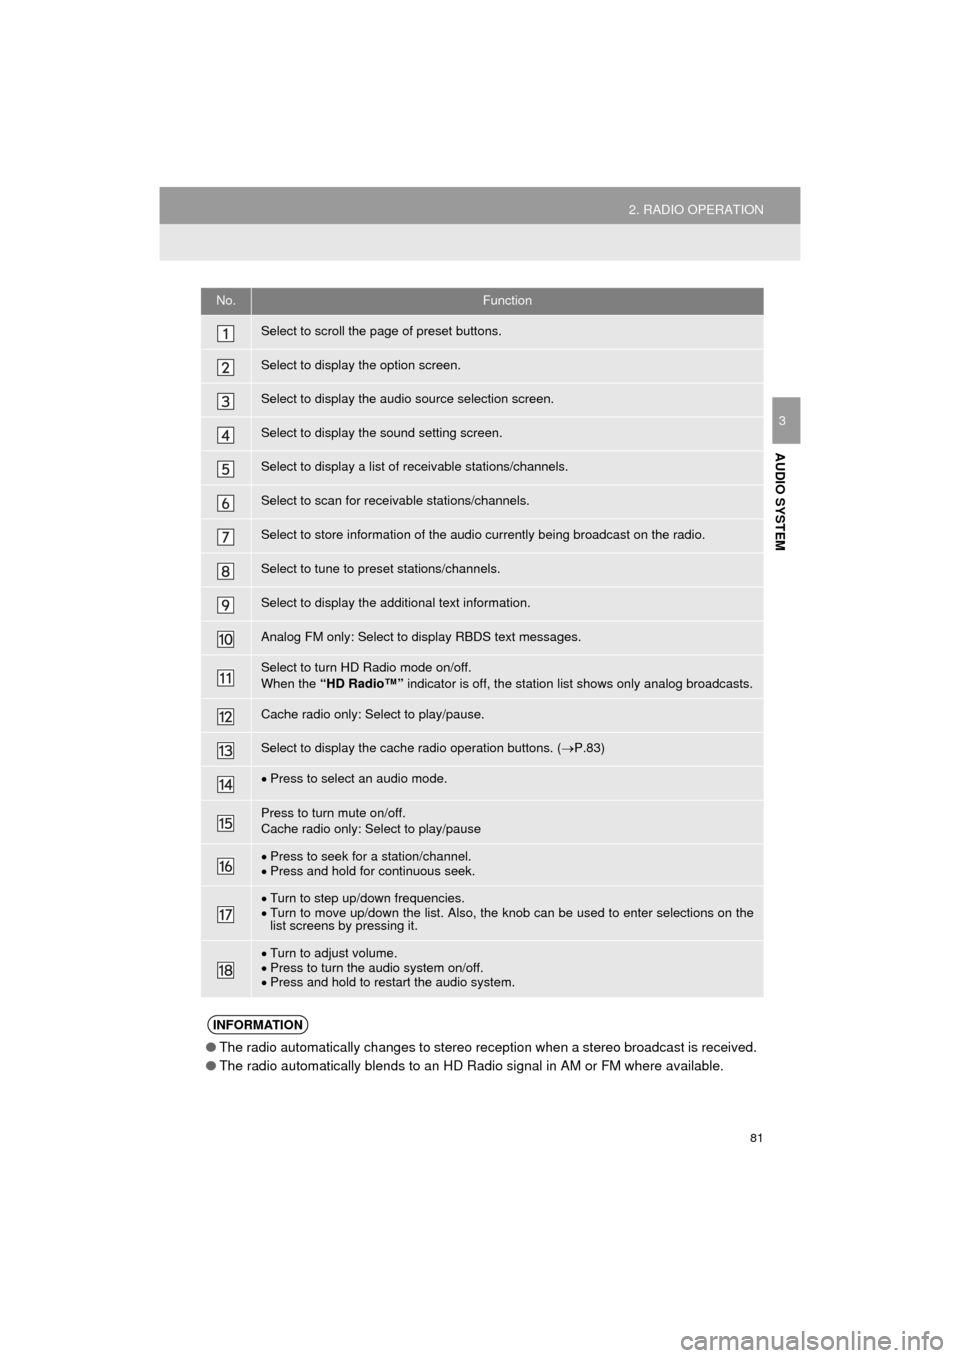
No.Function
Select to scroll the page of preset buttons.
Select to display the option screen.
Select to display the audio source selection screen.
Select to display the sound setting screen.
Select to display a list of receivable stations/channels.
Select to scan for receivable stations/channels.
Select to store information of the audio currently being broadcast on the radio.
Select to tune to preset stations/channels.
Select to display the additional text information.
Analog FM only: Select to display RBDS text messages.
Select to turn HD Radio mode on/off.
When the “HD Radio™” indicator is off, the station list shows only analog broadcasts.
Cache radio only: Select to play/pause.
Select to display the cache radio operation buttons. ( P.83)
Press to select an audio mode.
Press to turn mute on/off.
Cache radio only: Select to play/pause
Press to seek for a station/channel.
Press and hold for continuous seek.
Turn to step up/down frequencies.
Turn to move up/down the list. Also, the knob can be used to enter selections on the
list screens by pressing it.
Turn to adjust volume.
Press to turn the audio system on/off.
Press and hold to restart the audio system.
INFORMATION
● The radio automatically changes to stereo reception when a stereo broadcast is received.
● The radio automatically blends to an HD Radio signal in AM or FM where available.
Page 82 of 304
82
2. RADIO OPERATION
AVA L O N _ N a v i _ U
1Tune in the desired station.
2Select “(add new)” .
To change the preset station to a different
one, select and hold the preset station.
3Select “Yes” on the confirmation
screen.
4Select “OK” after setting the new pre-
set station.
1Select “Station List” .
2FM radio only: Select the desired pro-
gram genre.
3Select the desired station and select
“OK”.
PRESETTING A STATION
Radio mode has a mix preset function,
which can store up to 36 stations (6
stations per page x 6 pages) from any
of the AM, FM or SAT bands.
INFORMATION
●The number of preset radio stations dis-
played on the screen can be changed.
( P. 1 1 9 )
SELECTING A STATION
FROM THE LIST
A station list can be displayed.
Page 83 of 304

83
2. RADIO OPERATION
AVA L O N _ N a v i _ U
AUDIO SYSTEM
3
■REFRESHING THE STATION LIST
1Select “Refresh” on the station list
screen and the following screen will be
displayed.
“Cancel Refresh” : Select to cancel the
refresh.
“Source” : Select to change to another au-
dio source while refreshing.
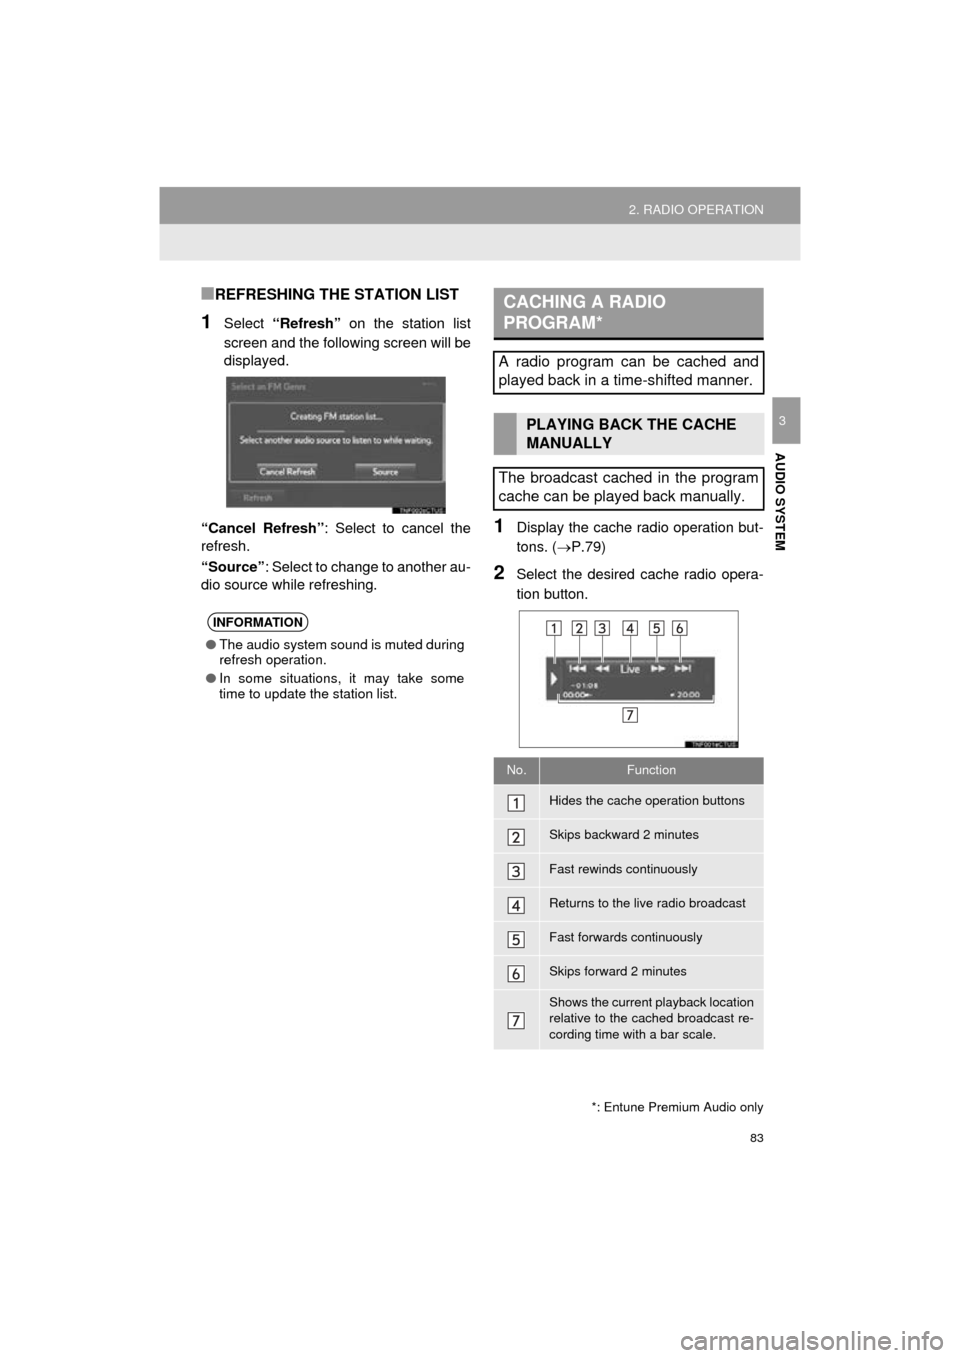
1Display the cache radio operation but-
tons. ( P.79)
2Select the desired cache radio opera-
tion button.
INFORMATION
●The audio system sound is muted during
refresh operation.
● In some situations, it may take some
time to update the station list.
*: Entune Premium Audio only
CACHING A RADIO
PROGRAM*
A radio program can be cached and
played back in a time-shifted manner.
PLAYING BACK THE CACHE
MANUALLY
The broadcast cached in the program
cache can be played back manually.
No.Function
Hides the cache operation buttons
Skips backward 2 minutes
Fast rewinds continuously
Returns to the live radio broadcast
Fast forwards continuously
Skips forward 2 minutes
Shows the current playback location
relative to the cached broadcast re-
cording time with a bar scale.