Page 143 of 528
1433-4. Adjusting the steering wheel and mirrors
3
Operation of each component
4RUNNER (U)_(OM35B23U)
To select a mirror to adjust,
press the switch.
Left
Right
To adjust the mirror, press the
switch.
Up
Right
Down
Left
Push the mirror back in the direc-
tion of the vehicle’s rear.
Outside rear view mirrors
Adjustment procedure
1
1
2
2
1
2
3
4
Folding the mirrors
Page 144 of 528

1443-4. Adjusting the steering wheel and mirrors
4RUNNER (U)_(OM35B23U)
■Mirror angle can be adjusted when
Vehicles without a smart key system
The engine switch is in the “ACC” or “ON” position.
Vehicles with a smart key system
The engine switch is in ACCESSORY or IGNITION ON mode.
■When the mirrors are fogged up
The outside rear view mirrors can be cleared using the mirror defoggers. Turn
on the rear window defogger to turn on the outside rear view mirror defog-
gers. (P. 280, 286)
CAUTION
■Important points while driving
Observe the following precautions while driving.
Failure to do so may result in loss of control of the vehicle and cause an
accident, resulting in death or serious injury.
●Do not adjust the mirrors while driving.
●Do not drive with the mirrors folded.
●Both the driver and passenger side mirrors must be extended and properly
adjusted before driving.
■When a mirror is moving
To avoid personal injury and mirror malfunction, be careful not to get your
hand caught by the moving mirror.
■When the mirror defoggers are operating
Do not touch the rear view mirror surfaces, as they can become very hot
and burn you.
Page 161 of 528

1614-1. Before driving
4
Driving
4RUNNER (U)_(OM35B23U)
CAUTION
Observe the following precautions.
Failure to do so may result in death or serious injury.
■When driving the vehicle
●During normal driving, do not turn off the engine. Turning the engine off
while driving will not cause loss of steering or braking control, but the
power assist to these systems will be lost. This will make it more difficult to
steer and brake, so you should pull over and stop the vehicle as soon as it
is safe to do so.
However, in the event of an emergency, such as if it becomes impossible
to stop the vehicle in the normal way: P. 403
●Use engine braking (downshift) to maintain a safe speed when driving
down a steep hill.
Using the brakes continuously may cause the brakes to overheat and lose
effectiveness. (P. 199)
●Do not adjust the positions of the steering wheel, the seat, or the inside or
outside rear view mirrors while driving.
Doing so may result in a loss of vehicle control.
●Always check that all passengers’ arms, heads or other parts of their body
are not outside the vehicle.
●Do not drive in excess of the speed limit. Even if the legal speed limit per-
mits it, do not drive over 85 mph (140 km/h) unless your vehicle has high-
speed capability tires. Driving over 85 mph (140 km/h) may result in tire
failure, loss of control and possible injury. Be sure to consult a tire dealer
to determine whether the tires on your vehicle are high-speed capability
tires or not before driving at such speeds.
Page 186 of 528

1864-1. Before driving
4RUNNER (U)_(OM35B23U)■Before towing
Check that the following conditions are met:
●Ensure that your vehicle’s tires are properly inflated. (P. 468)
●Trailer tires are inflated according to the trailer manufacturer’s recommen-
dation.
●All trailer lights work as required by law.
●All lights work each time you connect them.
●The trailer ball is set at the proper height for the coupler on the trailer.
●The trailer is level when it is hitched.
Do not drive if the trailer is not level, and check for improper tongue weight,
overloading, worn suspension, or other possible causes.
●The trailer cargo is securely loaded.
●The rear view mirrors conform to all applicable federal, state/provincial or
local regulations. If they do not, install rear view mirrors appropriate for tow-
ing purposes.
■Break-in schedule
If your vehicle is new or equipped with any new power train components
(such as an engine, transmission, differential or wheel bearing), Toyota rec-
ommends that you do not tow a trailer until the vehicle has been driven for
over 500 miles (800 km).
After the vehicle has been driven for over 500 miles (800 km), you can start
towing. However, for the next 500 miles (800 km), drive the vehicle at a speed
of less than 45 mph (72 km/h) when towing a trailer, and avoid full throttle
acceleration.
■Maintenance
●If you tow a trailer, your vehicle will require more frequent maintenance due
to the additional load. (See “Scheduled Maintenance Guide” or “Owner’s
Manual Supplement”.)
●Retighten the fixing bolts of the towing ball and bracket after approximately
600 miles (1000 km) of trailer towing.
■If trailer sway occurs
One or more factors (crosswinds, passing vehicles, rough roads, etc.) can
adversely affect handling of your vehicle and trailer, causing instability.
●If trailer swaying occurs:
• Firmly grip the steering wheel. Steer straight ahead.
Do not try to control trailer swaying by turning the steering wheel.
• Begin releasing the accelerator pedal immediately but very gradually to
reduce speed.
Do not increase speed. Do not apply vehicle brakes.
If you make no extreme correction with the steering or brakes, your vehicle
and trailer should stabilize. (if enabled, Trailer Sway Control can also help to
stabilize the vehicle and trailer.)
Page 279 of 528
2795-1. Using the air conditioning system and defogger
5
Interior features
4RUNNER (U)_(OM35B23U)■
Fan speed setting
To adjust the fan speed, turn clockwise (increase) or coun-
terclockwise (decrease).
Turning the knob to “OFF” turns off the fan.
■
Change the airflow mode
To select the air outlets, set to the desired position.
The positions between the air outlet selections shown below can also be
selected for more delicate adjustment.
■
Other functions
●Switching between outside air and recirculated air modes
●Defogging the windshield (P. 280)
●Defogging the rear window and outside rear view mirrors
(P. 280)
●Windshield wiper de-icer (if equipped) (P. 280)
■Switching between outside air and recirculated air modes
Press .
The mode switches between outside air mode (introduces air from out-
side the vehicle) (indicator off) and recirculated air mode (recycles air
inside the vehicle) (indicator on) each time the button is pressed.
Other functions
Page 280 of 528

2805-1. Using the air conditioning system and defogger
4RUNNER (U)_(OM35B23U)■
Defogging the windshield
Defoggers are used to defog the windshield and front side win-
dows.
Set the air outlet selector dial to position.
If the recirculated air mode is used, it will automatically switch to outside
air mode.
To defog the windshield and the side windows early, increase the air
flow and temperature.
If the dehumidification function is not operating, press to
operate the dehumidification function.
■Defogging the rear window and outside rear view mirrors
Defoggers are used to defog the rear window, and to remove rain-
drops, dew and frost from the outside rear view mirrors.
Before operating the defoggers, make sure the back window is
completely closed. (P. 148)
Press
The defoggers will automatically turn off after their operation time. The
operation time varies depending on the ambient temperature and vehi-
cle speed.
■
Windshield wiper de-icer (if equipped)
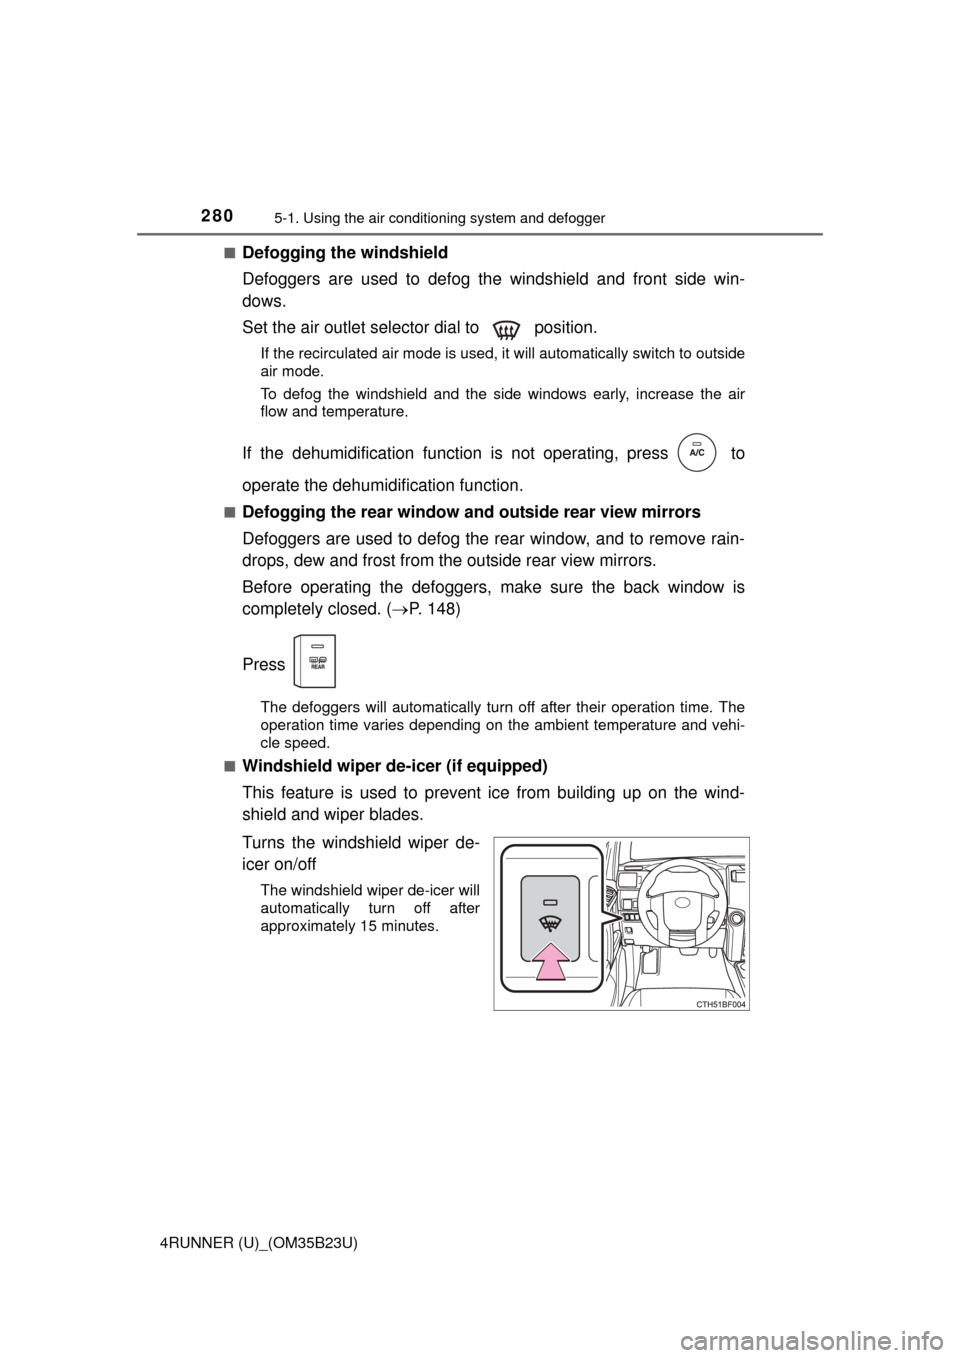
This feature is used to prevent ice from building up on the wind-
shield and wiper blades.
Turns the windshield wiper de-
icer on/off
The windshield wiper de-icer will
automatically turn off after
approximately 15 minutes.
Page 283 of 528

2835-1. Using the air conditioning system and defogger
5
Interior features
4RUNNER (U)_(OM35B23U)■When the outside temperature falls to nearly 32F (0C)
The dehumidification function may not operate even when is pressed.
■Ventilation and air conditioning odors
●To let fresh air in, set the air conditioning system to the outside air mode.
●During use, various odors from inside and outside the vehicle may enter into
and accumulate in the air conditioning system. This may then cause odor to
be emitted from the vents.
●To reduce potential odors from occurring:
It is recommended that the air conditioning system be set to outside air
mode prior to turning the vehicle off.
CAUTION
■To prevent the windshield from fogging up
●Do not use during cool air operation in extremely humid weather.
The difference between the temperature of the outside air and that of the
windshield can cause the outer surface of the windshield to fog up, block-
ing your vision.
■To prevent burns
●Do not touch the rear view mirror surfaces when the outside rear view mir-
ror defoggers are on.
●Do not touch the glass at lower part of the windshield or to the side of the
front pillars when the windshield wiper de-icer is on.
NOTICE
■To prevent battery discharge
Do not leave the air conditioning system on longer than necessary when the
engine is stopped.
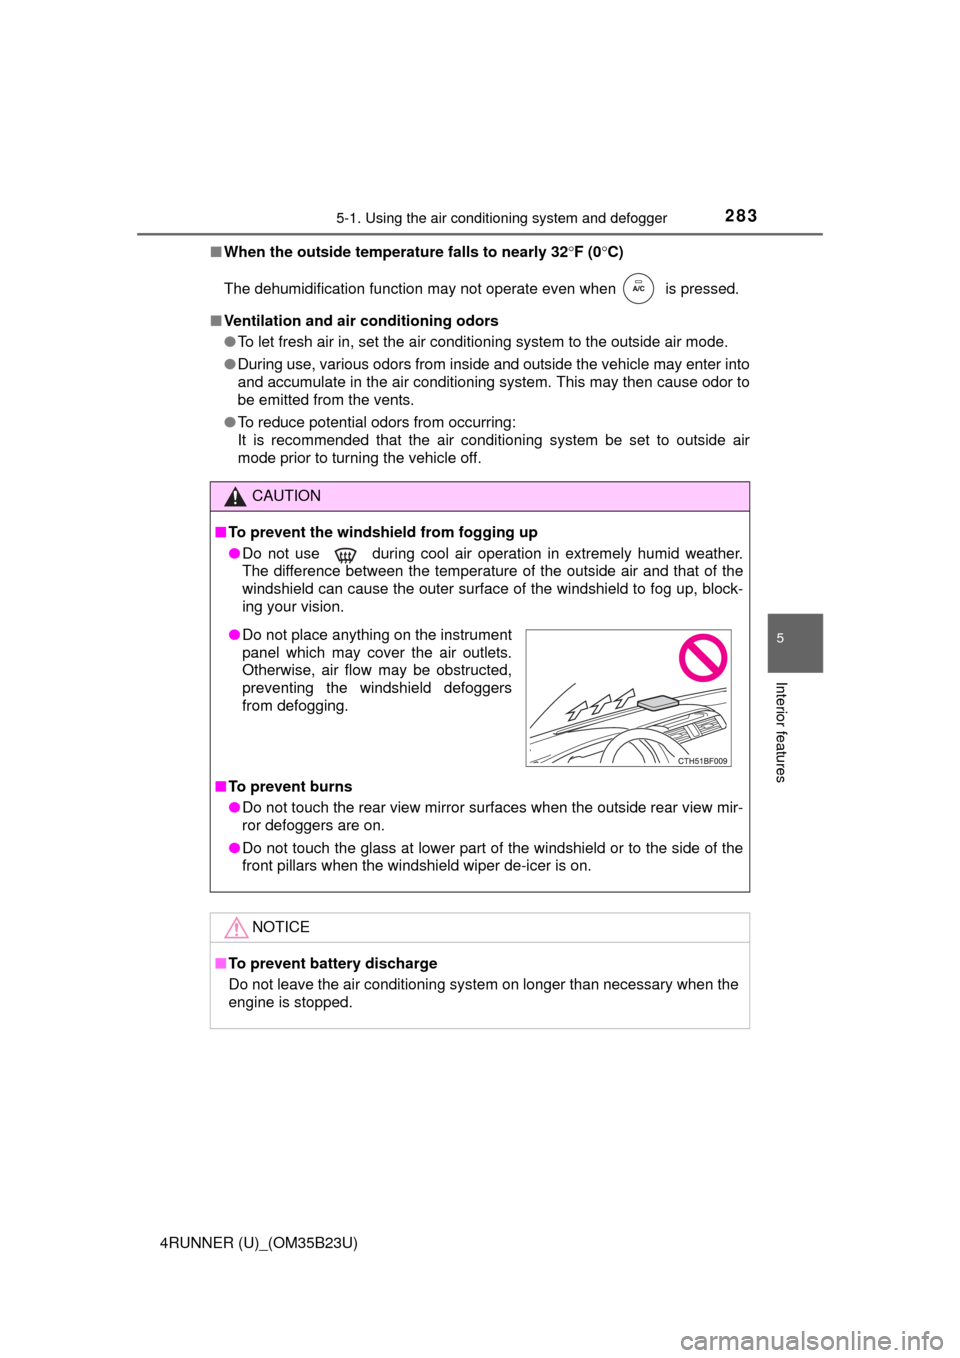
●Do not place anything on the instrument
panel which may cover the air outlets.
Otherwise, air flow may be obstructed,
preventing the windshield defoggers
from defogging.
Page 285 of 528

2855-1. Using the air conditioning system and defogger
5
Interior features
4RUNNER (U)_(OM35B23U)■
Change the airflow mode
To change the air outlets, press , , or .
■Other functions
●Switching between outside air and recirculated air modes
(P. 286)
●Defogging the windshield (P. 286)
●Defogging the rear window and outside rear view mirrors
(P. 286)
●Windshield wiper de-icer (if equipped) (P. 287)
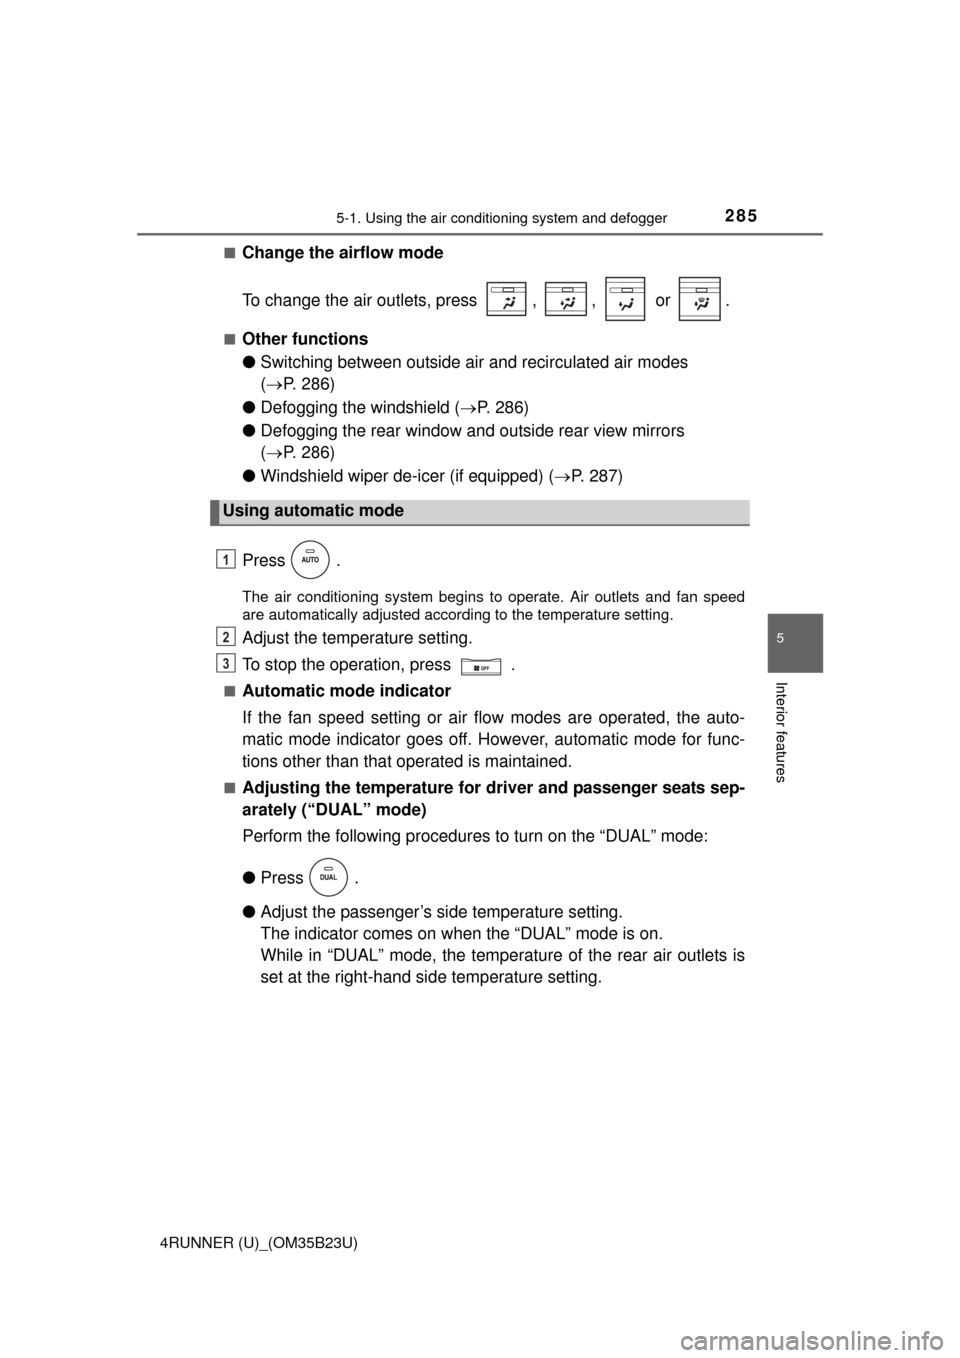
Press .
The air conditioning system begins to operate. Air outlets and fan speed
are automatically adjusted according to the temperature setting.
Adjust the temperature setting.
To stop the operation, press .
■Automatic mode indicator
If the fan speed setting or air flow modes are operated, the auto-
matic mode indicator goes off. However, automatic mode for func-
tions other than that operated is maintained.
■Adjusting the temperature for driver and passenger seats sep-
arately (“DUAL” mode)
Perform the following procedures to turn on the “DUAL” mode:
●Press .
●Adjust the passenger’s side temperature setting.
The indicator comes on when the “DUAL” mode is on.
While in “DUAL” mode, the temperature of the rear air outlets is
set at the right-hand side temperature setting.
Using automatic mode
1
2
3