Page 191 of 594

Instruments and controls/Multi function display
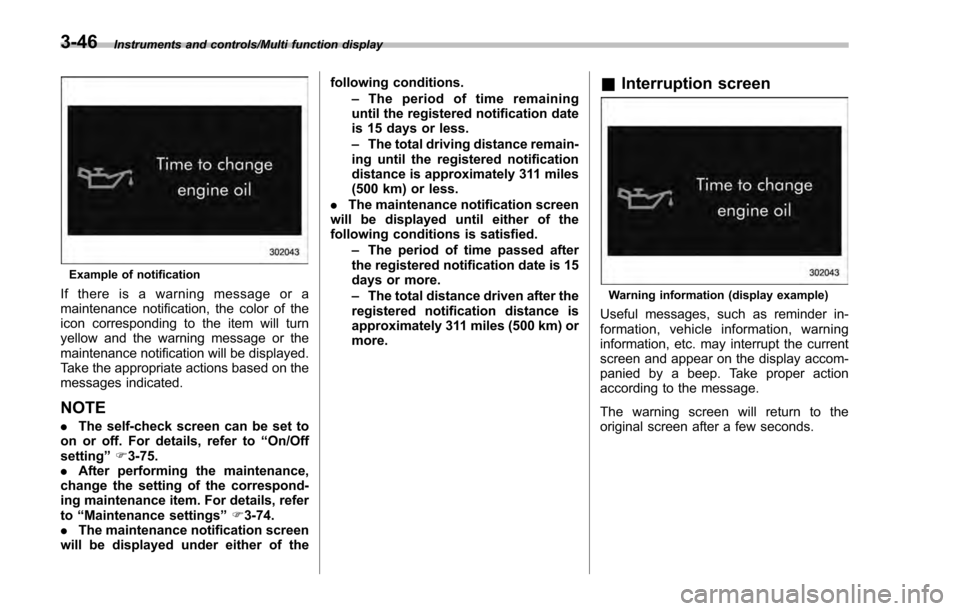
Example of notification
If there is a warning message or a
maintenance notification, the color of the
icon corresponding to the item will turn
yellow and the warning message or the
maintenance notification will be displayed.
Take the appropriate actions based on the
messages indicated.
NOTE
.The self-check screen can be set to
on or off. For details, refer to “On/Off
setting ”F 3-75.
. After performing the maintenance,
change the setting of the correspond-
ing maintenance item. For details, refer
to “Maintenance settings ”F 3-74.
. The maintenance notification screen
will be displayed under either of the following conditions.
–The period of time remaining
until the registered notification date
is 15 days or less.
– The total driving distance remain-
ing until the registered notification
distance is approximately 311 miles
(500 km) or less.
. The maintenance notification screen
will be displayed until either of the
following conditions is satisfied.
–The period of time passed after
the registered notification date is 15
days or more.
– The total distance driven after the
registered notification distance is
approximately 311 miles (500 km) or
more.
& Interruption screen
Warning information (display example)
Useful messages, such as reminder in-
formation, vehicle information, warning
information, etc. may interrupt the current
screen and appear on the display accom-
panied by a beep. Take proper action
according to the message.
The warning screen will return to the
original screen after a few seconds.
3-46
Page 192 of 594

&Basic screens
! Basic screen items
These are the basic screens of the multi
function display.
Item Page
Information bar 3-47
Fuel consumption screen 3-48
ECO gauge screen (if
equipped) 3-49
ECO history screen 3-49
Vehicle activation status
screen 3-50
EyeSight screen (models with
the EyeSight system) 3-51
Triple meter screen 3-51
Guidance screen 3-52
Clock/calendar screen 3-52
By operating the
“”or “”switch on the
steering wheel, you can switch the screen
that is always displayed. Also, when the
button is pressed and held, the
selection screen can be displayed. For
details about the selection screen, refer to
“Selection screen ”F 3-54. !
Information bar
1) Information bar
2) Outside temperature indicator
3) Top display
4) Clock
While the ignition switch is in the “ACC ”or
“ON ”position, the outside temperature
indicator, clock, etc. will be shown on the
information bar.
!Outside temperature indicator
This displays the outside temperature
between −40 8F( −408 C) and 122 8F
(50 8C).
Icy road surface warning screen
When the outside temperature becomes
37 8F(3 8C) or less, the icy road surface
warning screen interrupts to inform the
driver that the road surface may be frozen.
NOTE
. The outside temperature indicator
shows the temperature around the
sensor. Therefore, the temperature in-
dication may differ from the actual
outside air temperature.
. The icy road surface warning screen
should be treated only as a guide. Be
sure to check the condition of the road
surface before driving.
. Once the icy road surface warning
screen is displayed, it will not be
displayed again unless the outside
Instruments and controls/Multi function display
–CONTINUED –3-47
Page 200 of 594

Top menuMenu option DescriptionPage
Maintenance Engine Oil Set and adjust the oil maintenance notification date. 3-74
Oil Filter Set and adjust the oil filter maintenance notification date. 3-75
Tires Set and adjust the tire maintenance notification date. 3-75
Maintenance Schedule Set and adjust the vehicle maintenance notification date. 3-75
On/Off Turn on or off the self-check screen that is
activated when the ignition switch is turned to
the
“ON ”position. On or Off
3-75
Clear All Settings Clear all settings for maintenance items. Yes or No 3-76
Go Back Return to the top menu. —
Driving History Set Register and overwrite the driving record. 3-77
Go Back Return to the top menu. —
Car Setting Keyless Buzzer Volume Set the audible signal volume. 0 (OFF) to 73-79
Hazard Warning Flasher Set the hazard warning flasher. On or Off3-79
Defogger Set and customize the operation of the defogger. 15 minutes or Continuous 3-80
Interior Light Set and customize the interior light off delay
timer. 10, 20, 30 seconds or Off
3-82
Auto Light Sensor (if equipped) Set and customize the sensitivity of the auto
light sensor.
Low, Mid, High or Max
3-83
Keyless Access Setting (if
equipped) Set and customize the keyless access function. Driver
’s Door Unlock 3-84
Rear Gate Unlock 3-85
Go Back Return to top menu. —
Instruments and controls/Multi function display
–CONTINUED –
3-55
Page 210 of 594
2. Operate the“”or “”switch to
select the “Screen Off ”item. Then push
the
button.
3. Push thebutton once more.
4. The screen is turned off.
Restoring the screen
When the “
”,“”orbutton is
pushed after the ignition switch is turned
to the “ON ”position, the screen will be
restored. The screen will be restored with
the basic screen that was displayed when
the screen was turned off. While the
screen is off, a warning message will be
displayed if necessary, but other screens
will not be displayed.
! Beep volume setting
1. Perform the preparation steps accord-
ing to “Preparation for image quality and
volume settings” F3-64.
2. Operate the “”or “”switch to
select the “Beep ”item. Then push the
button.
3. Push thebutton.
Instruments and controls/Multi function display
–CONTINUED –3-65
Page 224 of 594
!Keyless buzzer volume setting
1. Perform the preparation steps accord-
ing to “Preparation for car settings” F3-78.
2. Operate the “”or “”switch to
select the “Keyless Buzzer Volume ”item.
Then push the
button.
3. Select a volume level by operating the
“” or “”switch, and confirm the setting
by pushing thebutton.
4. The system will notify you that the
setting is complete.
If the setting is not available, the following
notification will be displayed. In this case,
perform the setting procedure again.
! Hazard warning flasher setting
1. Perform the preparation steps accord-
ing to “Preparation for car settings ”F 3-78.
2. Operate the “”or “”switch to
select the “Hazard Warning Flasher ”item.
Instruments and controls/Multi function display
–CONTINUED –3-79
Page 237 of 594

Instruments and controls/Turn signal lever
&Daytime running light system
WARNING
The brightness of the illumination of
the high beam headlights is reduced
by the daytime running light system.
The light switch must always be
turned to the “
”position when it
is dark outside.
The high beam headlights will automati-
cally illuminate at reduced brightness
when the following conditions are fulfilled.
. The engine is running.
. The parking brake is fully released.
. The light control switch is in the
“AUTO ”(if equipped), “
”or off position.
. For CVT models, the select lever is in a
position other than the “P”position.
NOTE
. When the light switch is in the “”
position, the instrument panel illumina-
tion, front side marker lights, tail lights
and license plate lights are also illumi-
nated.
. For models with the auto on/off
headlights, while the light control
switch is in the “AUTO”position and
the system is activated to the auto-on
mode depending on the ambient light level, the high beam headlights that
have illuminated at reduced brightness
turn off, and the low beam headlights
turn on alternatively. At this time, the
instrument panel illumination, front
side marker lights, tail lights and
license plate lights are also illuminated.
Turn signal lever
To activate the right turn signal, push the
turn signal lever up. To activate the left
turn signal, push the turn signal lever
down. When the turn is finished, the lever
will return automatically. If the lever does
not return after cornering, return the lever
to the neutral position by hand.
To signal a lane change, push the turn
signal lever up or down slightly and hold it
during the lane change. The turn signal
indicator lights will flash in the direction of
the turn or lane change. The lever will
return automatically to the neutral position
when you release it.
3-92
Page 241 of 594

Instruments and controls/Wiper and washer
!Steering responsive fog lights OFF
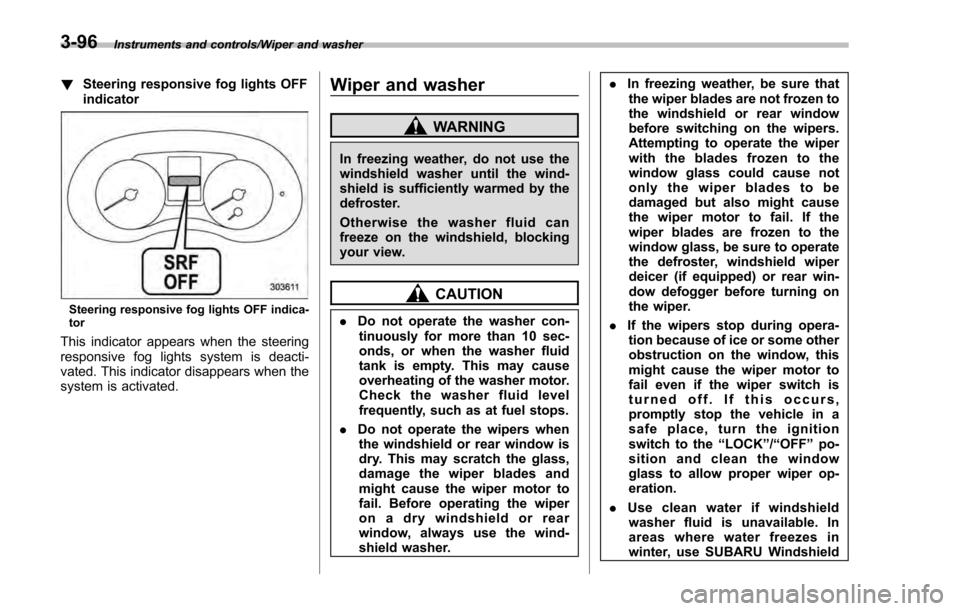
indicator
Steering responsive fog lights OFF indica-
tor
This indicator appears when the steering
responsive fog lights system is deacti-
vated. This indicator disappears when the
system is activated.
Wiper and washer
WARNING
In freezing weather, do not use the
windshield washer until the wind-
shield is sufficiently warmed by the
defroster.
Otherwise the washer fluid can
freeze on the windshield, blocking
your view.
CAUTION
.Do not operate the washer con-
tinuously for more than 10 sec-
onds, or when the washer fluid
tank is empty. This may cause
overheating of the washer motor.
Check the washer fluid level
frequently, such as at fuel stops.
. Do not operate the wipers when
the windshield or rear window is
dry. This may scratch the glass,
damage the wiper blades and
might cause the wiper motor to
fail. Before operating the wiper
on a dry windshield or rear
window, always use the wind-
shield washer. .
In freezing weather, be sure that
the wiper blades are not frozen to
the windshield or rear window
before switching on the wipers.
Attempting to operate the wiper
with the blades frozen to the
window glass could cause not
only the wiper blades to be
damaged but also might cause
the wiper motor to fail. If the
wiper blades are frozen to the
window glass, be sure to operate
the defroster, windshield wiper
deicer (if equipped) or rear win-
dow defogger before turning on
the wiper.
. If the wipers stop during opera-
tion because of ice or some other
obstruction on the window, this
might cause the wiper motor to
fail even if the wiper switch is
turned off. If this occurs,
promptly stop the vehicle in a
safe place, turn the ignition
switch to the “LOCK”/“OFF ”po-
sition and clean the window
glass to allow proper wiper op-
eration.
. Use clean water if windshield
washer fluid is unavailable. In
areas where water freezes in
winter, use SUBARU Windshield
3-96
Page 243 of 594
Instruments and controls/Wiper and washer
For a single wipe of the wipers, push the
lever up. The wipers operate until you
release the lever.
!Wiper intermittent time control
When the wiper switch is in the “”
position, turn the dial to adjust the operat-
ing interval of the wiper. The operating
interval can be adjusted in several steps
from the shortest interval to the longest. !
Windshield washer
To wash the windshield, pull the wiper
control lever toward you. The washer fluid
sprays until you release the lever. The
wipers operate while you pull the lever.
NOTE
Windshield washer fluid warning light
(type A)
3-98