2016 RENAULT ZOE heating
[x] Cancel search: heatingPage 19 of 216

1.13
ELECTRIC VEHICLE: charging (6/8)
6
– press the button 5 on the RENAULT card or press the switch 4 to unlock
the charging flap 6.
On the instrument panel, a red warn-
ing light 10 comes on and the Z.E.
warning light 7 comes on in blue;
– open the valve 8;
– grab the handle 9;Recharging the traction
battery
With the ignition off and the gear lever
in position P:
– take the charging cord located in the
boot of your vehicle;
– remove it from its storage bag;
– plug in the end of the cord to the power supply;
4
– plug in the vehicle cord. The Z.E. warning light 7 flashes rapidly;
– after you hear a locking click, check that the charging cord is properly
plugged in. To check the locking, pull
gently on the handle 9.
The charging cord is automatically
locked with the vehicle. This will make it
impossible to unplug the cord from your
vehicle.
Make sure you fully uncoil the char-
ging cord to limit its heating.
10
8
9
7
5
Do not use an extension
lead, multiple socket or
adapter.
Fire hazard.
Page 38 of 216

1.32
FRONT SEATS
To move the seat forwards or
back
Lift handle 1 to unlock. Release the
handle once the seat is in the correct
position and ensure that the seat is fully
locked into position.
To tilt the seatback
Turn control knob 2 to the required po-
sition.
For safety reasons, carry out any adjustments when the vehicle is not
being driven.
We would advise you not to recline the seatbacks too far to ensure that
the effectiveness of the seat belts is not reduced.
No object should be placed on the floor (in front of the driver). Noth\
ing should be
placed around the driver’s feet as such objects may slide under the pedals during
sudden braking manoeuvres and obstruct their use.
1
2
Heated seats
Turn control 3 to either position 1, 2 or
3 (depending on the temperature requi-
red). The
ñ indicator light on the ins-
trument panel comes on once the front
seat heating system is operating.
The system, which has a thermostat,
regulates the heating level.
To switch off the heated seat function,
turn control 3 to the OFF position.
3
Page 70 of 216

1.64
Electrotechnical system
warning light
When the warning light comes on, this
indicates that the traction battery tem-
perature is too low or that the engine or
traction battery temperature is too high.
Opt for a calmer driving style.
The warning light can lead to a drop
in vehicle performance.
If it comes on when you start the vehi-
cle, this indicates a fault in the second-
ary 12 V battery.
Low traction battery level
warning light
It flashes when the traction battery
charge level has reached the reserve
threshold. Please see the informa-
tion on “Displays and indicators” in
Section 1.
ECO mode function light
This lights up when the function is ac-
tivated.
WARNING LIGHTS (3/3)
Electrotechnical system
warning light
If it lights up while driving, this means
there is an electrotechnical fault in the
“400 Volt” electrical circuit. Please see
an authorised dealer as soon as pos-
sible.
\bElectronic Stability Program
( ESC) and traction control
system warning light
There are several reasons for the warn-
ing light coming on: please refer to the
information on “Driver correction de-
vices and aids” in Section 2.
Tyre pressure loss warning
Please refer to the information
on the “Tyre pressure loss warning” in
Section 2.
ðSeat heating indicator light
Refer to the information on the
“Front seats” in Section 1.
2 Door(s) open warning light
xAnti-lock braking warning
light
This lights up when the ignition is
switched on and goes out after a few
seconds.
If it does not go out after the ignition is
switched on, or lights up when driving,
there is a fault with the ABS. Braking
will then be as normal, without the ABS.
Contact an approved Dealer as soon as
possible. The presence and operation of the warning lights DEPEND ON THE EQUIPMENT\
AND COUNTRY.
A
Page 79 of 216

1.73
TRIP COMPUTER AND WARNING SYSTEM: operating fault messages
These appear with the © warning light and mean that you should drive very carefully to an author\
ised dealer as
soon as possible. If you fail to follow this recommendation, you risk da\
maging your vehicle.
They disappear when the display selection key is pressed or after severa\
l seconds and are stored in the computer log. The
©
warning light stays on. Examples of operating fault messages are given i\
n the following pages.
Examples of messages Interpreting the display selected
«Check airbag» Indicates a fault in the restraint system in addition to the seat belts.\
In the event of an
accident, it is possible that they may not be triggered.
«Elec. System to check» Indicates a fault on one of the pedal sensors or in the 12 V battery man\
agement
system.
«Check braking system» Indicates wear or the need to check the braking system.
«Vehicle plug to be checked» Indicates overheating at the vehicle-side charging socket. Wait for about 20 minutes
and try again. If this does not work, contact an authorised dealer.
«Elec. System to check» Indicates a fault in the traction system.
«Always charging» Indicates a fault on the traction battery recharge system.
Page 98 of 216

2.6
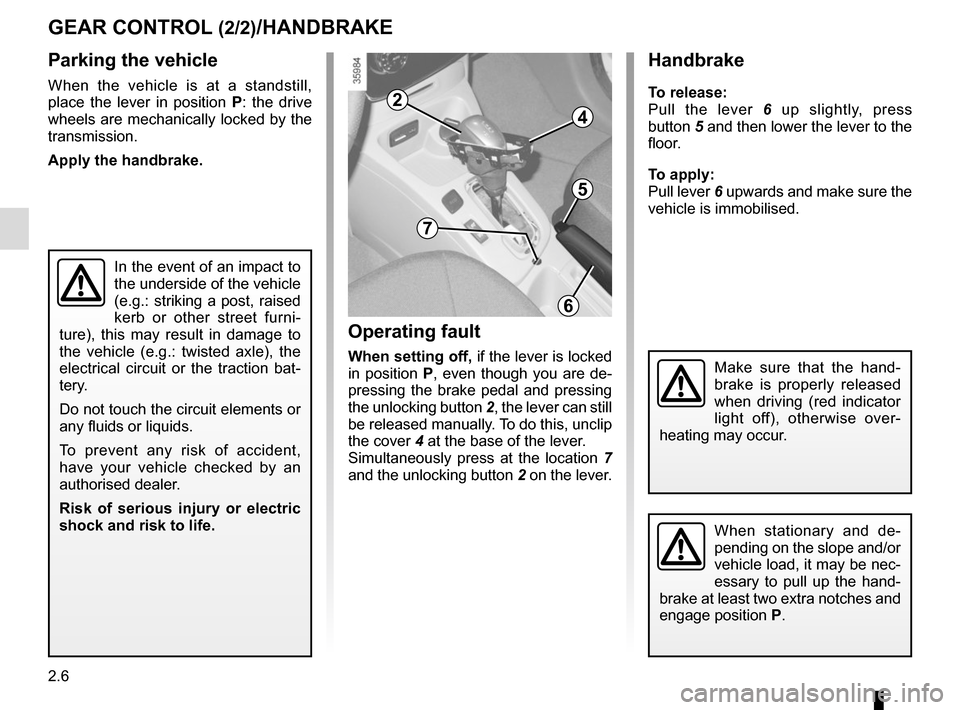
Parking the vehicle
When the vehicle is at a standstill,
place the lever in position P: the drive
wheels are mechanically locked by the
transmission.
Apply the handbrake.
GEAR CONTROL (2/2)/HANDBRAKE
Operating fault
When setting off, if the lever is locked
in position P, even though you are de-
pressing the brake pedal and pressing
the unlocking button 2, the lever can still
be released manually. To do this, unclip
the cover 4 at the base of the lever.
Simultaneously press at the location 7
and the unlocking button 2 on the lever.
In the event of an impact to
the underside of the vehicle
(e.g.: striking a post, raised
kerb or other street furni-
ture), this may result in damage to
the vehicle (e.g.: twisted axle), the
electrical circuit or the traction bat-
tery.
Do not touch the circuit elements or
any fluids or liquids.
To prevent any risk of accident,
have your vehicle checked by an
authorised dealer.
Risk of serious injury or electric
shock and risk to life.
Handbrake
To release:
Pull the lever 6 up slightly, press
button 5 and then lower the lever to the
floor.
To apply:
Pull lever 6 upwards and make sure the
vehicle is immobilised.
When stationary and de-
pending on the slope and/or
vehicle load, it may be nec-
essary to pull up the hand-
brake at least two extra notches and
engage position P.
Make sure that the hand-
brake is properly released
when driving (red indicator
light off), otherwise over-
heating may occur.
6
7
5
4
2
Page 101 of 216

2.9
ECO mode
ECO mode is a function which opti-
mises vehicle range. It acts on all ele-
ments which consume energy (engine
power, heating and/or air conditioning,
etc).
Activating the function
Press switch 3.
The warning light 5
is displayed
on the instrument panel and the lower
part of the instrument panel 4 goes
green. Disabling the function
Press switch 3.
The warning light
5
goes off on
the instrument panel and the lower part
of the instrument panel 4 goes blue.
The cruise control switches to
standby each time the ECO mode
is activated or deactivated. Please
refer to the information on “Cruise
control/speed limiter: cruise control
function” in Section 2.
DRIVING ADVICE, ECO-DRIVING (3/3)
3
54
While driving, it is possible to leave the
ECO mode temporarily in order to im-
prove engine performance.
To do this, press the accelerator pedal
firmly and fully.
ECO mode is reactivated when you
take pressure off the accelerator pedal.
With ECO mode activated, the vehi-
cle speed is limited to approximately
56 mph (90 km/h).
Page 102 of 216

2.10
VEHICLE RANGE: recommendations (1/2)
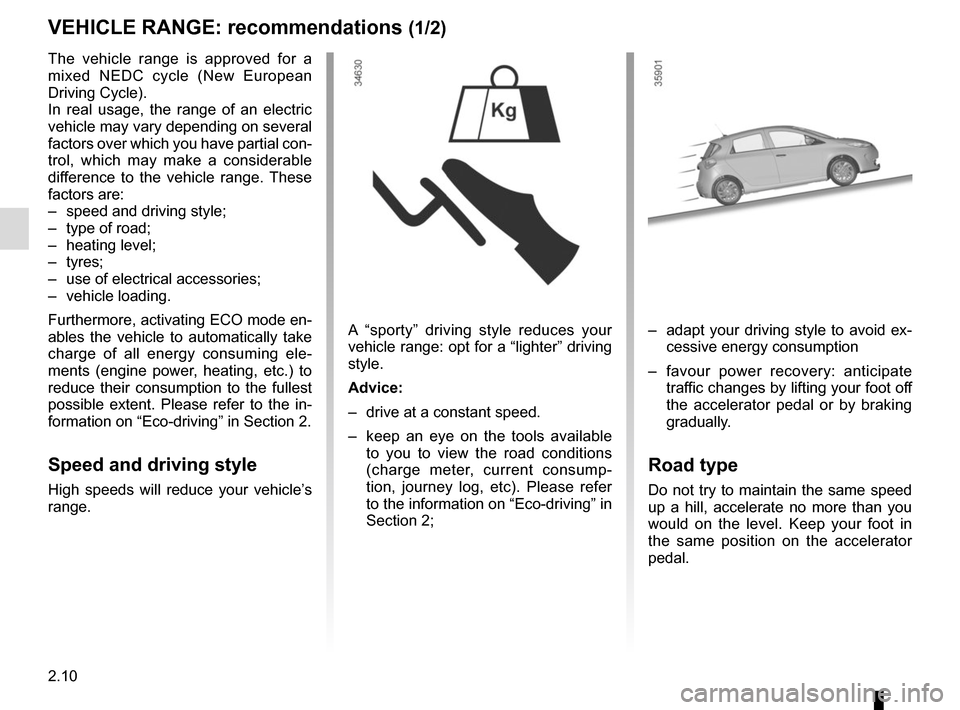
A “sporty” driving style reduces your
vehicle range: opt for a “lighter” driving
style.
Advice:
– drive at a constant speed.
– keep an eye on the tools available to you to view the road conditions
(charge meter, current consump-
tion, journey log, etc). Please refer
to the information on “Eco-driving” in
Section 2;– adapt your driving style to avoid ex- cessive energy consumption
– favour power recovery: anticipate traffic changes by lifting your foot off
the accelerator pedal or by braking
gradually.
Road type
Do not try to maintain the same speed
up a hill, accelerate no more than you
would on the level. Keep your foot in
the same position on the accelerator
pedal.
The vehicle range is approved for a
mixed NEDC cycle (New European
Driving Cycle).
In real usage, the range of an electric
vehicle may vary depending on several
factors over which you have partial con-
trol, which may make a considerable
difference to the vehicle range. These
factors are:
– speed and driving style;
– type of road;
– heating level;
– tyres;
– use of electrical accessories;
– vehicle loading.
Furthermore, activating ECO mode en-
ables the vehicle to automatically take
charge of all energy consuming ele-
ments (engine power, heating, etc.) to
reduce their consumption to the fullest
possible extent. Please refer to the in-
formation on “Eco-driving” in Section 2.
Speed and driving style
High speeds will reduce your vehicle’s
range.
Page 103 of 216

2.11
VEHICLE RANGE: recommendations (2/2)
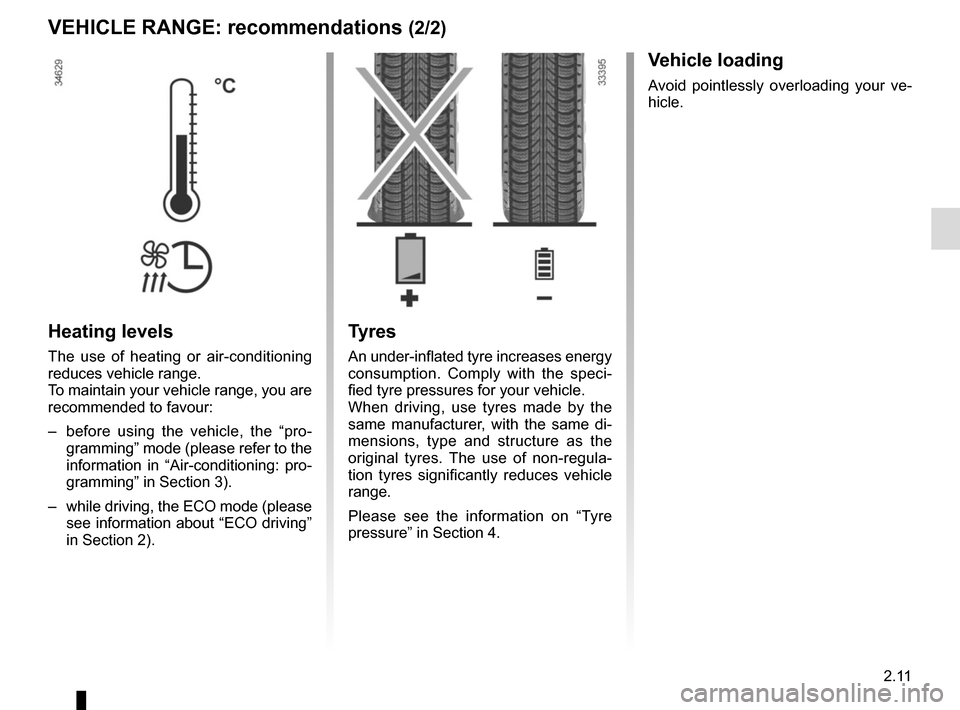
Heating levels
The use of heating or air-conditioning
reduces vehicle range.
To maintain your vehicle range, you are
recommended to favour:
– before using the vehicle, the “pro-gramming” mode (please refer to the
information in “Air-conditioning: pro-
gramming” in Section 3).
– while driving, the ECO mode (please see information about “ECO driving”
in Section 2).
Tyres
An under-inflated tyre increases energy
consumption. Comply with the speci-
fied tyre pressures for your vehicle.
When driving, use tyres made by the
same manufacturer, with the same di-
mensions, type and structure as the
original tyres. The use of non-regula-
tion tyres significantly reduces vehicle
range.
Please see the information on “Tyre
pressure” in Section 4.
Vehicle loading
Avoid pointlessly overloading your ve-
hicle.