Page 17 of 364

15
508 _en_Chap01_instrument-bord_ed01-2016
Operation indicator lamps
If one of the following indicator lamps comes on in the instrument panel and/or instrument panel screen, this confirms that the corresponding system has come into operation.
Warning / indicator lampStateCause Action / Observations
Left-hand
direction
indicato r flashing with buzzer.
th
e lighting stalk is pushed down.
Right-hand
direction
indicator flashing with buzzer.
th
e lighting stalk is pushed up.
Sidelamps fixed.
th
e lighting stalk is in the
"Sidelamps" position.
Dipped beam
headlamps fixed.
th
e lighting stalk is in the "Dipped
beam headlamps" position.
Main beam
headlamps fixed.
th
e lighting stalk is pulled towards
you. Pull the stalk to return to dipped beam headlamps.
Front foglamps fixed.
th
e front foglamps are switched on
using the ring on the lighting control
stalk.
tu
rn the ring on the lighting control stalk rear ward
twice to switch off the front foglamps.
Rear foglamps fixed.
th
e rear foglamps are on.
tu
rn the ring on the stalk rear ward to switch off the
rear foglamps.
For more information on the lighting controls, refer to the corresponding section.
1
Instruments
Page 20 of 364

18
508 _en_Chap01_instrument-bord_ed01-2016
Deactivation indicator lamps
If one of the following indicator lamps comes on, this confirms that the corresponding system has been switched off intentionally.this is may be accompanied by an audible signal and a message in the instrument panel screen.
Warning / indicator lamp StateCause Action / Observations
Passenger's
airbag system fixed in the instrument
panel and/or seat belt
and front passenger's
airbag warning lamps
display.
th
e control switch, located in the
glove box, is set to the OFF position.
the
passenger's front airbag is
deactivated.
You can install a rear ward facing
child seat, unless there is a fault with
the airbags (airbag warning lamp on). Set the control to the "ON"
position to activate the
passenger's front airbag.
In this case, do not install a rear ward facing child seat
on this seat.
Dynamic
stability control
(DSC/ASR) fixed.
th
e button is pressed and the
indicator lamp comes on.
the
DSC/ASR is deactivated.
DSC: dynamic stability control.
ASR: anti-slip regulation. Press the button to activate the DSC/ASR. Its
indicator lamp goes off.
th
e DSC/ASR system is activated automatically when
the vehicle is started.
If deactivated, the system is reactivated automatically
from around 30 mph (50 km/h).
For more information on the
e SC system (DSC/ASR),
refer to the corresponding section.
Instruments
Page 21 of 364

19
508 _en_Chap01_instrument-bord_ed01-2016
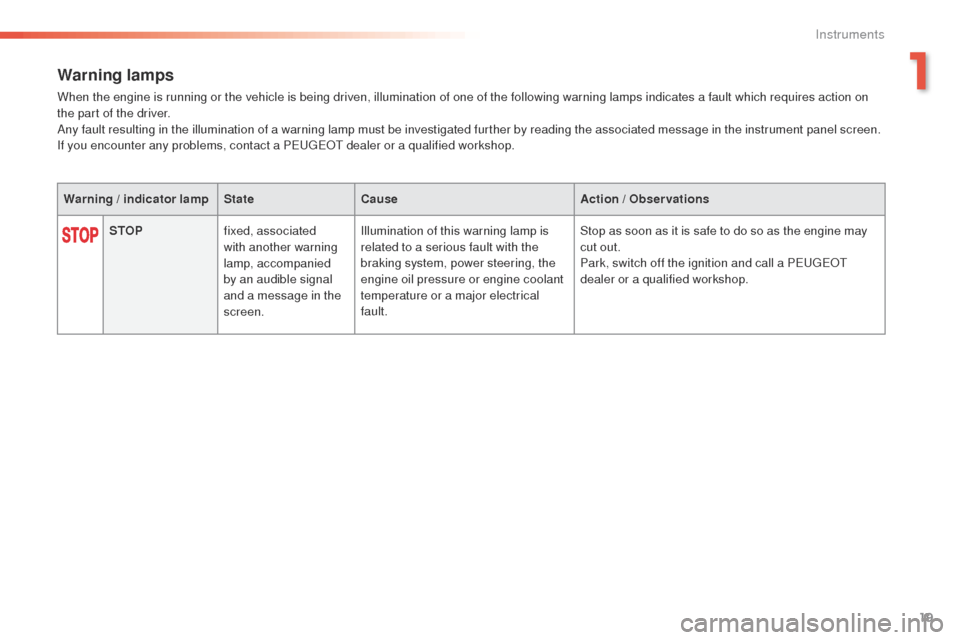
Warning lamps
When the engine is running or the vehicle is being driven, illumination of one of the following warning lamps indicates a fault which requires action on
the part of the driver.
Any fault resulting in the illumination of a warning lamp must be investigated further by reading the associated message in the instrument panel screen.
If you encounter any problems, contact a P
e
uge
Ot
dealer or a qualified workshop.
Warning / indicator lamp StateCause Action / Observations
STOP fixed, associated
with another warning
lamp, accompanied
by an audible signal
and a message in the
screen. Illumination of this warning lamp is
related to a serious fault with the
braking system, power steering, the
engine oil pressure or engine coolant
temperature or a major electrical
fault. Stop as soon as it is safe to do so as the engine may
cut out.
Park, switch off the ignition and call a P
e
uge
Ot
dealer or a qualified workshop.
1
Instruments
Page 22 of 364

20
508 _en_Chap01_instrument-bord_ed01-2016
Serviceon temporarily. A minor fault has occurred for which
there is no specific warning lamp. Identify the fault by means of the associated
message, such as:
-
l
ow engine oil level,
-
l
ow screenwash/headlamp wash fluid level,
-
d
ischarged remote control battery,
-
l
ow tyre pressures,
-
s
aturation of the particle filter (FAP) on Diesel
vehicles.
For more information on checking the particle filter,
refer to the corresponding section.
For any other faults, contact a P
e
uge
Ot
dealer or a
qualified workshop.
fixed. A major fault has occurred for which
there is no specific warning lamp. Identify the fault by reading the message and contact
a P
e
uge
Ot
dealer or a qualified workshop.
fixed, associated with
flashing and then
fixed display of the
service spanner.
the
servicing interval has been
exceeded. Only on BlueHDi Diesel versions.
Your vehicle must be serviced as soon as possible.
Warning / indicator lamp
StateCause Action / Observations
Instruments
Page 27 of 364

25
508 _en_Chap01_instrument-bord_ed01-2016
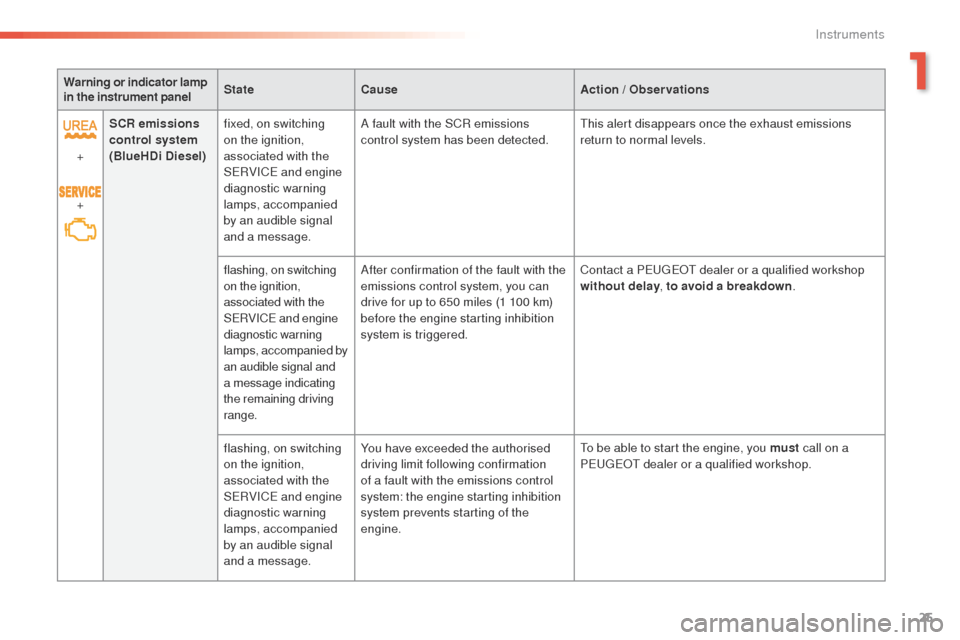
Warning or indicator lamp
in the instrument panelState
Cause Action / Observations
+
+ SCR emissions
control system
(BlueHDi Diesel) fixed, on switching
on the ignition,
associated with the
S
eR
VIC
e
and engine
diagnostic warning
lamps, accompanied
by an audible signal
and a message. A fault with the SCR emissions
control system has been detected.
th
is alert disappears once the exhaust emissions
return to normal levels.
flashing, on switching
on the ignition,
associated with the
S
eR
VIC
e an
d engine
diagnostic warning
lamps, accompanied by
an audible signal and
a message indicating
the remaining driving
range. After confirmation of the fault with the
emissions control system, you can
drive for up to 650 miles (1 100 km)
before the engine starting inhibition
system is triggered.
Contact a P
e
uge
Ot
dealer or a qualified workshop
without delay , to avoid a breakdown .
flashing, on switching
on the ignition,
associated with the
S
eR
VIC
e
and engine
diagnostic warning
lamps, accompanied
by an audible signal
and a message. You have exceeded the authorised
driving limit following confirmation
of a fault with the emissions control
system: the engine starting inhibition
system prevents starting of the
engine.
to b
e able to start the engine, you must call on a
P
e
uge
Ot
dealer or a qualified workshop.
1
Instruments
Page 30 of 364
28
508 _en_Chap01_instrument-bord_ed01-2016
1
2
2
2
2
3
3
3
3
3
3
3
Instrument panel screen
With the vehicle stationary, use the left hand
thumb wheel to move through the menus, so
as to configure the vehicle settings (driving and
comfort systems, ...).
-
Press: Main menu , confirm the selection,
-
R
otate (other than menu): scroll through
the list of active functions available,
-
R
otate (in a menu): move up or down in the
menu.
Main menu*
Vehicle parameters Screen settings
Preheating / Preventilation
Driving position setting
Access to the vehicle
unl
ocking boot only
Driving assistance Speeds memorised
Rear wipe in reverse gear
Parking brake automatic
Lighting Welcome lighting
Follow-me-home headlamps
Directional headlamps Parameters Choice of color schemes
Choice of language
Choice of units
Fuel consumption
1
2
2
2
3
3
1
2
* Depending on version.
te
mperature
Instruments
Page 31 of 364
29
508 _en_Chap01_instrument-bord_ed01-2016
Total distance recorder
the total distance covered by the vehicle is
displayed in zone A of the screen and the trip
distance in zone B.
Trip recorder reset
With the trip distance displayed, press the
button for a few seconds.
Indicators
Distance recordersYou may have to modify the unit of
distance when travelling in another
country: the speed must be displayed in
the official units for the country (miles
or km).
t
h
e units are changed in the
screen configuration menu, with the
vehicle stationary.
1
Instruments
Page 32 of 364

30
508 _en_Chap01_instrument-bord_ed01-2016
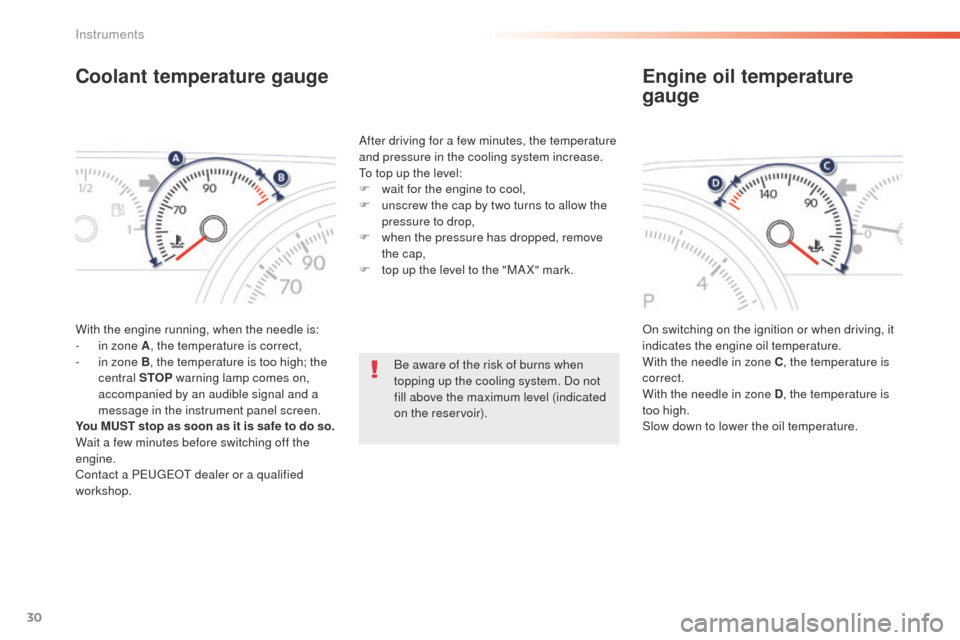
Coolant temperature gauge
With the engine running, when the needle is:
- i n zone A , the temperature is correct,
-
i
n zone B, the temperature is too high; the
central STOP warning lamp comes on,
accompanied by an audible signal and a
message in the instrument panel screen.
You MUST stop as soon as it is safe to do so.
Wait a few minutes before switching off the
engine.
Contact a P
e
uge
Ot
dealer or a qualified
workshop. After driving for a few minutes, the temperature
and pressure in the cooling system increase.
to t
op up the level:
F
w
ait for the engine to cool,
F
u
nscrew the cap by two turns to allow the
pressure to drop,
F
w
hen the pressure has dropped, remove
the cap,
F
t
op up the level to the "MA X" mark.
On switching on the ignition or when driving, it
indicates the engine oil temperature.
With the needle in zone C, the temperature is
correct.
With the needle in zone D , the temperature is
too high.
Slow down to lower the oil temperature.
Engine oil temperature
gauge
Be aware of the risk of burns when
topping up the cooling system. Do not
fill above the maximum level (indicated
on the reservoir).
Instruments