2016 Peugeot 308 Car play
[x] Cancel search: Car playPage 31 of 398

29
308_en_Chap01_instruments-de-bord_ed02-2015
Between 600 miles (1 000 km)
and 1 800 miles (3 000 km) remain
before the next service is due
For 5 seconds after the ignition is switched on, the
spanner symbolising the service operations comes
on.
the d
istance recorder display line indicates the
distance remaining before the next service is due.
Example: 1 700 miles (2 800 km) remain before
the next service is due.
For 5 seconds after the ignition is switched on, the
screen indicates:
5 seconds after the ignition is switched on,
the spanner goes off ; the distance recorder
resumes its normal operation.
the s
creen then
indicates the total distance.
Service overdue
5 seconds after the ignition is switched on,
the distance recorder resumes its normal
operation. The spanner remains on .
For 5 seconds after the ignition is switched on,
the spanner flashes
to indicate that the service
must be carried out as soon as possible.
Example: the service is overdue by 180 miles
(3 0 0 k m).
For 5 seconds after the ignition is switched on,
the screen indicates:
Less than 600 miles (1 000 km)
remain before the next service is due
Example: 560 miles (900 km) remain before
the next service is due.
For 5 seconds after the ignition is switched on,
the screen indicates:
5 seconds after the ignition is switched on,
the distance recorder resumes its normal
operation. The spanner remains on to
indicate that a service must be carried out
soon.
For BlueHDi Diesel versions, this alert may
also be accompanied by the fixed illumination
of the service warning lamp when the ignition
is on.
1
Instruments
Page 32 of 398

30
the distance remaining may be
w eighted by the time factor, depending
on the driving conditions.
the
refore, the spanner may also come
on if you have exceeded the period
since the last service, indicated in the
manufacturer's service schedule.
For BlueHDi Diesel versions, the
spanner may also be brought on earlier
than expected, depending on the
degree of deterioration of the engine oil
(depending on the country of sale).
the r
ate of deterioration of the engine
oil depends on the driving conditions in
which the vehicle is used.
Service indicator zero reset
Following this operation, if you wish to
disconnect the battery, lock the vehicle
and wait at least five minutes for the
zero reset to be registered.
Retrieving the service
information
You can access the service information at any
time.
F
Pr
ess the trip distance recorder zero reset
button.
the s
ervice information is displayed for a
few seconds, then disappears.
After each service, the service indicator must
be reset to zero.
If you have carried out the service on your
vehicle yourself:
F
swi
tch off the ignition,
F
pr
ess and hold the trip distance recorder
zero reset button,
F
sw
itch on the ignition; the distance recorder
display begins a countdown,
F
when
the display indicates "=0" , release
the button; the spanner disappears.
Instruments
Page 39 of 398

37
308_en_Chap01_instruments-de-bord_ed02-2015
touch screen
It gives access to:
- the heating/air conditioning controls,
-
me
nus for adjusting settings for vehicle
functions and systems,
-
au
dio and display configuration menus,
-
au
dio system and telephone controls and
the display of associated information.
For reasons of safety, the driver
should only carr y out operations
that require close attention, with the
vehicle stationary.
Some functions are not accessible
when driving.General operation
Recommendations
It is necessary to press firmly, particularly for
"flick" gestures (scrolling through lists, moving
the map...).
A light wipe is not enough.
the s
creen does not recognise pressing with
more than one finger.
thi
s technology allows use at all temperatures
and when wearing gloves.
Do not use pointed objects on the touch
screen.
Do not touch the touch screen with wet hands.
use
s a soft clean cloth to clean the touch
screen.
And, depending on equipment, it allows:
-
th
e display of alert messages and the
visual parking sensors information,
-
ac
cess to the controls for the navigation
system and Internet services, and the
display of associated information.
State of indicator lamps
Some buttons contain an indicator lamp that
gives the state of the corresponding function.
gre
en indicator: you have switched on the
corresponding function.
Orange indicator: you have switched off the
corresponding function.
1
Instruments
Page 119 of 398
117
308_en_Chap04_eclairage-et-visibilite_ed02-2015
Screenwash/headlamp wash
level low
In the case of vehicles fitted with headlamp
washers, when the fluid reservoir low level
is reached this warning lamp comes on in
the instrument panel, accompanied by an
audible signal and a message.
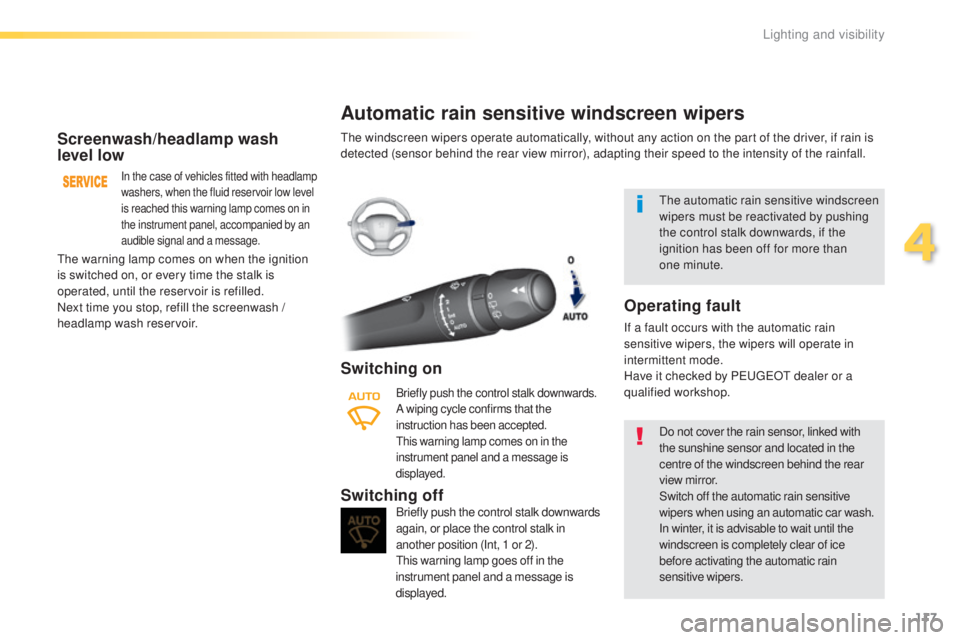
Automatic rain sensitive windscreen wipers
Switching on
Briefly push the control stalk downwards.
A wiping cycle confirms that the
instruction has been accepted.
thi
s warning lamp comes on in the
instrument panel and a message is
displayed.
Briefly push the control stalk downwards
again, or place the control stalk in
another position (Int, 1 or 2).
thi
s warning lamp goes off in the
instrument panel and a message is
displayed.Switching off
the automatic rain sensitive windscreen
w ipers must be reactivated by pushing
the control stalk downwards, if the
ignition has been off for more than
one
m
inute.
the w
arning lamp comes on when the ignition
is switched on, or every time the stalk is
operated, until the reservoir is refilled.
Next time you stop, refill the screenwash /
headlamp wash reservoir.
the w
indscreen wipers operate automatically, without any action on the part of the driver, if rain is
detected (sensor behind the rear view mirror), adapting their speed to the intensity of the rainfall.
Do not cover the rain sensor, linked with
the sunshine sensor and located in the
centre of the windscreen behind the rear
view mirror.
Switch off the automatic rain sensitive
wipers when using an automatic car wash.
In winter, it is advisable to wait until the
windscreen is completely clear of ice
before activating the automatic rain
sensitive wipers.
Operating fault
If a fault occurs with the automatic rain
sensitive wipers, the wipers will operate in
intermittent mode.
Have it checked by P
eu
ge
Ot d
ealer or a
qualified workshop.
4
Lighting and visibility
Page 131 of 398
129
308_en_Chap05_securite_ed02-2015
Sit in a normal upright position.
Wear a correctly adjusted seat belt.
Do not leave anything between the
occupants and the airbags (a child, pet,
object...), nor fix or attach anything close to
the inflation trajectory of the airbags; this
could cause injuries during their deployment.
Never modify the original definition of your
vehicle, particularly in the area directly
around the airbags.
After an accident or if the vehicle has been
stolen or broken into, have the airbag
systems checked.
All work on the airbag system must be
carried out by a P
eu
ge
Ot d
ealer or a
qualified workshop.
eve
n if all of the precautions mentioned
are observed, a risk of injury or of minor
burns to the head, chest or arms when an
airbag is deployed cannot be ruled out.
the
b
ag inflates almost instantly (within a few
milliseconds) then deflates within the same
time discharging the hot gas via openings
provided for this purpose.Lateral airbags
use only approved covers on the seats,
c ompatible with the deployment the lateral
airbags. For information on the range of seat
covers suitable for your vehicle, you can
contact a P
eu
ge
Ot d
ealer.
Refer to the "Accessories" section.
Do not fix or attach anything to the seat
backs (clothing...).
thi
s could cause injury
to the chest or arms if the lateral airbag is
deployed.
Do not sit with the upper part of the body any
nearer to the door than necessary.
Front airbags
Do not drive holding the steering wheel by its
spokes or resting your hands on the centre
part of the wheel.
Passengers must not place their feet on the
dashboard.
Do not smoke as deployment of the airbags
can cause burns or the risk of injury from a
cigarette or pipe.
Never remove or pierce the steering wheel or
hit it violently.
Do not fit or attach anything to the steering
wheel or dashboard, this could cause
injuries with deployment of the airbags.
For the airbags to be fully effective, observe the following safety rules:
Curtain airbags
Do not fix or attach anything to the roof. this
could cause injury to the head if the curtain
airbag is deployed.
If fitted on your vehicle, do not remove the
grab handles installed on the roof, they play
a part in securing the curtain airbags.
5
Safety
Page 160 of 398
158
308_en_Chap06_conduite_ed02-2015
Immobilising the vehicle
with the engine running
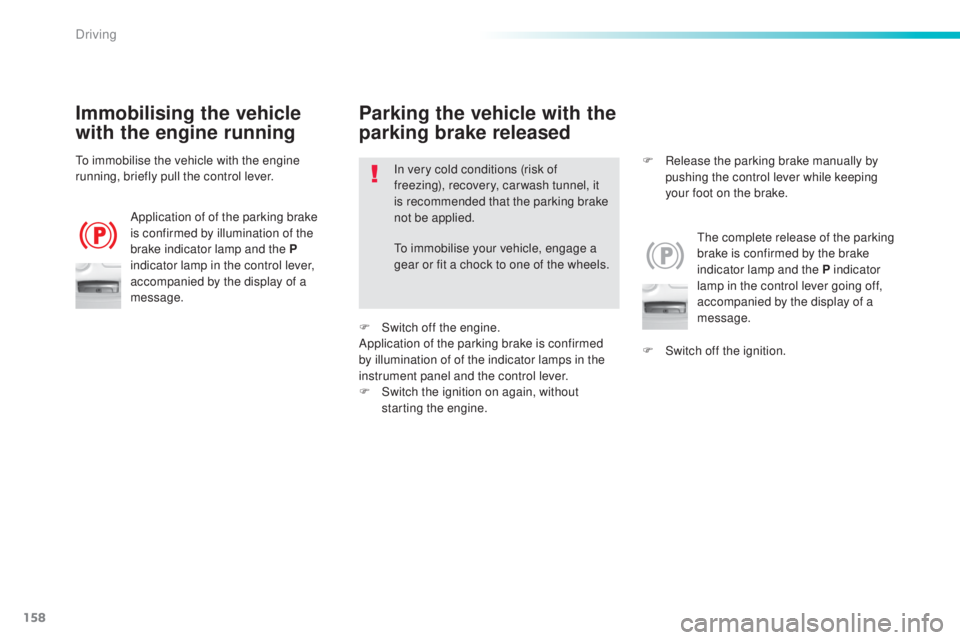
Application of of the parking brake
is confirmed by illumination of the
brake indicator lamp and the P
indicator lamp in the control lever,
accompanied by the display of a
message.
the c
omplete release of the parking
brake is confirmed by the brake
indicator lamp and the P indicator
lamp in the control lever going off,
accompanied by the display of a
message.
to im
mobilise the vehicle with the engine
running, briefly pull the control lever. In very cold conditions (risk of
freezing), recovery, car wash tunnel, it
is recommended that the parking brake
not be applied.
Parking the vehicle with the
parking brake released
F Switch off the ignition.
F
Re
lease the parking brake manually by
pushing the control lever while keeping
your foot on the brake.
to i
mmobilise your vehicle, engage a
gear or fit a chock to one of the wheels.
F
Sw
itch off the engine.
Application of the parking brake is confirmed
by illumination of of the indicator lamps in the
instrument panel and the control lever.
F
Sw
itch the ignition on again, without
starting the engine.
Driving
Page 161 of 398
159
308_en_Chap06_conduite_ed02-2015
Emergency braking
In the event of a failure of the main service
brake or in an exceptional situation (e.g. driver
taken ill, under instruction, etc) a continuous
pull on the control lever will brake the vehicle.
Braking takes place while the control lever is
being pulled. It is interrupted if the control lever
is released.
the A
BS and DSC systems provide stability of
the vehicle during emergency braking.
If the emergency braking malfunctions, the
message "Parking brake control faulty" will be
displayed.
the em
ergency braking should only be
used in an exceptional situation.
Repeat this procedure to reactivate automatic
operation.
Reactivation of automatic operation is
confirmed by the indicator lamp in the
instrument panel going off.
Deactivating automatic operation
In some situations, such as very cold weather
or towing (caravan, recovery), it may be
necessary to deactivate automatic operation of
the system.
F
St
art the engine.
F
Ap
ply the parking brake with the control
lever, if it is released.
F
t
ak
e your foot off the brake pedal.
F
Pu
sh and hold the control lever in the
release direction for at least 10 seconds
and no more than 15 seconds.
F
Re
lease the control lever.
F
Pr
ess and hold the brake pedal.
F
Pu
ll the control lever in the apply direction
for 2 seconds.
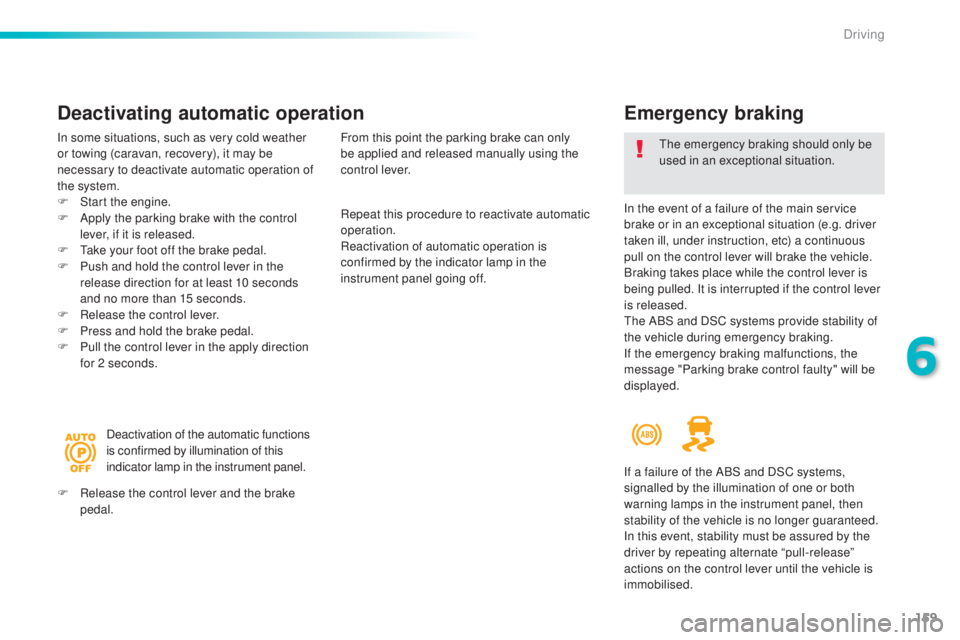
Deactivation of the automatic functions
is confirmed by illumination of this
indicator lamp in the instrument panel.
F
Re
lease the control lever and the brake
pedal. From this point the parking brake can only
be applied and released manually using the
control lever.
If a failure of the ABS and DSC systems,
signalled by the illumination of one or both
warning lamps in the instrument panel, then
stability of the vehicle is no longer guaranteed.
In this event, stability must be assured by the
driver by repeating alternate “pull-release”
actions on the control lever until the vehicle is
immobilised.
6
Driving
Page 168 of 398
166
308_en_Chap06_conduite_ed02-2015
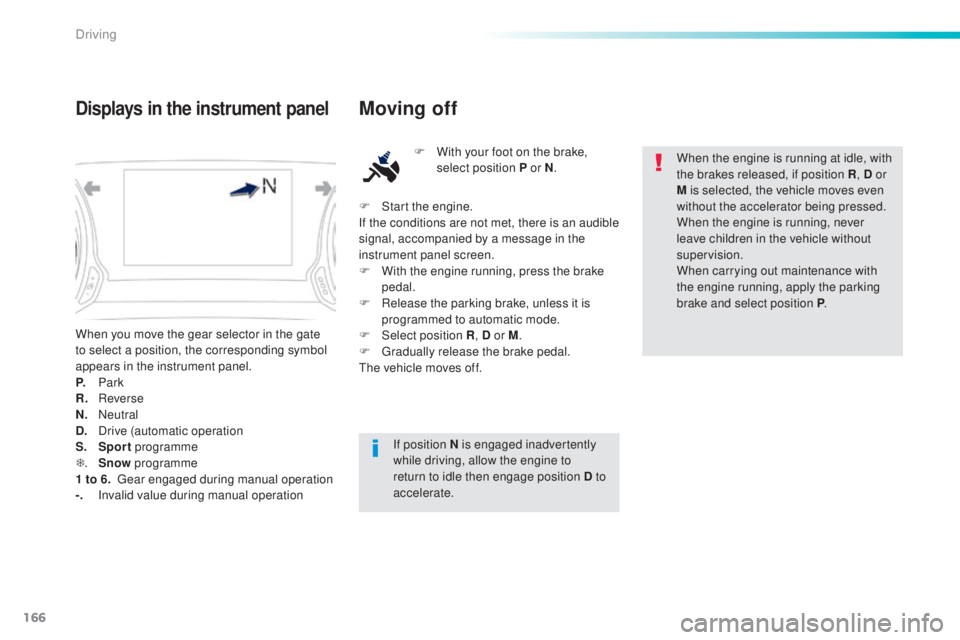
When you move the gear selector in the gate
to select a position, the corresponding symbol
appears in the instrument panel.
P.
Pa
rk
R.
Re
verse
N.
Ne
utral
D.
Dr
ive (automatic operation
S.
Sp
ort programme
T .
Sn
ow programme
1 to 6.
g
ear
engaged during manual operation
-.
In
valid value during manual operation
Displays in the instrument panelMoving off
F With your foot on the brake,
select position P or N .
If position N is engaged inadvertently
while driving, allow the engine to
return to idle then engage position D to
accelerate. When the engine is running at idle, with
the brakes released, if position R
, D or
M is selected, the vehicle moves even
without the accelerator being pressed.
When the engine is running, never
leave children in the vehicle without
supervision.
When carrying out maintenance with
the engine running, apply the parking
brake and select position P .
F
St
art the engine.
If the conditions are not met, there is an audible
signal, accompanied by a message in the
instrument panel screen.
F
Wi
th the engine running, press the brake
pedal.
F
Re
lease the parking brake, unless it is
programmed to automatic mode.
F
Selec
t position R , D or M.
F
g
rad
ually release the brake pedal.
the v
ehicle moves off.
Driving