Page 156 of 398
154
308_en_Chap06_conduite_ed02-2015
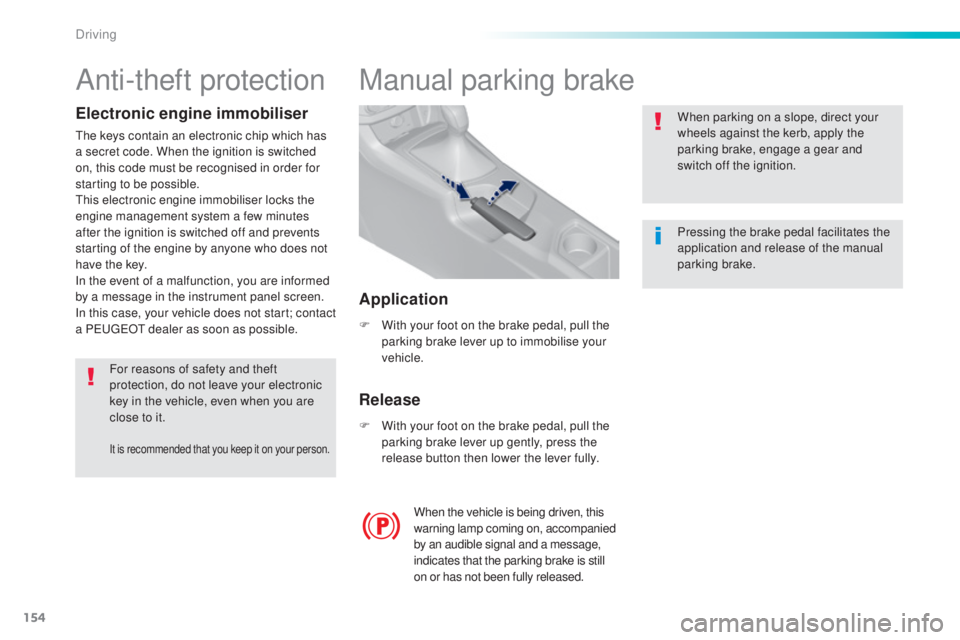
Manual parking brake
F With your foot on the brake pedal, pull the
parking brake lever up to immobilise your
vehicle.
F
Wi
th your foot on the brake pedal, pull the
parking brake lever up gently, press the
release button then lower the lever fully. When parking on a slope, direct your
wheels against the kerb, apply the
parking brake, engage a gear and
switch off the ignition.
When the vehicle is being driven, this
warning lamp coming on, accompanied
by an audible signal and a message,
indicates that the parking brake is still
on or has not been fully released. Pressing the brake pedal facilitates the
application and release of the manual
parking brake.
Release Application
Anti-theft protection
Electronic engine immobiliser
the keys contain an electronic chip which has
a s ecret code. When the ignition is switched
on, this code must be recognised in order for
starting to be possible.
thi
s electronic engine immobiliser locks the
engine management system a few minutes
after the ignition is switched off and prevents
starting of the engine by anyone who does not
have the key.
In the event of a malfunction, you are informed
by a message in the instrument panel screen.
In this case, your vehicle does not start; contact
a P
eu
ge
Ot d
ealer as soon as possible.
For reasons of safety and theft
protection, do not leave your electronic
key in the vehicle, even when you are
close to it.
It is recommended that you keep it on your person.
Driving
Page 157 of 398
155
308_en_Chap06_conduite_ed02-2015
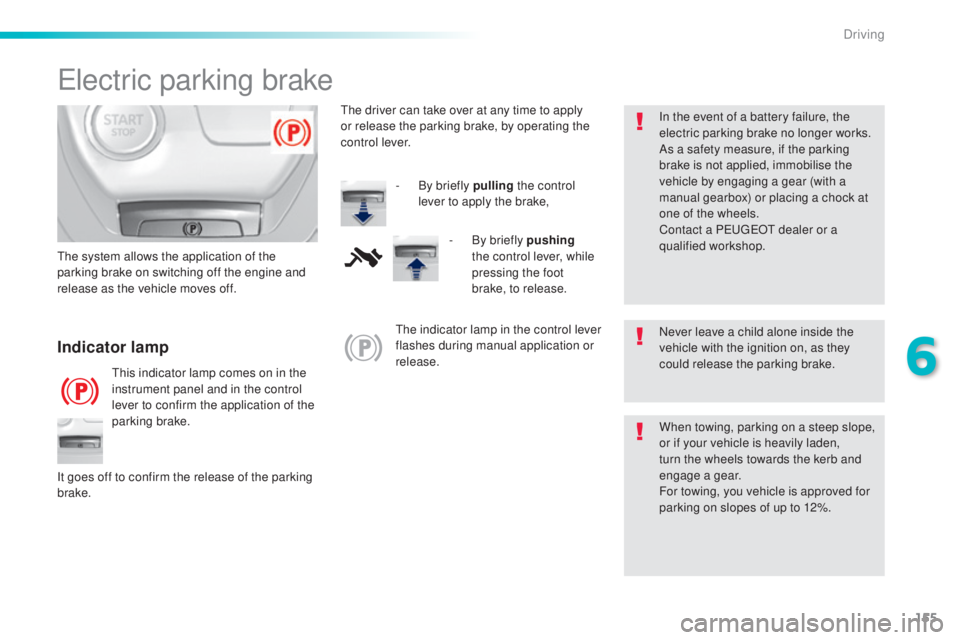
electric parking brake
Never leave a child alone inside the
vehicle with the ignition on, as they
could release the parking brake.
Indicator lamp
this indicator lamp comes on in the
i nstrument panel and in the control
lever to confirm the application of the
parking brake.
the s
ystem allows the application of the
parking brake on switching off the engine and
release as the vehicle moves off.
When towing, parking on a steep slope,
or if your vehicle is heavily laden,
turn the wheels towards the kerb and
engage a gear.
For towing, you vehicle is approved for
parking on slopes of up to 12%.
It goes off to confirm the release of the parking
brake.
the i
ndicator lamp in the control lever
flashes during manual application or
release. In the event of a battery failure, the
electric parking brake no longer works.
As a safety measure, if the parking
brake is not applied, immobilise the
vehicle by engaging a gear (with a
manual gearbox) or placing a chock at
one of the wheels.
Contact a P
eu
ge
Ot d
ealer or a
qualified workshop.
the d
river can take over at any time to apply
or release the parking brake, by operating the
control lever.
-
By b
riefly pulling
the control
lever to apply the brake,
-
By b
riefly pushing
the control lever, while
pressing the foot
brake, to release.
6
Driving
Page 160 of 398
158
308_en_Chap06_conduite_ed02-2015
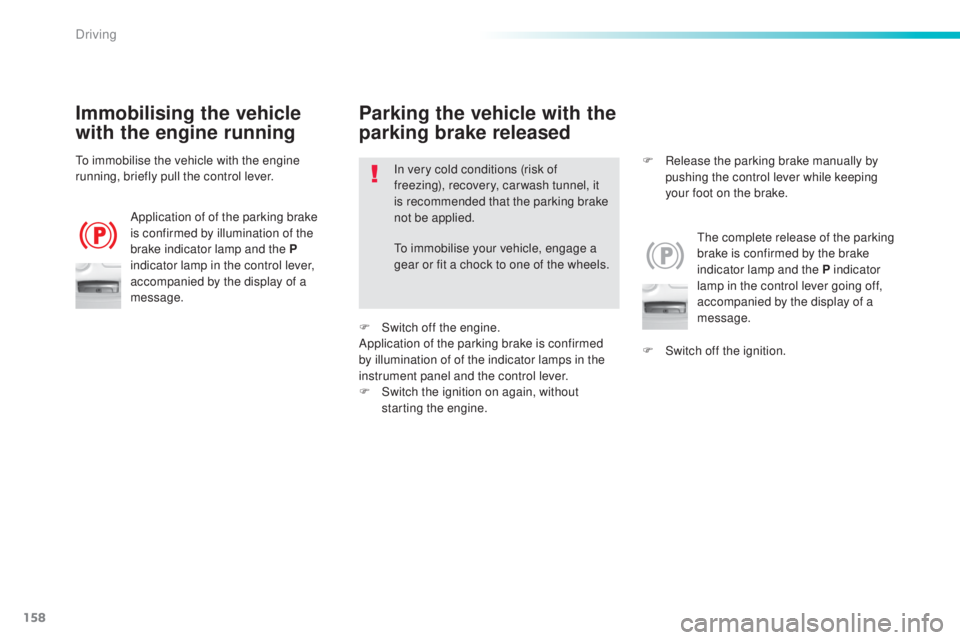
Immobilising the vehicle
with the engine running
Application of of the parking brake
is confirmed by illumination of the
brake indicator lamp and the P
indicator lamp in the control lever,
accompanied by the display of a
message.
the c
omplete release of the parking
brake is confirmed by the brake
indicator lamp and the P indicator
lamp in the control lever going off,
accompanied by the display of a
message.
to im
mobilise the vehicle with the engine
running, briefly pull the control lever. In very cold conditions (risk of
freezing), recovery, car wash tunnel, it
is recommended that the parking brake
not be applied.
Parking the vehicle with the
parking brake released
F Switch off the ignition.
F
Re
lease the parking brake manually by
pushing the control lever while keeping
your foot on the brake.
to i
mmobilise your vehicle, engage a
gear or fit a chock to one of the wheels.
F
Sw
itch off the engine.
Application of the parking brake is confirmed
by illumination of of the indicator lamps in the
instrument panel and the control lever.
F
Sw
itch the ignition on again, without
starting the engine.
Driving
Page 163 of 398
161
308_en_Chap06_conduite_ed02-2015
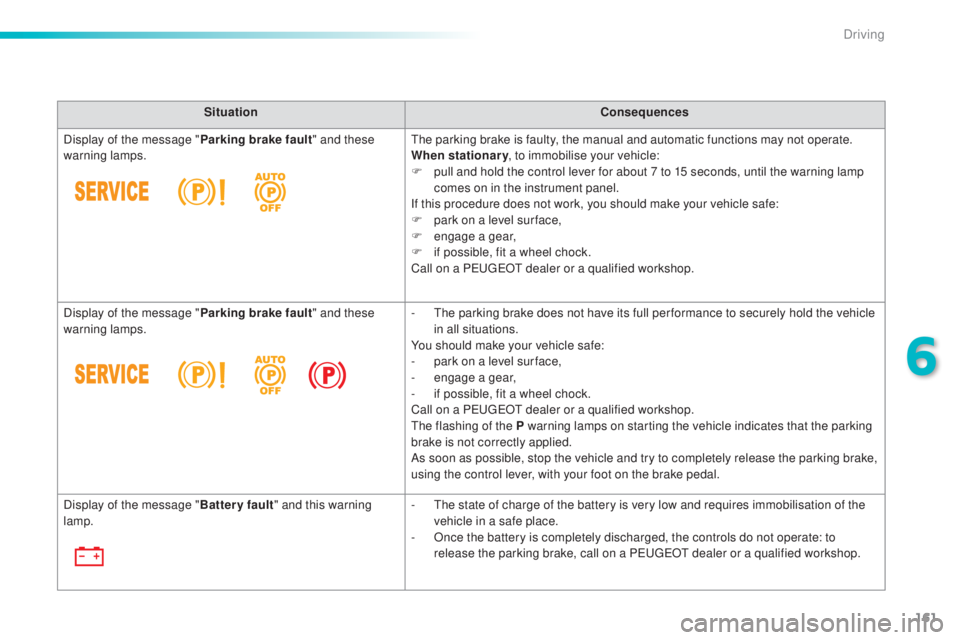
SituationConsequences
Display of the message " Parking brake fault" and these
warning lamps.
the p
arking brake is faulty, the manual and automatic functions may not operate.
When stationary , to immobilise your vehicle:
F
pu
ll and hold the control lever for about 7 to 15 seconds, until the warning lamp
comes on in the instrument panel.
If this procedure does not work, you should make your vehicle safe:
F
pa
rk on a level sur face,
F
engag
e a gear,
F
if p
ossible, fit a wheel chock.
Call on a P
eu
ge
Ot d
ealer or a qualified workshop.
Display of the message " Parking brake fault" and these
warning lamps. -
t
he p
arking brake does not have its full per formance to securely hold the vehicle
in all situations.
You should make your vehicle safe:
-
pa
rk on a level sur face,
-
engag
e a gear,
-
if p
ossible, fit a wheel chock.
Call on a P
eu
ge
Ot d
ealer or a qualified workshop.
the f
lashing of the P warning lamps on starting the vehicle indicates that the parking
brake is not correctly applied.
As soon as possible, stop the vehicle and try to completely release the parking brake,
using the control lever, with your foot on the brake pedal.
Display of the message " Battery fault" and this warning
lamp. -
t
he s
tate of charge of the battery is very low and requires immobilisation of the
vehicle in a safe place.
-
On
ce the battery is completely discharged, the controls do not operate: to
release the parking brake, call on a P
eu
ge
Ot d
ealer or a qualified workshop.
6
Driving
Page 177 of 398
175
308_en_Chap06_conduite_ed02-2015
Switching on / Pause
F turn thumb thumb wheel 1 to the "LIMIT"
p osition: the speed limiter mode is selected
but is not switched on (Pause).
F
Sw
itch the speed limiter back on by
pressing button 4 , if the speed displayed
is suitable (by default, the last speed
programmed).
F
Yo
u can temporarily stop the the speed
limiter by pressing button 4 again: the
display confirms that it has been stopped
(Pause). You do not have to switch the speed limiter on
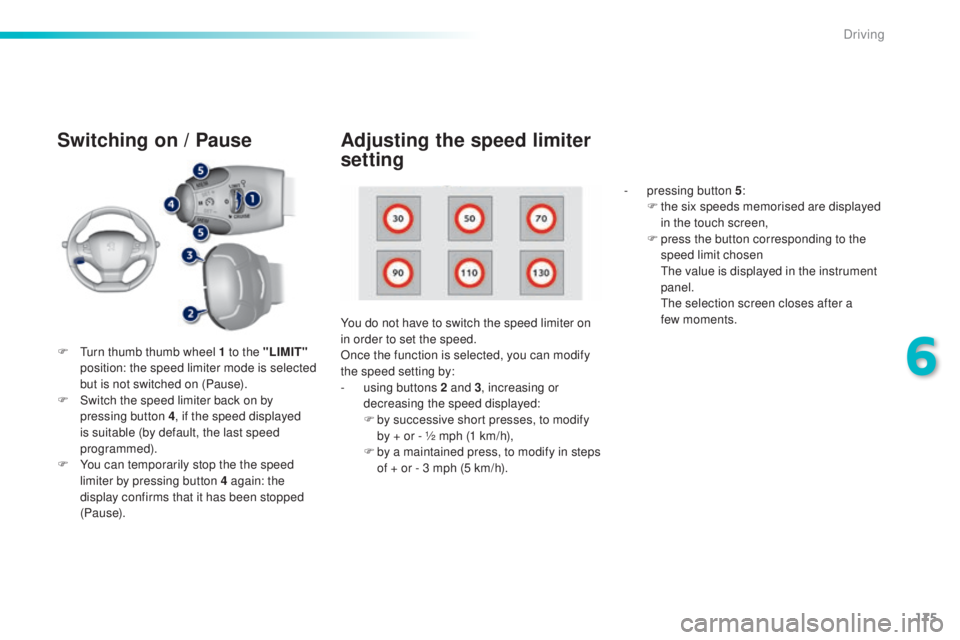
in order to set the speed.
Once the function is selected, you can modify
the speed setting by:
-
us
ing buttons 2 and 3, increasing or
decreasing the speed displayed:
F
by s
uccessive short presses, to modify
by + or - ½ mph (1 km/h),
F
by a m
aintained press, to modify in steps
of + or - 3 mph (5 km/h). -
pr
essing button 5
:
F
th
e six speeds memorised are displayed
in the touch screen,
F
pr
ess the button corresponding to the
speed limit chosen
the v
alue is displayed in the instrument
panel.
the s
election screen closes after a
few moments.
Adjusting the speed limiter
setting
6
Driving
Page 178 of 398
176
308_en_Chap06_conduite_ed02-2015
On sharp acceleration, as when
descending a steep hill, the speed
limiter will not be able to prevent
the vehicle from exceeding the
programmed speed.
the l
imiter is temporarily deactivated
and the displayed programmed speed
flashes.
An audible signal accompanies the
flashing of the programmed speed
when exceeding the speed is not due to
an action by the driver.
the u
se of mats not approved by
P
eu
ge
Ot m
ay inter fere with the
operation of the speed limiter.
to av
oid any risk of jamming of the
pedals:
-
en
sure that the mat is secured
c o r r e c t l y,
-
do n
ot fit one mat on top of another.
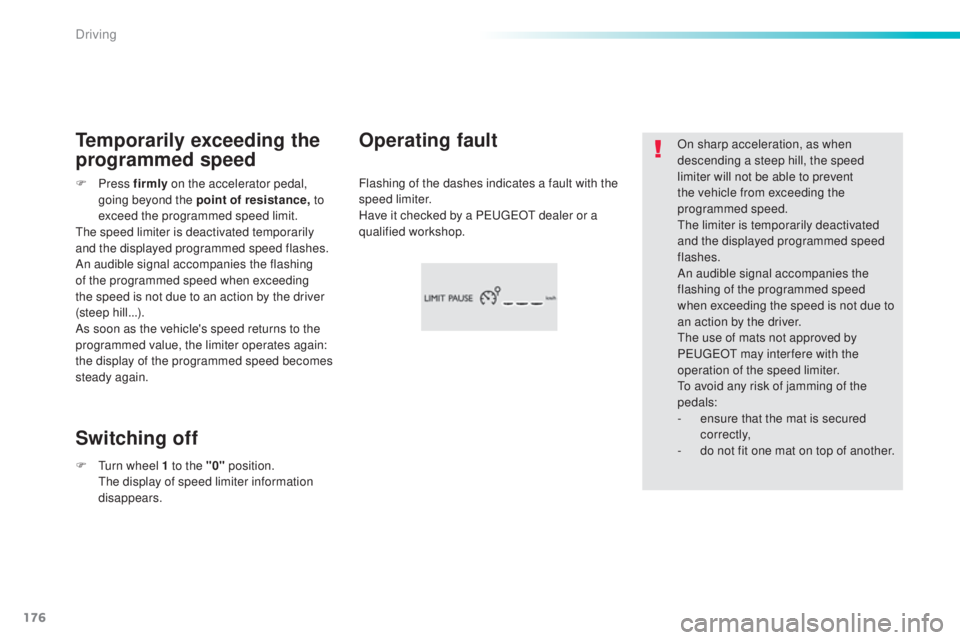
Flashing of the dashes indicates a fault with the
speed limiter.
Have it checked by a P
eu
ge
Ot d
ealer or a
qualified workshop.Operating fault
Temporarily exceeding the
programmed speed
Switching off
F Press fir mly on the accelerator pedal,
going beyond the point of resistance, t o
exceed the programmed speed limit.
the s
peed limiter is deactivated temporarily
and the displayed programmed speed flashes.
An audible signal accompanies the flashing
of the programmed speed when exceeding
the speed is not due to an action by the driver
(steep hill...).
As soon as the vehicle's speed returns to the
programmed value, the limiter operates again:
the display of the programmed speed becomes
steady again.
F
t
ur
n wheel 1 to the "0" position.
the
display of speed limiter information
disappears.
Driving
Page 180 of 398
178
308_en_Chap06_conduite_ed02-2015
Switching on
If the cruise control is switched on, you can then
modify the initial speed in one of the following ways:
- using buttons 2 o r 3:F by successive short presses, to modify the
s peed by + or - 1 mph (km/h),
F by a long press, to modify the speed in steps
o f + or - 5 mph (km/h),
Pause
F turn wheel 1 to the "CRUISE" p osition: the
cruise control mode is selected but is not
switched on (Pause).
F
Pr
ess button 2 or 3 : your vehicle's current
speed becomes the cruise speed.
the c
ruise control is activated (ON).
Modification of the initial
speed setting
- pressing button 5 :
F th e six memorised speeds are displayed
in the the touch screen,
F
ch
oose a value: it is displayed in the
instrument panel.
the s
election screen closes after a few
moments.
the m
odification is then accepted. Once switched on, you can pause the cruise
control at any time by pressing button 4: the
screen confirms the pause.
Driving
Page 181 of 398
179
308_en_Chap06_conduite_ed02-2015
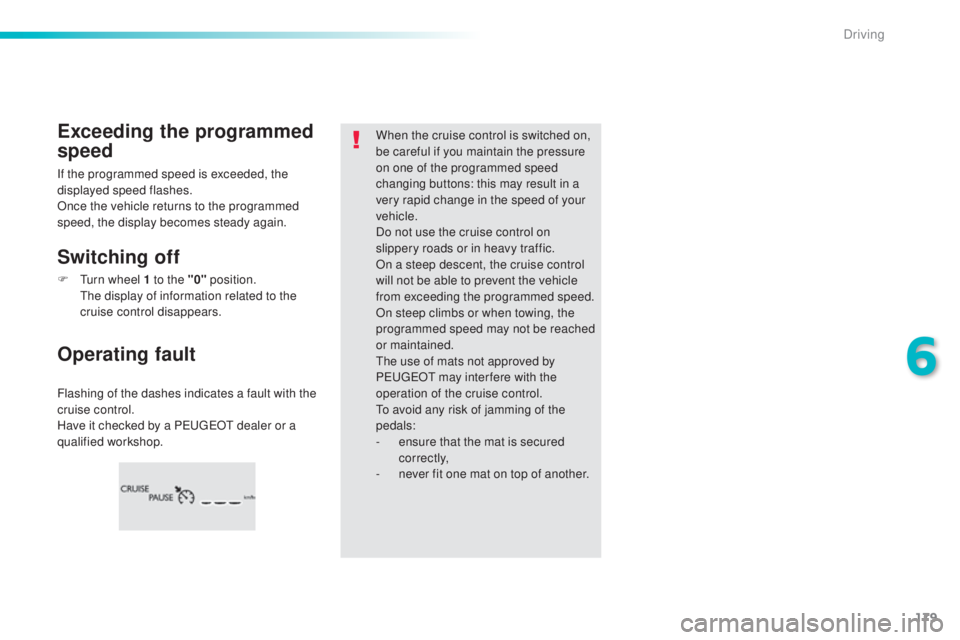
Flashing of the dashes indicates a fault with the
cruise control.
Have it checked by a P
eu
ge
Ot d
ealer or a
qualified workshop.
Operating fault Exceeding the programmed
speed
Switching off
When the cruise control is switched on,
be careful if you maintain the pressure
on one of the programmed speed
changing buttons: this may result in a
very rapid change in the speed of your
vehicle.
Do not use the cruise control on
slippery roads or in heavy traffic.
On a steep descent, the cruise control
will not be able to prevent the vehicle
from exceeding the programmed speed.
On steep climbs or when towing, the
programmed speed may not be reached
or maintained.
the u
se of mats not approved by
P
eu
ge
Ot m
ay inter fere with the
operation of the cruise control.
to av
oid any risk of jamming of the
pedals:
-
en
sure that the mat is secured
c o r r e c t l y,
-
ne
ver fit one mat on top of another.
If the programmed speed is exceeded, the
displayed speed flashes.
Once the vehicle returns to the programmed
speed, the display becomes steady again.
F
t
ur
n wheel 1 to the "0" position.
the d
isplay of information related to the
cruise control disappears.
6
Driving