2016 NISSAN TITAN USB
[x] Cancel search: USBPage 2 of 40

Beneath the
instrument panel
2
3
5
4
1617
7
8
18
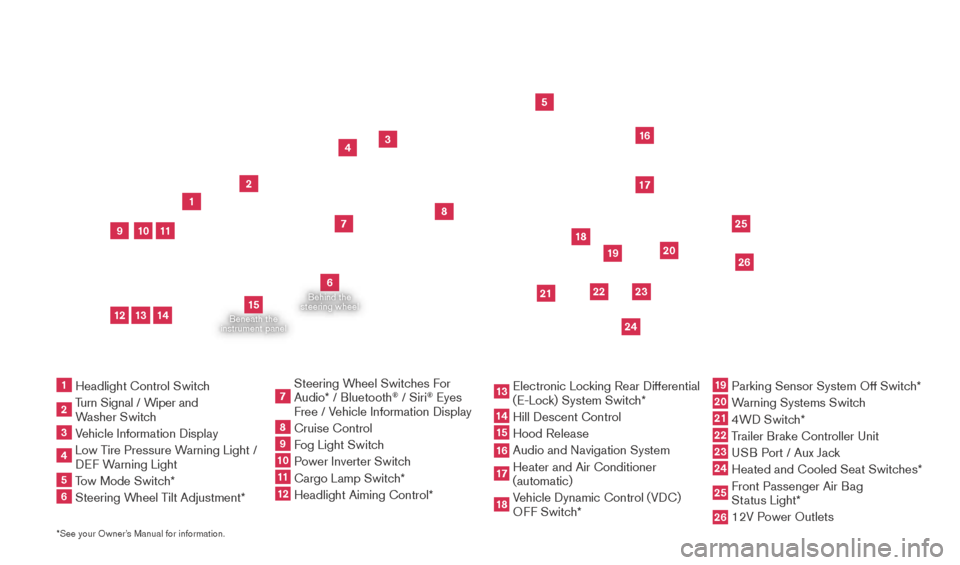
*See your Owner’s Manual for information.1 Headlight Control Switc h2 Turn Signal / Wiper and
Washer Switch
3 Vehicle Information Display4 Low T ire Pressure Warning Light /
DEF Warning Light5 Tow Mode Switch*6 Steering W heel Tilt Adjustment*
7 Steering W heel Switches For
Audio* / Bluetooth
® / Siri
® Eyes
Free / Vehicle Information Display
8 Cruise Control 9 Fog Light Switch10 P ower Inverter Switch11 Cargo Lamp Switc h*12 Headlight Aiming Control*
13 Electronic Loc king Rear Differential
(E-Lock) System Switch*14 Hill Descent Control
15 Hood Release
16 Audio and Navigation System 17 Heater and Air Conditioner
(automatic)
18 Vehicle Dynamic Control (VDC)
OFF Switch*
19 Parking Sensor System Off Switc h*20 Warning Systems Switch21 4WD Switch*22 Trailer Brake Controller Unit23 USB Port / Aux Jack24 Heated and Cooled Seat Switc
hes* 25 Front Passenger Air Bag
Status Light*26 12V P ower Outlets
23
1
24
15
21
6
Behind the
steering wheel
2219
2526
11
9
1013
12
14
20
2027886_16b_Titan_US_pQRG_010716.indd 41/7/16 2:01 PM
Page 23 of 40

21
FM/AM/SiriusXM®* SATELLITE RADIO WITH CD PLAYER
(if so equipped)
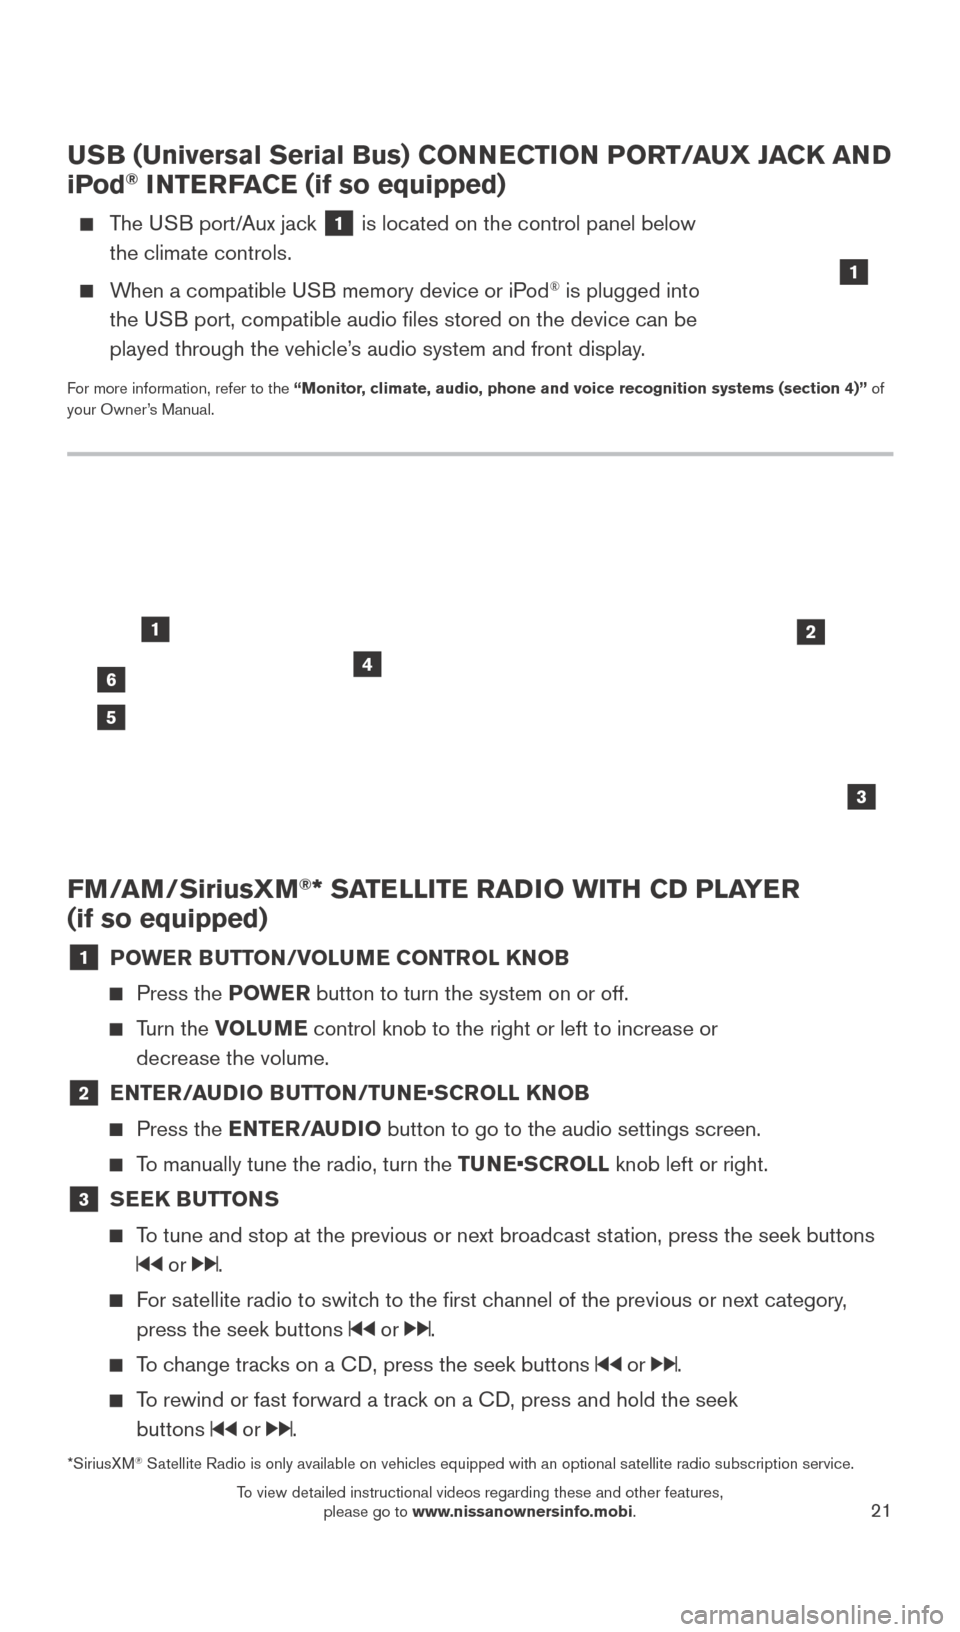
1 POWER BUTTON/VOLUME CONTROL KNOB
Press the POWE R button to turn the system on or off.
Turn the VOLUME control knob to the right or left to increase or
decrease the volume.
2 E NTER/AUDIO BUTTON/TUNE•SCROLL KNOB
Press the
ENTER/AUDIO button to go to the audio settings screen.
To manually tune the radio, turn the TUNE•SCROLL knob left or right.
3 SEEK BUTTONS
To tune and stop at the previous or next broadcast station, press the seek buttons
or .
For satellite radio to switch to the first channel of the previous or next category,
press the seek buttons
or .
To change tracks on a CD, press the seek buttons or .
To rewind or fast forward a track on a CD, press and hold the seek buttons
or .
46
2
3
1
5
USB (Universal Serial Bus) CONNECTION PORT/AUX JACK AND
iPod® INTERFACE (if so equipped)
The USB port/Aux jack 1 is located on the control panel below
the climate controls.
When a compatible USB memory device or iPod® is plugged into
the USB port, compatible audio files stored on the device can be
played through the vehicle’s audio system and front display.
For more information, refer to the “Monitor, climate, audio, phone and voice recognition systems (section 4)” of
your Owner’s Manual.
1
*SiriusXM® Satellite Radio is only available on vehicles equipped with an optional s\
atellite radio subscription service.
2027886_16b_Titan_US_pQRG_010716.indd 211/7/16 2:03 PM
To view detailed instructional videos regarding these and other features, please go to www.nissanownersinfo.mobi.
Page 28 of 40

26
NISSANCONNECTsm MOBILE APPS1 (if so equipped)
Integrates popular smartphone apps and services into your vehicle.
The NissanConnectSM Mobile Apps companion app must be downloaded to your
smartphone, and you must be enrolled in a NissanConnect account.
FOR SYSTEM WITH NAVIGATION
•
iPhone
®,2: Please connect via USB when using an iPhone® with
NissanConnect Mobile Apps.
•
Android
®,3: Please connect via Bluetooth®,4 when using an Android® device with
NissanConnect Mobile Apps.
FOR SYSTEM WITHOUT NAVIGATION
•
iPhone
®: Please connect via Bluetooth®,4 when using an iPhone® with
NissanConnect Mobile Apps.
•
Android
®: Please connect via Bluetooth®,4 when using an Android® device with
NissanConnect Mobile Apps.
For more information on how to pair your cellular phone and set up NissanConnect Mobile Apps, visit: www.NissanUSA.com/connect/support.
1 Only use Niss anConnectSM Services powered by SiriusXM® and NissanConnectSM Mobile Apps when safe to
do so. NissanConnectSM Services and Mobile Apps availability is dependent on vehicle model, tr\
im level,
packaging, and/or options. See www.NissanUSA.com/connect for complete product and service availability
details. Late availability for some features. Compatible smartphone require\
d to operate NissanConnect
SM Mobile Apps.
Services require an operating vehicle device and cellular and GPS coverage. Cellular network and GPS signals
are not available in all areas and/or at all times. Neither NISSAN nor SiriusXM are responsible for associated costs,
if any, for continued operation due to cellular network termination/changes. Cellular provider may terminate/restrict
service without notice. Certain services require a PIN for activation. Applicable Subscription Agreement required. See
www.NissanUSA.com/connect for details and service limitations. Enrollment is required to receive the full suite of
services. Text rates and/or data usage may apply.
2 iPhone is a registered trademark of Apple, Inc. All rights reserved. iP\
hone not included.
3 Android® is a registered trademark of Google, Inc.
4 Availability of specific features is dependent upon the phone’s Bluetooth® support. Please refer to your phone owner’s
manual for details. Bluetooth® word mark and logos are owned by Bluetooth SIG, Inc., and any use of such marks by
NISSAN is under license. See www.NissanUSA.com/bluetooth for details.
For more information, refer to the “Monitor, climate, audio, phone and voice recognition systems (section 4) ” of
your Owner’s Manual.
SYSTEM GUIDE
2027886_16b_Titan_US_pQRG_010716.indd 261/7/16 2:04 PM
To view detailed instructional videos regarding these and other features, please go to www.nissanownersinfo.mobi.
Page 33 of 40

31
NISSAN MOBILE ENTERTAINMENT SYSTEM (MES)
(if so equipped)
With the MES, you can play DVD videos, video CDs or CDs that contain music or sound
content. Images will display on the corresponding
monitor. Sound will play from the vehicle’s audio
system (or wireless headphones provided in
the kit) or your own wired headphones after
connecting them to the headphone jacks of the
corresponding DVD player.
1.
Place the ignition switc
h in the ACC or
ON position.
2.
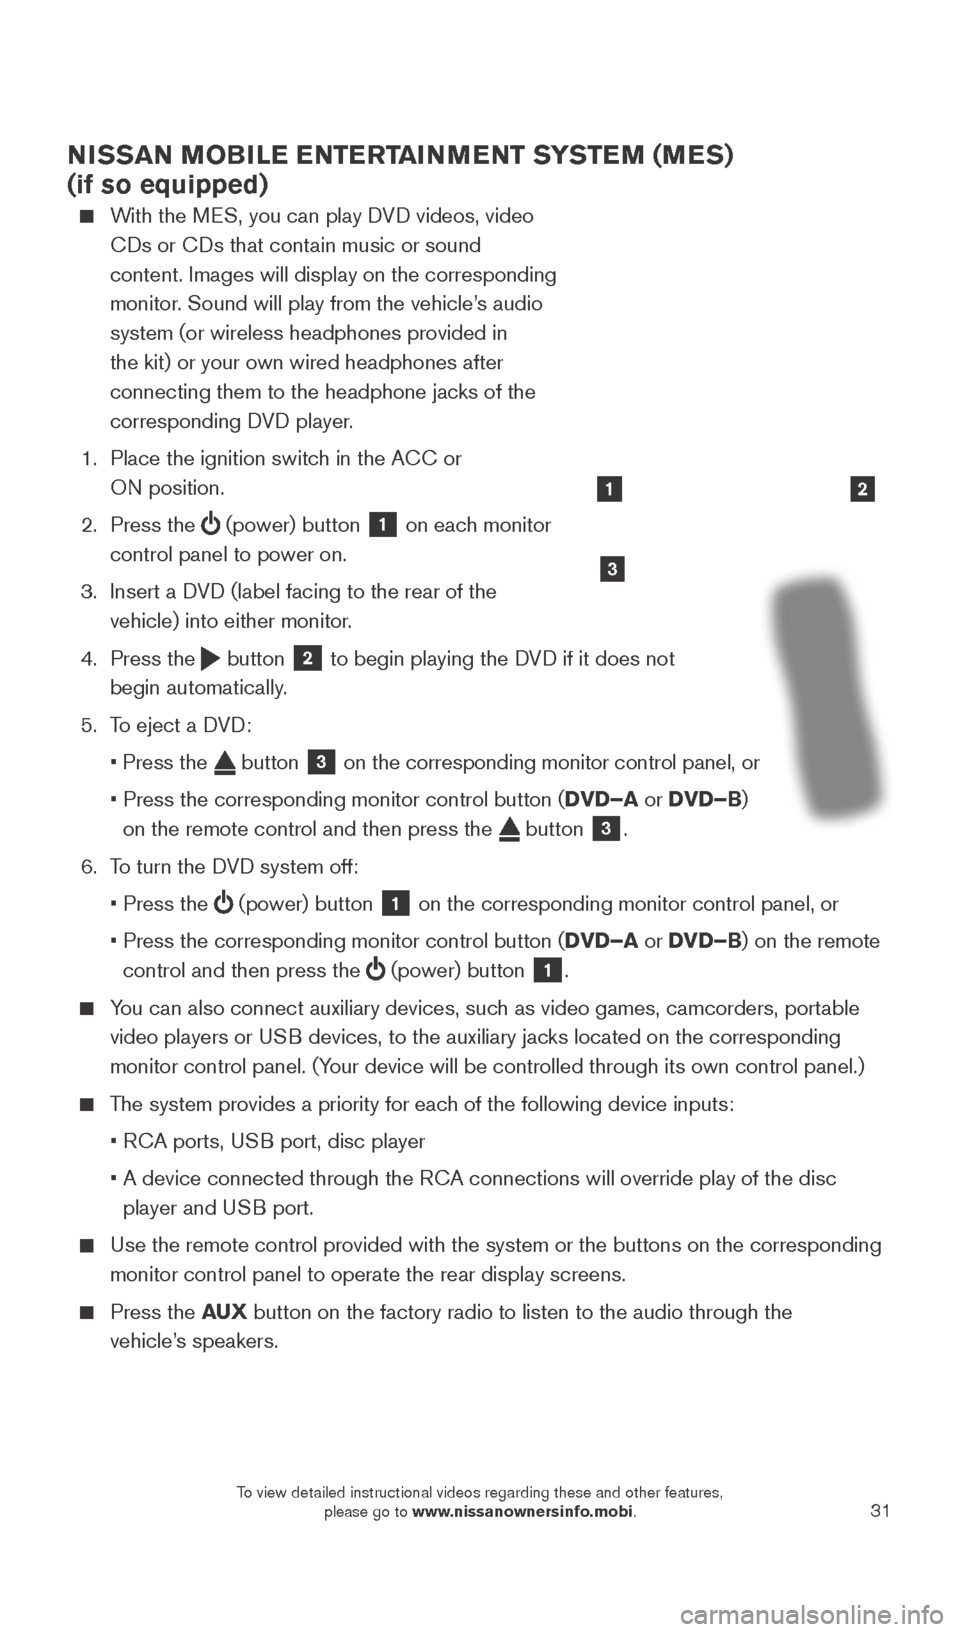
Press the
(power) button 1 on each monitor
control panel to power on.
3.
Insert a D
VD (label facing to the rear of the
vehicle) into either monitor.
4.
Press the
button 2 to begin playing the DVD if it does not
begin automatically.
5.
T
o eject a DVD:
•
Press the button 3 on the corresponding monitor control panel, or
•
Press the corresponding monitor control button (
DVD–A or DVD–B)
on the remote control and then press the
button 3.
6.
T
o turn the DVD system off:
•
Press the (power) button 1 on the corresponding monitor control panel, or
•
Press the corresponding monitor control button (
DVD–A or DVD–B) on the remote
control and then press the
(power) button 1.
You can also connect auxiliary devices, such as video games, camcorders, portable
video players or USB devices, to the auxiliary jacks located on the corresponding
monitor control panel. (Your device will be controlled through its own control panel.)
The system provides a priority for each of the following device inputs:
•
R
CA ports, USB port, disc player
•
A device connected through the R
CA connections will override play of the disc
player and USB port.
Use the remote control provided with the system or the buttons on the co\
rresponding
monitor control panel to operate the rear display screens.
Press the AU X button on the factory radio to listen to the audio through the
vehicle’s speakers.
3
21
2027886_16b_Titan_US_pQRG_010716.indd 311/7/16 2:04 PM
To view detailed instructional videos regarding these and other features, please go to www.nissanownersinfo.mobi.