2016 NISSAN TITAN ECO mode
[x] Cancel search: ECO modePage 22 of 40
20
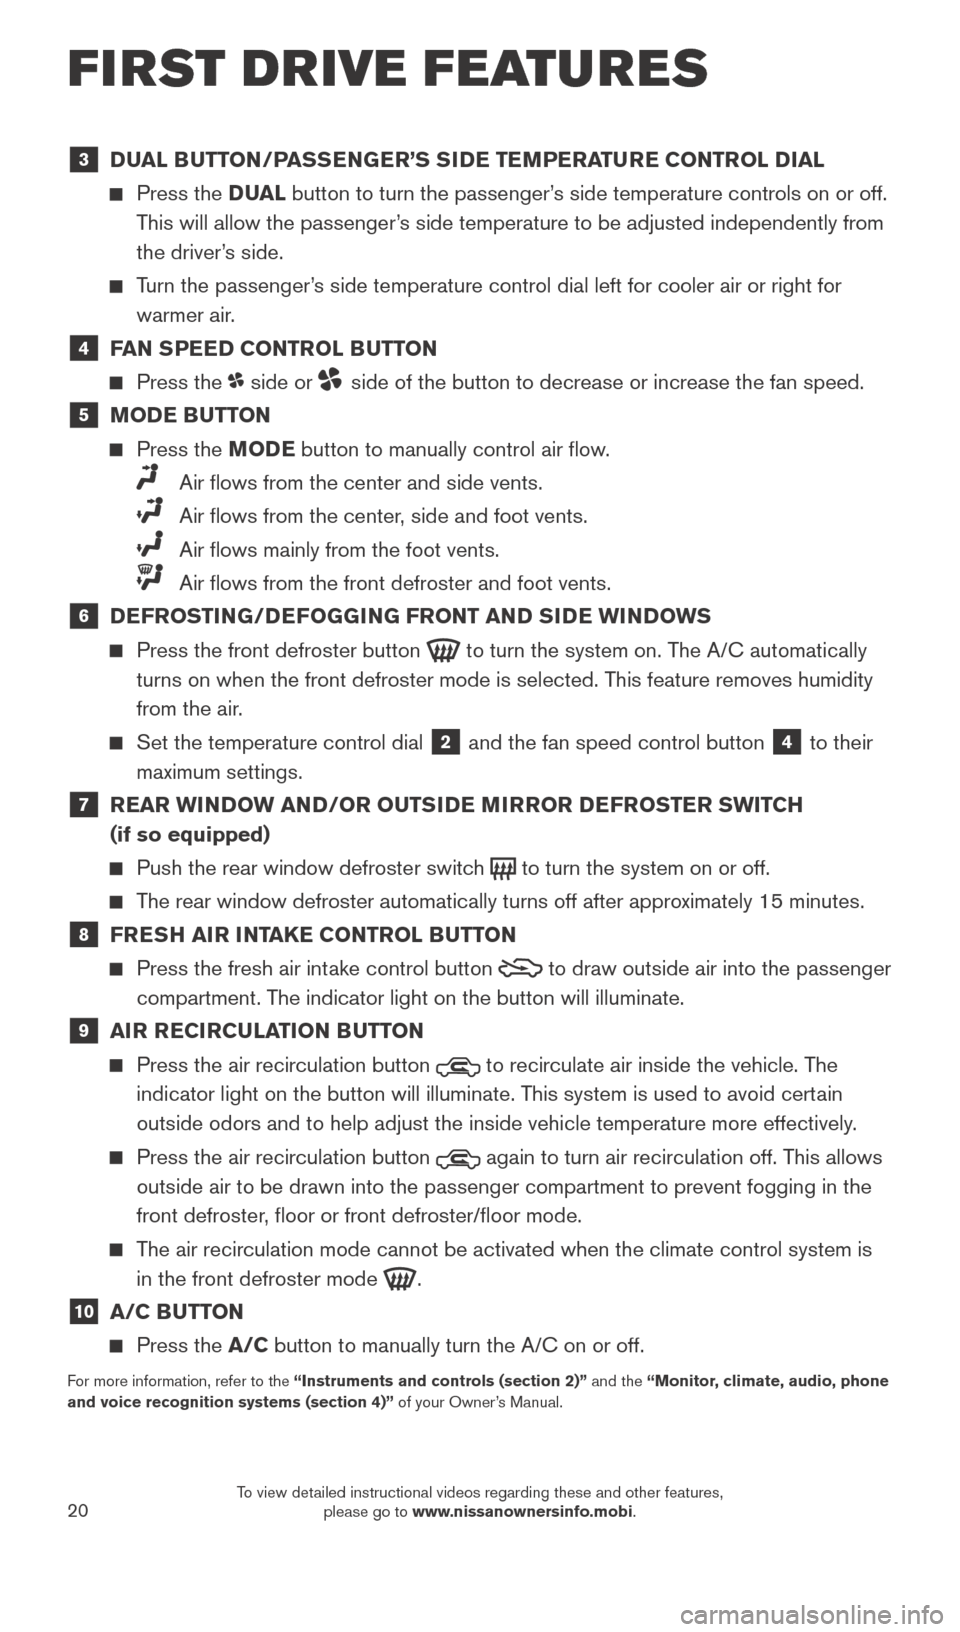
3 DUAL BUTTON/PASSENGER’S SIDE TEMPERATURE CONTROL DIAL
Press the D UAL button to turn the passenger’s side temperature controls on or off.
This will allow the passenger’s side temperature to be adjusted independently from
the driver’s side.
Turn the passenger’s side temperature control dial left for cooler air or right for warmer air.
4 FAN SPEED CONTROL BUTTON
Press the side or side of the button to decrease or increase the fan speed.
5 MODE BUTTON
Press the MODE button to manually control air flow.
Air flows from the center and side vents.
Air flows from the center , side and foot vents.
Air flows mainly from the foot vents.
Air flows from the front defroster and foot vents.
6 DEFROSTING/DEFOGGING FRONT AND SIDE WINDOWS
Press the front defroster button to turn the system on. The A/C automatically
turns on when the front defroster mode is selected. This feature removes humidity
from the air.
Set the temperature control dial 2 and the fan speed control button 4 to their
maximum settings.
7 REAR WINDOW AND/OR OUTSIDE MIRROR DEFROSTER SWITCH (if so equipped)
Push the rear window defroster switc h to turn the system on or off.
The rear window defroster automatically turns off after approximately 15 minutes.
8 FRESH AIR INTAKE CONTROL BUTTON
Press the fresh air intake control button to draw outside air into the passenger
compartment. The indicator light on the button will illuminate.
9 AIR RECIRCULATION BUTTON
Press the air recirculation button to recirculate air inside the vehicle. The
indicator light on the button will illuminate. This system is used to avoid certain
outside odors and to help adjust the inside vehicle temperature more eff\
ectively.
Press the air recirculation button again to turn air recirculation off. This allows
outside air to be drawn into the passenger compartment to prevent foggin\
g in the
front defroster, floor or front defroster/floor mode.
The air recirculation mode cannot be activated when the climate control s\
ystem is in the front defroster mode
.
10 A/C BUTTON
Press the A/C button to manually turn the A/C on or off.
For more information, refer to the “Instruments and controls (section 2)” and the “Monitor, climate, audio, phone
and voice recognition systems (section 4)” of your Owner’s Manual.
FIRST DRIVE FEATURES
2027886_16b_Titan_US_pQRG_010716.indd 201/7/16 2:03 PM
To view detailed instructional videos regarding these and other features, please go to www.nissanownersinfo.mobi.
Page 26 of 40
24
VEHICLE INFORMATION DISPLAY
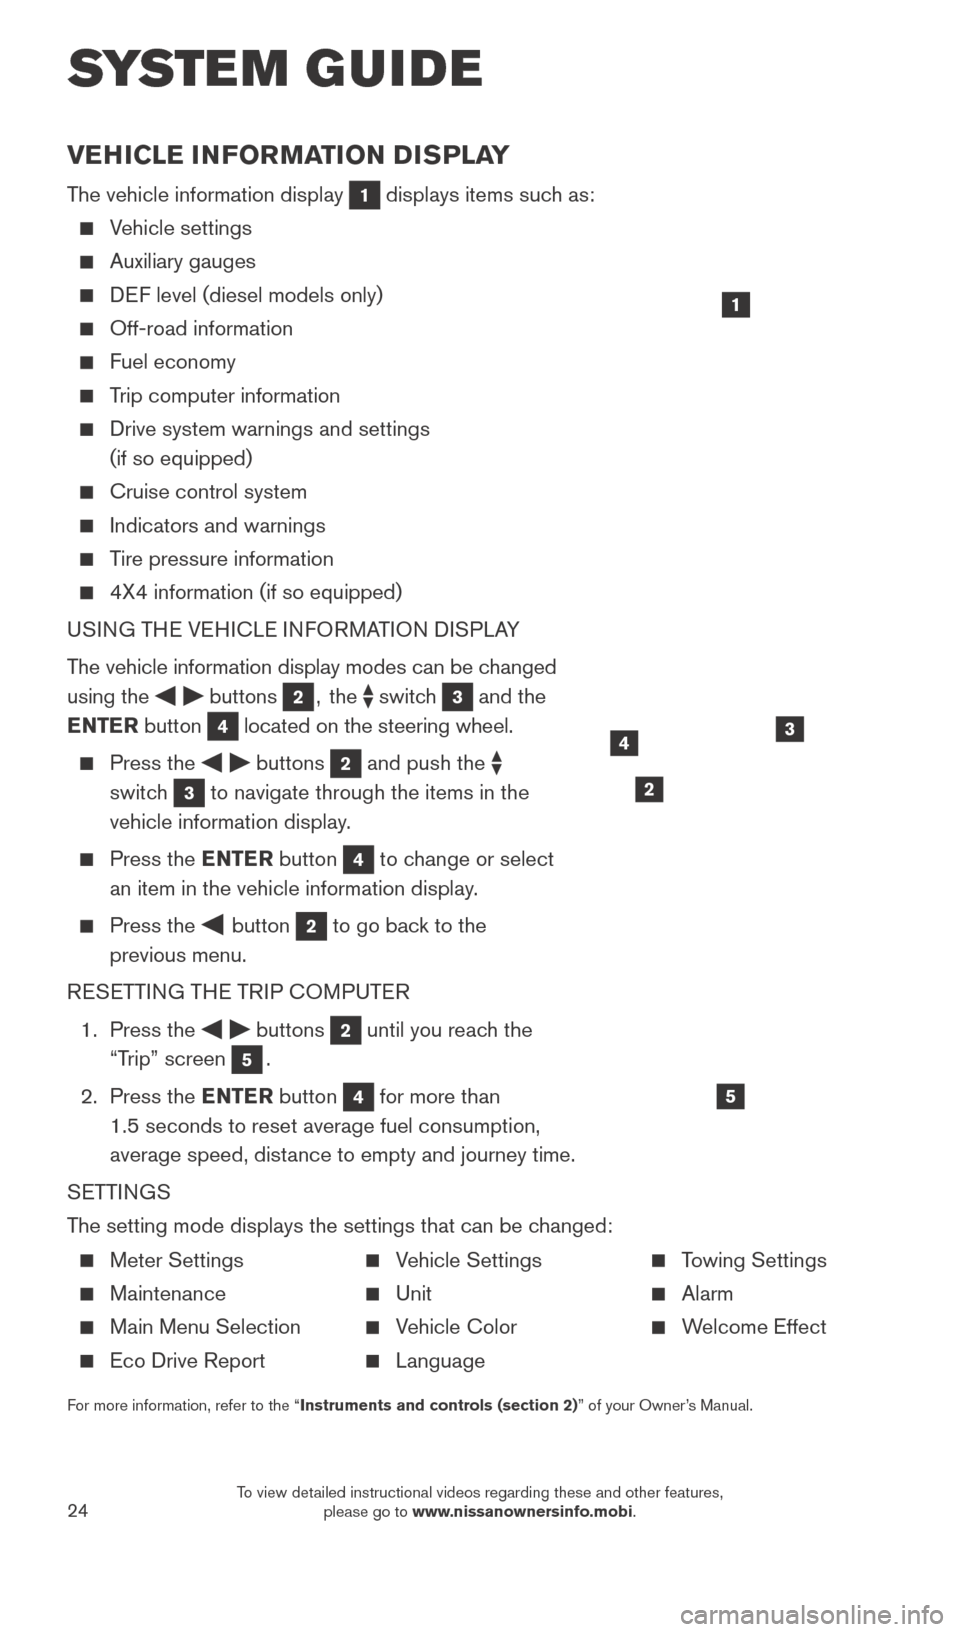
The vehicle information display 1 displays items such as:
Vehicle settings
Auxiliary gauges
DEF level (diesel models only)
Off-road information
Fuel economy
Trip computer information
Drive system warnings and settings
(if so equipped)
Cruise control system
Indicators and warnings
Tire pressure information
4X4 information (if so equipped)
USI NG THE VEHICLE INFORMATION DISPLAY
The vehicle information display modes can be changed
using the
buttons 2, the switch 3 and the
ENTER button
4 located on the steering wheel.
Press the buttons 2 and push the
switch
3 to navigate through the items in the
vehicle information display.
Press the E NTER button 4 to change or select
an item in the vehicle information display.
Press the button 2 to go back to the
previous menu.
RESETTING THE TRIP COMPUTER
1.
Press the
buttons 2 until you reach the
“Trip” screen
5.
2.
Press the ENTER button
4 for more than
1.5 seconds to reset average fuel consumption,
average speed, distance to empty and journey time.
SETTINGS
The setting mode displays the settings that can be changed:
1
34
5
2
SYS T E M GUIDE
Meter Settings
Maintenance
Main Menu Selection
Eco Drive Report
Vehicle Settings
Unit
Vehicle Color
Language
Towing Settings
Alarm
Welcome Effect
For more information, refer to the “Instruments and controls (section 2)” of your Owner’s Manual.
2027886_16b_Titan_US_pQRG_010716.indd 241/7/16 2:04 PM
To view detailed instructional videos regarding these and other features, please go to www.nissanownersinfo.mobi.
Page 28 of 40
26
NISSANCONNECTsm MOBILE APPS1 (if so equipped)
Integrates popular smartphone apps and services into your vehicle.
The NissanConnectSM Mobile Apps companion app must be downloaded to your
smartphone, and you must be enrolled in a NissanConnect account.
FOR SYSTEM WITH NAVIGATION
•
iPhone
®,2: Please connect via USB when using an iPhone® with
NissanConnect Mobile Apps.
•
Android
®,3: Please connect via Bluetooth®,4 when using an Android® device with
NissanConnect Mobile Apps.
FOR SYSTEM WITHOUT NAVIGATION
•
iPhone
®: Please connect via Bluetooth®,4 when using an iPhone® with
NissanConnect Mobile Apps.
•
Android
®: Please connect via Bluetooth®,4 when using an Android® device with
NissanConnect Mobile Apps.
For more information on how to pair your cellular phone and set up NissanConnect Mobile Apps, visit: www.NissanUSA.com/connect/support.
1 Only use Niss anConnectSM Services powered by SiriusXM® and NissanConnectSM Mobile Apps when safe to
do so. NissanConnectSM Services and Mobile Apps availability is dependent on vehicle model, tr\
im level,
packaging, and/or options. See www.NissanUSA.com/connect for complete product and service availability
details. Late availability for some features. Compatible smartphone require\
d to operate NissanConnect
SM Mobile Apps.
Services require an operating vehicle device and cellular and GPS coverage. Cellular network and GPS signals
are not available in all areas and/or at all times. Neither NISSAN nor SiriusXM are responsible for associated costs,
if any, for continued operation due to cellular network termination/changes. Cellular provider may terminate/restrict
service without notice. Certain services require a PIN for activation. Applicable Subscription Agreement required. See
www.NissanUSA.com/connect for details and service limitations. Enrollment is required to receive the full suite of
services. Text rates and/or data usage may apply.
2 iPhone is a registered trademark of Apple, Inc. All rights reserved. iP\
hone not included.
3 Android® is a registered trademark of Google, Inc.
4 Availability of specific features is dependent upon the phone’s Bluetooth® support. Please refer to your phone owner’s
manual for details. Bluetooth® word mark and logos are owned by Bluetooth SIG, Inc., and any use of such marks by
NISSAN is under license. See www.NissanUSA.com/bluetooth for details.
For more information, refer to the “Monitor, climate, audio, phone and voice recognition systems (section 4) ” of
your Owner’s Manual.
SYSTEM GUIDE
2027886_16b_Titan_US_pQRG_010716.indd 261/7/16 2:04 PM
To view detailed instructional videos regarding these and other features, please go to www.nissanownersinfo.mobi.
Page 30 of 40
28
BLUETOOTH® SYSTEM WITHOUT NAVIGATION1,2
(if so equipped)
CONNECTING PROCEDURE3
The vehicle must be stationary when connecting the cellular phone.
1.
Press the
button on the steering wheel. The system announces the
available commands.
2.
S
ay: “Add Phone”. The system acknowledges the command and asks you to initiate
connecting from the cellular phone handset.
3.
Initiate connecting from the cellular phone:
The connecting procedure varies according to each cellular phone model. For detailed connecting instructions and a list of compatible cellular phones, \
please
visit www.NissanUSA.com/bluetooth.
When prompted, confirm that the PIN on the display matches the PIN shown on the handset. If your handset does not support Secure Simple Pairing and \
requests
you to input a PIN, enter “1234” from the handset.
PHONEBOOK SETUP
The phonebook stores up to 1,000 entries for each cellular phone paired with the system.
Depending on your cellular phone, the system may automatically download \
your
cellular phone’ s entire phonebook to the vehicle’s Bluetooth®,2 system.
MAKING A CALL FROM THE PHONEBOOK
1.
Press the button on the steering wheel.
2.
After waiting for the tone, s
ay “Call” followed by the name of a phonebook entry. For
example, “Call Michael Smith”.
3.
Confirm the correct name is recognized by s
aying “Dial” after the tone.
MAKING A CALL BY PHONE NUMBER
1.
Press the button on the steering wheel. A tone will sound.
2.
S
ay: “Phone”. The system acknowledges the command and announces the next set of
available commands.
3.
S
ay: “Dial Number”. The system acknowledges the command and announces the next
set of available commands.
4.
S
ay the number you wish to call starting with the area code in single digit format.
5.
W
hen you have finished speaking the phone number, the system repeats it back and
announces the available commands.
6.
S
ay: “Dial”. The system acknowledges the command and makes the call.
SYSTEM GUIDE
2027886_16b_Titan_US_pQRG_010716.indd 281/7/16 2:04 PM
To view detailed instructional videos regarding these and other features, please go to www.nissanownersinfo.mobi.
Page 35 of 40
33
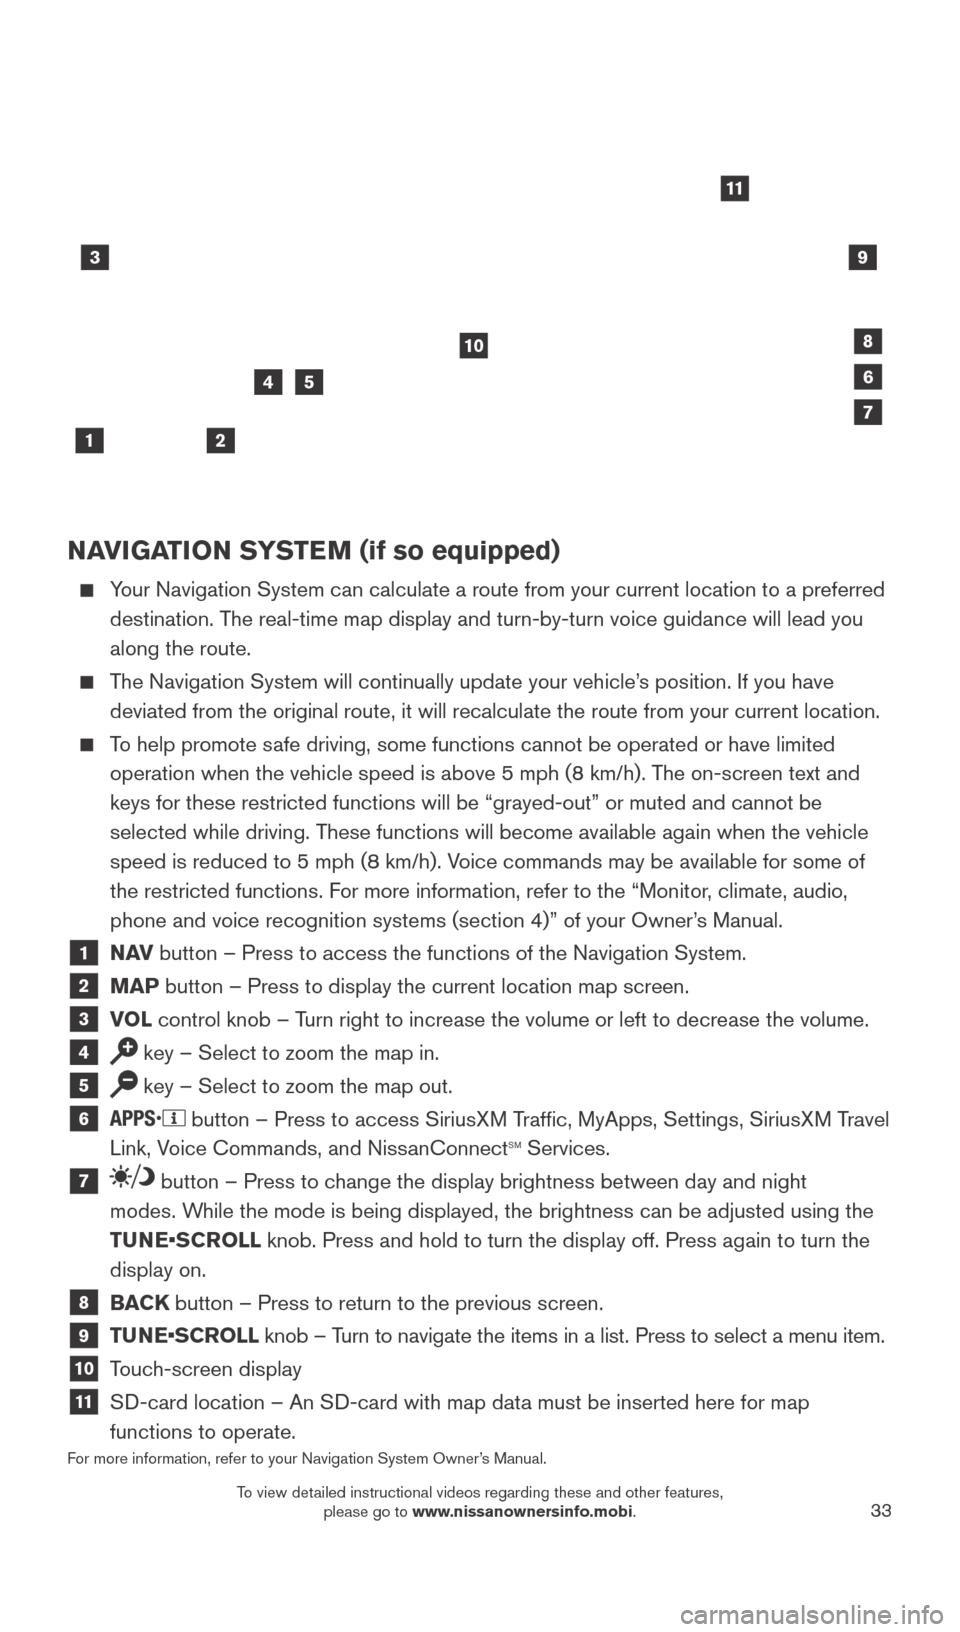
NAVIGATION SYSTEM (if so equipped)
Your Navigation System can calculate a route from your current location t\
o a preferred destination. The real-time map display and turn-by-turn voice guidance will lead you
along the route.
The Navigation System will continually update your vehicle’s position. If you have deviated from the original route, it will recalculate the route from you\
r current location.
To help promote safe driving, some functions cannot be operated or have limited operation when the vehicle speed is above 5 mph (8 km/h). The on-screen text and
keys for these restricted functions will be “grayed-out” or muted \
and cannot be
selected while driving. These functions will become available again when the vehicle
speed is reduced to 5 mph (8 km/h). Voice commands may be available for some of
the restricted functions. For more information, refer to the “Monitor, climate, audio,
phone and voice recognition systems (section 4)” of your Owner’s Manual.
1 NAV button – Press to access the functions of the Navigation System.
2 MAP button – Press to display the current location map screen.
3 VOL control knob – Turn right to increase the volume or left to decrease the volume.
4 key – Select to zoom the map in.
5 key – Select to zoom the map out.
6 button – Press to access SiriusXM Traffic, MyApps, Settings, SiriusXM Travel
Link, Voice Commands, and NissanConnectsm Services.
7 button – Press to change the display brightness between day and night
modes. While the mode is being displayed, the brightness can be adjusted using t\
he
TUNE•SCROLL knob. Press and hold to turn the display off. Press again to turn the
display on.
8 BACK button – Press to return to the previous screen.
9 TUNE•SCROLL knob – Turn to navigate the items in a list. Press to select a menu item.
10 Touch-screen display
11 SD-card location – An SD-card with map data must be inserted here for map
functions to operate.
For more information, refer to your Navigation System Owner’s Manual.
3
2
4
1
10
6
11
5
8
7
9
2027886_16b_Titan_US_pQRG_010716.indd 331/7/16 2:04 PM
To view detailed instructional videos regarding these and other features, please go to www.nissanownersinfo.mobi.