Page 79 of 478

2 Instruments and controls
Instrument panel...................................2-2
Meters and gauges ................................2-3
Speedometer and odometer .....................2-4
Tachometer ....................................2-7
Engine coolant temperature gauge ...............2-7
Fuel gauge ....................................2-8
Trip computer (if so equipped) ...................2-8
Outside temperature display (if so equipped) .....2-11
Compass (if so equipped) ......................... 2-12
Compass display .............................. 2-12
Warning lights, indicator lights and audible
reminders ........................................ 2-15
Checking lights ............................... 2-16
Warning lights ................................ 2-16
Indicator lights ................................ 2-21
Audible reminders ............................. 2-23
Vehicle Information Display (if so equipped) .........2-24
How to use the vehicle information display .......2-25
Startup display ................................ 2-25
Settings ...................................... 2-25
Vehicle information display warnings and
indicators ..................................... 2-32
Security systems ................................. 2-35Vehicle security system (if so equipped)
..........2-35
NISSAN vehicle immobilizer system .............2-36
Wiper and washer switch ......................... 2-38
Switch operation .............................. 2-38
Rear window and outside mirror (if so equipped)
defroster switch .................................. 2-39
Headlight and turn signal switch ....................2-39
Headlight control switch ........................ 2-39
Daytime running light system (Type A)
(if so equipped) ............................... 2-41
Daytime running light system (Type B)
(if so equipped) ............................... 2-41
Instrument brightness control ...................2-42
Turn signal switch ............................. 2-42
Fog light switch (if so equipped) ................2-43
Horn ............................................ 2-44
Heated seat switches (if so equipped) ..............2-44
V
ehicle Dynamic Control (VDC) off switch ...........2-45
E-call (SOS) switch (if so equipped) ................2-45
Power outlet ..................................... 2-46
Storage ......................................... 2-46
Map pockets .................................. 2-46
Storage pouch ................................ 2-47
Seatback pockets (if so equipped) ..............2-47
Page 82 of 478
15. Ignition switch (if so equipped) (P. 5-8)Push-button ignition switch
(if so equipped) (P. 5-10)
16. Telescopic steering (P. 3-29)
17. Hood release (P. 3-24)
18. Fuel filler door release (P. 3-26)
19. ECO mode switch (P. 5-22) Vehicle Dynamic Control (VDC) OFF
switch (P. 2-45)
SPORT mode switch (P. 5-22)
20. Instrument brightness control (P. 2-39) Power mirror switch (P. 3-32)
Trunk release (P. 3-25)
Refer to the page number indicated in pa-
rentheses for operating details.
1. Tachometer
2. Coolant temperature gauge
3. Warning and indicator lights
4. Fuel gauge
5. Speedometer 6. Odometer
Trip computer
Twin trip odometer
Fuel Economy
ECO mode indicator
Outside temperature display
Type A (if so equipped)
LIC3415
METERS AND GAUGES
Instruments and controls2-3
Page 91 of 478

This unit measures terrestrial magnetism and in-
dicates the heading direction of the vehicle.
With the ignition switch in the ON position, press
the
orbutton as described in the
charts below to activate various features of the
automatic anti-glare rearview mirror.
Type A (if so equipped)
Push and hold
the
button for about: Feature:
(Push button again for about 1 sec-
ond to change settings)
1 second Compass display toggles on/off
8 seconds Automatic anti-glare/indicator light
toggles on/off
11 seconds Compass zone can be changed to
correct false compass readings
13 seconds Compass enters calibration mode
Type B (if so equipped)
Push and hold
the
button for about: Feature:
(Push button again for about 1 sec-
ond to change settings)
1 second Compass display toggles on/off
8 seconds Compass zone can be changed to
correct false compass readings
10 seconds Compass enters calibration mode
For additional information about the automatic
anti-glare feature, refer to “Automatic anti-glare
rearview mirror” in the “Pre-driving checks and
adjustments” section of this manual.
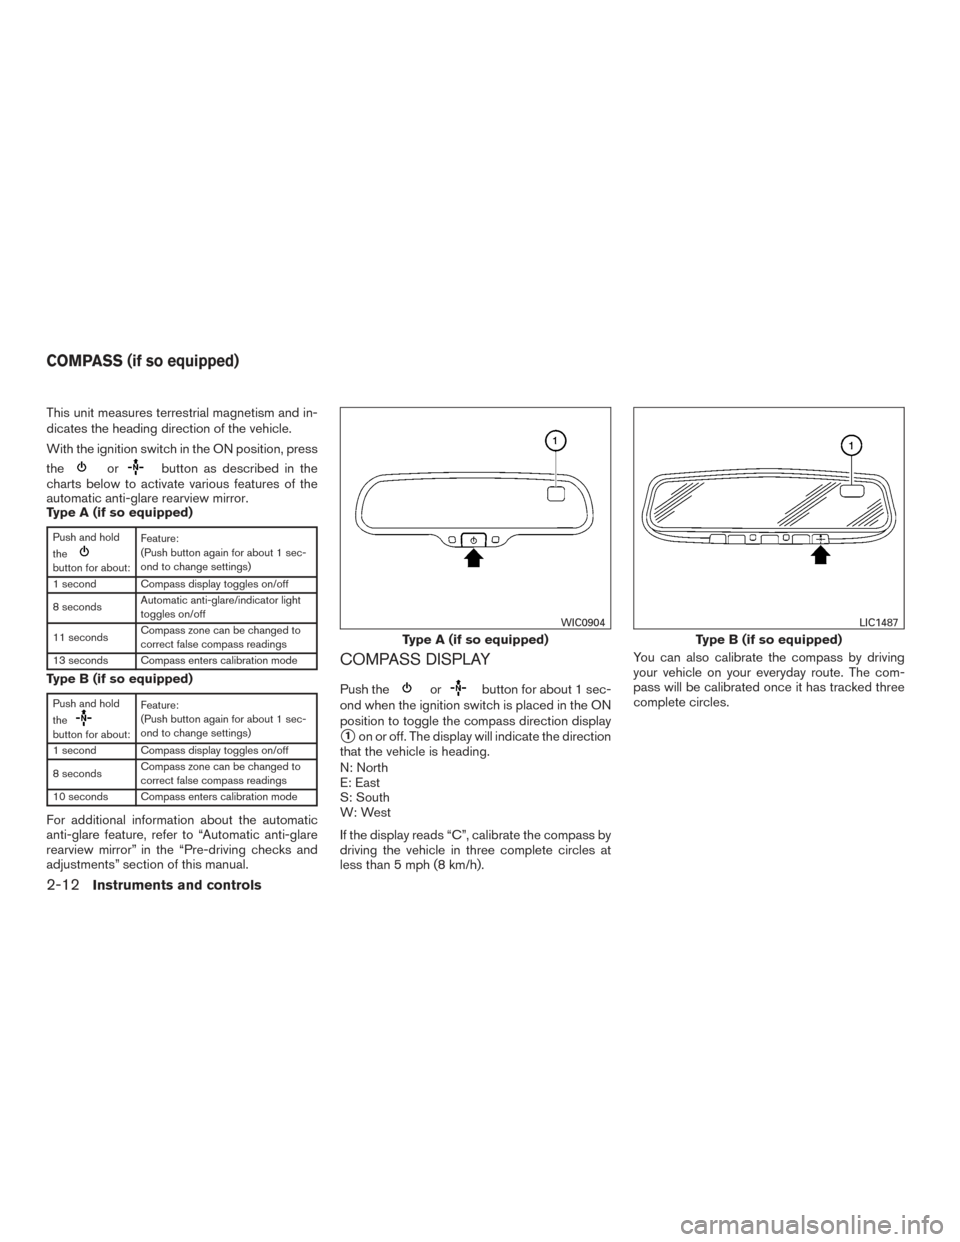
COMPASS DISPLAY
Push theorbutton for about 1 sec-
ond when the ignition switch is placed in the ON
position to toggle the compass direction display
�1on or off. The display will indicate the direction
that the vehicle is heading.
N: North
E: East
S: South
W: West
If the display reads “C”, calibrate the compass by
driving the vehicle in three complete circles at
less than 5 mph (8 km/h). You can also calibrate the compass by driving
your vehicle on your everyday route. The com-
pass will be calibrated once it has tracked three
complete circles.
Type A (if so equipped)
WIC0904
Type B (if so equipped)
LIC1487
COMPASS (if so equipped)
2-12Instruments and controls
Page 93 of 478
2. Calibrate the compass by driving the vehiclein three complete circles at a maximum
speed of 5 mph (8 km/h).
3. After completing the circles, the display should return to normal.
CAUTION
●Do not install a ski rack, antenna, etc.,
which are attached to the vehicle by
means of a magnet. They affect the op-
eration of the compass.
● When cleaning the mirror, use a paper
towel or similar material dampened
with glass cleaner. Do not spray glass
cleaner directly on the mirror as it may
cause the liquid cleaner to enter the
mirror housing.
2-14Instruments and controls
Page 118 of 478

To defrost the rear window glass and outside
mirror (if so equipped) , start the engine and push
the rear window defroster switch on. The rear
window defroster indicator light on the switch
comes on. Push the switch again to turn the
defroster off.
The rear window defroster automatically turns off
after approximately 15 minutes.
CAUTION
When cleaning the inner side of the rear
window, be careful not to scratch or dam-
age the rear window defroster.
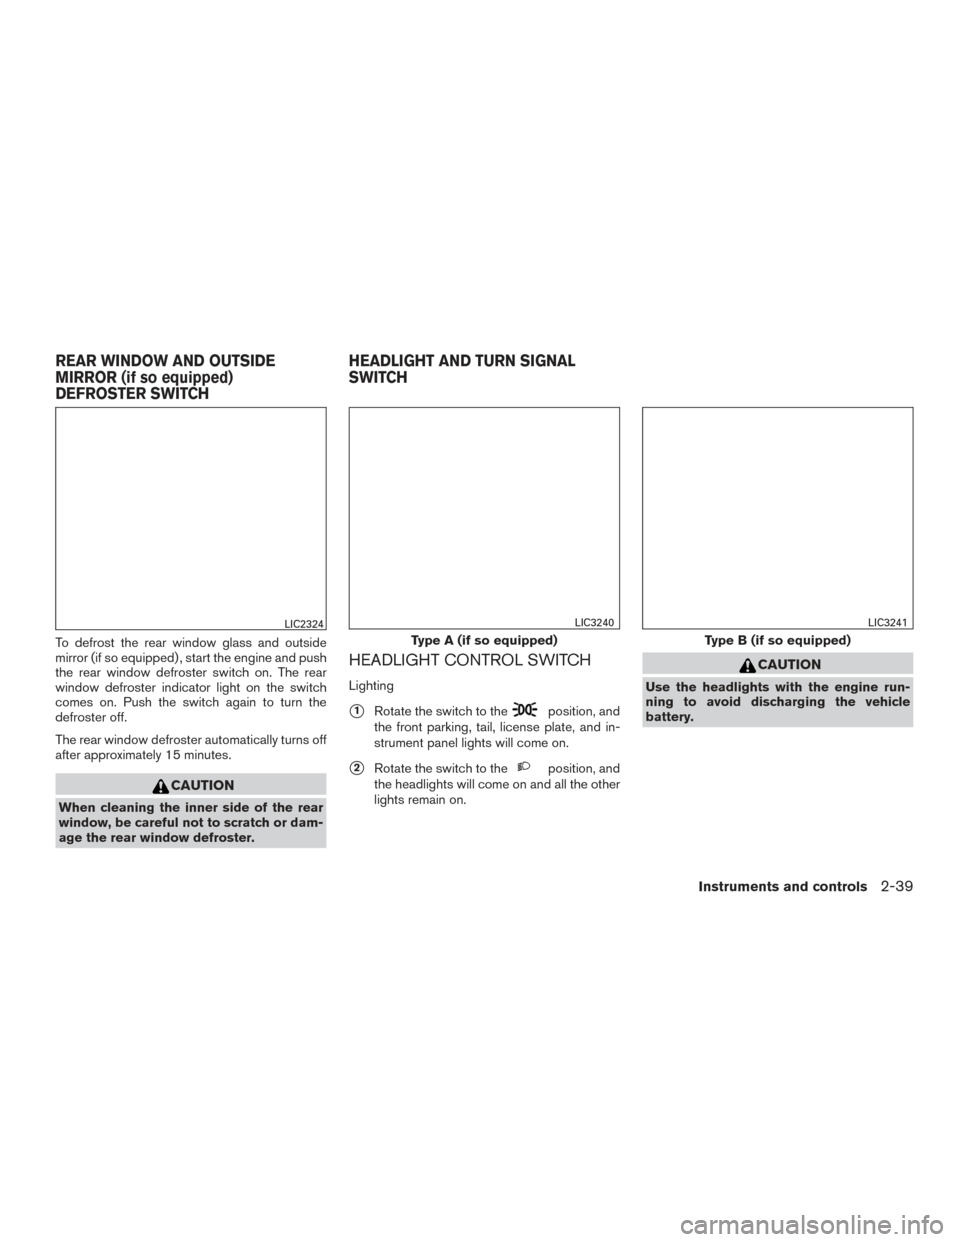
HEADLIGHT CONTROL SWITCH
Lighting
�1Rotate the switch to theposition, and
the front parking, tail, license plate, and in-
strument panel lights will come on.
�2Rotate the switch to theposition, and
the headlights will come on and all the other
lights remain on.
CAUTION
Use the headlights with the engine run-
ning to avoid discharging the vehicle
battery.
LIC2324
Type A (if so equipped)
LIC3240
Type B (if so equipped)
LIC3241
REAR WINDOW AND OUTSIDE
MIRROR (if so equipped)
DEFROSTER SWITCH HEADLIGHT AND TURN SIGNAL
SWITCH
Instruments and controls2-39
Page 173 of 478

For additional information about the compass�2
and compass features (if so equipped) , refer to
“Compass” in the “Instruments and controls” sec-
tion of this manual.
For additional information on HomeLink® Univer-
sal Transceiver operation, refer to “ HomeLink®
Universal Transceiver” in the “Instruments and
controls” section of this manual.
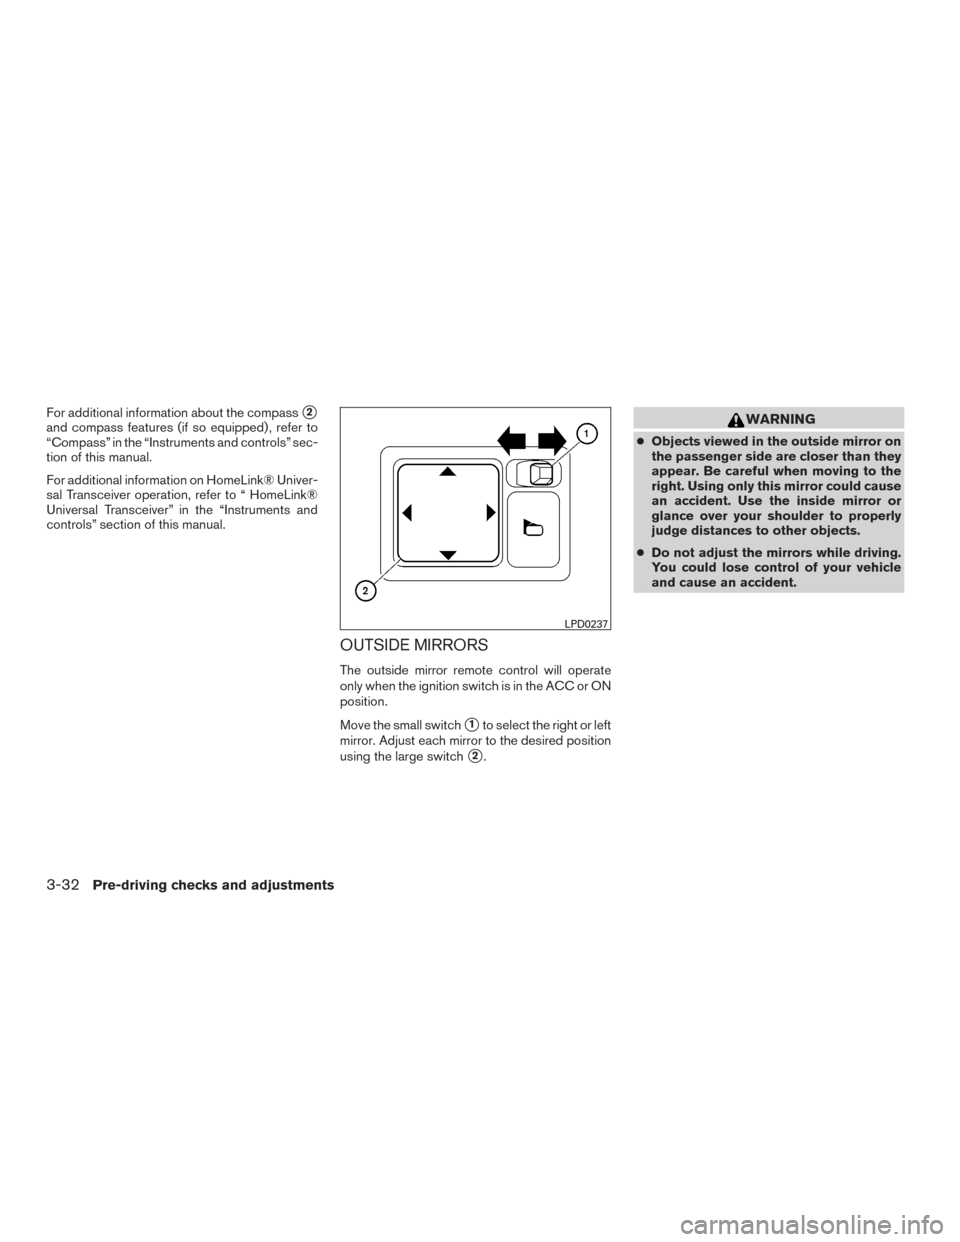
OUTSIDE MIRRORS
The outside mirror remote control will operate
only when the ignition switch is in the ACC or ON
position.
Move the small switch
�1to select the right or left
mirror. Adjust each mirror to the desired position
using the large switch
�2.
WARNING
● Objects viewed in the outside mirror on
the passenger side are closer than they
appear. Be careful when moving to the
right. Using only this mirror could cause
an accident. Use the inside mirror or
glance over your shoulder to properly
judge distances to other objects.
● Do not adjust the mirrors while driving.
You could lose control of your vehicle
and cause an accident.
LPD0237
3-32Pre-driving checks and adjustments
Page 174 of 478
Manual folding outside mirrors
Pull the outside mirror toward the door to fold it.
Heated mirrors (if so equipped)
Some outside mirrors can be heated to defrost,
defog, or de-ice for improved visibility. For addi-
tional information, refer to “Rear window and
outside mirror (if so equipped) defroster switch”
in the “Instruments and controls” section of this
manual.
LPD2112
Pre-driving checks and adjustments3-33
Page 192 of 478
●When parking, set the heater and air condi-
tioner controls to turn off air recirculation to
allow fresh air into the passenger compart-
ment. This should help reduce odors inside
the vehicle.
1.Fan control / system OFF dial / air
conditioning (A/C) button (if so
equipped)
2. Air flow control buttons
3. Temperature control dial / MAX A/C
button (if so equipped) 4.Air recirculation button
5.
Rear window and outside mirror
(if so equipped) defroster switch
6.
Front windshield defroster button
LHA2243
Monitor, climate, audio, phone and voice recognition systems4-17