2016 NISSAN ROGUE change time
[x] Cancel search: change timePage 36 of 87
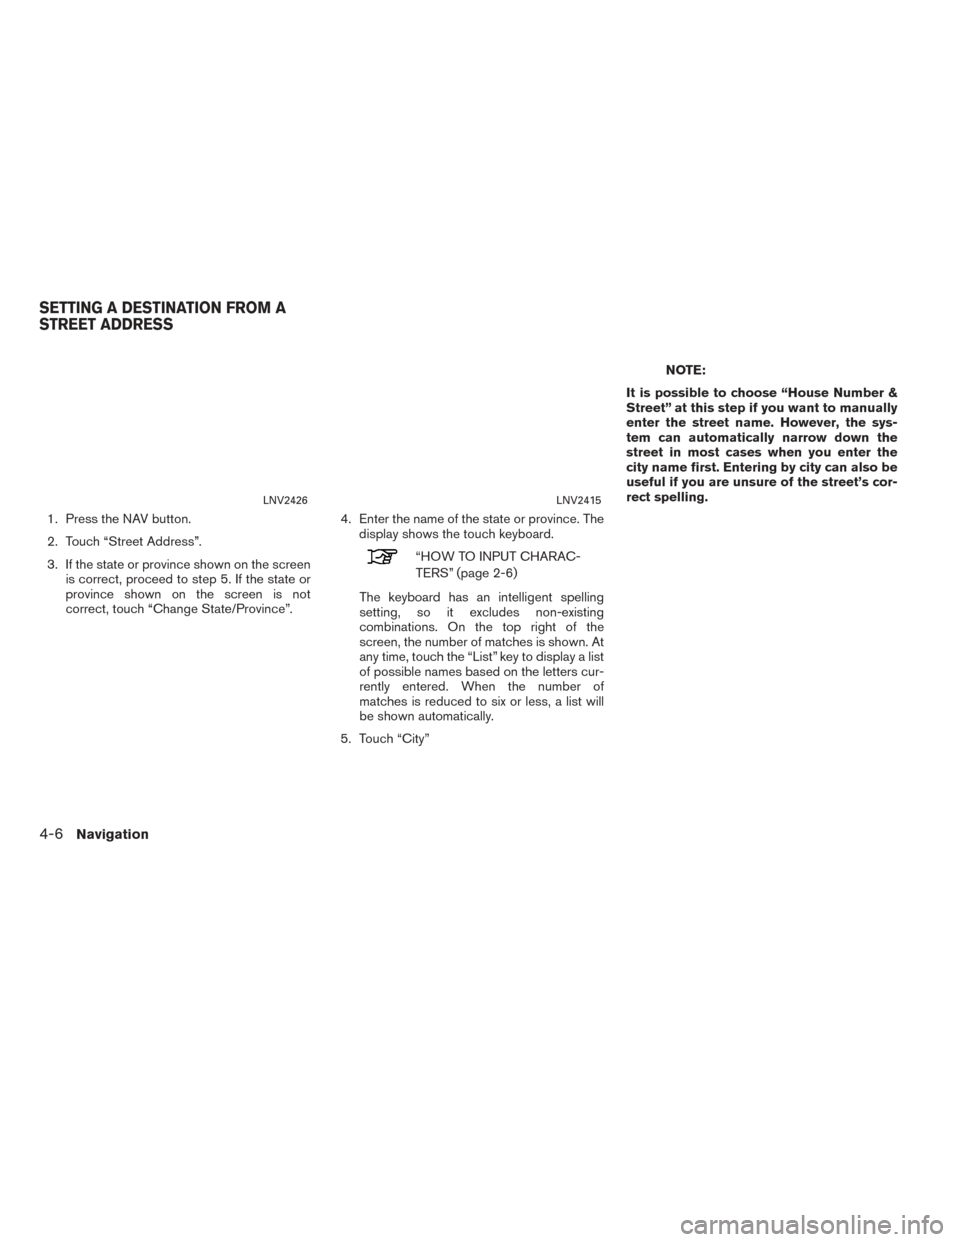
1. Press the NAV button.
2. Touch “Street Address”.
3. If the state or province shown on the screenis correct, proceed to step 5. If the state or
province shown on the screen is not
correct, touch “Change State/Province”. 4. Enter the name of the state or province. The
display shows the touch keyboard.
“HOW TO INPUT CHARAC-
TERS” (page 2-6)
The keyboard has an intelligent spelling
setting, so it excludes non-existing
combinations. On the top right of the
screen, the number of matches is shown. At
any time, touch the “List” key to display a list
of possible names based on the letters cur-
rently entered. When the number of
matches is reduced to six or less, a list will
be shown automatically.
5. Touch “City”
NOTE:
It is possible to choose “House Number &
Street” at this step if you want to manually
enter the street name. However, the sys-
tem can automatically narrow down the
street in most cases when you enter the
city name first. Entering by city can also be
useful if you are unsure of the street’s cor-
rect spelling.
LNV2426LNV2415
SETTING A DESTINATION FROM A
STREET ADDRESS
4-6Navigation
Page 37 of 87
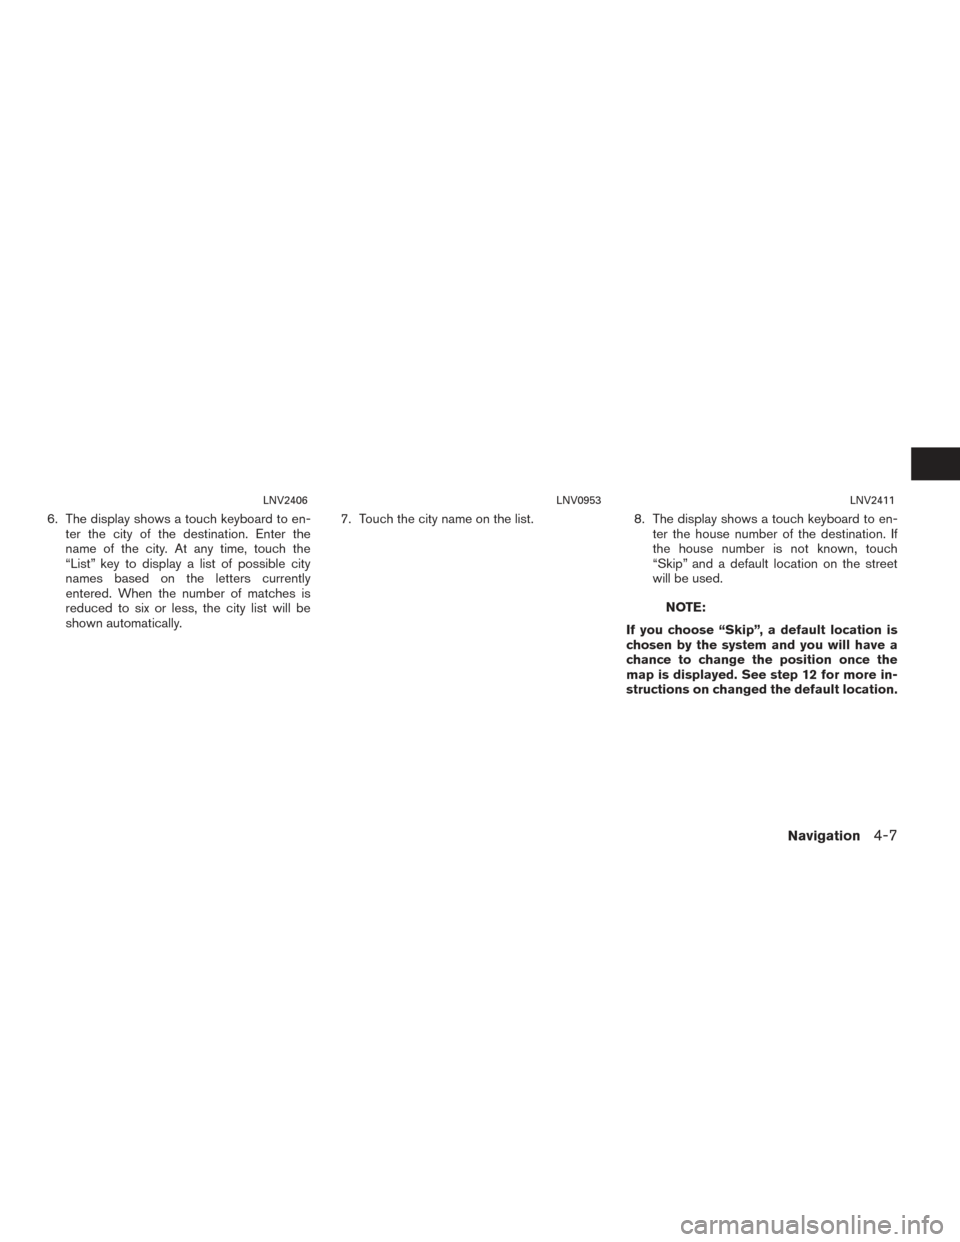
6. The display shows a touch keyboard to en-ter the city of the destination. Enter the
name of the city. At any time, touch the
“List” key to display a list of possible city
names based on the letters currently
entered. When the number of matches is
reduced to six or less, the city list will be
shown automatically. 7. Touch the city name on the list.
8. The display shows a touch keyboard to en-
ter the house number of the destination. If
the house number is not known, touch
“Skip” and a default location on the street
will be used.
NOTE:
If you choose “Skip”, a default location is
chosen by the system and you will have a
chance to change the position once the
map is displayed. See step 12 for more in-
structions on changed the default location.
LNV2406LNV0953LNV2411
Navigation4-7
Page 38 of 87
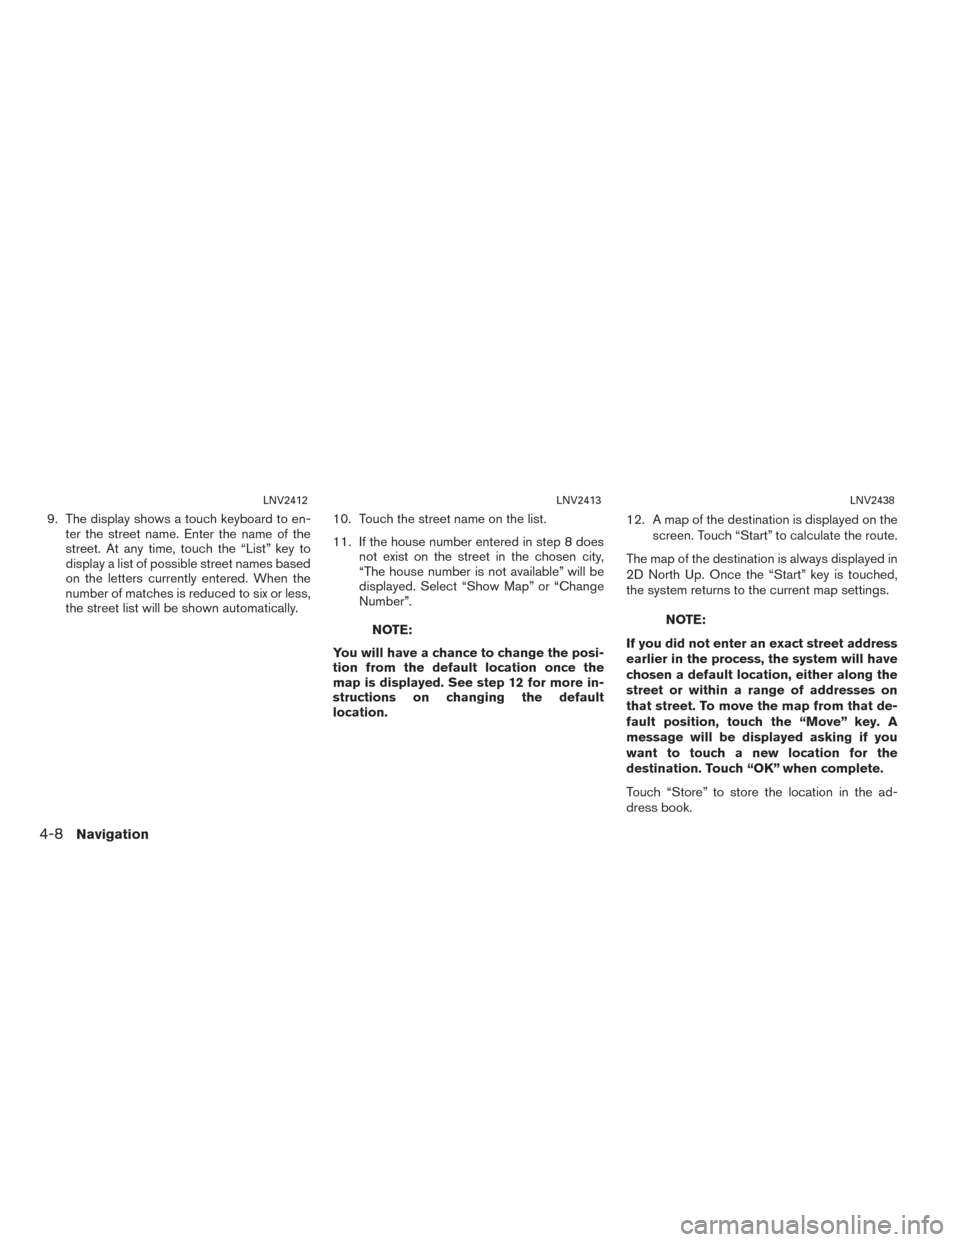
9. The display shows a touch keyboard to en-ter the street name. Enter the name of the
street. At any time, touch the “List” key to
display a list of possible street names based
on the letters currently entered. When the
number of matches is reduced to six or less,
the street list will be shown automatically. 10. Touch the street name on the list.
11. If the house number entered in step 8 does
not exist on the street in the chosen city,
“The house number is not available” will be
displayed. Select “Show Map” or “Change
Number”.
NOTE:
You will have a chance to change the posi-
tion from the default location once the
map is displayed. See step 12 for more in-
structions on changing the default
location. 12. A map of the destination is displayed on the
screen. Touch “Start” to calculate the route.
The map of the destination is always displayed in
2D North Up. Once the “Start” key is touched,
the system returns to the current map settings.NOTE:
If you did not enter an exact street address
earlier in the process, the system will have
chosen a default location, either along the
street or within a range of addresses on
that street. To move the map from that de-
fault position, touch the “Move” key. A
message will be displayed asking if you
want to touch a new location for the
destination. Touch “OK” when complete.
Touch “Store” to store the location in the ad-
dress book.
LNV2412LNV2413LNV2438
4-8Navigation
Page 42 of 87
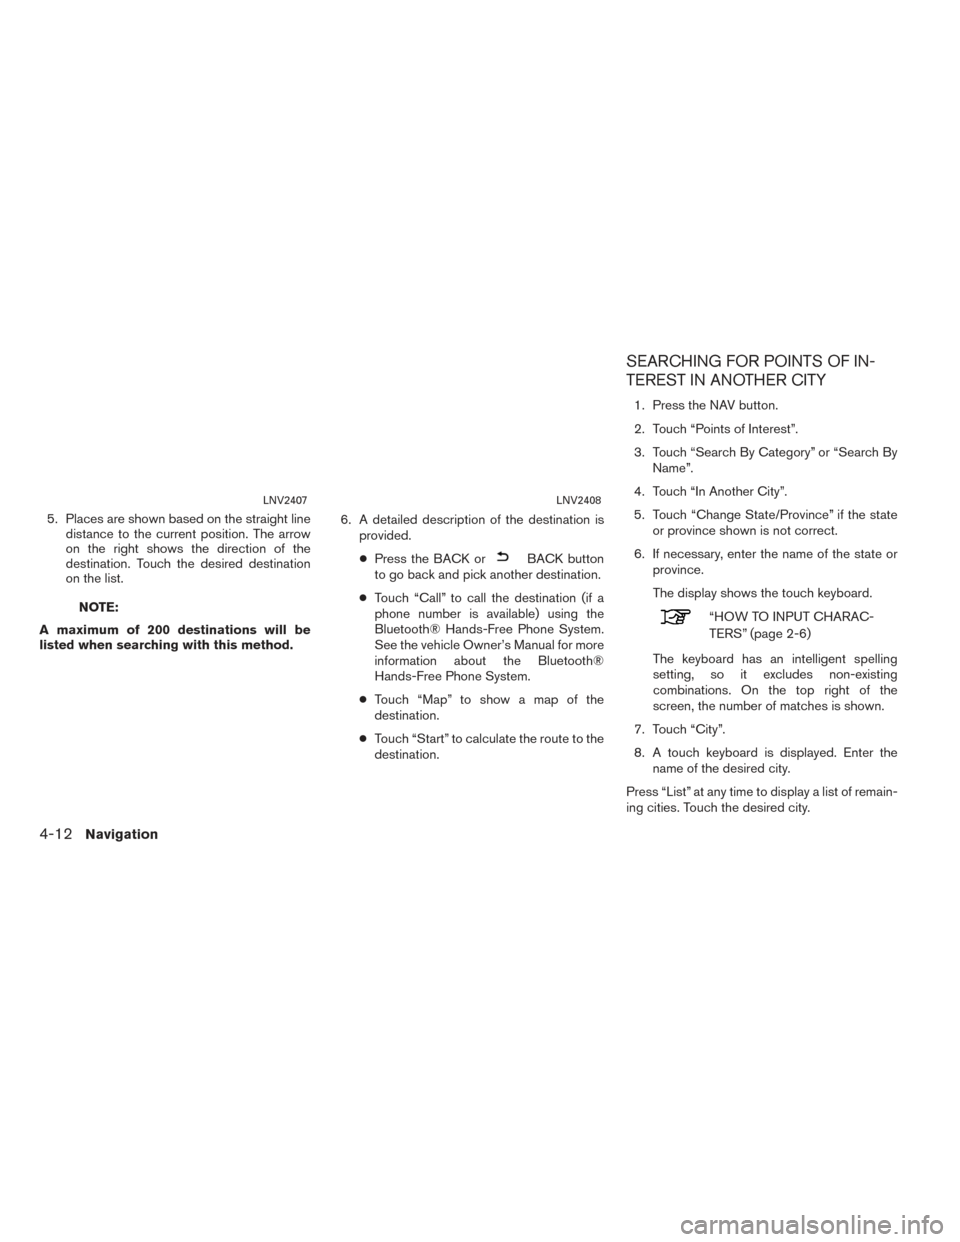
5. Places are shown based on the straight linedistance to the current position. The arrow
on the right shows the direction of the
destination. Touch the desired destination
on the list.
NOTE:
A maximum of 200 destinations will be
listed when searching with this method. 6. A detailed description of the destination is
provided.
● Press the BACK or
BACK button
to go back and pick another destination.
● Touch “Call” to call the destination (if a
phone number is available) using the
Bluetooth® Hands-Free Phone System.
See the vehicle Owner’s Manual for more
information about the Bluetooth®
Hands-Free Phone System.
● Touch “Map” to show a map of the
destination.
● Touch “Start” to calculate the route to the
destination.
SEARCHING FOR POINTS OF IN-
TEREST IN ANOTHER CITY
1. Press the NAV button.
2. Touch “Points of Interest”.
3. Touch “Search By Category” or “Search By Name”.
4. Touch “In Another City”.
5. Touch “Change State/Province” if the state or province shown is not correct.
6. If necessary, enter the name of the state or province.
The display shows the touch keyboard.
“HOW TO INPUT CHARAC-
TERS” (page 2-6)
The keyboard has an intelligent spelling
setting, so it excludes non-existing
combinations. On the top right of the
screen, the number of matches is shown.
7. Touch “City”.
8. A touch keyboard is displayed. Enter the name of the desired city.
Press “List” at any time to display a list of remain-
ing cities. Touch the desired city.
LNV2407LNV2408
4-12Navigation
Page 49 of 87
SETTING A DESTINATION FROM
THE ADDRESS BOOK USING
VOICE RECOGNITION (if so
equipped)
Entries in the address book can be set as desti-
nations using the NISSAN Voice Recognition
System:1. Press the
orbutton on the
steering wheel. The system provides
prompts and waits for voice commands.
2. Say “Navigation”.
3. Say “Address Book”.
4. Say the number of the entry in the address book displayed on the screen.
If a route is active, say “Replace Destination” to re-
place the current destination with the address
book entry or say “Set as Waypoint” to set address
book entry as a waypoint on the current route.
If a route is not set, route guidance is calculated
to the address book entry.
Say “Show on Map” to display the location of the
address book entry on the map.
For more information about the NISSAN Voice
Recognition System, see the vehicle Owner’s
Manual. An intersection of two streets can be set as a
destination. To set an intersection as the desti-
nation:
1. Press the NAV button.
2. Touch “Next Page”.
3. Touch “Intersection”.
4. Touch “Change State/Province” if the state or province displayed is not correct.
5. If necessary, enter the name of the state or province.
The display shows the touch keyboard.
“HOW TO INPUT CHARACTERS”
(page 2-6)
6. Press “List” at any time and a list of remain- ing cities will be shown. Touch the desired
city. 7. Touch “Street”.
The display shows the touch keyboard.
8. Touch the name of the desired street.
9. A list of intersecting streets will be shown if six or less exist. Otherwise, the touch key-
board will be displayed again so that the
name of the second street in the intersec-
tion can be entered. Enter the second street
name.
10. Select the intersecting street.
11. Touch “Start”. The route to the intersection will be
calculated.
LNV3004
SETTING AN INTERSECTION AS A
DESTINATION
Navigation4-19
Page 53 of 87
Additional filtering options are available to nar-
row the search for specific fuel type and brand.5. A list of gas stations is displayed with the distance and direction to each entry. Touch
an entry on the screen to view information
about that gas station.
6. The name, address and phone number of the gas station are displayed. If available,
the prices for each grade of gasoline are
also displayed. Touch “Go Here” to plot the
location through the navigation system.
Touch “Save” to store the gas station
location.
NOTE:
This feature can also be accessed using
the NISSAN Voice Recognition System (if
so equipped) by pressing the
orbutton on the steering wheel and
when prompted, saying “Information” then
“Fuel Prices”. NavWeatherXM information is a subscription
service offered by SiriusXM Satellite Radio.
This service provides real-time information re-
garding current weather and forecasts where
available. The weather information is broadcast
to the vehicle by the SiriusXM satellites.
mWARNING
NavWeatherXM information is not a
substitute for attentive driving.
Weather conditions change constantly
and emergency situations can arise
without warning. Relying only on
NavWeatherXM information could re-
sult in serious personal injury.
XM NavWeather information is available in lim-
ited markets. To subscribe to or check if this ser-
vice is available in the area, call
1-866–635–2349 or access
www.siriusxm.com/navweather.
DISPLAYING WEATHER INFORMA-
TION ON THE SCREEN
1. Press thebutton.
2. Touch “SiriusXM Travel Link”.
3. Touch “Weather”.
LNV3007
WEATHER
Navigation4-23
Page 60 of 87
Changing day-night brightness
Press the
button for less than two sec-
onds to toggle:
● between day and auto (night) when head-
lights are on.
● between night and auto (day) when head-
lights are off.
While the display is showing the current bright-
ness mode, turn the TUNE/SCROLL knob to ad-
just the brightness.
The day or night mode can also be toggled from
the Display Settings menu.
BRIGHTNESS
This menu allows you to adjust the brightness of
the screen. 1. Press the
button.
2. Touch the “Settings” key.
3. Touch the “System” key.
4. Touch the “Display” key.
5. Adjust the brightness using the “+” and “-” keys.
6. To save the setting, press the BACK or
BACK button to return to the pre-
vious screen.
REAR VIEW CAMERA SETTINGS
Use this setting to change the display mode
(automatic/day/night) for the rear view camera.
Brightness, contrast and color can also be
adjusted.
1. Press the
button.
2. Touch the “Settings” key.
3. Touch the “System” key.
4. Scroll down and touch the “Camera Set- tings” key.
Toggle display mode and use the “+” and “–”
keys to adjust brightness, contrast and color for
rear camera display.
TEMPERATURE UNIT SETTINGS
Use this setting to change the temperature units
(Fahrenheit/Celsius) . 1. Press the
button.
2. Touch the “Settings” key.
3. Touch the “System” key.
4. Scroll down and touch the “Temperature Unit” key. This setting allows you to make clock
adjustments.
1. Press the
.
2. Touch the “Settings” key.
3. Touch the “System” key.
4. Touch the “Clock/Date” key.
5. Select the preferred setting item and make an adjustment.
● Time Format
Touch the “Time Format” key to change the
clock format between 12-hour and 24-hour.
● Date Format
Touch the “Date Format” key to choose one
of five available date formats.
● Clock Mode
Select “Manual” to manually set the clock
with the “Set Clock Manually” key. Select
“Auto” to have the clock automatically ad-
justed by the GPS system. Select “Time
Zone” to have the time set to a specific time
zone.
CLOCK SETTINGS
5-4Other settings
Page 61 of 87
●Set Clock Manually
Allows you to set the clock manually. This
feature is only available if “Manual” is se-
lected for “Clock Mode”.
“SET CLOCK MANUALLY”
(page 5-5)
● Daylight Savings Time
Touch the “Daylight Savings Time” key to
toggle daylight savings time on or off. This
feature is unavailable if “Clock Mode” is set
to “Auto”.
● Time Zone
Select and touch an appropriate time zone
of the current vehicle location to bypass the
GPS satellite. This feature is only available if
“Time Zone” is selected for “Clock Mode”.
NOTE:
If “Daylight Savings Time” is set to “ON”
and a time zone is chosen for an area that
does not observe Daylight Savings Time,
the “Daylight Savings Time” setting re-
mains “On” and must be turned off
manually. 6. After adjusting the desired settings, press
the BACK or
BACK button to return
to the previous screen. You can also press
the MAP button to return to the current lo-
cation map screen or the FM, AM, CD or
AUX button to return to the audio screen.
SET CLOCK MANUALLY
Adjust the hour, minute, day, month and year us-
ing the “+” and “–” keys.
1. Press the
button.
2. Touch the “Settings” key.
3. Touch the “System” key.
4. Touch the “Clock/Date” key.
5. Toggle “Clock Mode” key to “Manual”.
6. Toggle “MODE” to “AM” or “PM”, then use “+” and “–” keys to adjust hour, minute, day,
month and year.
After adjusting the desired settings, press the
BACK or
BACK button to return to the
previous screen. This setting allows you to change the language
used by the system.
1. Press the
button.
2. Touch the “Settings” key.
3. Touch the “System” key.
4. Touch the “Language” key.
5. Select the appropriate language. The avail- able languages are:
– English
– Français
– Español
LANGUAGE SETTINGS
Other settings5-5