Page 293 of 540
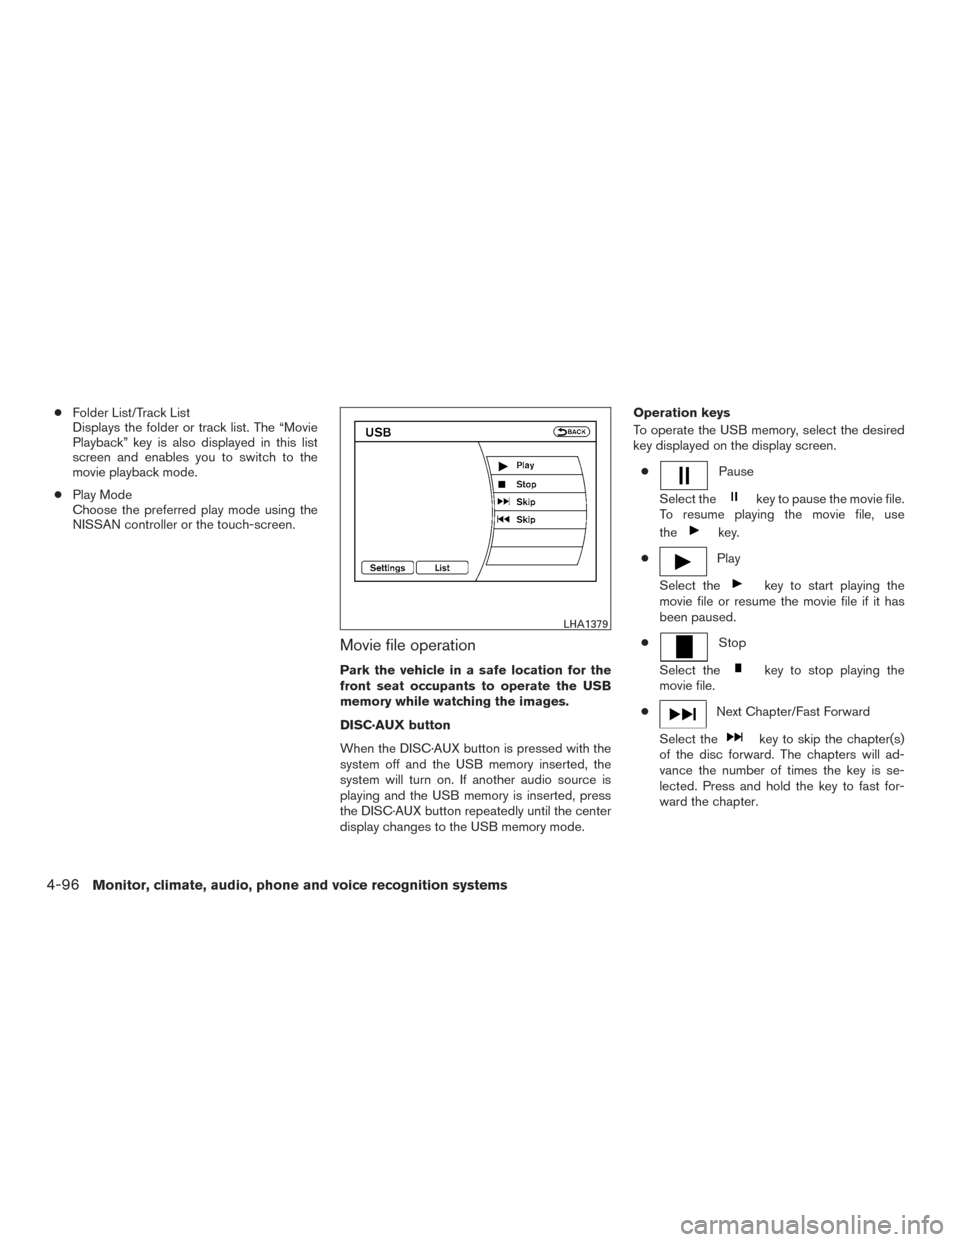
●Folder List/Track List
Displays the folder or track list. The “Movie
Playback” key is also displayed in this list
screen and enables you to switch to the
movie playback mode.
● Play Mode
Choose the preferred play mode using the
NISSAN controller or the touch-screen.
Movie file operation
Park the vehicle in a safe location for the
front seat occupants to operate the USB
memory while watching the images.
DISC·AUX button
When the DISC·AUX button is pressed with the
system off and the USB memory inserted, the
system will turn on. If another audio source is
playing and the USB memory is inserted, press
the DISC·AUX button repeatedly until the center
display changes to the USB memory mode. Operation keys
To operate the USB memory, select the desired
key displayed on the display screen.
●
Pause
Select the
key to pause the movie file.
To resume playing the movie file, use
the
key.
●
Play
Select the
key to start playing the
movie file or resume the movie file if it has
been paused.
●
Stop
Select the
key to stop playing the
movie file.
●
Next Chapter/Fast Forward
Select the
key to skip the chapter(s)
of the disc forward. The chapters will ad-
vance the number of times the key is se-
lected. Press and hold the key to fast for-
ward the chapter.
LHA1379
4-96Monitor, climate, audio, phone and voice recognition systems
Page 294 of 540
●Previous Chapter/Rewind
Select the
key to skip the chapter(s)
of the disc backward. The chapters will go
back the number of times the key is selected.
Press and hold the key to rewind the chap-
ter.
List
Select the “List” key on the movie file operation
screen to display the file list.
Settings
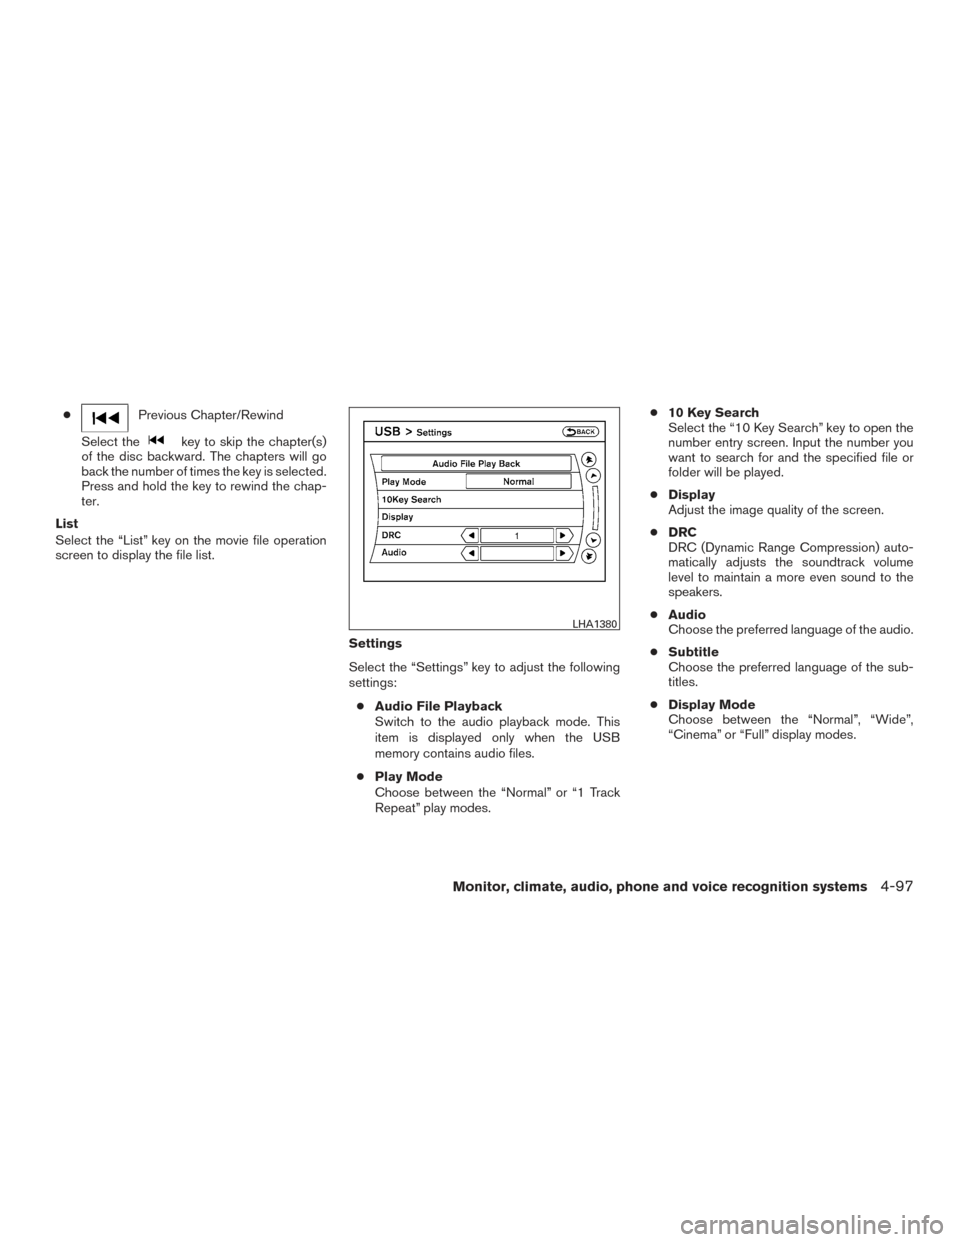
Select the “Settings” key to adjust the following
settings:● Audio File Playback
Switch to the audio playback mode. This
item is displayed only when the USB
memory contains audio files.
● Play Mode
Choose between the “Normal” or “1 Track
Repeat” play modes. ●
10 Key Search
Select the “10 Key Search” key to open the
number entry screen. Input the number you
want to search for and the specified file or
folder will be played.
● Display
Adjust the image quality of the screen.
● DRC
DRC (Dynamic Range Compression) auto-
matically adjusts the soundtrack volume
level to maintain a more even sound to the
speakers.
● Audio
Choose the preferred language of the audio.
● Subtitle
Choose the preferred language of the sub-
titles.
● Display Mode
Choose between the “Normal”, “Wide”,
“Cinema” or “Full” display modes.
LHA1380
Monitor, climate, audio, phone and voice recognition systems4-97
Page 297 of 540
●Albums
● Artists
● Genres
● Composers
● Audiobooks
The following keys shown on the screen are also
available:
● MENU: returns to the previous screen.
●
: plays/pauses the music selected.
SEEK/CAT and TRACK buttons
When the
SEEK/CAT button orTRACK button is pressed for less than 1.5 sec-
onds while the iPod® is playing, the next track or
the beginning of the current track on the iPod®
will be played.
When the
SEEK/CAT button orTRACK button is pressed for more than 1.5 sec-
onds while the iPod® is playing, the iPod® will
play while fast forwarding or rewinding. When the
button is released, the iPod® will return to the
normal play speed.
iPod®* PLAYER OPERATION WITH
NAVIGATION SYSTEM (if so
equipped)
Connecting iPod®
WARNING
Do not connect, disconnect or operate the
USB device while driving. Doing so can be
a distraction. If distracted you could lose
control of your vehicle and cause an acci-
dent or serious injury.
CAUTION
● Do not force the USB device into the
USB port. Inserting the USB device
tilted or up-side-down into the port may
damage the port. Make sure that the
USB device is connected correctly into
the USB port.
● Do not grab the USB port cover (if so
equipped) when pulling the USB device
out of the port. This could damage the
port and the cover.
● Do not leave the USB cable in a place
where it can be pulled unintentionally.
Pulling the cable may damage the port.
Refer to your device manufacturer’s owner infor-
mation regarding the proper use and care of the
device.
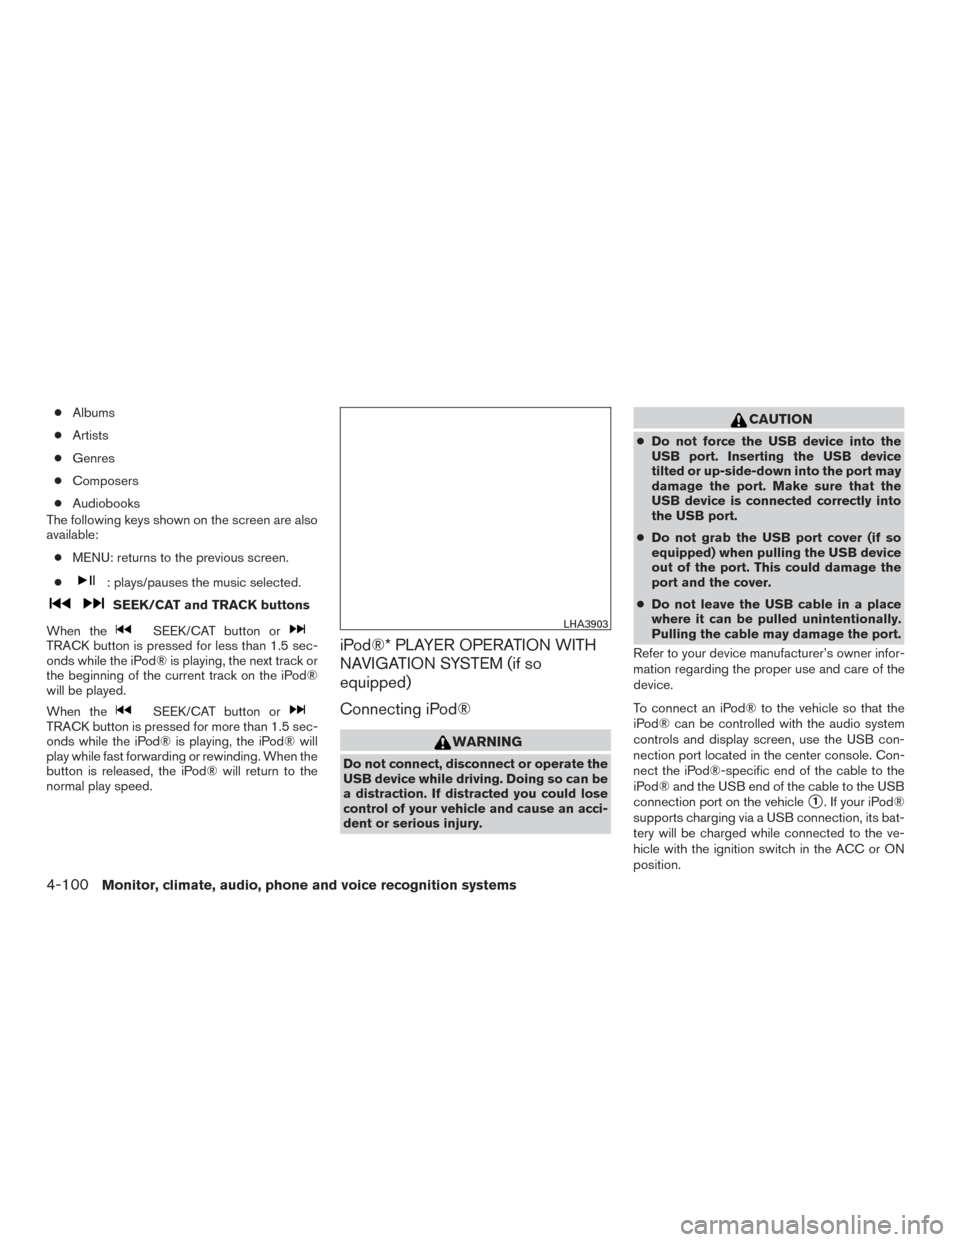
To connect an iPod® to the vehicle so that the
iPod® can be controlled with the audio system
controls and display screen, use the USB con-
nection port located in the center console. Con-
nect the iPod®-specific end of the cable to the
iPod® and the USB end of the cable to the USB
connection port on the vehicle
�1. If your iPod®
supports charging via a USB connection, its bat-
tery will be charged while connected to the ve-
hicle with the ignition switch in the ACC or ON
position.
LHA3903
4-100Monitor, climate, audio, phone and voice recognition systems
Page 299 of 540
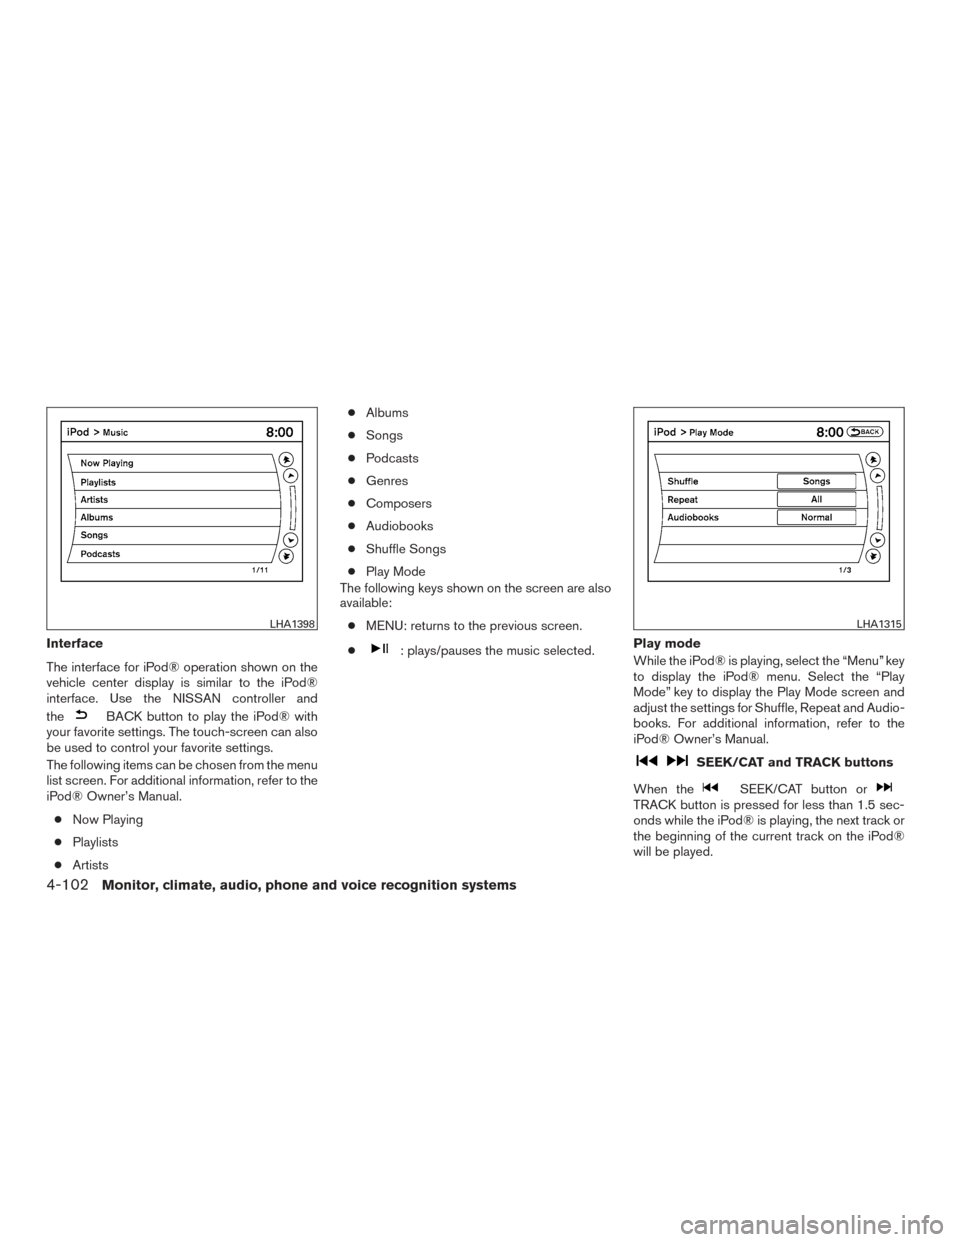
Interface
The interface for iPod® operation shown on the
vehicle center display is similar to the iPod®
interface. Use the NISSAN controller and
the
BACK button to play the iPod® with
your favorite settings. The touch-screen can also
be used to control your favorite settings.
The following items can be chosen from the menu
list screen. For additional information, refer to the
iPod® Owner’s Manual.
● Now Playing
● Playlists
● Artists ●
Albums
● Songs
● Podcasts
● Genres
● Composers
● Audiobooks
● Shuffle Songs
● Play Mode
The following keys shown on the screen are also
available:
● MENU: returns to the previous screen.
●
: plays/pauses the music selected. Play mode
While the iPod® is playing, select the “Menu” key
to display the iPod® menu. Select the “Play
Mode” key to display the Play Mode screen and
adjust the settings for Shuffle, Repeat and Audio-
books. For additional information, refer to the
iPod® Owner’s Manual.
SEEK/CAT and TRACK buttons
When the
SEEK/CAT button orTRACK button is pressed for less than 1.5 sec-
onds while the iPod® is playing, the next track or
the beginning of the current track on the iPod®
will be played.
LHA1398LHA1315
4-102Monitor, climate, audio, phone and voice recognition systems
Page 301 of 540
Connecting Bluetooth® audio
To connect your Bluetooth® audio device to the
vehicle, follow the procedure below:1. Press the SETTING button on the control panel.
2. Touch the “Bluetooth” key.
3. Touch the “Connect Bluetooth” key. 4. A screen will appear asking if you are con-
necting the device to use with the hands-
free phone system. Select the “No” key. 5. Enter a PIN of your choice. It will be needed
by your Bluetooth® audio device to com-
plete the connection process. For additional
information, refer to the Bluetooth® audio
device’s owner’s manual.
LHA1316LHA1317LHA1351
4-104Monitor, climate, audio, phone and voice recognition systems
Page 302 of 540
Audio main operation
To switch to the Bluetooth® audio mode, press
the DISC•AUX button repeatedly until the
Bluetooth® audio mode is displayed on the
screen.
The controls for the Bluetooth® audio are dis-
played on the screen.
Bluetooth® audio settings
To adjust the Bluetooth® audio settings, follow
the procedure below:1. Press the SETTING button on the control panel.
2. Select the “Bluetooth” key.
3. Select the “Connected Devices” key. 4. Select the “Audio Player” key.
SAA2510LHA1316LHA1296
Monitor, climate, audio, phone and voice recognition systems4-105
Page 303 of 540
5. A list of the connected Bluetooth® audioplayers is displayed. Select the name of the
device you wish to edit. 6. The Device Name and Device Address are
displayed on the screen. Select the “Select”
key to make this device the active
Bluetooth® audio player. Select the “Edit”
key to edit the details of the player, such as
Device Name. Select the “Delete” key to
delete the device.CD CARE AND CLEANING
●Handle a CD by its edges. Do not bend the
disc. Never touch the surface of the disc.
● Always place the discs in the storage case
when they are not being used.
● To clean a disc, wipe the surface from the
center to the outer edge using a clean, soft
cloth. Do not wipe the disc using a circular
motion.
● Do not use a conventional record cleaner or
alcohol intended for industrial use.
LHA1297LHA1298LHA0049
4-106Monitor, climate, audio, phone and voice recognition systems
Page 313 of 540
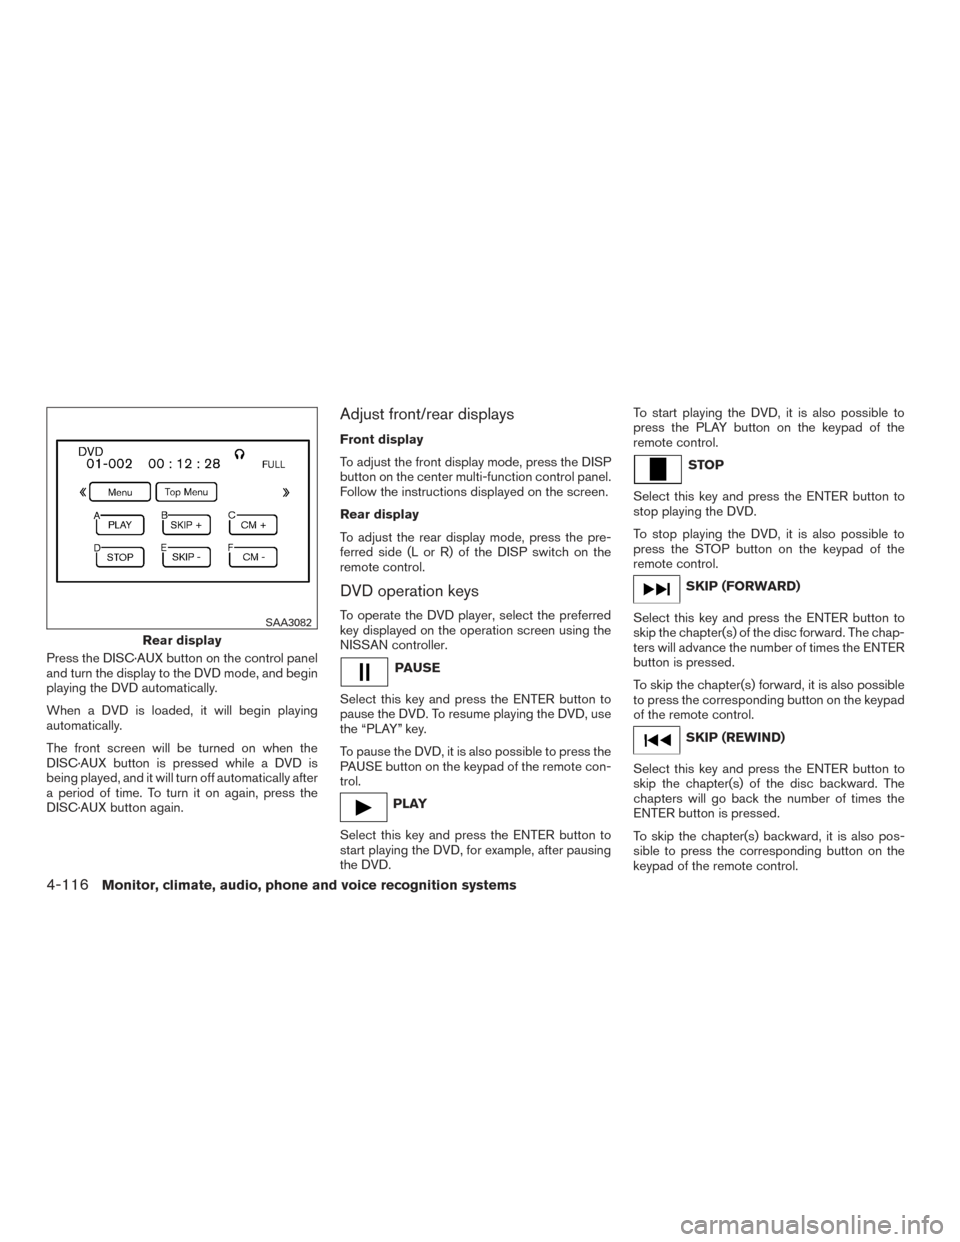
Press the DISC·AUX button on the control panel
and turn the display to the DVD mode, and begin
playing the DVD automatically.
When a DVD is loaded, it will begin playing
automatically.
The front screen will be turned on when the
DISC·AUX button is pressed while a DVD is
being played, and it will turn off automatically after
a period of time. To turn it on again, press the
DISC·AUX button again.
Adjust front/rear displays
Front display
To adjust the front display mode, press the DISP
button on the center multi-function control panel.
Follow the instructions displayed on the screen.
Rear display
To adjust the rear display mode, press the pre-
ferred side (L or R) of the DISP switch on the
remote control.
DVD operation keys
To operate the DVD player, select the preferred
key displayed on the operation screen using the
NISSAN controller.
PAUSE
Select this key and press the ENTER button to
pause the DVD. To resume playing the DVD, use
the “PLAY” key.
To pause the DVD, it is also possible to press the
PAUSE button on the keypad of the remote con-
trol.
PLAY
Select this key and press the ENTER button to
start playing the DVD, for example, after pausing
the DVD. To start playing the DVD, it is also possible to
press the PLAY button on the keypad of the
remote control.
STOP
Select this key and press the ENTER button to
stop playing the DVD.
To stop playing the DVD, it is also possible to
press the STOP button on the keypad of the
remote control.
SKIP (FORWARD)
Select this key and press the ENTER button to
skip the chapter(s) of the disc forward. The chap-
ters will advance the number of times the ENTER
button is pressed.
To skip the chapter(s) forward, it is also possible
to press the corresponding button on the keypad
of the remote control.
SKIP (REWIND)
Select this key and press the ENTER button to
skip the chapter(s) of the disc backward. The
chapters will go back the number of times the
ENTER button is pressed.
To skip the chapter(s) backward, it is also pos-
sible to press the corresponding button on the
keypad of the remote control.
Rear display
SAA3082
4-116Monitor, climate, audio, phone and voice recognition systems