2016 NISSAN LEAF service
[x] Cancel search: servicePage 269 of 437
SATELLITE RADIO RECEPTION
When the satellite radio is used for the first time
or the battery has been replaced, the satellite
radio may not work properly. This is not a mal-
function. Wait more than 10 minutes with satellite
radio ON and the vehicle outside of any metal or
large building for satellite radio to receive all of
the necessary data.
No satellite radio reception is available and “NO
SAT” is displayed when the SAT band option is
selected unless optional satellite receiver and
antenna are installed and a SiriusXM® Satellite
Radio service subscription is active. Satellite ra-
dio is not available in Alaska, Hawaii and Guam.
Satellite radio performance may be affected if
cargo carried on the roof blocks the satellite radio
signal.
If possible, do not put cargo over the satellite
antenna.
A build up of ice on the satellite radio antenna can
affect satellite radio performance. Remove the
ice to restore satellite radio reception.
AUDIO OPERATION PRECAUTIONS
Compact disc (CD) player
CAUTION
• Do not force a compact disc into the CD insert slot. This could damage the
CD and/or CD player.
• Trying to load a CD with the CD door closed could damage the CD and/or
CD player.
• Only one CD can be loaded into the CD player at a time.
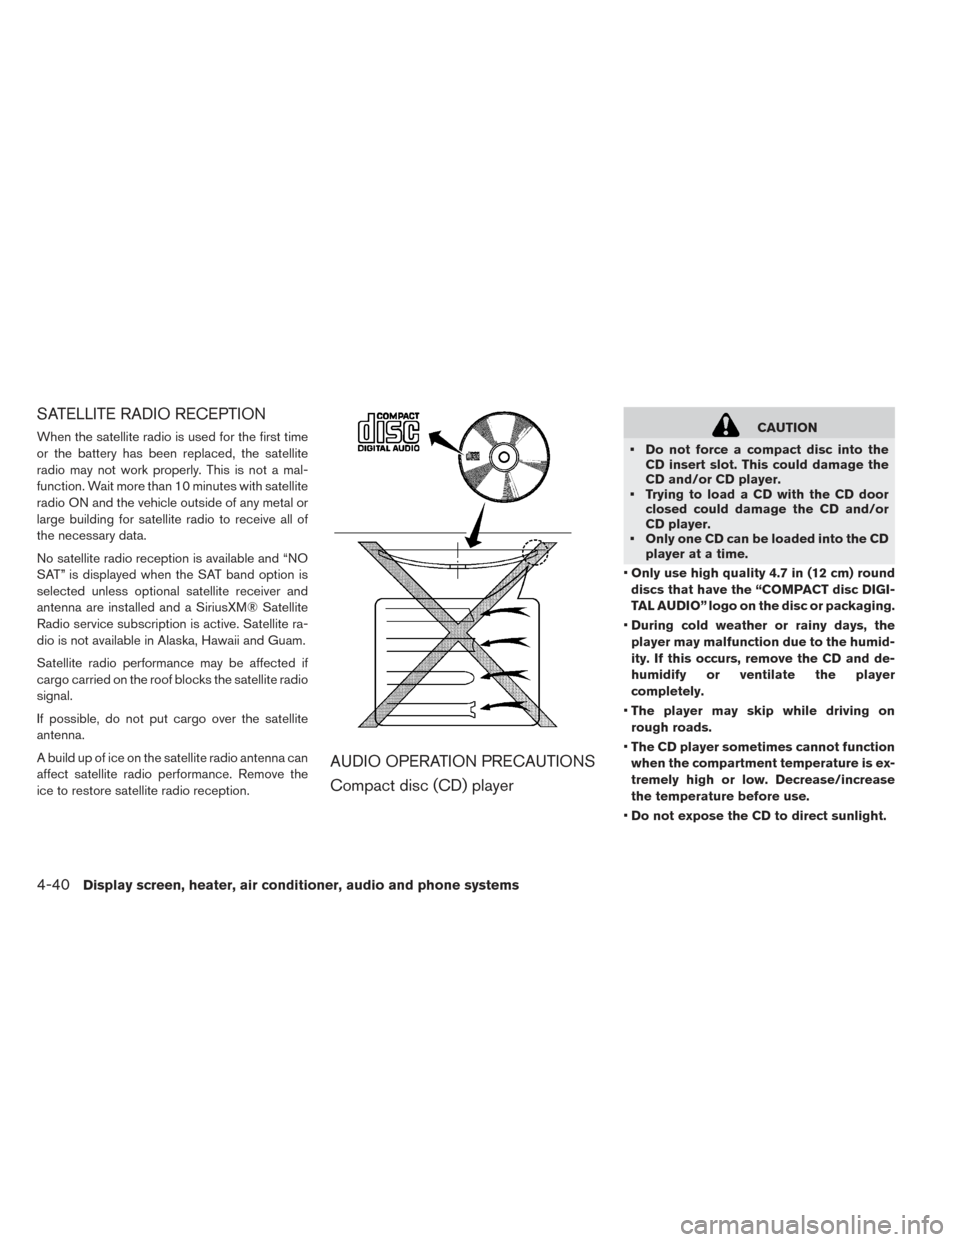
• Only use high quality 4.7 in (12 cm) round
discs that have the “COMPACT disc DIGI-
TAL AUDIO” logo on the disc or packaging.
• During cold weather or rainy days, the
player may malfunction due to the humid-
ity. If this occurs, remove the CD and de-
humidify or ventilate the player
completely.
• The player may skip while driving on
rough roads.
• The CD player sometimes cannot function
when the compartment temperature is ex-
tremely high or low. Decrease/increase
the temperature before use.
• Do not expose the CD to direct sunlight.
4-40Display screen, heater, air conditioner, audio and phone systems
Page 278 of 437
Bass, treble, balance and fade can also be ad-
justed by pressing the ENTER/SETTING button
and turning the TUNE/SCROLL control knob to
select the item to adjust. When the desired item
is shown on the display, turn the tuning to adjust
and then press the ENTER/SETTING button until
the display returns to the main audio screen. If the
button is not pressed for approximately 10 sec-
onds, the radio or CD display will automatically
reappear.
DISP button
Display of the screen can be canceled by press-
ing the DISP button. You can then listen to music
that is being played back. If you want to display
the screen again, either press the DISP button
once more or press the FM·AM, XM Satellite
Radio or CD·AUX button.
MEDIA button
Pressing the MEDIA button will switch the dis-
plays as follows:
iPod®/USB→Bluetooth
Audio→AUX→CD→iPod®/USB
BACK button
When the BACK button is pressed, it returns to
the previous display. APPS button
Press the APPS button to launch the Smart-
phone Integration Mode. For additional informa-
tion, refer to “NissanConnect
SMMobile Apps” in
this section.
FM-AM-SAT radio operation
FM●AM band select
Pressing the radio band select button will change
the band as follows:
AM→FM1→FM2→AM
XM band select
Pressing the XM band select button will change
the band as follows:
XM1→XM2→XM3→XM1
When the XM band select button is pressed
while the power switch is in the ACC or ON
position, the radio will come on at the channel last
played.
The last station played will also come on when
the
button is pressed to radio ON.
*When the XM button is pressed, the satellite
radio mode will be skipped unless a SiriusXM®
Satellite Radio service subscription is active. Satellite radio is not available in Alaska, Hawaii
and Guam.
If a compact disc is playing when the XM button
is pressed, the compact disc will automatically be
turned off and the last radio station played will
come on.
TUNE/SCROLL knob (Tuning)
Turn the TUNE/SCROLL knob to the left or right
for manual tuning.
SEEK tuning
Press the SEEK/CAT
orbutton or to
tune from low to high or high to low frequencies
and to stop at the next broadcasting station.
SCAN tuning
Press the SCAN button to stop at each broad-
casting station for 5 seconds. SCAN will appear
on the screen while the radio is scan tuning.
Pressing the button again during this 5 second
period will stop SCAN tuning and the radio will
remain tuned to that station. If the SCAN button is
not pressed within 5 seconds, SCAN tuning
moves to the next station.
Display screen, heater, air conditioner, audio and phone systems4-49
Page 290 of 437
• You will not be able to use a hands-free phoneunder the following conditions: – Your vehicle is outside of the cellular service area.
– Your vehicle is in an area where it is difficult to receive a cellular signal; such as in a
tunnel, in an underground parking garage,
near a tall building or in a mountainous area.
– Your cellular phone is locked to prevent it from being dialed.
• When the radio wave condition is not ideal or ambient sound is too loud, it may be difficult to
hear the other person’s voice during a call.
• Do not place the cellular phone in an area surrounded by metal or far away from the in-
vehicle phone module to prevent tone quality
degradation and wireless connection
disruption.
• While a cellular phone is connected through the Bluetooth® wireless connection, the battery
power of the cellular phone may discharge
quicker than usual. The Bluetooth® Hands-
Free Phone System cannot charge cellular
phones. • For additional information, refer to “Trouble-
shooting guide” in this section. You can also visit
www.nissanusa.com/bluetooth or
www.nissan.ca/bluetooth for troubleshooting
help if the hands-free phone system seems to
be malfunctioning.
• Some cellular phones or other devices may cause interference or a buzzing noise to come
from the audio system speakers. Storing the
device in a different location may reduce or
eliminate the noise.
• Refer to the cellular phone Owner’s Manual regarding the telephone charges, cellular phone
antenna and body, etc.
REGULATORY INFORMATION
FCC Regulatory information
CAUTION: To maintain compliance with FCC’s
RF exposure guidelines, use only the supplied
antenna. Unauthorized antenna, modification, or
attachments could damage the transmitter and
may violate FCC regulations.
Operation is subject to the following two condi-
tions:
1. This device may not cause interference and 2. this device must accept any interference, in-
cluding interference that may cause unde-
sired operation of the device.
IC Regulatory information
• Operation is subject to the following two condi- tions: (1) this device may not cause interfer-
ence, and (2) this device must accept any inter-
ference, including interference that may cause
undesired operation of the device.
• This Class B digital apparatus meets all require- ments of the Canadian Interference-Causing
Equipment Regulations.
BLUETOOTH® is a trademark
owned by Bluetooth SIG, Inc. and licensed to
Visteon.
USING THE SYSTEM
The NISSAN Voice Recognition system allows
hands-free operation of the Bluetooth® Hands-
Free Phone System.
If the vehicle is in motion, some commands may
not be available so full attention may be given to
vehicle operation.
Display screen, heater, air conditioner, audio and phone systems4-61
Page 307 of 437
OFF-ROAD RECOVERY
While driving, the right side or left side wheels
may unintentionally leave the road surface. If this
occurs, maintain control of the vehicle by follow-
ing the procedure below. Please note that this
procedure is only a general guide. The vehicle
must be driven as appropriate based on the con-
ditions of the vehicle, road and traffic.
1. Remain calm and do not overreact.
2. Do not apply the brakes.
3. Maintain a firm grip on the steering wheel withboth hands and try to hold a straight course.
4. When appropriate, slowly release the accel- erator pedal to gradually slow the vehicle.
5. If there is nothing in the way, steer the vehicle to follow the road while the vehicle speed is
reduced. Do not attempt to drive the vehicle
back onto the road surface until vehicle speed
is reduced.
6. When it is safe to do so, gradually turn the steering wheel until both tires return to the
road surface. When all tires are on the road
surface, steer the vehicle to stay in the appro-
priate driving lane. • If you decide that it is not safe to return the
vehicle to the road surface based on vehicle,
road or traffic conditions, gradually slow the
vehicle to a stop in a safe place off the road.
RAPID AIR PRESSURE LOSS
Rapid air pressure loss or a “blow-out” can occur
if the tire is punctured or is damaged due to
hitting a curb or pothole. Rapid air pressure loss
can also be caused by driving on under-inflated
tires.
Rapid air pressure loss can affect the handling
and stability of the vehicle, especially at highway
speeds.
Help prevent rapid air pressure loss by maintain-
ing the correct air pressure and visually inspect
the tires for wear and damage. For additional
information, refer to “Wheels and tires” in the
“Maintenance and do-it-yourself” section of this
manual.
If a tire rapidly loses air pressure or “blows-out”
while driving maintain control of the vehicle by
following the procedure below. Please note that
this procedure is only a general guide. The ve-
hicle must be driven as appropriate based on the
conditions of the vehicle, road and traffic.
WARNING
The following actions can increase the
chance of losing control of the vehicle if
there is a sudden loss of tire air pressure.
Losing control of the vehicle may cause a
collision and result in personal injury.
• The vehicle generally moves or pulls in the direction of the flat tire.
• Do not rapidly apply the brakes.
• Do not rapidly release the accelerator pedal.
• Do not rapidly turn the steering wheel.
1. Remain calm and do not overreact.
2. Maintain a firm grip on the steering wheel with both hands and try to hold a straight course.
3. When appropriate, slowly release the accel- erator pedal to gradually slow the vehicle.
4. Gradually steer the vehicle to a safe location off the road and away from traffic if possible.
5. Lightly apply the brake pedal to gradually stop the vehicle.
6. Turn on the hazard warning flashers and con- tact a roadside emergency service to change
the tire. For additional information, refer to
“Flat tire” in the “In case of emergency” sec-
tion of this manual.
5-6Starting and driving
Page 331 of 437
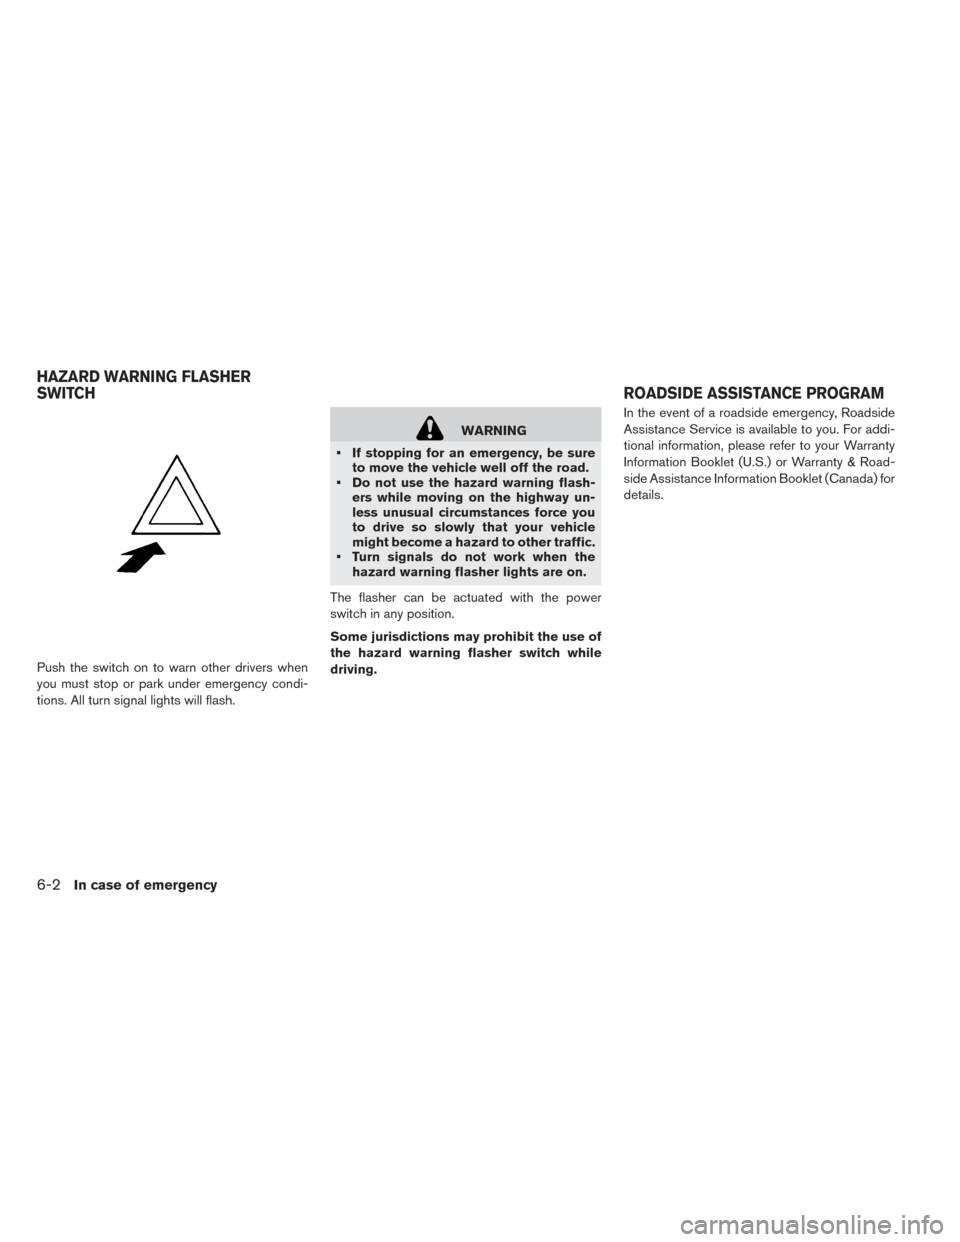
Push the switch on to warn other drivers when
you must stop or park under emergency condi-
tions. All turn signal lights will flash.
WARNING
• If stopping for an emergency, be sure to move the vehicle well off the road.
• Do not use the hazard warning flash- ers while moving on the highway un-
less unusual circumstances force you
to drive so slowly that your vehicle
might become a hazard to other traffic.
• Turn signals do not work when the hazard warning flasher lights are on.
The flasher can be actuated with the power
switch in any position.
Some jurisdictions may prohibit the use of
the hazard warning flasher switch while
driving. In the event of a roadside emergency, Roadside
Assistance Service is available to you. For addi-
tional information, please refer to your Warranty
Information Booklet (U.S.) or Warranty & Road-
side Assistance Information Booklet (Canada) for
details.
HAZARD WARNING FLASHER
SWITCH
ROADSIDE ASSISTANCE PROGRAM
6-2In case of emergency
Page 342 of 437
Do not attempt to start the system by pushing the
vehicle.
CAUTION
An EV (Electric Vehicle) cannot be push-
started or tow-started. Attempting to do
so may cause traction motor damage. When towing your vehicle, all State (Provincial in
Canada) and local regulations for towing must be
followed. Incorrect towing equipment could dam-
age your vehicle. Towing instructions are avail-
able from a NISSAN certified LEAF dealer. Local
service operators are familiar with the applicable
laws and procedures for towing. To assure
proper towing and to prevent accidental damage
to your vehicle, NISSAN recommends that you
have a service operator tow your vehicle. It is
advisable to have the service operator carefully
read the following precautions.
WARNING
• Never ride in a vehicle that is being towed.
• Never get under your vehicle after it has been lifted by a tow truck.
CAUTION
• When towing, make sure that the ax- les, steering system and power train
are in working condition. If any unit is
damaged, dollies must be used.
• Always attach safety chains before towing. For additional information about towing your ve-
hicle behind a recreational vehicle (RV) , refer to
“Flat towing” in the “Technical and consumer
information” section of this manual.
PUSH STARTING
TOWING YOUR VEHICLE
In case of emergency6-13
Page 343 of 437
TOWING RECOMMENDED BY
NISSAN
NISSAN recommends that your vehicle be towed
with the driving (front) wheels off the ground or
that the vehicle be placed on a flatbed truck as
illustrated.
CAUTION
• Never tow with the front wheels on the ground or four wheels on the ground
(forward or backward) , as this may
cause serious and expensive damage
to the motor. • When towing this vehicle with the rear
wheels on the ground (if you do not
use towing dollies): Always release
the parking brake.
NOTE:
If your vehicle cannot be moved because
the vehicle cannot to be shifted to the N
(Neutral) position, please refer to the LEAF
Roadside Assistance Guide which is lo-
cated at www.NISSANUSA.com. If your ve-
hicle cannot be moved because the parking
brake cannot be released, refer to “Parking
brake” in the “Starting and driving” section
of this manual.
VEHICLE RECOVERY (FREEING A
STUCK VEHICLE)
There are two options to recover a stuck vehicle:
pulling and rocking. For additional information
regarding these options, please refer to the fol-
lowing sections.
WARNING
• Stand clear of a stuck vehicle.
• Do not spin your tires at high speed. This could cause them to explode,
which could result in serious injury.
Parts of the vehicle could also over-
heat and be damaged.
Pulling a stuck vehicle
CAUTION
• Contact a professional towing service to recover the vehicle if you have ques-
tions regarding the recovery proce-
dure.
• Tow chains or cables must be attached only to main structural members of the
vehicle.
6-14In case of emergency
Page 344 of 437
• Do not use the vehicle tie-downs totow or free a stuck vehicle.
• Only use devices specifically designed for vehicle recovery and follow manu-
facturer’s instructions
• Always pull the recovery device straight out from the vehicle. Never
pull on the vehicle at an angle.
• Route recovery devices so they do not touch any part of the vehicle except the
attachment point.
If your vehicle is stuck in sand, snow, mud, etc.,
use a tow strap or other device designed specifi-
cally for vehicle recovery. Always follow the
manufacturer’s instructions for the recovery de-
vice.
Rocking a stuck vehicle
If the vehicle is stuck in sand, snow, mud, etc., try
to free it by following the procedure below.
1. Turn off the Vehicle Dynamic Control (VDC) system.
2. Make sure the area in front and behind the vehicle is clear of obstructions.
3. Turn the steering wheel left and right to clear an area around the front tires. 4. Slowly rock the vehicle forward and
backward.
• Shift back and forth between the R (Reverse) and D (Drive) positions.
• Apply the accelerator as little as possible to maintain the rocking motion.
• Release the accelerator pedal before shifting between R (Reverse) and D (Drive) .
• Do not spin the tires above 35 mph (55 km/h) .
5. If the vehicle cannot be freed after a few tries, contact a professional towing service to re-
move the vehicle.
In case of emergency6-15