2016 NISSAN LEAF sat nav
[x] Cancel search: sat navPage 230 of 437

4 Display screen, heater, air conditioner,
audio and phone systems
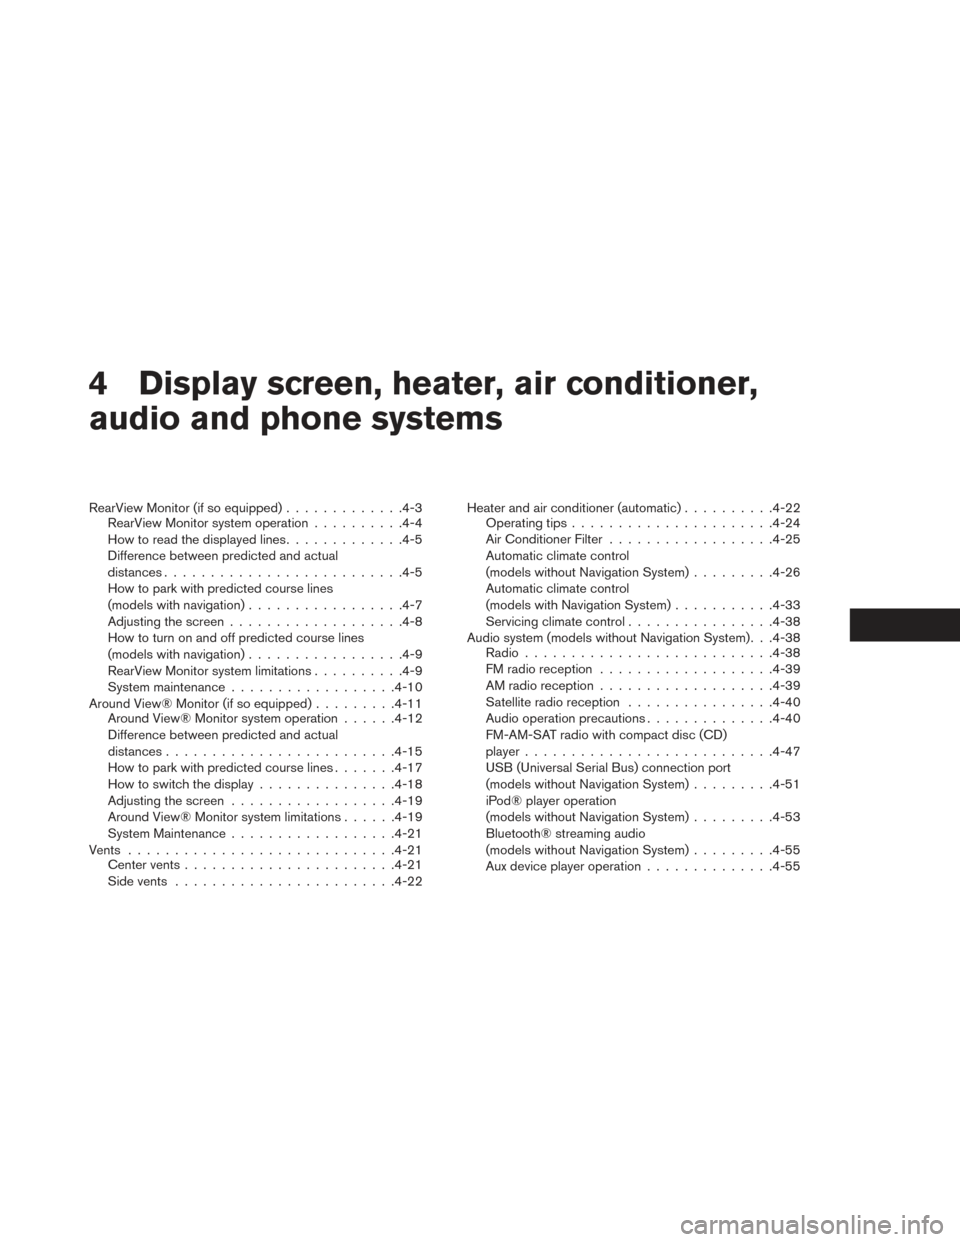
RearView Monitor (if so equipped).............4-3
RearView Monitor system operation ..........4-4
How to read the displayed lines .............4-5
Difference between predicted and actual
distances ......................... .4-5
How to park with predicted course lines
(models with navigation) ................ .4-7
Adjusting the screen .................. .4-8
How to turn on and off predicted course lines
(models with navigation) ................ .4-9
RearView Monitor system limitations ..........4-9
System maintenance ................. .4-10
Around View® Monitor (if so equipped) .........4-11
Around View® Monitor system operation ......4-12
Difference between predicted and actual
distances ........................ .4-15
How to park with predicted course lines .......4-17
How to switch the display ...............4-18
Adjusting the screen ................. .4-19
Around View® Monitor system limitations ......4-19
System Maintenance ................. .4-21
Vents ............................ .4-21
Center vents ...................... .4-21
Side vents ....................... .4-22Heater and air conditioner (automatic)
..........4-22
Operating tips ..................... .4-24
Air Conditioner Filter ................. .4-25
Automatic climate control
(models without Navigation System) .........4-26
Automatic climate control
(models with Navigation System) ...........4-33
Servicing climate control ................4-38
Audio system (models without Navigation System). . .4-38 Radio .......................... .4-38
FM radio reception .................. .4-39
AM radio reception .................. .4-39
Satellite radio reception ................4-40
Audio operation precautions ..............4-40
FM-AM-SAT radio with compact disc (CD)
player .......................... .4-47
USB (Universal Serial Bus) connection port
(models without Navigation System) .........4-51
iPod® player operation
(models without Navigation System) .........4-53
Bluetooth®
streaming audio
(models without Navigation System) .........4-55
Aux device player operation ..............4-55
Page 252 of 437

Note
•Odors from inside and outside the vehicle
can build up in the air conditioner unit.
Odor can enter the passenger compart-
ment through the vents.
• When parking, set the heater or air condi-
tioner controls to turn off air recirculation
to allow fresh air into the passenger com-
partment. This should help reduce odors
inside the vehicle. The climate control system (air conditioner and
heater functions) can be operated when the
READY to drive indicator light is illuminated.
However, while charging, the climate control sys-
tem can be used when the power switch is in the
ON position.
The fan, heater and air conditioning can be turned
on manually, using the timer function and using
the remote climate control function.
These functions operate in the following condi-
tions.
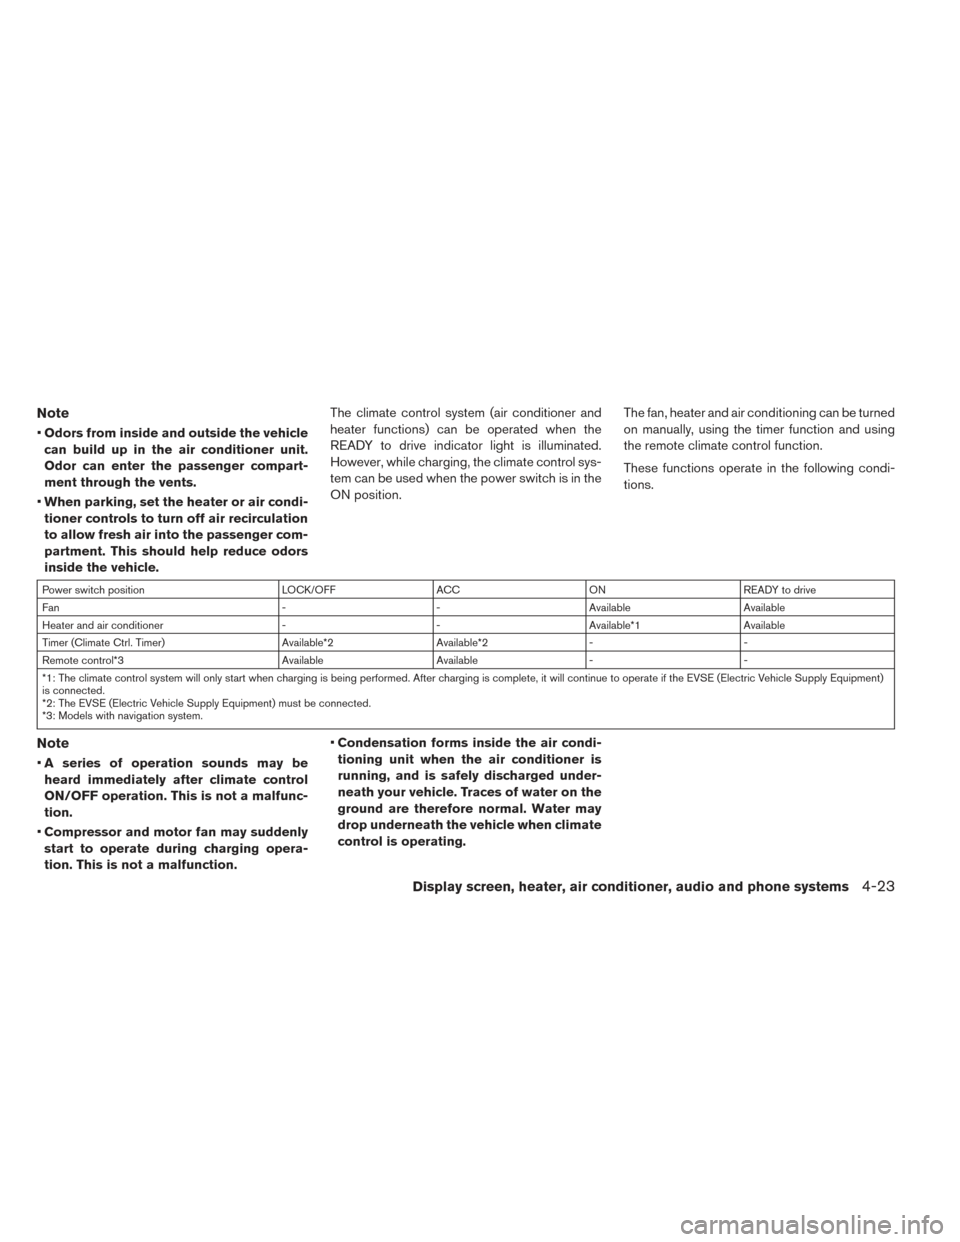
Power switch position
LOCK/OFFACCON READY to drive
Fan --Available Available
Heater and air conditioner --Available*1 Available
Timer (Climate Ctrl. Timer) Available*2Available*2- -
Remote control*3 AvailableAvailable- -
*1: The climate control system will only start when charging is being performed. After charging is complete, it will continue to operate if the EVSE (Electric Vehicle Supply Equipment)
is connected.
*2: The EVSE (Electric Vehicle Supply Equipment) must be connected.
*3: Models with navigation system.
Note
• A series of operation sounds may be
heard immediately after climate control
ON/OFF operation. This is not a malfunc-
tion.
• Compressor and motor fan may suddenly
start to operate during charging opera-
tion. This is not a malfunction. •
Condensation forms inside the air condi-
tioning unit when the air conditioner is
running, and is safely discharged under-
neath your vehicle. Traces of water on the
ground are therefore normal. Water may
drop underneath the vehicle when climate
control is operating.
Display screen, heater, air conditioner, audio and phone systems4-23
Page 276 of 437

FM-AM-SAT RADIO WITH
COMPACT DISC (CD) PLAYER
1. CD EJECT button
2. RPT (repeat) button
3. RDM (random) button
4. Display screen
5. SCAN button
6. SEEK button CAT button7. Apps button
8.
BACK button
9.
TUNE/SCROLL knob /ENTER/SETTING button
10. Station select (1–6) buttons
11.
(power) button /VOL (volume) con-
trol knob
12. DISP button
13. MEDIA button 14. XM button
15. FM·AM button
For additional information, refer to “Audio opera-
tion precautions” in this section.
•
No satellite radio reception is available when the
SAT band option is selected unless a SiriusXM®
Satellite Radio subscription is active.
• The satellite radio is not available in Alaska, Hawaii and Guam.
Audio main operation
(Power)/VOL (Volume) control knob
Place the power switch in the ACC or ON posi-
tion, and then press the
button while the
system is off to turn on the last audio source,
which was playing immediately before the system
was turned off. While the system is on, pressing
the
button turns the system off.
Turn the VOL control knob to adjust the volume.
This vehicle may be equipped with speed sensi-
tive volume. When this feature is active, the audio
volume changes as the driving speed changes.
ENTER/SETTING button
When the audio screen is displayed, press the
ENTER/SETTING button to show the Settings
screen on the display. Turn the TUNE/SCROLL
knob to navigate the options and then press the
ENTER/SETTING button to make a selection.
Display screen, heater, air conditioner, audio and phone systems4-47
Page 284 of 437

RANDOM (RDM)
When the RDM play button is pressed while a
track is being played, the play pattern can be
changed as follows:
Shuffle Off→Track Shuffle→Album Shuffle-
→Shuffle Off
BACK button
When the
BACK button is pressed, it
returns to the previous display.
BLUETOOTH® STREAMING AUDIO
(MODELS WITHOUT NAVIGATION
SYSTEM)
If you have a compatible Bluetooth® audio de-
vice that is capable of playing audio files, the
device can be connected to the vehicle’s audio
system so that the audio files on the device play
through the vehicle’s speakers. For additional
information, refer to “FM-AM-SAT radio with
compact disc (CD) player” in this section.
Note
For additional information regarding
Bluetooth® Streaming Audio, refer to
the Cellular Phone Owner’s Manual.
Connecting Bluetooth® audio
To connect your Bluetooth® audio device to the
vehicle, follow the procedure below:
1. Press the ENTER/SETTING button.
2. Select “Bluetooth”.
3. Select “Add Phone”. This same screen can be accessed to remove, replace or select a dif-
ferent Bluetooth® device.
4. The system acknowledges the command and asks you to initiate connecting from the phone
handset. The connecting procedure of the
cellular phone varies according to each cellu-
lar phone model. For additional information,
refer to the cellular phone’s Owner’s Manual.
You can also visit
www.NissanUSA.com/bluetooth for instruc-
tions on connecting NISSAN-recommended
cellular phones.
Audio main operation:
To switch to the Bluetooth® audio mode, press
the MEDIA button repeatedly until the
Bluetooth® audio mode is displayed on the
screen. Use the vehicle audio controls or the
Bluetooth® device’s controls to play, pause, skip
or reverse tracks.
AUX DEVICE PLAYER OPERATION
The AUX input jack is located on the lower part of
the instrument panel. The AUX input jack accepts
any standard analog audio input such as from a
portable cassette tape/CD player, MP3 player or
laptop computer.
NISSAN strongly recommends using a stereo
mini plug when connecting your music device to
the audio system. Music may not play properly
when monaural cable is used.
To switch the AUX mode, press the MEDIA but-
ton until the AUX mode is selected, while the
power switch is in the “ON” or “ACC” position.
Display screen, heater, air conditioner, audio and phone systems4-55