2016 NISSAN ALTIMA key
[x] Cancel search: keyPage 3 of 32
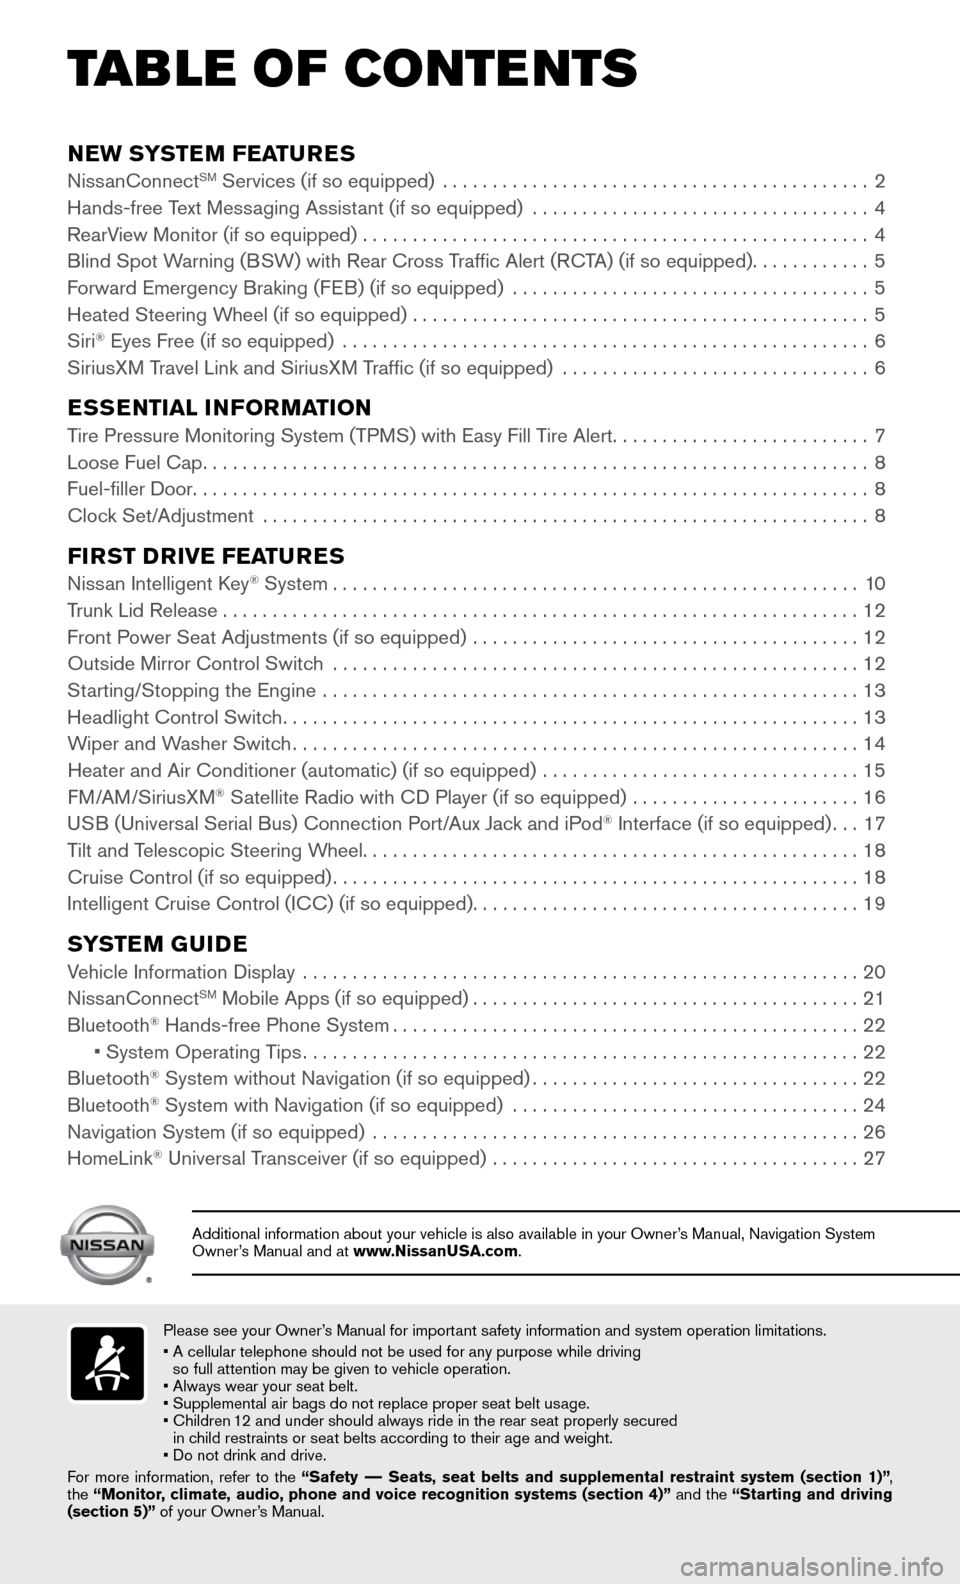
NEW SYSTEM FEATURESNissanConnectSM Services (if so equipped) ...........................................2
Hands-free Text Mess aging Assistant (if so equipped) ..................................4
RearV
iew Monitor (if so equipped)
...................................................4
Blind Spot W
arning (BSW) with Rear Cross Traffic Alert (RCTA) (if so equipped)
............5
Forward Emergency Braking (F
EB) (if so equipped)
....................................5
Heated Steering Wheel (if so equipped) ..............................................5
Siri® Eyes Free (if so equipped) .....................................................6
SiriusXM T ravel Link and SiriusXM Traffic (if so equipped) ...............................6
ESSENTIAL INFORMATIONTire Pressure Monitoring System (TPMS) with Easy Fill Tire Alert..........................7
Loose Fuel Cap...................................................................8
Fuel-filler Door....................................................................8
Clock Set/
Adjustment
.............................................................8
FIRST DRIVE FEATURESNissan Intelligent Key® System.....................................................10
Trunk Lid Release................................................................12
Front Power Seat Adjustments (if so equipped) .......................................12
Outside Mirror Control Switch .....................................................12
Starting/Stopping the Engine ......................................................13
Headlight Control Switch..........................................................13
Wiper and W
asher Switch
.........................................................14
Heater and Air Conditioner (automatic) (if so equipped) ................................15
FM
/AM/SiriusXM
® Satellite Radio with CD Player (if so equipped) .......................16
US
B (Universal Serial Bus) Connection Port/Aux Jack and iPod® Interface (if so equipped)...17
Tilt and T
elescopic Steering Wheel..................................................18
Cruise Control (if so equipped).....................................................18
Intelligent Cruise Control (IC
C) (if so equipped)
.......................................19
SYSTEM GUIDEVehicle Information Display ........................................................20
NissanConnectSM Mobile Apps (if so equipped).......................................21
Bluetooth® Hands-free Phone System...............................................22 • System Operating Tips........................................................22
Bluetooth® System without Navigation (if so equipped).................................22
Bluetooth® System with Navigation (if so equipped) ...................................24
Navigation System (if so equipped) .................................................26
HomeLink® Universal Transceiver (if so equipped) .....................................27
TAB LE OF CONTE NTS
Please see your Owner’s Manual for important safety information and system operation limitations.
• A cellular telephone should not be used for any purpose while driving
so full attention may be given to vehicle operation.
• Always wear your seat belt.
• Supplemental air bags do not replace proper seat belt us
age.
•
Children 1
2 and under should always ride in the rear seat properly secured
in child restraints or seat belts according to their age and weight.
• Do not drink and drive.
For more information, refer to the “Safety –– Seats, seat belts and supplemental restraint system (section 1)”\
,
the “Monitor, climate, audio, phone and voice recognition systems (section 4)” and the “Starting and driving
(section 5)” of your Owner’s Manual.
Additional information about your vehicle is also available in your Owne\
r’s Manual, Navigation System
Owner’s Manual and at www.NissanUSA.com.
Page 11 of 32
9
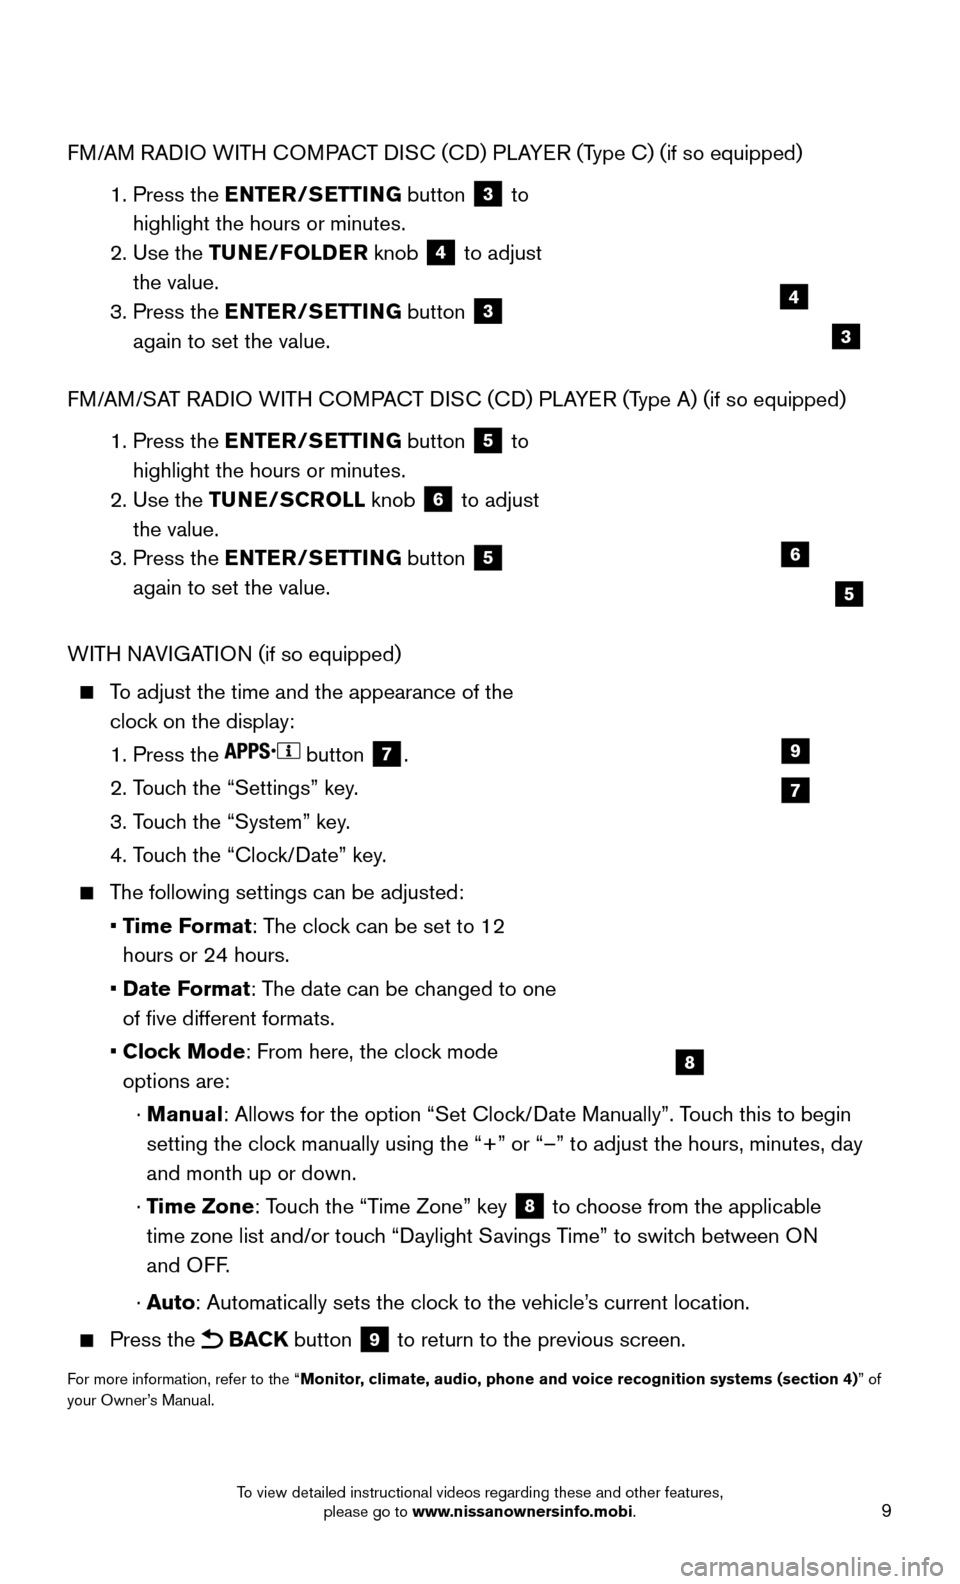
FM/AM RADIO WITH COMPACT DISC (CD) PLAYER (Type C) (if so equipped)
1. Press the EN
TER/SETTING button
3 to
highlight the hours or minutes.
2. Use the T
UNE/FOLDER knob
4 to adjust
the value.
3. Press the EN
TER/SETTING button
3
again to set the value.
FM/AM/SAT RADIO WITH COMPACT DISC (CD) PLAYER (Type A) (if so equipped)
1. Press the EN
TER/SETTING button
5 to
highlight the hours or minutes.
2. Use the TU
NE/SCROLL knob
6 to adjust
the value.
3. Press the EN
TER/SETTING button
5
again to set the value.
WITH NAVIGATION (if so equipped)
To adjust the time and the appearance of the
cloc k on the display:
1. Press the button 7.
2. Touc
h the “Settings” key.
3. Touc
h the “System” key.
4. Touc
h the “Clock/Date” key.
The following settings can be adjusted:
• Time F
ormat: The clock can be set to 12
hours or 24 hours.
• Date Format
: The date can be changed to one
of five different formats.
• Clock Mode
: From here, the clock mode
options are:
· Manual
: Allows for the option “Set Clock/Date Manually”. Touch this to begin
setting the clock manually using the “+” or “–” to adjust the hours, minu\
tes, day
and month up or down.
· Time Zone
: Touch the “Time Zone” key
8 to choose from the applicable
time zone list and/or touch “Daylight Savings Time” to switch between ON
and OFF.
· A
uto: Automatically sets the clock to the vehicle’s current location.
Press the BACK button 9 to return to the previous screen.
For more information, refer to the “Monitor, climate, audio, phone and voice recognition systems (section 4) ” of
your Owner’s Manual.
7
9
8
4
6
3
5
To view detailed instructional videos regarding these and other features, please go to www.nissanownersinfo.mobi.
Page 12 of 32
10
NISSAN INTELLIGENT KEY® SYSTE M
The Nissan Intelligent Key® system allows you to lock or unlock
your vehicle, open your trunk and remotely start the engine. It is
important to make sure the Intelligent Key is with you (that is, in your
pocket or purse).
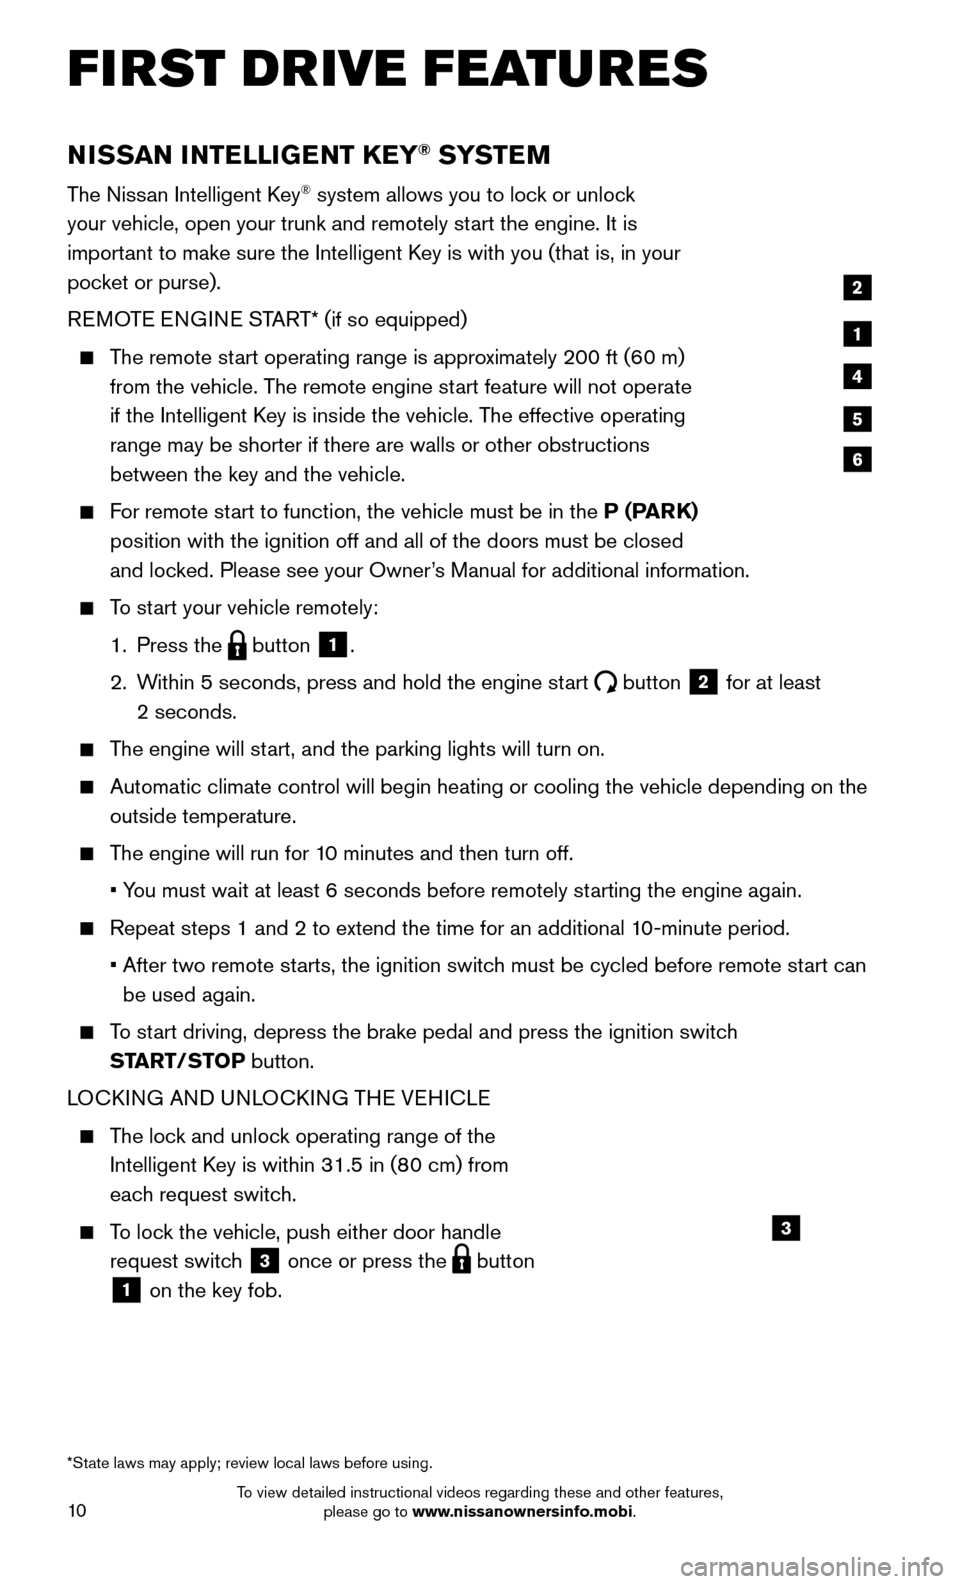
REMOTE ENGINE START* (if so equipped)
The remote start operating range is approximately 200 ft (60 m)
from the vehicle. T he remote engine start feature will not operate
if the Intelligent Key is inside the vehicle. The effective operating
range may be shorter if there are walls or other obstructions
between the key and the vehicle.
For remote start to function, the vehicle must be in the P (PARK)
position with the ignition off and all of the doors must be closed
and loc
ked. Please see your Owner’s Manual for additional information.
To start your vehicle remotely:
1. Press the button 1.
2.
Within 5 seconds, press and hold the engine st
art
button 2 for at least
2 seconds.
The engine will start, and the parking lights will turn on.
Automatic climate control will begin heating or cooling the vehicle depe\
nding on the
outside temperature.
The engine will run for 10 minutes and then turn off.
• You must wait at least 6 seconds before remotely st
arting the engine again.
Repeat steps 1 and 2 to extend the time for an additional 10-minute period.
• After two remote starts, the ignition switc
h must be cycled before remote start can
be used again.
To start driving, depress the brake pedal and press the ignition switch
ST ART/STOP button.
LOCKING AND UNLOCKING THE VEHICLE
The lock and unlock operating range of the
Intelligent K ey is within 31.5 in (80 cm) from
each request switch.
To lock the vehicle, push either door handle
request switc h
3 once or press the button
1 on the key fob.
1
2
4
5
6
*State laws may apply; review local laws before using.
3
FIRST DRIVE FEATURES
To view detailed instructional videos regarding these and other features, please go to www.nissanownersinfo.mobi.
Page 13 of 32
11
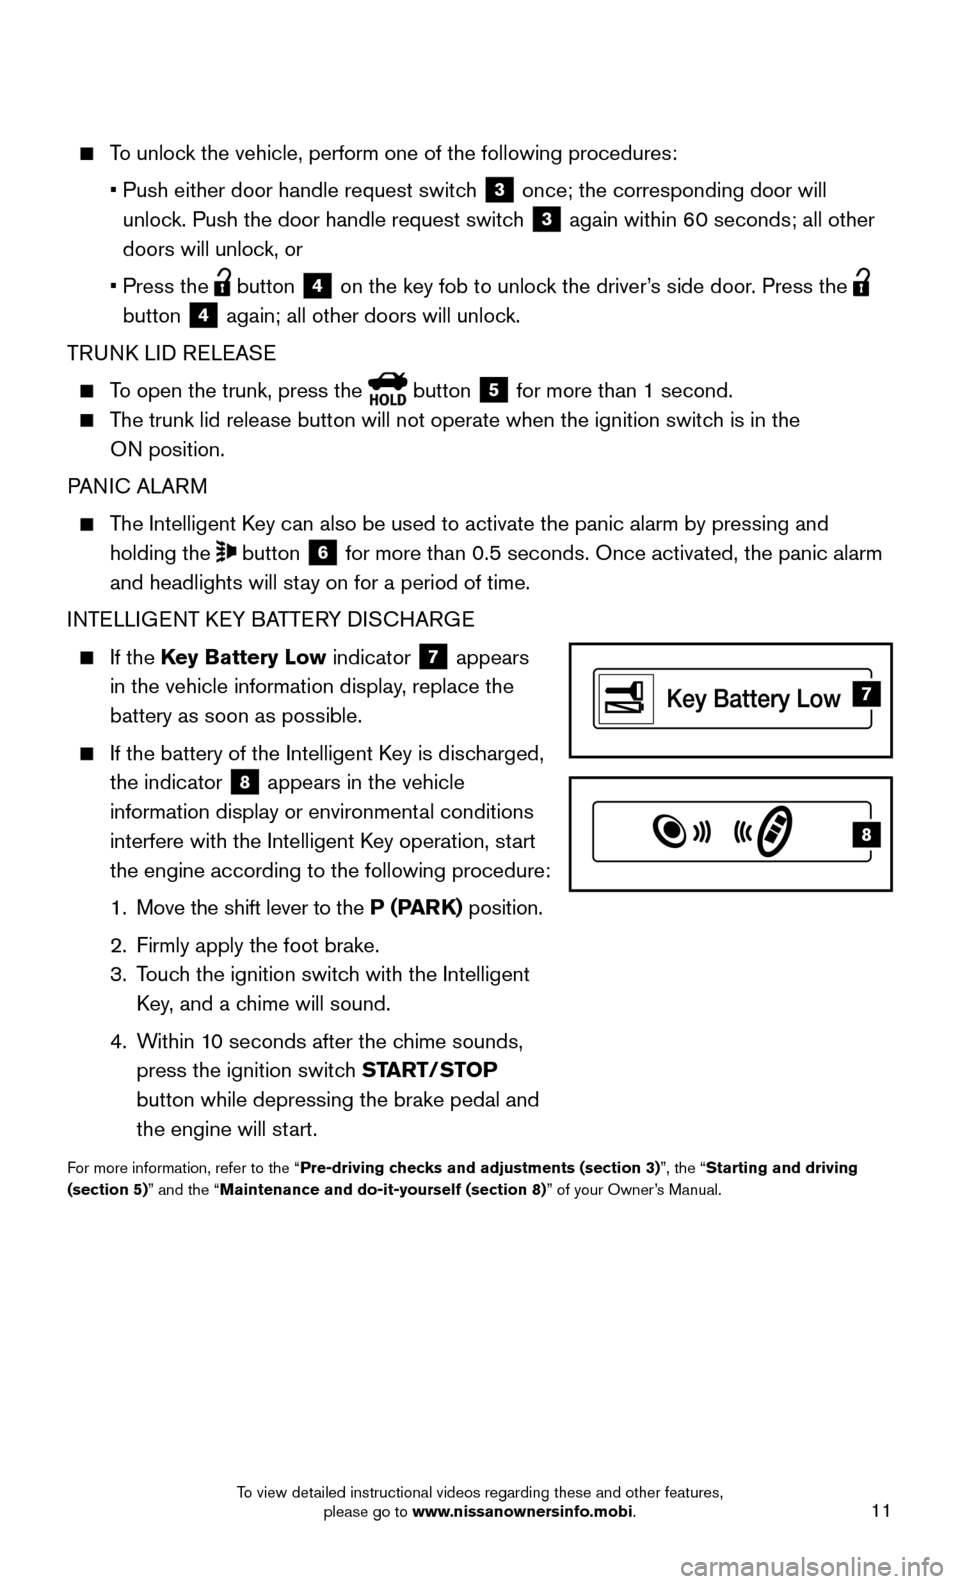
To unlock the vehicle, perform one of the following procedures:
• Push either door handle request switch 3 once; the corresponding door will
unlock. Push the door handle request switch
3 again within 60 seconds; all other
doors will unlock, or
• Press the button 4 on the key fob to unlock the driver’s side door. Press the
button
4 again; all other doors will unlock.
TRUNK LID RELEASE
To open the trunk, press the button 5 for more than 1 second.
The trunk lid release button will not operate when the ignition switch is in the
O N position.
PANIC ALARM
The Intelligent Key can also be used to activate the panic alarm by pressing and
holding the
button 6 for more than 0.5 seconds. Once activated, the panic alarm
and headlights will stay on for a period of time.
INTELLIGENT KEY BATTERY DISCHARGE
If the Key Battery Low indicator 7 appears
in the vehicle information display, replace the
battery as soon as possible.
If the battery of the Intelligent Key is disc harged,
the indicator
8 appears in the vehicle
information display or environmental conditions
interfere with the Intelligent Key operation, start
the engine according to the following procedure:
1. Move the shift lever to the P (P
ARK) position.
2. Firmly apply the foot brake.
3.
Touc
h the ignition switch with the Intelligent
Key, and a chime will sound.
4.
Within 1
0 seconds after the chime sounds,
press the ignition switch START/STOP
button while depressing the brake pedal and
the engine will start.
For more information, refer to the “Pre-driving checks and adjustments (section 3)”, the “Starting and driving
(section 5)” and the “Maintenance and do-it-yourself (section 8)” of your Owner’s Manual.
7
8
To view detailed instructional videos regarding these and other features, please go to www.nissanownersinfo.mobi.
Page 14 of 32
12
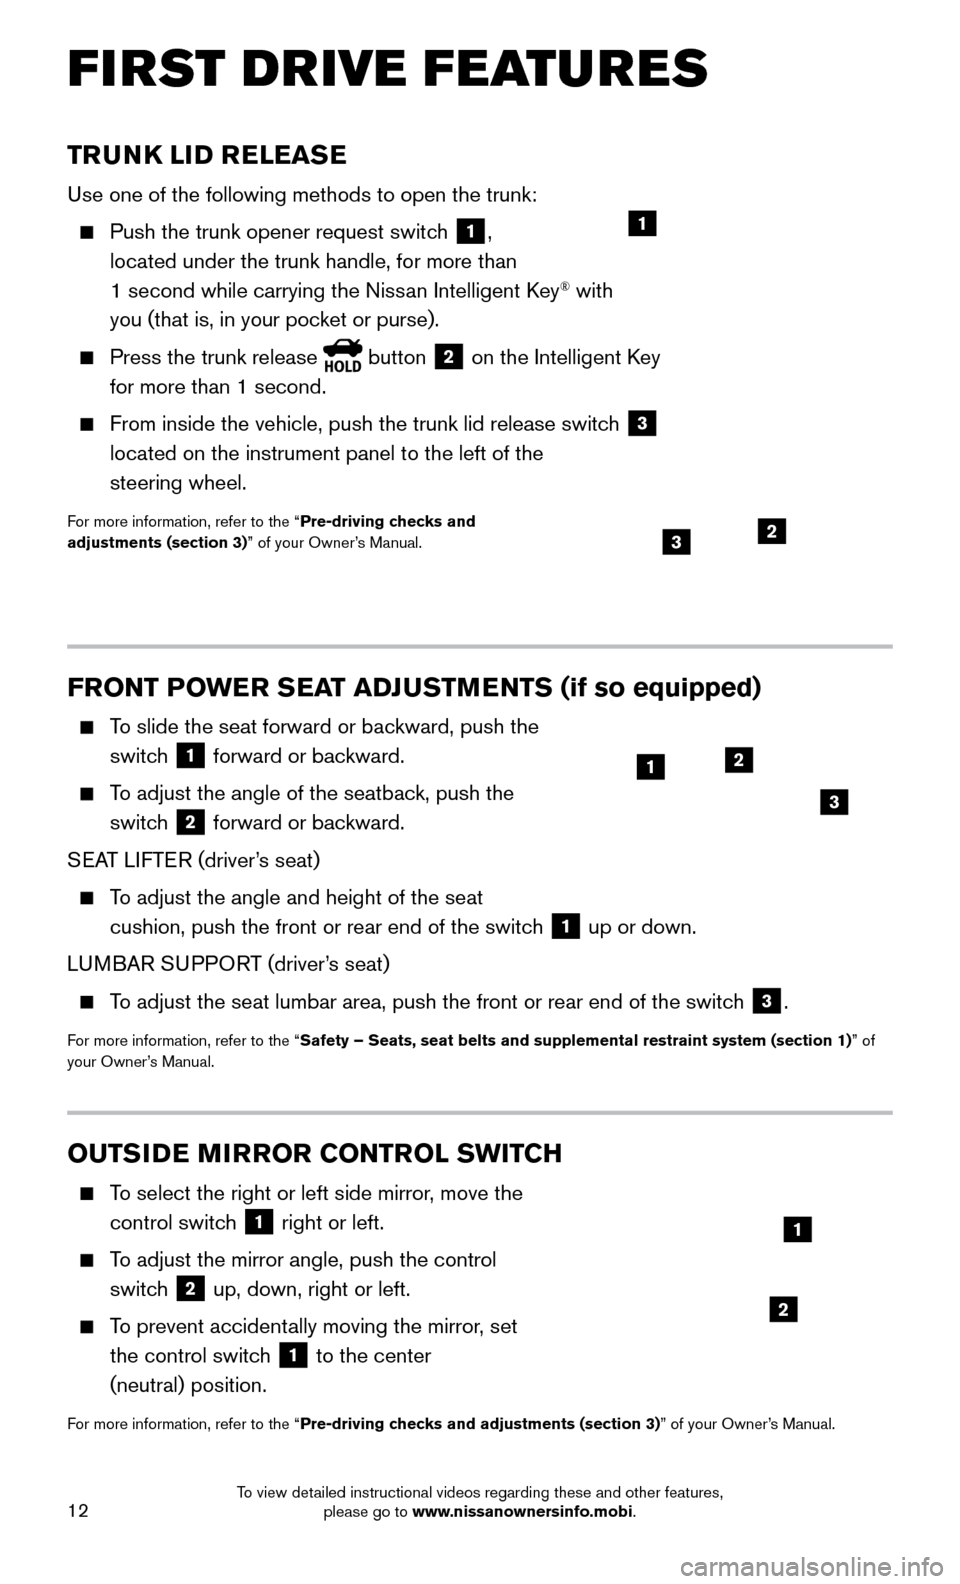
TRUNK LID RELEASE
Use one of the following methods to open the trunk:
Push the trunk opener request switch 1,
located under the trunk handle, for more than
1 second while carrying the Nissan Intelligent Key
® with
you (that is, in your pocket or purse).
Press the trunk release button 2 on the Intelligent Key
for more than 1 second.
From inside the vehicle, push the trunk lid release switch 3
located on the instrument panel to the left of the
steering wheel.
For more information, refer to the “Pre-driving checks and
adjustments (section 3)” of your Owner’s Manual.
1
23
FRONT POWER SEAT ADJUSTMENTS (if so equipped)
To slide the seat forward or backward, push the
switc h
1 forward or backward.
To adjust the angle of the seatback, push the
switch
2 forward or backward.
SEAT LIFTER (driver’s seat)
To adjust the angle and height of the seat
cushion, push the front or rear end of the switc h
1 up or down.
LUMBAR SUPPORT (driver’s seat)
To adjust the seat lumbar area, push the front or rear end of the switch 3.
For more information, refer to the “Safety – Seats, seat belts and supplemental restraint system (sectio\
n 1) ” of
your Owner’s Manual.
12
3
OUTSIDE MIRROR CONTROL SWITCH
To select the right or left side mirror, move the
control switc
h
1 right or left.
To adjust the mirror angle, push the control
switch
2 up, down, right or left.
To prevent accidentally moving the mirror, set
the control switc h
1 to the center
(neutral) position.
For more information, refer to the “Pre-driving checks and adjustments (section 3)” of your Owner’s Manual.
2
1
FIRST DRIVE FEATURES
To view detailed instructional videos regarding these and other features, please go to www.nissanownersinfo.mobi.
Page 15 of 32
13
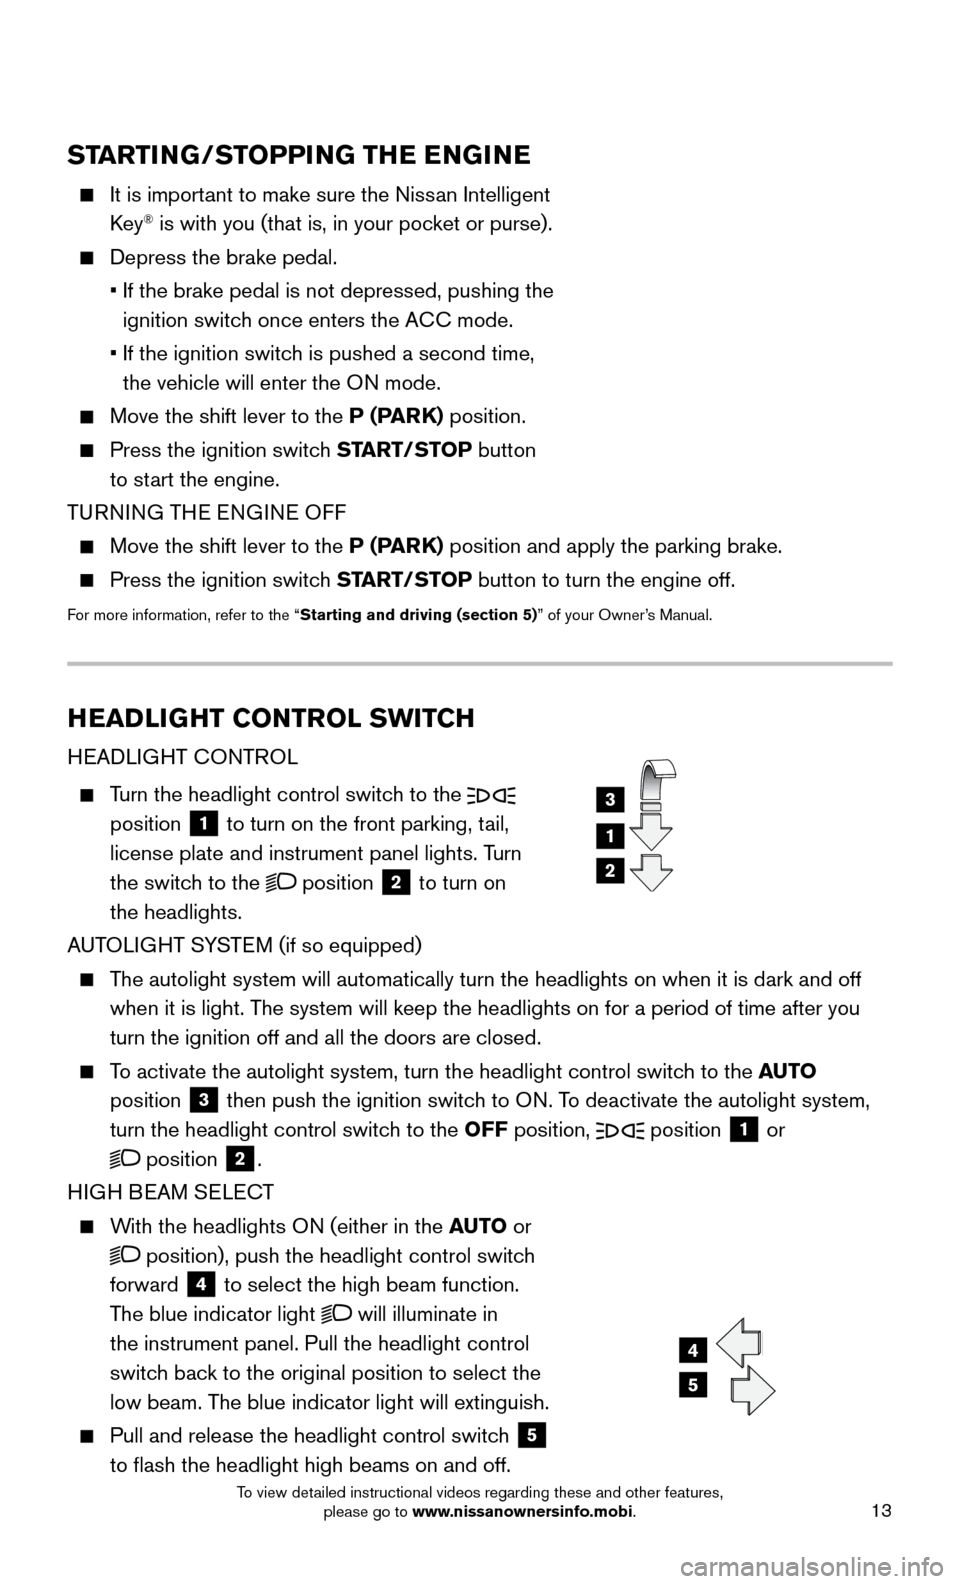
HEADLIGHT CONTROL SWITCH
HEADLIGHT CONTROL
Turn the headlight control switch to the
position 1 to turn on the front parking, tail,
license plate and instrument panel lights. Turn
the switch to the
position 2 to turn on
the headlights.
AUTOLIGHT SYSTEM (if so equipped)
The autolight system will automatically turn the headlights on when it is\
dark and off
when it is light. T he system will keep the headlights on for a period of time after you
turn the ignition off and all the doors are closed.
To activate the autolight system, turn the headlight control switch to the AUTO
position
3 then push the ignition switch to ON. To deactivate the autolight system,
turn the headlight control switch to the OFF position,
position 1 or
position 2.
HIGH BEAM SELECT
With the headlights ON (either in the AUTO or
position), push the headlight control switch
forward
4 to select the high beam function.
The blue indicator light
will illuminate in
the instrument panel. Pull the headlight control
switch back to the original position to select the
low beam. The blue indicator light will extinguish.
Pull and release the headlight control switch 5
to flash the headlight high beams on and off.
1
3
2
4
5
STARTING/STOPPING THE ENGINE
It is important to make sure the Niss an Intelligent
Key® is with you (that is, in your pocket or purse).
Depress the brake pedal.
• If the brake pedal is not depressed, pushing the
ignition switch once enters the A
CC mode.
• If the ignition switch is pushed a second time,
the vehicle will enter the O
N mode.
Move the shift lever to the P (P ARK) position.
Press the ignition switch START/STOP button
to start the engine.
TURNING THE ENGINE OFF
Move the shift lever to the P (P ARK) position and apply the parking brake.
Press the ignition switch START/STOP button to turn the engine off.
For more information, refer to the “Starting and driving (section 5)” of your Owner’s Manual.
To view detailed instructional videos regarding these and other features, please go to www.nissanownersinfo.mobi.
Page 19 of 32
17
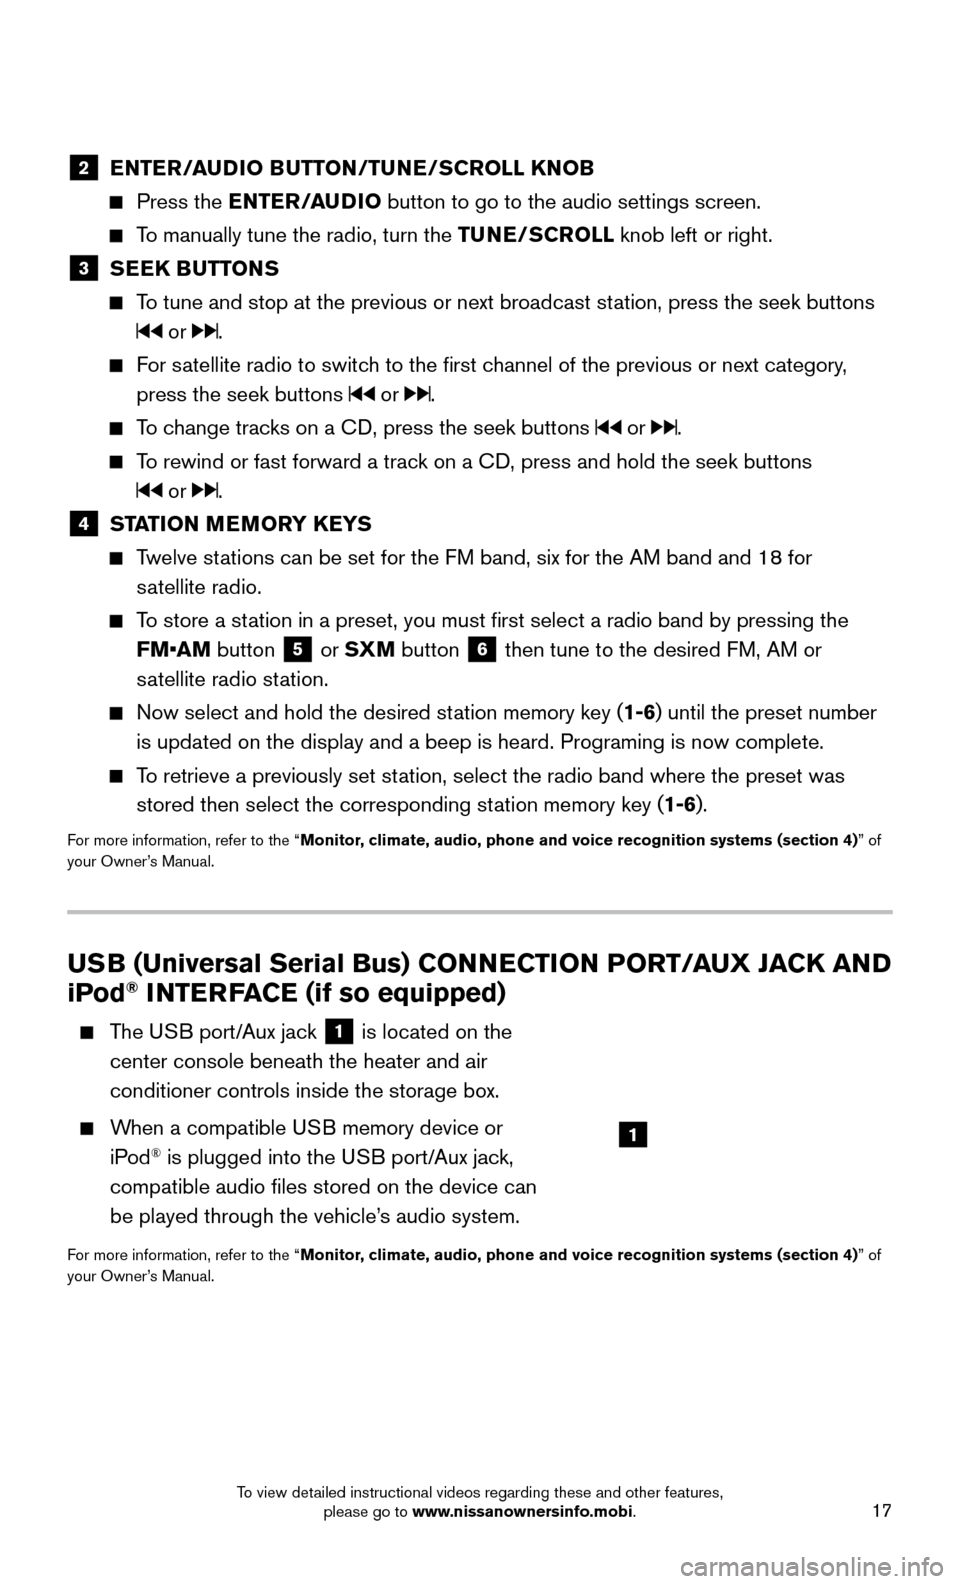
USB (Universal Serial Bus) CONNECTION PORT/AUX JACK AND
iPod® INTERFACE (if so equipped)
The USB port/Aux jack 1 is located on the
center console beneath the heater and air
conditioner controls inside the storage box.
When a compatible USB memory device or
iP od® is plugged into the USB port/Aux jack,
compatible audio files stored on the device can
be played through the vehicle’s audio system.
For more information, refer to the “Monitor, climate, audio, phone and voice recognition systems (section 4) ” of
your Owner’s Manual.
2 ENTER/AUDIO BUTTON/TUNE/SCROLL KNOB
Press the EN TER/AUDIO button to go to the audio settings screen.
To manually tune the radio, turn the TUNE/SCROLL knob left or right.
3 SEEK BUTTONS
To tune and stop at the previous or next broadcast station, press the seek buttons
or .
For satellite radio to switch to the first channel of the previous or next category,
press the seek buttons
or .
To change tracks on a CD, press the seek buttons or .
To rewind or fast forward a track on a CD, press and hold the seek buttons
or .
4 STATION MEMORY KEYS
Twelve stations can be set for the FM band, six for the AM band and 18 for
s
atellite radio.
To store a station in a preset, you must first select a radio band by pressing the \
FM•AM button
5 or SXM button 6 then tune to the desired FM, AM or
satellite radio station.
Now select and hold the desired station memory key ( 1-6) until the preset number
is updated on the display and a beep is heard. Programing is now complet\
e.
To retrieve a previously set station, select the radio band where the preset was
stored then select the corresponding st ation memory key (1-6).
For more information, refer to the “Monitor, climate, audio, phone and voice recognition systems (section 4) ” of
your Owner’s Manual.
1
To view detailed instructional videos regarding these and other features, please go to www.nissanownersinfo.mobi.
Page 22 of 32
20
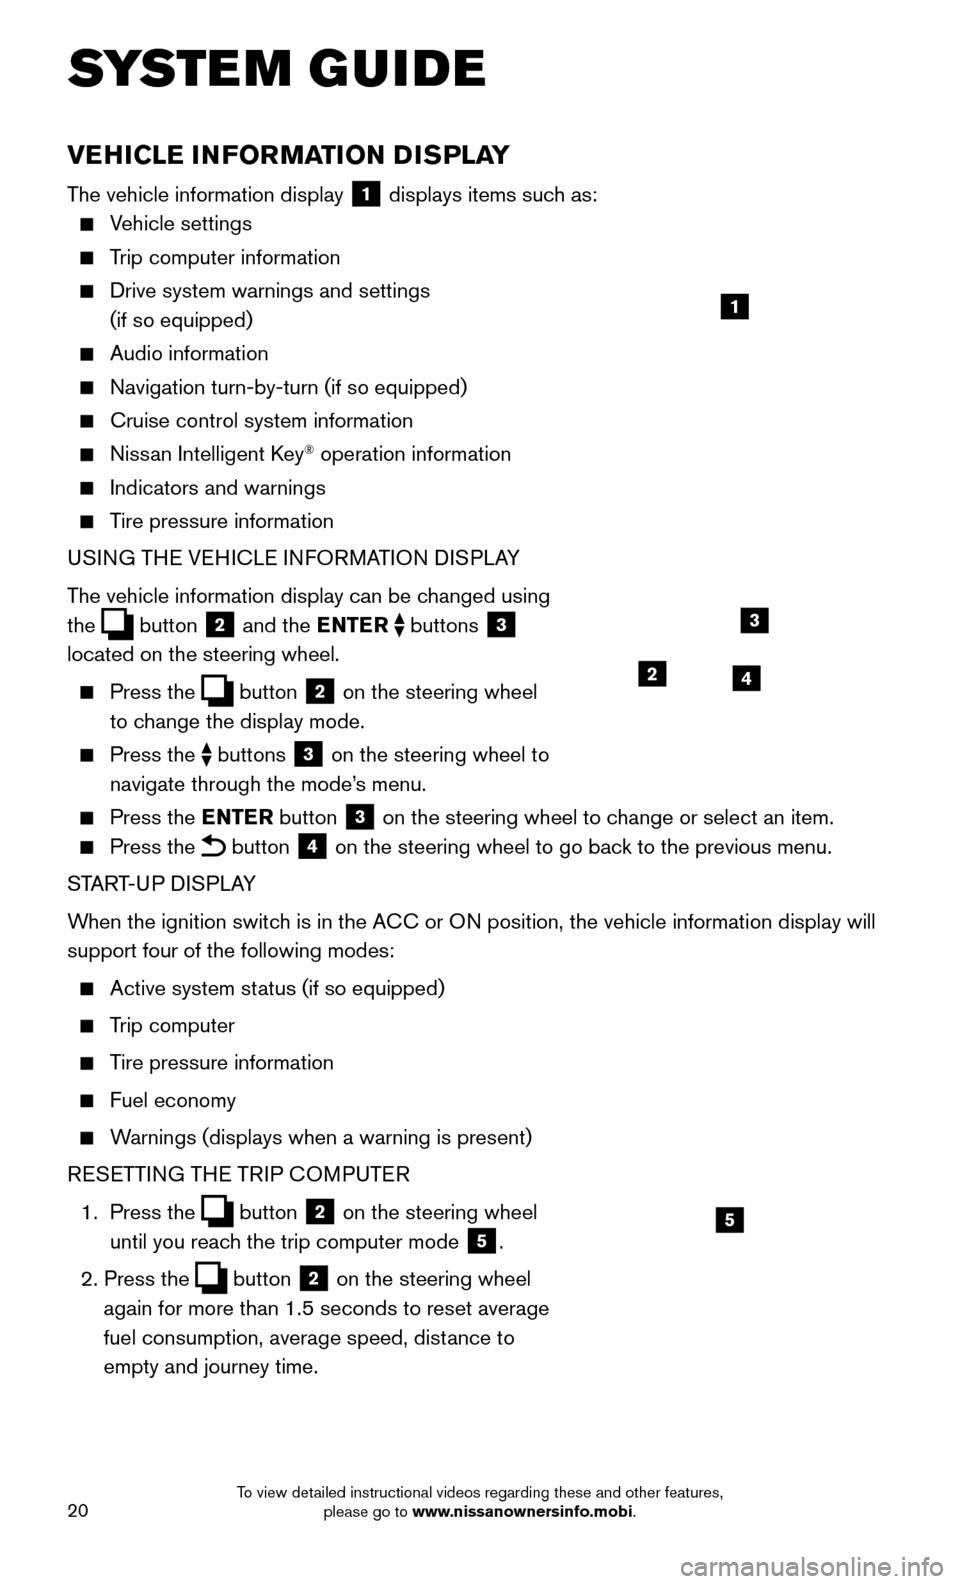
VEHICLE INFORMATION DISPLAY
The vehicle information display 1 displays items such as:
Vehicle settings
Trip computer information
Drive system warnings and settings
(if so equipped)
Audio information
Navigation turn-by-turn (if so equipped)
Cruise control system information
Nissan Intelligent Key® operation information
Indicators and warnings
Tire pressure information
USI NG THE VEHICLE INFORMATION DISPLAY
The vehicle information display can be changed using
the
button 2 and the ENTER buttons 3
located on the steering wheel.
Press the button 2 on the steering wheel
to change the display mode.
Press the buttons 3 on the steering wheel to
navigate through the mode’s menu.
Press the E NTER button 3 on the steering wheel to change or select an item.
Press the button 4 on the steering wheel to go back to the previous menu.
START-UP DISPLAY
When the ignition switch is in the ACC or ON position, the vehicle information display will
support four of the following modes:
Active system status (if so equipped)
Trip computer
Tire pressure information
Fuel economy
Warnings (displays when a warning is present)
R
ESETTING THE TRIP COMPUTER
1.
Press
the
button 2 on the steering wheel
until you reach the trip computer mode
5.
2. Press the button 2 on the steering wheel
again for more than 1.5 seconds to reset average
fuel consumption, average speed, distance to
empty and journey time.
1
3
42
5
SYSTEM GUIDE
To view detailed instructional videos regarding these and other features, please go to www.nissanownersinfo.mobi.