2016 NISSAN ALTIMA ECO mode
[x] Cancel search: ECO modePage 5 of 32

3
Stolen Vehicle Locator – A Response Specialist will attempt to obtain location
information from a reported stolen vehicle and provide that information \
to local law
enforcement agencies to assist in the recovery of your stolen vehicle.
Remote Door Lock/Unlock – Remotely access your vehicle via a NissanConnect
Services Response Specialist, the NissanConnect Services companion app or
website to remotely lock or unlock your vehicle.
Remote Engine Start – St art your engine remotely using the NissanConnect Services
companion app or website.
Remote Sound Horn and Flash Lights – Sound the horn and flash the l\
ights remotely
using the NissanConnect Services companion app or website.
Alarm Notification – This system will notify you when the factory-inst alled vehicle alarm
system has been activated.
Maintenance Alert – Receive notifications via a selected method of \
a vehicle system
malfunction that triggers instrument panel warning lights.
Connected Search – Select “Connected Searc h” from the Destination menu on the
vehicle’s Navigation System to conduct a Point Of Interest (POI) search within a
certain distance of the vehicle’s location.
Assisted Search – Allows the subscriber to verbally request P OI destination data from
a live operator.
Destination Download – Use the NissanConnect Services companion app or website
to searc h for and send destinations directly to the vehicle.
Journey Planner – Send a route with up to five waypoints and a dest\
ination directly to
the vehicle.
Boundary Alert – Monitor the movement of your vehicle within a specifi\
ed region. Set
up boundaries in the Monitoring section of the Niss anConnect Services web portal.
Speed Alert – Set up a maximum speed on the NissanConnect Services web port al.
You will receive notifications if your vehicle exceeds the maximum spee\
d setting.
Account Management – Speak with a live agent regarding your NissanConnect
Services account.
Curfew Alert – Specify curfew limits via the NissanConnect Services companion app
or website and be notified via a selected method if curfew is violated\
.
1 Only use NissanConnectSM Services powered by SiriusXM® and NissanConnectSM Mobile Apps when safe to
do so. NissanConnectSM Services and Mobile Apps availability is dependent on vehicle model, tr\
im level,
packaging, and/or options. See www.NissanUSA.com/connect for complete product and service availability
details. Late availability for some features. Compatible smartphone require\
d to operate NissanConnect
SM Mobile Apps.
Services require an operating vehicle device and cellular and GPS coverage. Cellular network and GPS signals
are not available in all areas and/or at all times. Neither NISSAN nor SiriusXM are responsible for associated costs,
if any, for continued operation due to cellular network termination/changes. Cellular provider may terminate/restrict
service without notice. Certain services require a PIN for activation. Applicable Subscription Agreement required. See
www.NissanUSA.com/connect for details and service limitations. Enrollment is required to receive the full suite of
services. Text rates and/or data usage may apply.
For more information, refer to the “Other settings (section 5)” and the “General system information (section 6)” of
your Navigation System Owner’s Manual.
To view detailed instructional videos regarding these and other features, please go to www.nissanownersinfo.mobi.
Page 8 of 32

6
NEW SYSTEM FEATURES
SiriusXM TRAVEL LINK* AND SiriusXM TRAFFIC*
(if so equipped)
Your vehicle’s Navigation System is equipped
with SiriusXM Travel Link and SiriusXM
Traffic capabilities.
SiriusXM Travel Link provides access to real-time
weather information and forecasts, nearby
fuel prices, movie listings, sports scores and
stoc
k quotes.
SiriusXM Traffic provides information that may
help to avoid delays due to traffic incidents.
Traffic jams, roadwork, road closures around the
current location, etc., are represented graphically
on the map by icons depicting the nature of the
event. Incidents on the route are automatically
displayed as they are approached.
* These features, SiriusXM® Satellite Radio, Travel Link and Traffic, require an active subscription. Multiple subscriptions
may be necessary to activate the various features.
For more information, refer to the “Navigation (section 4)” and the “General system information (section 6)” of
your Navigation System Owner’s Manual.
SIRI® EYES FREE1 (if so equipped)
If you have a compatible iPhone®,2 with Siri®,
you can link your iPhone® to the Siri® Eyes Free
function in your vehicle’s Bluetooth®,3 system.
If you have a compatible iPhone® connected to
the system, press and hold the
button 1
on the steering wheel for a few seconds and
Siri
® will be activated in Eyes Free mode.1 Siri® is a trademark of Apple Inc., registered in the U.S. and other countrie\
s.2 iPhone is registered trademark of Apple, Inc. All rights reserved. iPho\
ne not included.
3 Availability of specific features is dependent upon the phone’s Bluetooth® support. Please refer to your phone owner’s
manual for details. Bluetooth® word mark and logos are owned by Bluetooth SIG, Inc., and any use of such marks by
NISSAN is under license. See www.NissanUSA.com/bluetooth for details.
For more information, refer to the “Monitor, climate, audio, phone and voice recognition systems (section 4) ” of
your Owner’s Manual and visit www.NissanUSA.com/bluetooth.
1
To view detailed instructional videos regarding these and other features, please go to www.nissanownersinfo.mobi.
Page 9 of 32
7
ESSE NTIAL I N FOR MATION
TIRE PRESSURE MONITORING SYSTEM (TPMS)
WITH EASY FILL TIRE ALERT
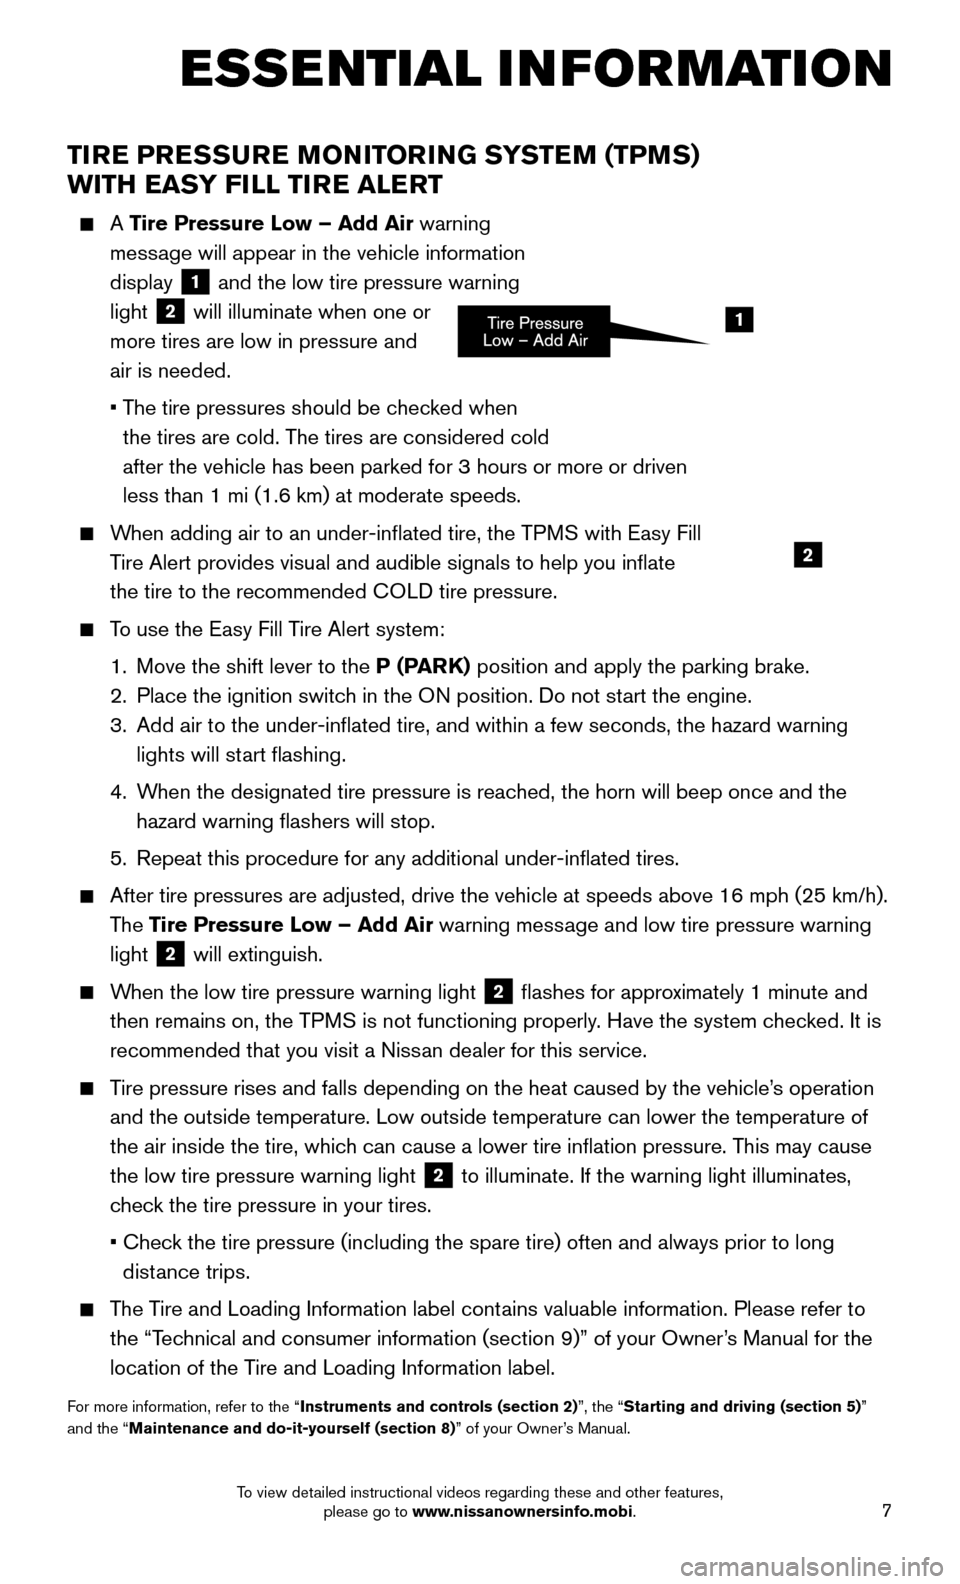
A Tire Pressure Low – Add Air warning
mess age will appear in the vehicle information
display
1 and the low tire pressure warning
light
2 will illuminate when one or
more tires are low in pressure and
air is needed.
• The tire pressures should be c
hecked when
the tires are cold. The tires are considered cold
after the vehicle has been parked for 3 hours or more or driven
less than 1 mi (1.6 km) at moderate speeds.
When adding air to an under-inflated tire, the TPMS with Easy Fill
T ire Alert provides visual and audible signals to help you inflate
the tire to the recommended COLD tire pressure.
To use the Easy Fill Tire Alert system:
1. Move the shift lever to the P (P
ARK) position and apply the parking brake.
2. Place the ignition switch in the O
N position. Do not start the engine.
3.
Add air to the under-inflated tire, and within a few seconds, the haza\
rd warning
lights will start flashing.
4.
When the designated tire pressure is reac
hed, the horn will beep once and the
hazard warning flashers will stop.
5.
Repeat this procedure for any additional under-inflated tires.
After tire pressures are adjusted, drive the vehicle at speeds above 16 \
mph (25 km/h).
The Tire Pressure Low – Add Air warning message and low tire pressure warning
light
2 will extinguish.
When the low tire pressure warning light 2 flashes for approximately 1 minute and
then remains on, the TPMS is not functioning properly. Have the system checked. It is
recommended that you visit a Nissan dealer for this service.
Tire pressure rises and falls depending on the heat caused by the vehicle\
’s operation
and the outside temperature. Low outside temperature can lower the tempe\
rature of
the air inside the tire, whic
h can cause a lower tire inflation pressure. This may cause
the low tire pressure warning light
2 to illuminate. If the warning light illuminates,
check the tire pressure in your tires.
• Check the tire pressure (including the spare tire) often and always prior \
to long
dist
ance trips.
The Tire and Loading Information label contains valuable information. Please refer to
the “T echnical and consumer information (section 9)” of your Owner’s Manual for the
location of the Tire and Loading Information label.
For more information, refer to the “Instruments and controls (section 2)”, the “Starting and driving (section 5)”
and the “Maintenance and do-it-yourself (section 8)” of your Owner’s Manual.
1
2
To view detailed instructional videos regarding these and other features, please go to www.nissanownersinfo.mobi.
Page 11 of 32
9
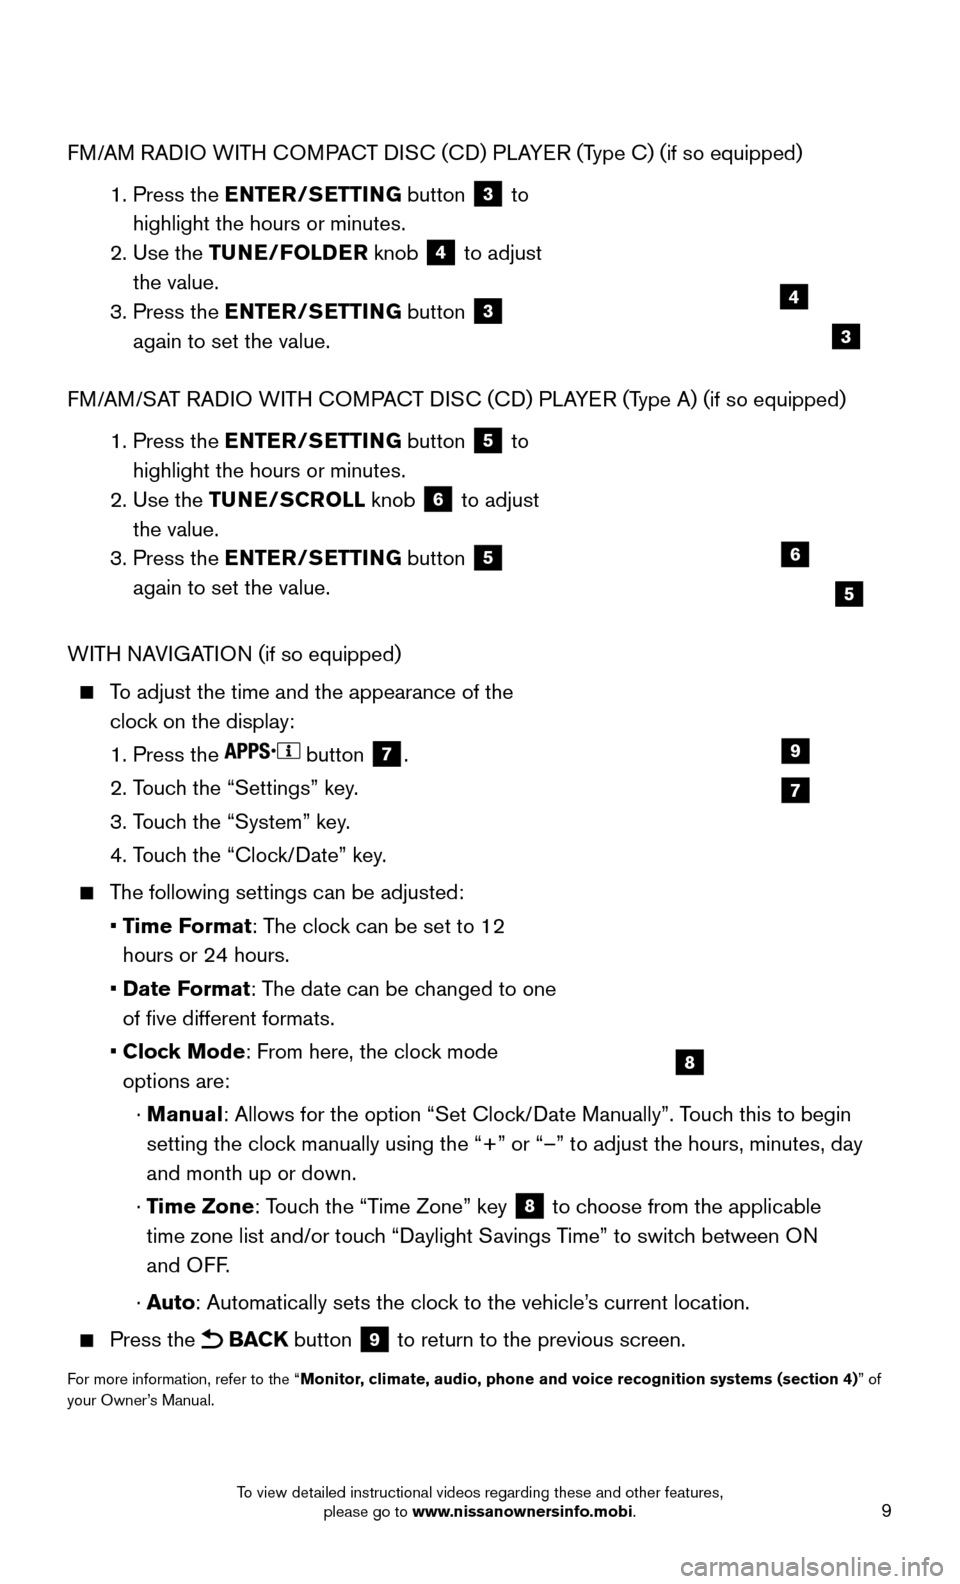
FM/AM RADIO WITH COMPACT DISC (CD) PLAYER (Type C) (if so equipped)
1. Press the EN
TER/SETTING button
3 to
highlight the hours or minutes.
2. Use the T
UNE/FOLDER knob
4 to adjust
the value.
3. Press the EN
TER/SETTING button
3
again to set the value.
FM/AM/SAT RADIO WITH COMPACT DISC (CD) PLAYER (Type A) (if so equipped)
1. Press the EN
TER/SETTING button
5 to
highlight the hours or minutes.
2. Use the TU
NE/SCROLL knob
6 to adjust
the value.
3. Press the EN
TER/SETTING button
5
again to set the value.
WITH NAVIGATION (if so equipped)
To adjust the time and the appearance of the
cloc k on the display:
1. Press the button 7.
2. Touc
h the “Settings” key.
3. Touc
h the “System” key.
4. Touc
h the “Clock/Date” key.
The following settings can be adjusted:
• Time F
ormat: The clock can be set to 12
hours or 24 hours.
• Date Format
: The date can be changed to one
of five different formats.
• Clock Mode
: From here, the clock mode
options are:
· Manual
: Allows for the option “Set Clock/Date Manually”. Touch this to begin
setting the clock manually using the “+” or “–” to adjust the hours, minu\
tes, day
and month up or down.
· Time Zone
: Touch the “Time Zone” key
8 to choose from the applicable
time zone list and/or touch “Daylight Savings Time” to switch between ON
and OFF.
· A
uto: Automatically sets the clock to the vehicle’s current location.
Press the BACK button 9 to return to the previous screen.
For more information, refer to the “Monitor, climate, audio, phone and voice recognition systems (section 4) ” of
your Owner’s Manual.
7
9
8
4
6
3
5
To view detailed instructional videos regarding these and other features, please go to www.nissanownersinfo.mobi.
Page 15 of 32
13
HEADLIGHT CONTROL SWITCH
HEADLIGHT CONTROL
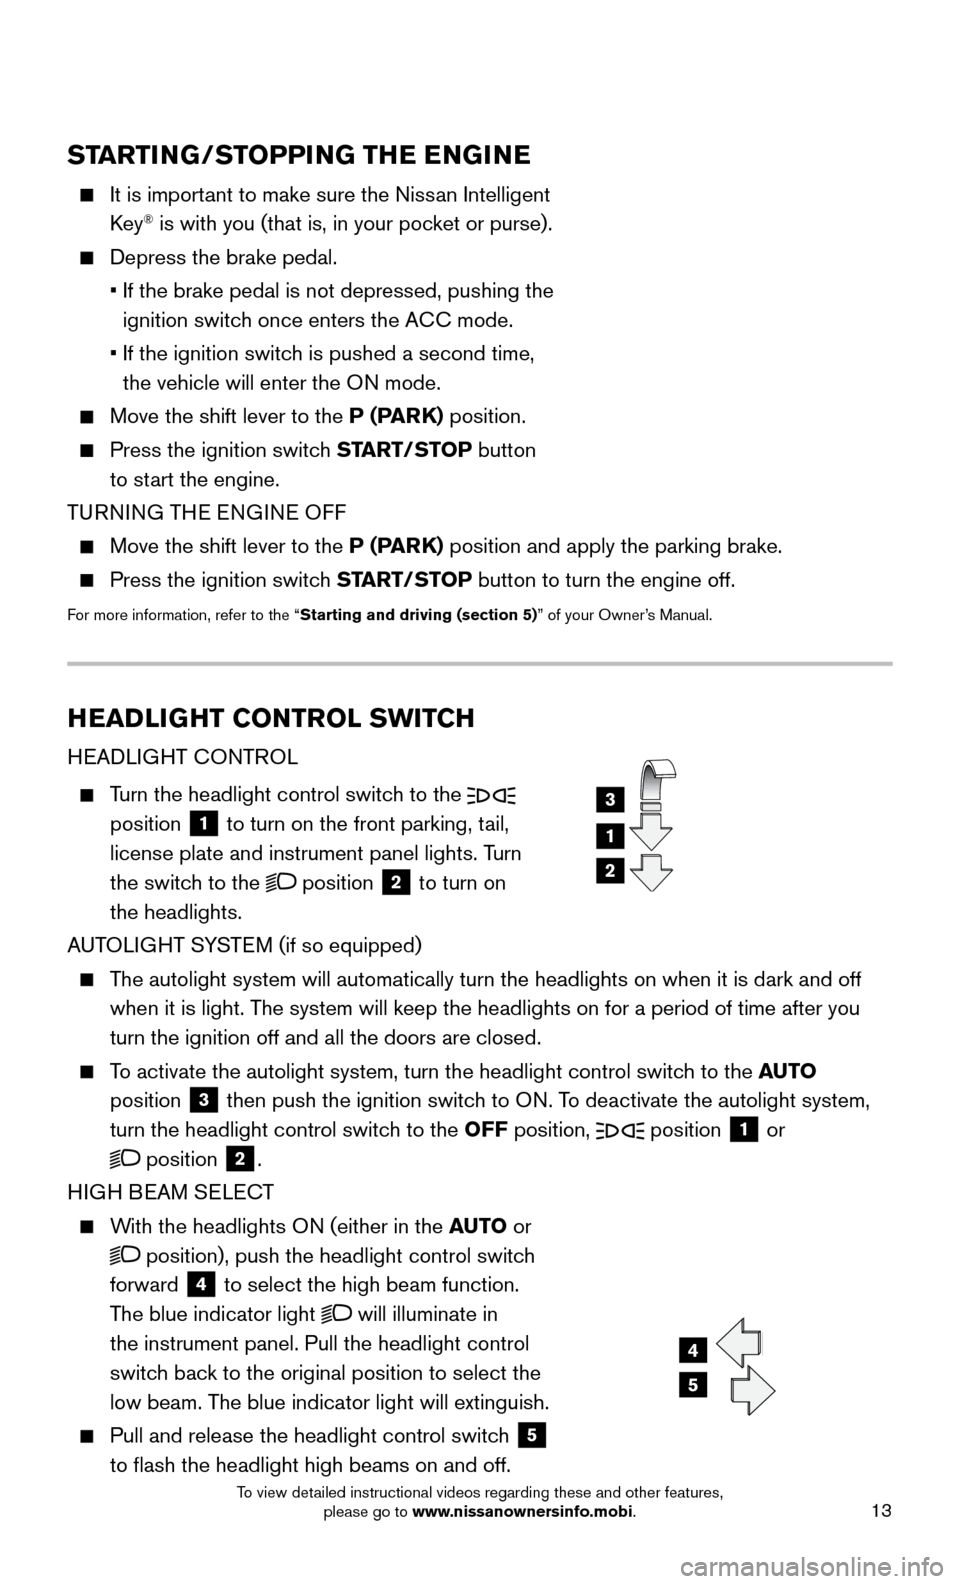
Turn the headlight control switch to the
position 1 to turn on the front parking, tail,
license plate and instrument panel lights. Turn
the switch to the
position 2 to turn on
the headlights.
AUTOLIGHT SYSTEM (if so equipped)
The autolight system will automatically turn the headlights on when it is\
dark and off
when it is light. T he system will keep the headlights on for a period of time after you
turn the ignition off and all the doors are closed.
To activate the autolight system, turn the headlight control switch to the AUTO
position
3 then push the ignition switch to ON. To deactivate the autolight system,
turn the headlight control switch to the OFF position,
position 1 or
position 2.
HIGH BEAM SELECT
With the headlights ON (either in the AUTO or
position), push the headlight control switch
forward
4 to select the high beam function.
The blue indicator light
will illuminate in
the instrument panel. Pull the headlight control
switch back to the original position to select the
low beam. The blue indicator light will extinguish.
Pull and release the headlight control switch 5
to flash the headlight high beams on and off.
1
3
2
4
5
STARTING/STOPPING THE ENGINE
It is important to make sure the Niss an Intelligent
Key® is with you (that is, in your pocket or purse).
Depress the brake pedal.
• If the brake pedal is not depressed, pushing the
ignition switch once enters the A
CC mode.
• If the ignition switch is pushed a second time,
the vehicle will enter the O
N mode.
Move the shift lever to the P (P ARK) position.
Press the ignition switch START/STOP button
to start the engine.
TURNING THE ENGINE OFF
Move the shift lever to the P (P ARK) position and apply the parking brake.
Press the ignition switch START/STOP button to turn the engine off.
For more information, refer to the “Starting and driving (section 5)” of your Owner’s Manual.
To view detailed instructional videos regarding these and other features, please go to www.nissanownersinfo.mobi.
Page 18 of 32
16
1
6
4
5
3
2
FM/AM/SiriusXM®* SATELLITE RADIO WITH CD PLAYER
(if so equipped)
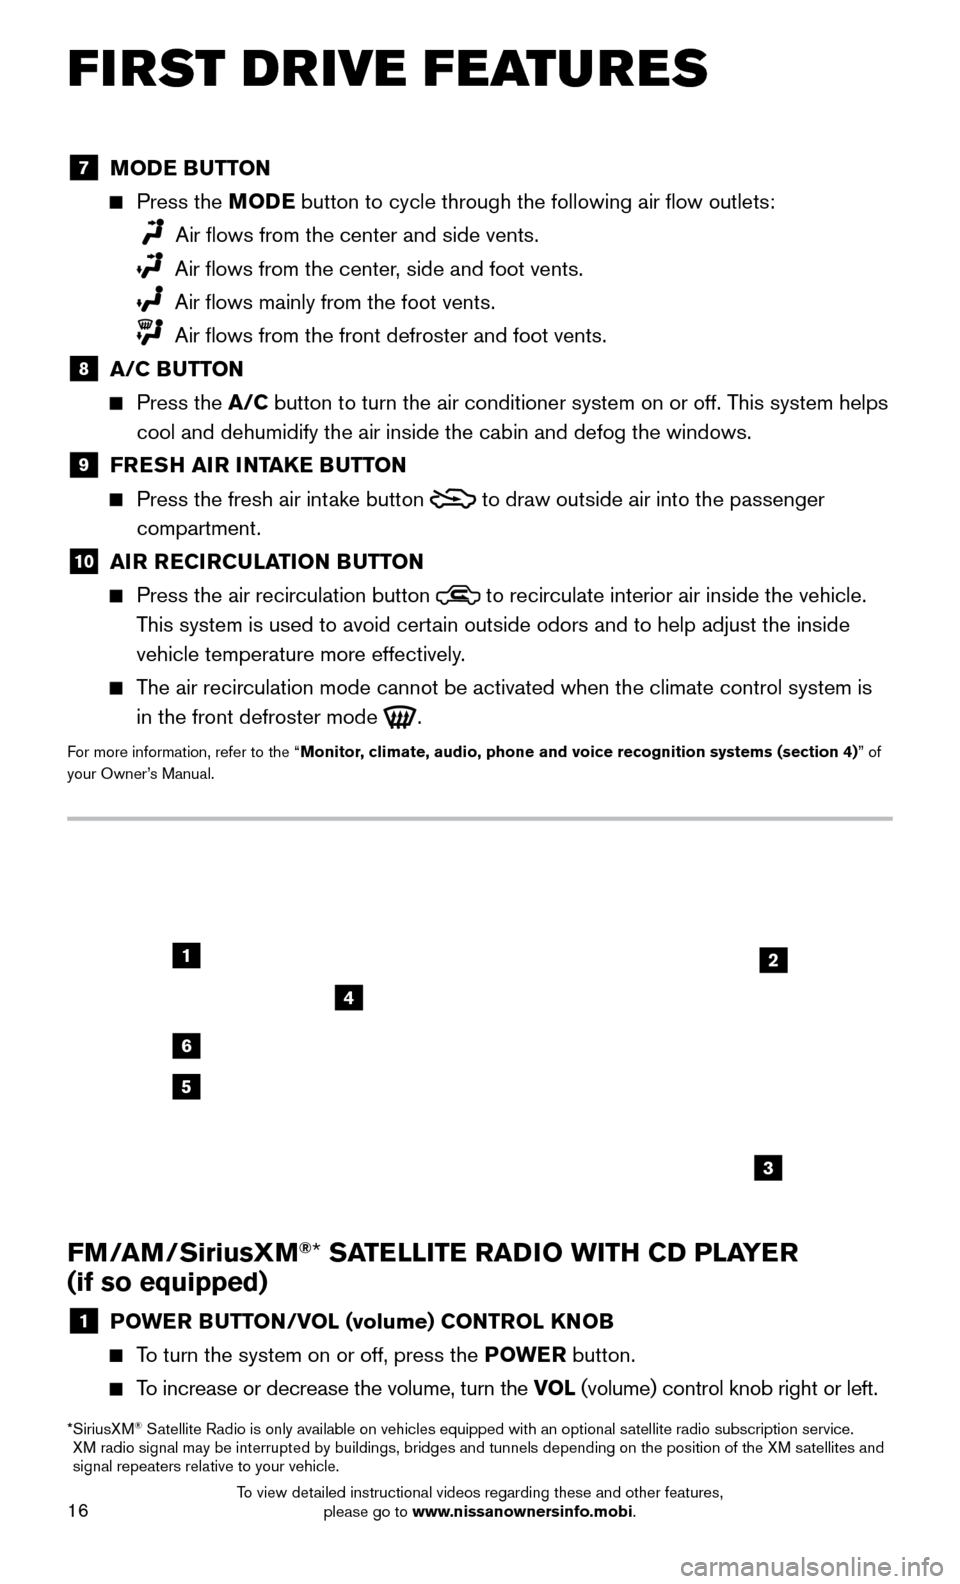
1 POWER BUTTON/VOL (volume) CONTROL KNOB
To turn the system on or off, press the POWE R button.
To increase or decrease the volume, turn the VOL (volume) control knob right or left.
* SiriusXM® Satellite Radio is only available on vehicles equipped with an optional s\
atellite radio subscription service.
XM radio signal may be interrupted by buildings, bridges and tunnels depe\
nding on the position of the XM satellites and
signal repeaters relative to your vehicle.
7 MODE BUTTON
Press the M ODE button to cycle through the following air flow outlets:
Air flows from the center and side vents.
Air flows from the center, side and foot vents.
Air flows mainly from the foot vents.
Air flows from the front defroster and foot vents.
8 A/C BUTTON
Press the
A/C button to turn the air conditioner system on or off. T his system helps
cool and dehumidify the air inside the cabin and defog the windows.
9 FRESH AIR INTAKE BUTTON
Press the fresh air intake button to draw outside air into the passenger
compartment.
10 AIR RECIRCULATION BUTTON
Press the air recirculation button to recirculate interior air inside the vehicle.
This system is used to avoid certain outside odors and to help adjust the inside
vehicle temperature more effectively.
The air recirculation mode cannot be activated when the climate control s\
ystem is
in the front defroster mode
.
For more information, refer to the “Monitor, climate, audio, phone and voice recognition systems (section 4) ” of
your Owner’s Manual.
FIRST DRIVE FEATURES
To view detailed instructional videos regarding these and other features, please go to www.nissanownersinfo.mobi.
Page 22 of 32
20
VEHICLE INFORMATION DISPLAY
The vehicle information display 1 displays items such as:
Vehicle settings
Trip computer information
Drive system warnings and settings
(if so equipped)
Audio information
Navigation turn-by-turn (if so equipped)
Cruise control system information
Nissan Intelligent Key® operation information
Indicators and warnings
Tire pressure information
USI NG THE VEHICLE INFORMATION DISPLAY
The vehicle information display can be changed using
the
button 2 and the ENTER buttons 3
located on the steering wheel.
Press the button 2 on the steering wheel
to change the display mode.
Press the buttons 3 on the steering wheel to
navigate through the mode’s menu.
Press the E NTER button 3 on the steering wheel to change or select an item.
Press the button 4 on the steering wheel to go back to the previous menu.
START-UP DISPLAY
When the ignition switch is in the ACC or ON position, the vehicle information display will
support four of the following modes:
Active system status (if so equipped)
Trip computer
Tire pressure information
Fuel economy
Warnings (displays when a warning is present)
R
ESETTING THE TRIP COMPUTER
1.
Press
the
button 2 on the steering wheel
until you reach the trip computer mode
5.
2. Press the button 2 on the steering wheel
again for more than 1.5 seconds to reset average
fuel consumption, average speed, distance to
empty and journey time.
1
3
42
5
SYSTEM GUIDE
To view detailed instructional videos regarding these and other features, please go to www.nissanownersinfo.mobi.
Page 23 of 32

21
SETTINGS
The setting mode allows you to change the information displayed in the vehicle
information display:
Driver Assistance (if so equipped) Alarms
Vehicle Settings Language
Main Menu Selection Unit
Body Color Welcome Effects
Maintenance Factory Reset
For more information, refer to the “Instruments and controls (section 2)” of your Owner’s Manual.
NISSANCONNECTSM MOBILE APPS1 (if so equipped)
Press the MENU button on the control panel, touch the “Info” key on the Launch Bar
and then touch the NissanConnectSM Mobile Apps key.
1. Start by creating a Niss
an Owner Portal account at owners.NissanUSA.com.
2.
Next, download the NissanConnect Mobile Apps companion app from Google Play or
the Apple App Store.
3.
Launch the app and sign-in with the email user name and password you created \
when
registering on the Niss
an Owner Portal website.
FOR S
YSTEM WITH NAVIGATION
• iPhone®,2: Please connect via USB when using an iPhone® with NissanConnect
Mobile Apps.
• Android®,3: Please connect via Bluetooth®,4 when using an Android® device with
NissanConnect Mobile Apps.
FOR S
YSTEM WITH NAVIGATION
• iPhone®: Please connect via Bluetooth®,4 when using an iPhone® with
NissanConnect Mobile Apps.
• Android®: Please connect via Bluetooth®,4 when using an Android® device with
NissanConnect Mobile Apps.
For more information on how to pair your cellular phone and set up NissanConnect
Mobile Apps, visit: www.NissanUSA.com/connect/support.
1 Only use features when safe to do so. App availability is dependent upon vehicle model, trim lev\
el, pac kaging,
and/or options. See www.NissanUSA.com/Connect for complete app availability details. Compatible smartphone
required. Cellular network and GPS signals not available in all areas and/or at all times. NISSAN is not responsible for
associated costs, if any, for continued operation due to cellular network or other third party t\
ermination/changes. Cellular
or other third party provider may terminate/restrict respective service \
without notice. Subscription Agreement required.
See www.NissanUSA.com/connect for details. Text rates and/or data usage may apply.
2 iPhone is registered trademark of Apple, Inc. All rights reserved. iPhon\
e not included.3 Android® is a registered trademark of Google, Inc.4 Availability of specific features is dependent upon the cellular phone’\
s Bluetooth® support. Please refer to your cellular
phone’s Owner’s Manual for details. Bluetooth® word mark and logos are owned by Bluetooth SIG, Inc., and any use of
such marks by NISSAN is under license. See www.NissanUSA.com/bluetooth for details.
For more information, refer to the “Monitor, climate, audio, phone and voice recognition systems (section 4) ” of
your Owner’s Manual or the “Information (section 5)” of your Navigation System Owner’s Manual.
To view detailed instructional videos regarding these and other features, please go to www.nissanownersinfo.mobi.