2016 NISSAN 370Z COUPE lock
[x] Cancel search: lockPage 158 of 428
CAUTION
.Do not store the main sun visor
before storing the extension sun
visor.
. Do not pull the extension sun visor
forcedly downwards.
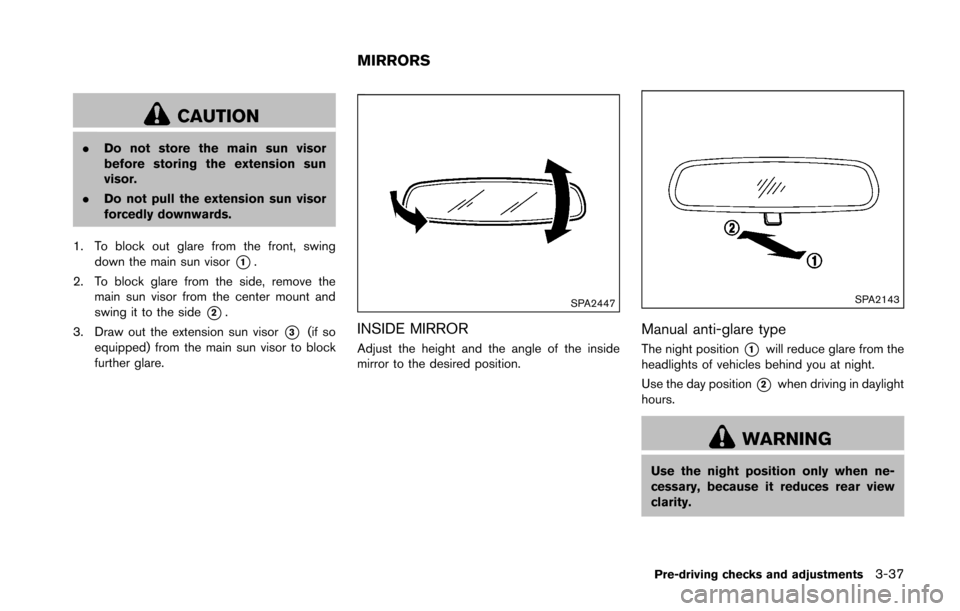
1. To block out glare from the front, swing down the main sun visor
*1.
2. To block glare from the side, remove the main sun visor from the center mount and
swing it to the side
*2.
3. Draw out the extension sun visor
*3(if so
equipped) from the main sun visor to block
further glare.
SPA2447
INSIDE MIRROR
Adjust the height and the angle of the inside
mirror to the desired position.
SPA2143
Manual anti-glare type
The night position*1will reduce glare from the
headlights of vehicles behind you at night.
Use the day position
*2when driving in daylight
hours.
WARNING
Use the night position only when ne-
cessary, because it reduces rear view
clarity.
Pre-driving checks and adjustments3-37
MIRRORS
Page 174 of 428
screen off, the screen turns on for further
operation. The screen will turn off automatically
5 seconds after the operation is finished.
To turn on the screen, set this item to the ON
position, or push and hold the “
OFF”
button.
. Brightness/Contrast/Background Color
To adjust the brightness and contrast of the
screen, select the “Brightness” or “Contrast”
key.
Then, you can adjust the brightness and contrast
using the multi-function controller.
For information on the “Background Color” key,
refer to the separate Navigation System Own-
er’s Manual.
For Roadster models:
Depending on the driver’s seat position, the
display could be hard to read. Adjust the
brightness and contrast of the display on the
setting screen.
Color Theme:
Choose the theme color of the menu screen
from “Black”, “Blue” or “Red”.
SAA2487
Clock settings
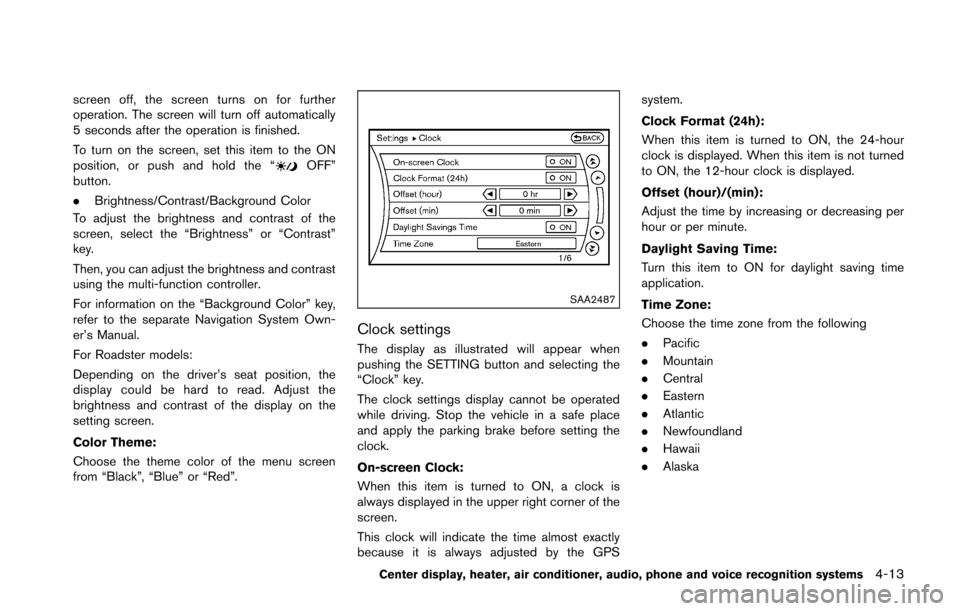
The display as illustrated will appear when
pushing the SETTING button and selecting the
“Clock” key.
The clock settings display cannot be operated
while driving. Stop the vehicle in a safe place
and apply the parking brake before setting the
clock.
On-screen Clock:
When this item is turned to ON, a clock is
always displayed in the upper right corner of the
screen.
This clock will indicate the time almost exactly
because it is always adjusted by the GPS system.
Clock Format (24h):
When this item is turned to ON, the 24-hour
clock is displayed. When this item is not turned
to ON, the 12-hour clock is displayed.
Offset (hour)/(min):
Adjust the time by increasing or decreasing per
hour or per minute.
Daylight Saving Time:
Turn this item to ON for daylight saving time
application.
Time Zone:
Choose the time zone from the following
.
Pacific
. Mountain
. Central
. Eastern
. Atlantic
. Newfoundland
. Hawaii
. Alaska
Center display, heater, air conditioner, audio, phone and voice recognition systems4-13
Page 175 of 428
4-14Center display, heater, air conditioner, audio, phone and voice recognition systems
JVH0308M
Others settings
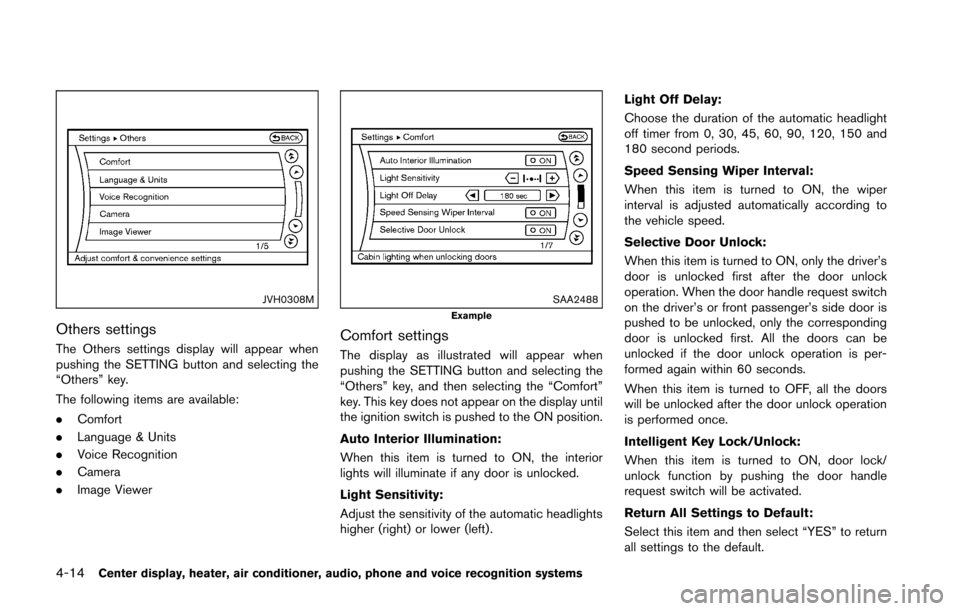
The Others settings display will appear when
pushing the SETTING button and selecting the
“Others” key.
The following items are available:
.Comfort
. Language & Units
. Voice Recognition
. Camera
. Image Viewer
SAA2488Example
Comfort settings
The display as illustrated will appear when
pushing the SETTING button and selecting the
“Others” key, and then selecting the “Comfort”
key. This key does not appear on the display until
the ignition switch is pushed to the ON position.
Auto Interior Illumination:
When this item is turned to ON, the interior
lights will illuminate if any door is unlocked.
Light Sensitivity:
Adjust the sensitivity of the automatic headlights
higher (right) or lower (left) . Light Off Delay:
Choose the duration of the automatic headlight
off timer from 0, 30, 45, 60, 90, 120, 150 and
180 second periods.
Speed Sensing Wiper Interval:
When this item is turned to ON, the wiper
interval is adjusted automatically according to
the vehicle speed.
Selective Door Unlock:
When this item is turned to ON, only the driver’s
door is unlocked first after the door unlock
operation. When the door handle request switch
on the driver’s or front passenger’s side door is
pushed to be unlocked, only the corresponding
door is unlocked first. All the doors can be
unlocked if the door unlock operation is per-
formed again within 60 seconds.
When this item is turned to OFF, all the doors
will be unlocked after the door unlock operation
is performed once.
Intelligent Key Lock/Unlock:
When this item is turned to ON, door lock/
unlock function by pushing the door handle
request switch will be activated.
Return All Settings to Default:
Select this item and then select “YES” to return
all settings to the default.
Page 187 of 428
4-26Center display, heater, air conditioner, audio, phone and voice recognition systems
.The temperature of the passenger compart-
ment will be maintained automatically. Air
flow distribution and fan speed are also
controlled automatically.
A visible mist may be seen coming from the
ventilators in hot, humid conditions as the air is
cooled rapidly. This does not indicate a mal-
function.
Dehumidified defrosting or defogging:
1. Turn the “
” fan speed control dial to the
desired position.
2. Turn the air flow control dial to the “
”
position.
3. Turn the temperature control dial to set the desired temperature.
.To quickly remove ice from the outside ofthe windows, turn the “” fan speed
control dial to the maximum position.
.As soon as possible after the windshield is clean, turn the air flow control dial to
the “AUTO” position to return to the auto
mode.
.When the air flow control dial is turned tothe “”or“” position, the air
conditioner will automatically be turned
on at outside temperatures above 238F
(�í58C) to defog the windshield, and the
air recirculation mode will automatically
be turned off. Outside air is drawn into the passenger
compartment to improve the defogging
performance.
Manual operation
Fan speed control:
Turn the “
” fan speed control dial clockwise
(+) or counterclockwise (�í) to manually control
the fan speed.
Turn the dial to the “AUTO” position to return to
automatic control of the fan speed.
Temperature control:
Turn the temperature control dial to set the
desired temperature.
. The temperature can be set within the
following range.
— For U.S.: 60 to 908F (16 to 328C)
— For Canada: 64 to 908F (18 to 328C)
Air recirculation:
Push the “
” intake air control button to
recirculate interior air inside the vehicle. The
indicator light on the “
” side will come on.
The air recirculation mode cannot be activated
when the air conditioner is in the front defrosting
mode “
”.
Outside air circulation:
Push the “
” intake air control button to draw outside air into the passenger compart-
ment. The indicator light on the “
” side will
come on.
Automatic intake air control:
In the AUTO mode, the intake air will be
controlled automatically. To manually control
the intake air, push the “
” intake air
control button. To return to the automatic control
mode, push the “
” intake air control
button for approximately 2 seconds. The indi-
cator lights (both air recirculation and outside air
circulation sides) will flash twice, and then the
intake air will be controlled automatically.
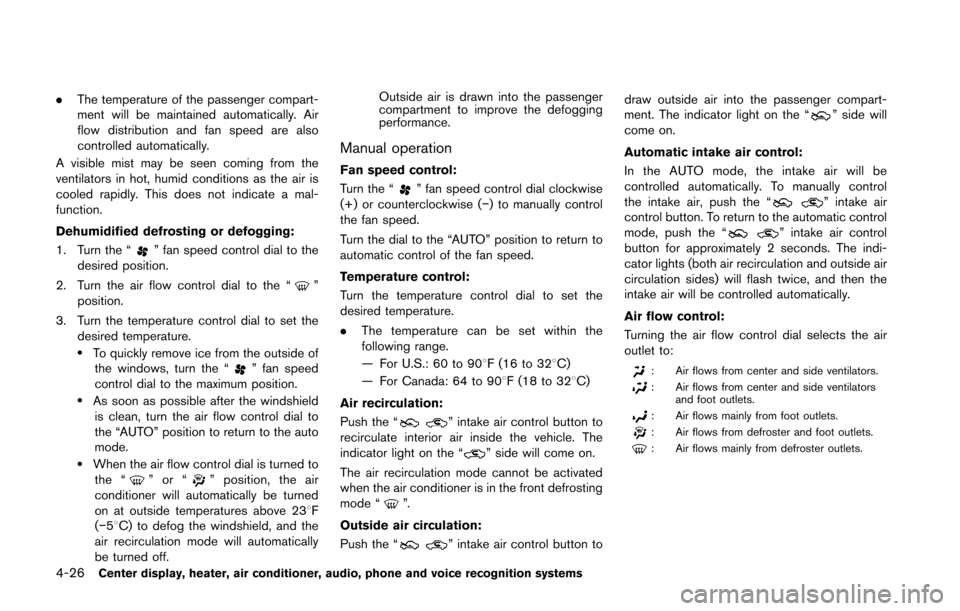
Air flow control:
Turning the air flow control dial selects the air
outlet to:
: Air flows from center and side ventilators.
: Air flows from center and side ventilators and foot outlets.
: Air flows mainly from foot outlets.
: Air flows from defroster and foot outlets.
: Air flows mainly from defroster outlets.
Page 192 of 428
Static and flutter: During signal interference from
buildings, large hills or due to antenna position,
usually in conjunction with increased distance
from the station transmitter, static or flutter can
be heard. This can be reduced by lowering the
treble setting to reduce the treble response.
Multipath reception: Because of the reflective
characteristics of FM signals, direct and re-
flected signals reach the receiver at the same
time. The signals may cancel each other,
resulting in momentary flutter or loss of sound.
AM radio reception:
AM signals, because of their low frequency, can
bend around objects and skip along the ground.
In addition, the signals can be bounced off the
ionosphere and bent back to earth. Because of
these characteristics. AM signals are also
subject to interference as they travel from
transmitter to receiver.
Fading: Occurs while the vehicle is passing
through freeway underpasses or in areas with
many tall buildings. It can also occur for several
seconds during ionospheric turbulence even in
areas where no obstacles exist.
Static: Caused by thunderstorms, electrical
power lines, electric signs and even traffic lights.Satellite radio reception (if so equipped):
When the satellite radio is used for the first time
or the battery has been replaced, the satellite
radio may not work properly. This is not a
malfunction. Wait more than 10 minutes with the
satellite radio ON and the vehicle outside of any
metal or large building for the satellite radio to
receive all of the necessary data.
The satellite radio mode requires an active
SiriusXM Satellite Radio subscription. The sa-
tellite radio is not available in Alaska, Hawaii and
Guam.
The satellite radio performance may be affected
if cargo carried on the roof blocks the satellite
radio signal.
If possible, do not put cargo near the satellite
antenna.
A build up of ice on the satellite radio antenna
can affect satellite radio performance. Remove
the ice to restore satellite radio reception.
SAA0480
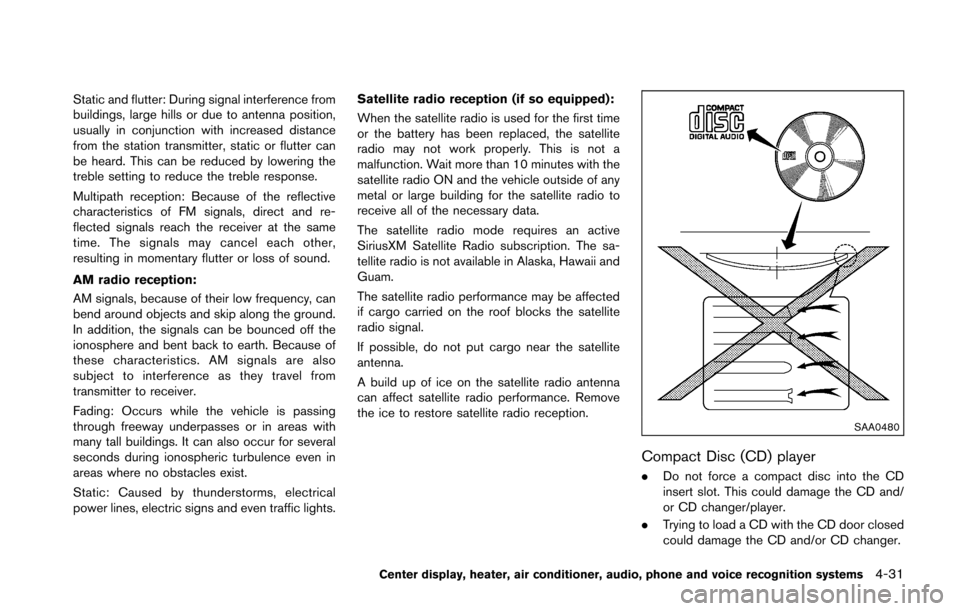
Compact Disc (CD) player
. Do not force a compact disc into the CD
insert slot. This could damage the CD and/
or CD changer/player.
. Trying to load a CD with the CD door closed
could damage the CD and/or CD changer.
Center display, heater, air conditioner, audio, phone and voice recognition systems4-31
Page 204 of 428
JVH0923X
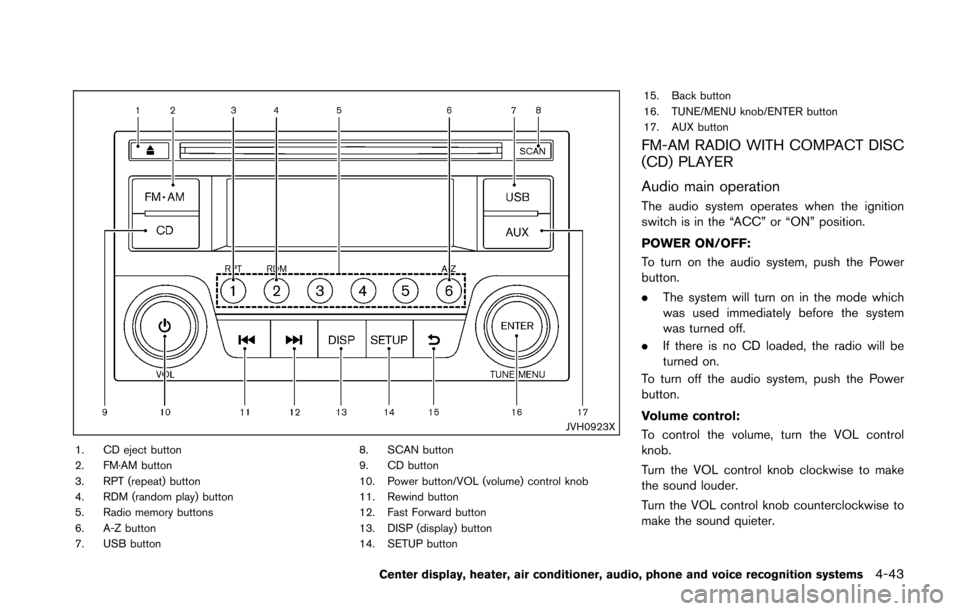
1. CD eject button
2. FM·AM button
3. RPT (repeat) button
4. RDM (random play) button
5. Radio memory buttons
6. A-Z button
7. USB button8. SCAN button
9. CD button
10. Power button/VOL (volume) control knob
11. Rewind button
12. Fast Forward button
13. DISP (display) button
14. SETUP button15. Back button
16. TUNE/MENU knob/ENTER button
17. AUX button
FM-AM RADIO WITH COMPACT DISC
(CD) PLAYER
Audio main operation
The audio system operates when the ignition
switch is in the “ACC” or “ON” position.
POWER ON/OFF:
To turn on the audio system, push the Power
button.
.
The system will turn on in the mode which
was used immediately before the system
was turned off.
. If there is no CD loaded, the radio will be
turned on.
To turn off the audio system, push the Power
button.
Volume control:
To control the volume, turn the VOL control
knob.
Turn the VOL control knob clockwise to make
the sound louder.
Turn the VOL control knob counterclockwise to
make the sound quieter.
Center display, heater, air conditioner, audio, phone and voice recognition systems4-43
Page 205 of 428
4-44Center display, heater, air conditioner, audio, phone and voice recognition systems
SETUP button:
To configure Audio, Clock, Language or Scroll
direction settings, perform the following proce-
dure:
1. Push the SETUP button.
2. Push the ENTER button.
3. Turn the TUNE/MENU knob clockwise orcounterclockwise, the display will appear in
the following order:
Audio �œClock �œLanguage �œScroll
Direction
After the desired levels have been set, push
either the back button repeatedly, the SETUP
button, or wait for 8 seconds without pushing
any buttons to exit the menu screen.
Audio adjustments:
Push the SETUP button to enter the setup menu
screen then select Audio by using TUNE/MENU
knob.
Each time the ENTER button is pushed, the
mode will change as follows:
Bass ?Treble ?Fade ?Balance ?AUX VOL
? SPD VOL ?Audio (setup menu screen)
Turn the TUNE/MENU knob clockwise or
counterclockwise to adjust the following items
and push the ENTER button to confirm. Bass control:
Use this control to enhance or attenuate bass
response sound.
Treble control:
Use this control to enhance or attenuate the
treble.
Fade control:
Use this control to adjust the balance of the
volume between the front and rear (if so
equipped) speakers.
Balance control:
Use this control to adjust the balance of the
volume between the left and right speakers.
AUX VOL (Auxiliary volume) control:
Use this control to adjust the volume output from
the auxiliary source.
SPD VOL (Speed volume) control:
This mode controls the volume output from the
speakers automatically in relation to vehicle
speed.
Adjusting the setting to 0 (zero) turns off the
speed volume feature.
Clock setting:
Push the SETUP button to enter the setup menu
screen then select Clock.
Turn the TUNE/MENU knob, the mode will change as follows:
Set Time
�œON/OFF �œClock Format �œSet
time
Set Time:
Select Set Time then adjust the clock as follows:
1. The hour display will start flashing. Turn the TUNE/MENU knob to adjust the hour and
push the ENTER button.
2. The minute display will start flashing. Turn the TUNE/MENU knob to adjust the minute
and push the ENTER button to finish the
clock adjustment.
ON/OFF:
Set the clock display between on or off when the
audio unit is turned off. If set in the ON position,
the clock will be displayed when the audio unit is
turned off either by pushing the power button or
when the ignition switch is placed in the “OFF”
position.
Clock Format:
Switch the clock display between 24-hour mode
and 12-hour clock mode.
Language setting:
Push the SETUP button to enter the setup menu
screen then select Language.
Select the appropriate language and push the
ENTER button. Upon completion, the screen will
Page 208 of 428
DISP button:
While a CD with recorded music information
tags (CD-text/ID3-text tags) is being played, the
title of the played track is displayed. If the title
information is not provided then “Track” is
displayed.
When the DISP button is pushed repeatedly,
further information about the track can be
displayed along with the track title as follows:
CD:
Track time ?Album ?Artist ?Track time
CD with MP3/WMA:
Track time ?Album ?Artist ?Folder name ?
Track time
Track details:
Pushing and holding the DISP button will turn
the display into a detailed overview and after a
few seconds it returns to the main display.
button:
When the SCAN button is pushed while a CD is
being played, the first 10 seconds of all the
tracks will be played.
When the SCAN button is pushed again, the
CD will return to normal play from the track
which is playing.
CD eject button:
When the CD eject button is pushed while a CD
is loaded, the CD will be ejected.
When the CD eject button is pushed twice, the
CD will be ejected further, and the CD can be
removed with ease.
When the ignition switch is in the “OFF” or
“LOCK” position it is possible to eject the CD
currently being played. However the audio unit
will not be activated.
If a CD is ejected by pushing the CD eject
button, and it is not taken out from the loading
slot within 8 seconds, the CD will automatically
be reloaded to the slot to protect the CD.
JVH0920X
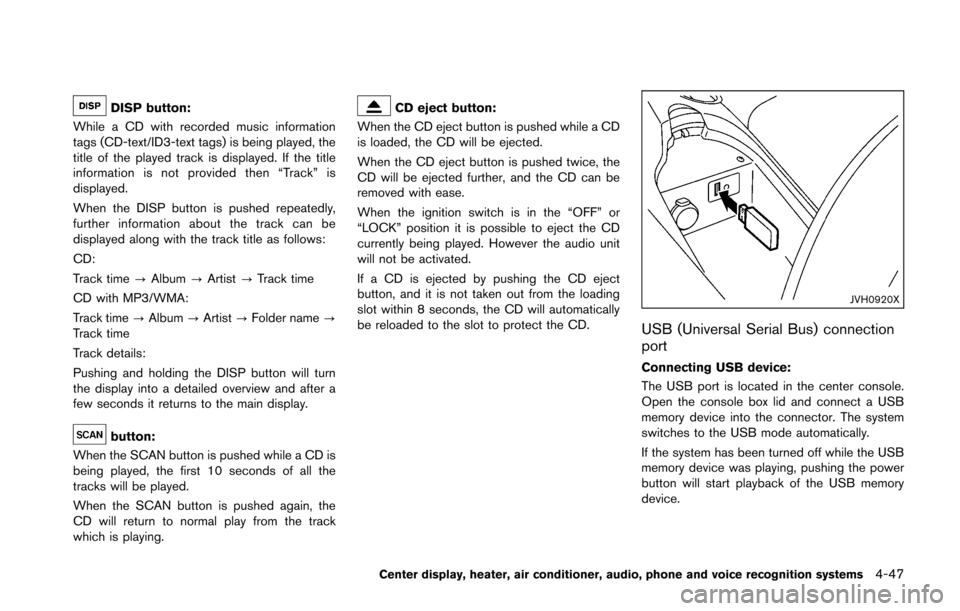
USB (Universal Serial Bus) connection
port
Connecting USB device:
The USB port is located in the center console.
Open the console box lid and connect a USB
memory device into the connector. The system
switches to the USB mode automatically.
If the system has been turned off while the USB
memory device was playing, pushing the power
button will start playback of the USB memory
device.
Center display, heater, air conditioner, audio, phone and voice recognition systems4-47