2016 MERCEDES-BENZ S-Class SEDAN Cooling fan
[x] Cancel search: Cooling fanPage 187 of 438

Connecting the charging cable
XShift the transmission to positionP.
XSwitch the ignition off.
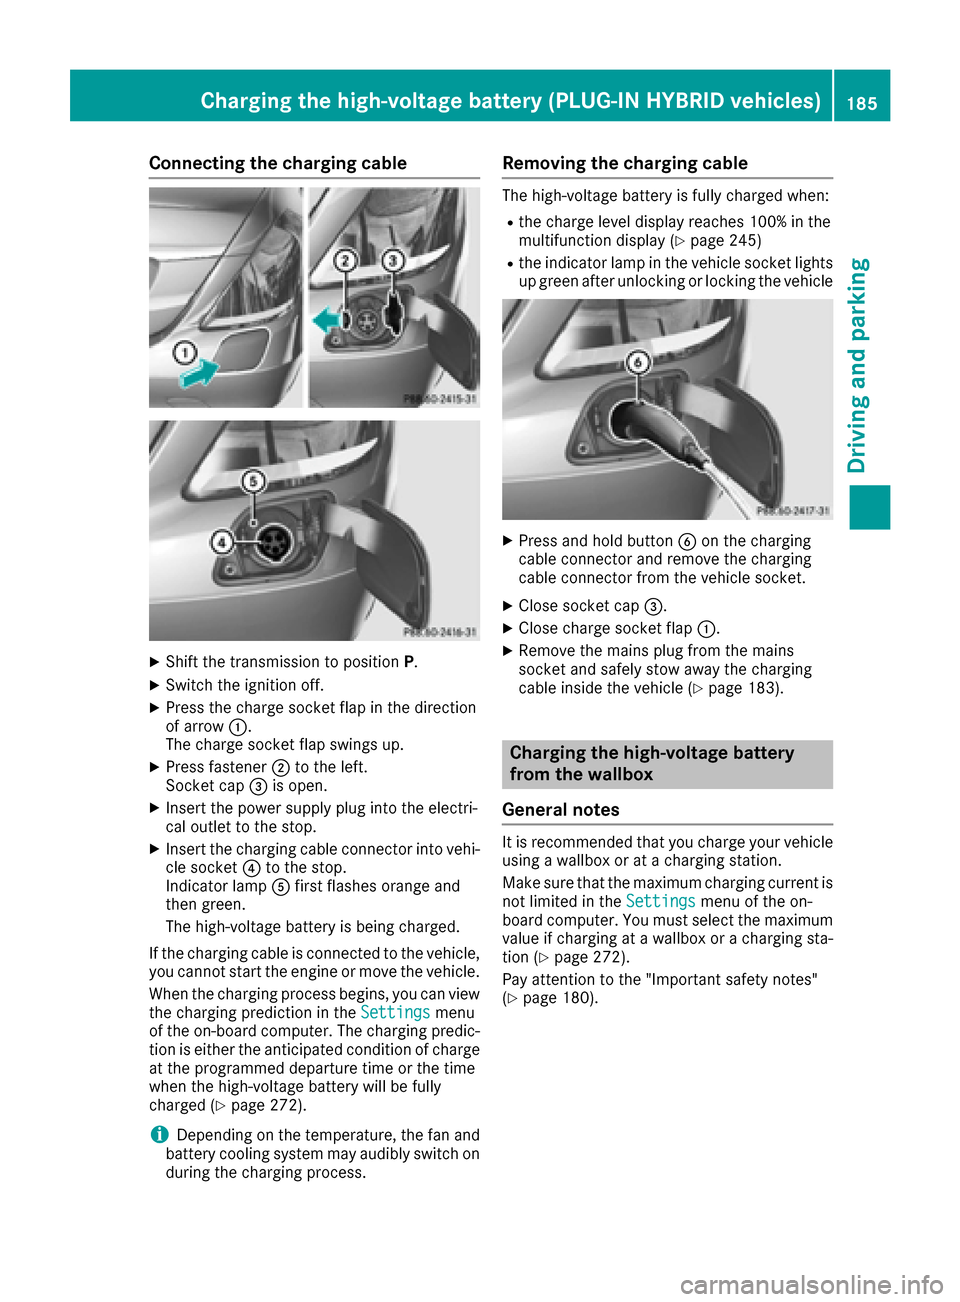
XPress the charge socket flap in the direction
of arrow:.
The charge socket flap swings up.
XPress fastener ;to the left.
Socket cap =is open.
XInsert the power supply plug into the electri-
cal outlet to the stop.
XInsert the charging cable connector into vehi-
cle socket ?to the stop.
Indicator lamp Afirst flashes orange and
then green.
The high-voltage battery is being charged.
If the charging cable is connected to the vehicle,
you cannot start the engine or move the vehicle.
When the charging process begins, you can view
the charging prediction in the Settings
menu
of the on-board computer. The charging predic-
tion is either the anticipated condition of charge
at the programmed departure time or the time
when the high-voltage battery will be fully
charged (
Ypage 272).
iDepending on the temperature, the fan and
battery cooling system may audibly switch on
during the charging process.
Removing the charging cable
The high-voltage battery is fully charged when:
Rthe charge level display reaches 100% in the
multifunction display (Ypage 245)
Rthe indicator lamp in the vehicle socket lights up green after unlocking or locking the vehicle
XPress and hold button Bon the charging
cable connector and remove the charging
cable connector from the vehicle socket.
XClose socket cap =.
XClose charge socket flap :.
XRemove the mains plug from the mains
socket and safely stow away the charging
cable inside the vehicle (
Ypage 183).
Charging the high-voltage battery
from the wallbox
General notes
It is recommended that you charge your vehicle
using a wallbox or at a charging station.
Make sure that the maximum charging current is
not limited in the Settings
menu of the on-
board computer. You must select the maximum
value if charging at a wallbox or a charging sta-
tion (
Ypage 272).
Pay attention to the "Important safety notes"
(
Ypage 180).
Charging the high-voltage battery (PLUG-IN HYBRID vehicles)185
Driving and parking
Z
Page 188 of 438

Connecting the charging cable
XShift the transmission to positionP.
XSwitch the ignition off.
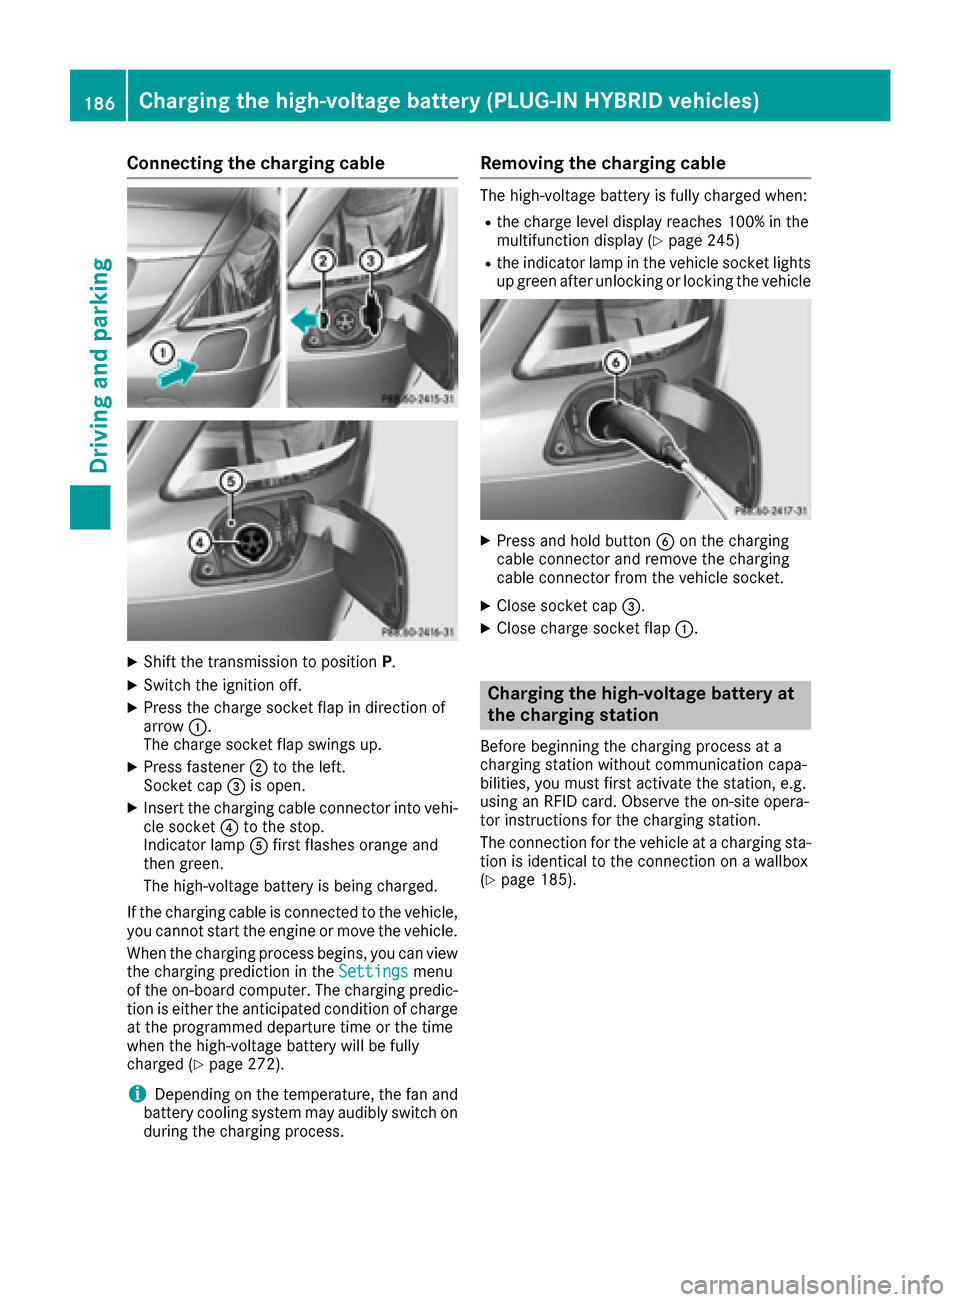
XPress the charge socket flap in direction of
arrow:.
The charge socket flap swings up.
XPress fastener ;to the left.
Socket cap =is open.
XInsert the charging cable connector into vehi-
cle socket ?to the stop.
Indicator lamp Afirst flashes orange and
then green.
The high-voltage battery is being charged.
If the charging cable is connected to the vehicle,
you cannot start the engine or move the vehicle.
When the charging process begins, you can view
the charging prediction in the Settings
menu
of the on-board computer. The charging predic-
tion is either the anticipated condition of charge
at the programmed departure time or the time
when the high-voltage battery will be fully
charged (
Ypage 272).
iDepending on the temperature, the fan and
battery cooling system may audibly switch on
during the charging process.
Removing the charging cable
The high-voltage battery is fully charged when:
Rthe charge level display reaches 100% in the
multifunction display (Ypage 245)
Rthe indicator lamp in the vehicle socket lights up green after unlocking or locking the vehicle
XPress and hold button Bon the charging
cable connector and remove the charging
cable connector from the vehicle socket.
XClose socket cap =.
XClose charge socket flap :.
Charging the high-voltage battery at
the charging station
Before beginning the charging process at a
charging station without communication capa-
bilities, you must first activate the station, e.g.
using an RFID card. Observe the on-site opera-
tor instructions for the charging station.
The connection for the vehicle at a charging sta-
tion is identical to the connection on a wallbox
(
Ypage 185).
186Charging the high-voltage battery (PLUG-IN HYBRID vehicles)
Driving and parking
Page 296 of 438

Engine
Display messagesPossible causes/consequences andMSolutions
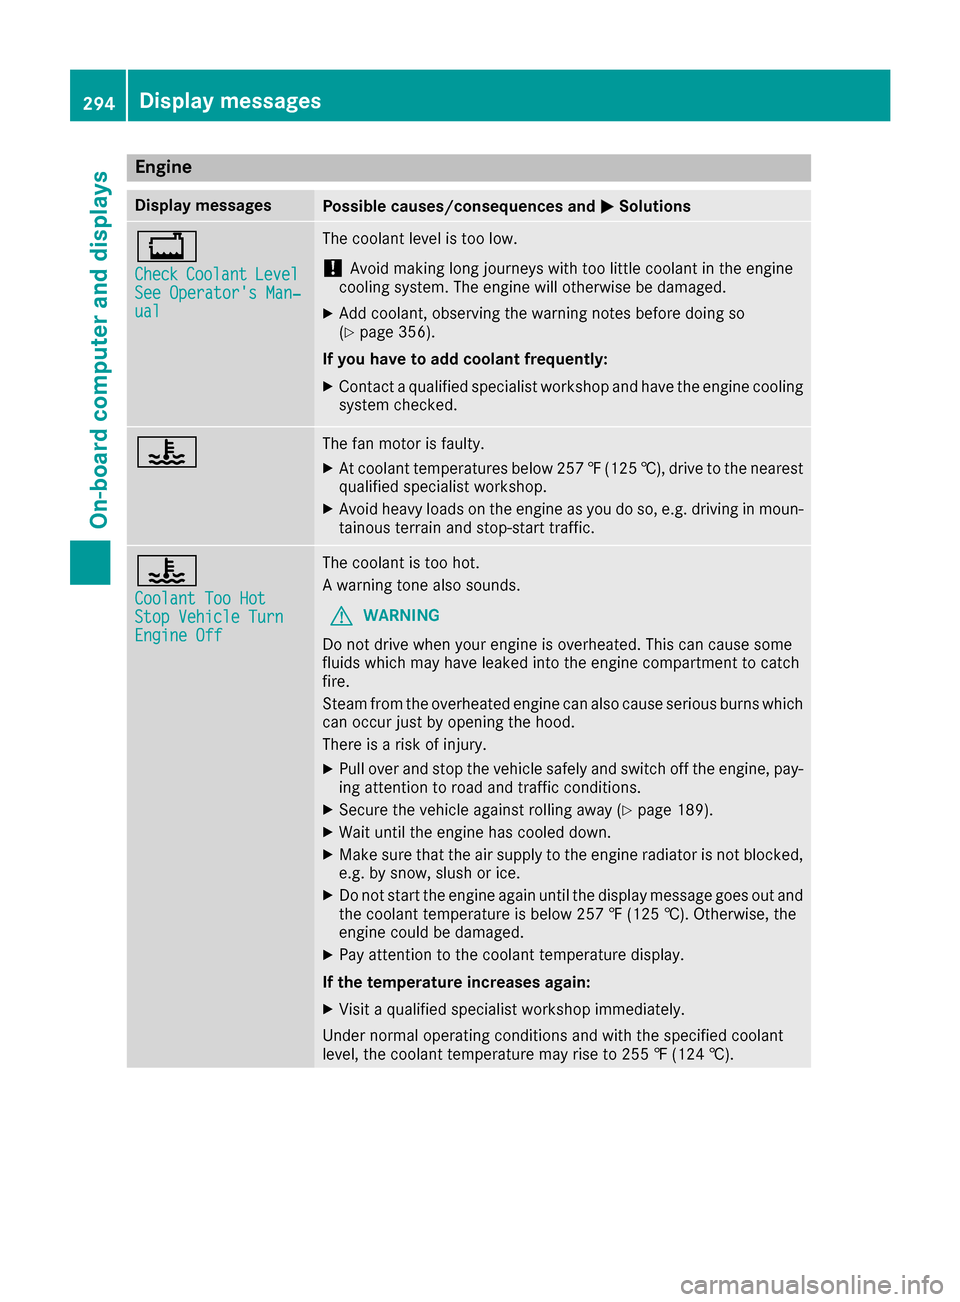
+
CheckCoolantLevelSee Operator's Man‐ual
The coolant level is too low.
!Avoid making long journeys with too little coolant in the engine
cooling system. The engine will otherwise be damaged.
XAdd coolant, observing the warning notes before doing so
(Ypage 356).
If you have to add coolant frequently:
XContact a qualified specialist workshop and have the engine cooling
system checked.
?The fan motor is faulty.
XAt coolant temperatures below 257 ‡(125 †), drive to the nearest
qualified specialist workshop.
XAvoid heavy loads on the engine as you do so, e.g. driving in moun-
tainous terrain and stop-start traffic.
?
Coolant Too HotStop Vehicle TurnEngine Off
The coolant is too hot.
A warning tone also sounds.
GWARNING
Do not drive when your engine is overheated. This can cause some
fluids which may have leaked into the engine compartment to catch
fire.
Steam from the overheated engine can also cause serious burns which
can occur just by opening the hood.
There is a risk of injury.
XPull over and stop the vehicle safely and switch off the engine, pay- ing attention to road and traffic conditions.
XSecure the vehicle against rolling away (Ypage 189).
XWait until the engine has cooled down.
XMake sure that the air supply to the engine radiator is not blocked,e.g. by snow, slush or ice.
XDo not start the engine again until the display message goes out and
the coolant temperature is below 257 ‡ (125 †). Otherwise, the
engine could be damaged.
XPay attention to the coolant temperature display.
If the temperature increases again:
XVisit a qualified specialist workshop immediately.
Under normal operating conditions and with the specified coolant
level, the coolant temperature may rise to 255 ‡ (124 †).
294Display messages
On-board computer and displays
Page 323 of 438

Warning/
indicator
lampNSignal type
Possible causes/consequences and M
Solutions
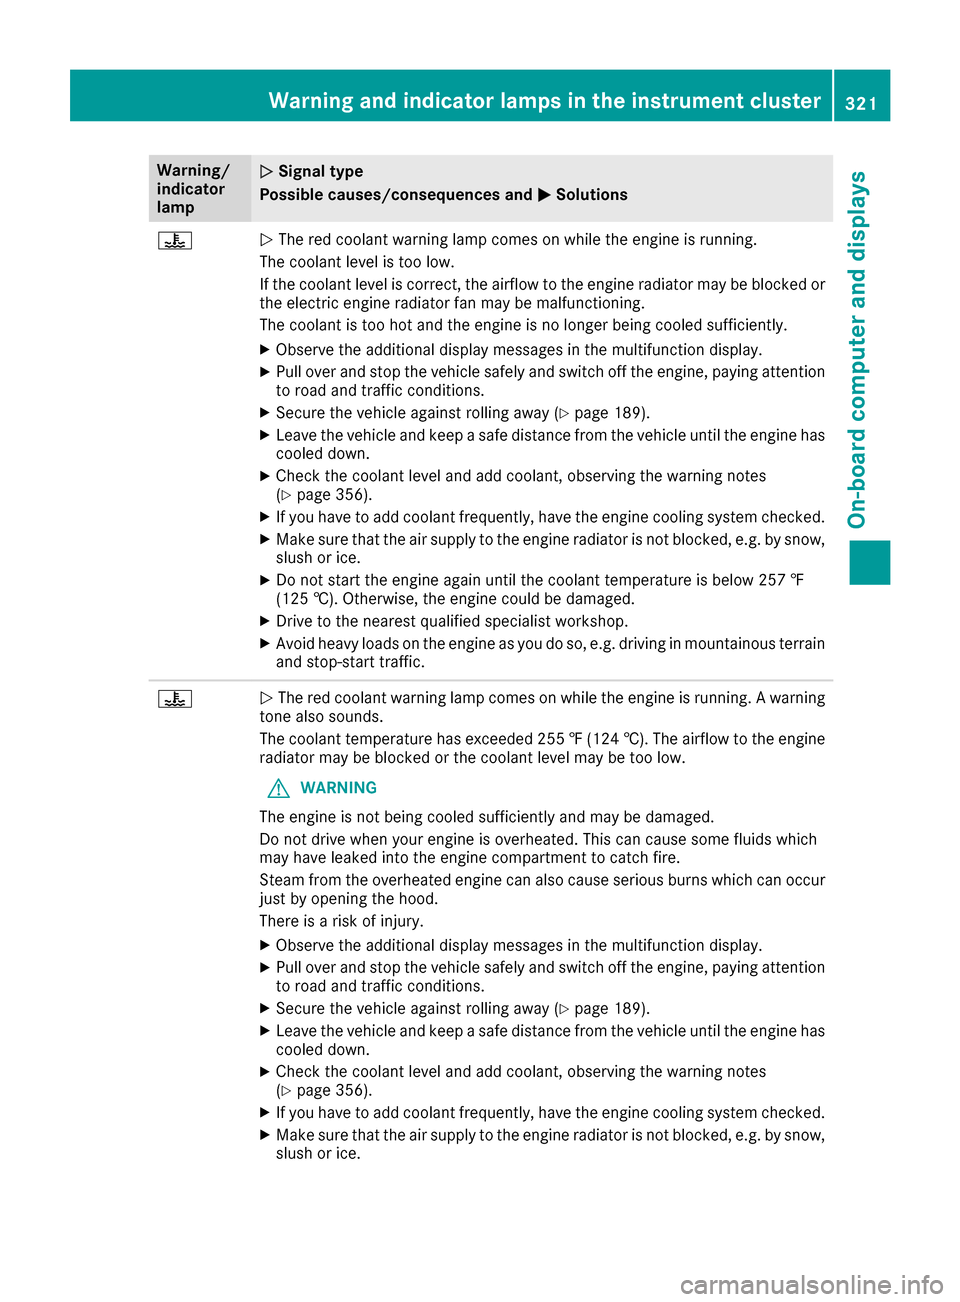
?NThe red coolant warning lamp comes on while the engine is running.
The coolant level is too low.
If the coolant level is correct, the airflow to the engine radiator may be blocked or
the electric engine radiator fan may be malfunctioning.
The coolant is too hot and the engine is no longer being cooled sufficiently.
XObserve the additional display messages in the multifunction display.
XPull over and stop the vehicle safely and switch off the engine, paying attention
to road and traffic conditions.
XSecure the vehicle against rolling away (Ypage 189).
XLeave the vehicle and keep a safe distance from the vehicle until the engine has cooled down.
XCheck the coolant level and add coolant, observing the warning notes
(Ypage 356).
XIf you have to add coolant frequently, have the engine cooling system checked.
XMake sure that the air supply to the engine radiator is not blocked, e.g. by snow,
slush or ice.
XDo not start the engine again until the coolant temperature is below 257 ‡
(125 †). Otherwise, the engine could be damaged.
XDrive to the nearest qualified specialist workshop.
XAvoid heavy loads on the engine as you do so, e.g. driving in mountainous terrain
and stop-start traffic.
?N The red coolant warning lamp comes on while the engine is running. A warning
tone also sounds.
The coolant temperature has exceeded 255 ‡(124 †). The airflow to the engine
radiator may be blocked or the coolant level may be too low.
GWARNING
The engine is not being cooled sufficiently and may be damaged.
Do not drive when your engine is overheated. This can cause some fluids which
may have leaked into the engine compartment to catch fire.
Steam from the overheated engine can also cause serious burns which can occur
just by opening the hood.
There is a risk of injury.
XObserve the additional display messages in the multifunction display.
XPull over and stop the vehicle safely and switch off the engine, paying attention
to road and traffic conditions.
XSecure the vehicle against rolling away (Ypage 189).
XLeave the vehicle and keep a safe distance from the vehicle until the engine has
cooled down.
XCheck the coolant level and add coolant, observing the warning notes
(Ypage 356).
XIf you have to add coolant frequently, have the engine cooling system checked.
XMake sure that the air supply to the engine radiator is not blocked, e.g. by snow,
slush or ice.
Warning and indicator lamps in the instrument cluster321
On-board computer and displays
Z