2016 MERCEDES-BENZ S-Class SEDAN weight
[x] Cancel search: weightPage 292 of 438
Display messagesPossible causes/consequences andMSolutions
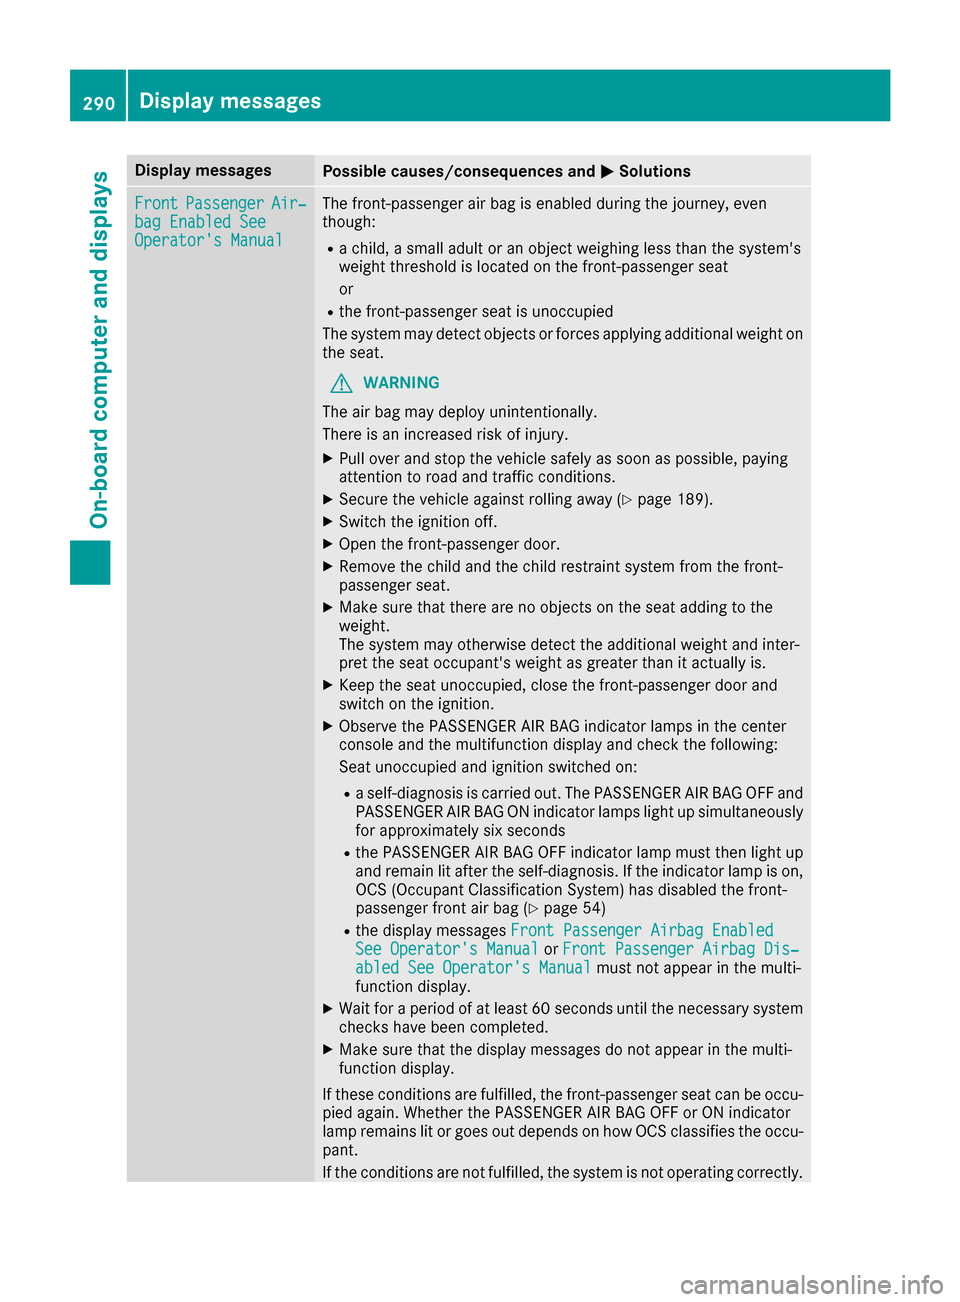
FrontPassengerAir‐bag Enable dSeeOperator' sManual
The front-passenger air bag is enabled during th ejourney, eve n
though :
Rachild, asmall adult or an objec tweighing less than th esystem' s
weigh tthreshold is locate don th efront-passenger seat
or
Rth efront-passenger seat is unoccupied
The system may detec tobjects or force sapplyin gadditional weigh ton
th eseat .
GWARNIN G
The air bag may deploy unintentionally.
There is an increased ris kof injury.
XPull ove rand stop th evehicl esafely as soo nas possible, payin g
attention to roa dand traffic conditions.
XSecur eth evehicl eagainst rollin gaway (Ypage 189).
XSwitchth eignition off .
XOpenth efront-passenger door .
XRemove thechild and th echild restrain tsystem from th efront-
passenger seat .
XMakesur ethat there are no objects on th eseat addin gto th e
weight.
The system may otherwise detec tth eadditional weigh tand inter-
pre tth eseat occupant's weigh tas greate rthan it actually is.
XKee pth eseat unoccupied ,close th efront-passenger door and
switch on th eignition .
XObserveth ePASSENGER AI RBA Gindicator lamp sin th ecenter
console and th emultifunction display and chec kth efollowing:
Seat unoccupied and ignition switche
d on
:
Raself-diagnosis is carrie dout .The PASSENGER AI RBA GOF Fand
PASSENGER AI RBA GON indicator lamp sligh tup simultaneousl y
for approximately six seconds
Rth ePASSENGER AI RBA GOF Findicator lamp mus tthen ligh tup
and remain lit after th eself-diagnosis .If th eindicator lamp is on ,
OCS (Occupant Classification System) has disabled th efront-
passenger fron tair bag (
Ypage 54 )
Rthedisplay message sFront Passenger Airbag Enable dSee Operator'sManualor Front Passenger Airbag Dis ‐abled See Operator'sManualmus tno tappear in th emulti-
function display.
XWait for aperiod of at least 60 seconds until th enecessar ysystem
checks hav ebeen completed.
XMak esur ethat th edisplay message sdo no tappear in th emulti-
function display.
If these condition sare fulfilled ,th efront-passenger seat can be occu-
pied again .Whether th ePASSENGER AI RBA GOF For ON indicator
lamp remain slit or goe sout depend son how OCS classifies th eoccu-
pant.
If th econdition sare no tfulfilled ,th esystem is no toperating correctly.
290Display messages
On-board computer and displays
Page 327 of 438
Useful information
i
This Operator's Manual describes all models
and all standard and optional equipment of
your vehicle available at the time of publica-
tion of the Operator's Manual. Country-spe-
cific differences are possible. Please note
that your vehicle may not be equipped with all
features described. This also applies to
safety-related systems and functions.
iRead the information on qualified specialist
workshops (Ypage 28).
Stowage areas
Loading guidelines
GWARNING
Combustion engines emit poisonous exhaust
gases such as carbon monoxide. Exhaust
gases can enter the vehicle interior if the
trunk lid is open when the engine is running,
especially if the vehicle is in motion. There is a
risk of poisoning.
Always switch off the engine before opening
the trunk lid. Never drive with the trunk lid
open.
GWARNING
If objects, luggage or loads are not secured or
not secured sufficiently, they could slip, tip
over or be flung around and thereby hit vehicle
occupants. There is a risk of injury, particu-
larly in the event of sudden braking or a sud-
den change in direction.
Always store objects so that they cannot be
flung around. Secure objects, luggage or
loads against slipping or tipping before the
journey.
GWARNING
The exhaust tail pipe and tail pipe trim can
become very hot. If you come into contact
with these parts of the vehicle, you could burn
yourself. There is a risk of injury.
Always be particularly careful around the
exhaust tail pipe and the tail pipe trim. Allow
these components to cool down before touch-
ing them.
The handling characteristics of a laden vehicle
are dependent on the distribution of the load
within the vehicle. For this reason, you should
observe the following notes when transporting a
load:
RNever exceed the maximum permissible
gross vehicle weight or the gross axle weight
rating of the vehicle (including occupants).
The values are specified on the vehicle iden-
tification plate on the B-pillar of the driver's
door.
RThe trunk is the preferred place to carry
objects.
RPosition heavy loads as far forwards as pos-
sible and as low down in the trunk as possible.
RThe load must not protrude above the upper
edge of the seat backrests.
RAlways place the load behind unoccupied
seats if possible.
RSecure the load with sufficiently strong and
wear-resistant tie-downs. Pad sharp edges for
protection.
Stowage spaces
Important safety notes
GWARNING
If objects in the passenger compartment are
stowed incorrectly, they can slide or be
thrown around and hit vehicle occupants. In
addition, cupholders, open stowage spaces
and mobile phone brackets cannot always
retain all objects they contain. There is a risk of injury, particularly in the event of sudden
braking or a sudden change in direction.
RAlways stow objects so that they cannot be
thrown around in such situations.
RAlways make sure that objects do not pro-
trude from stowage spaces, parcel nets or
stowage nets.
Stowage areas325
Stowage and features
Z
Page 330 of 438
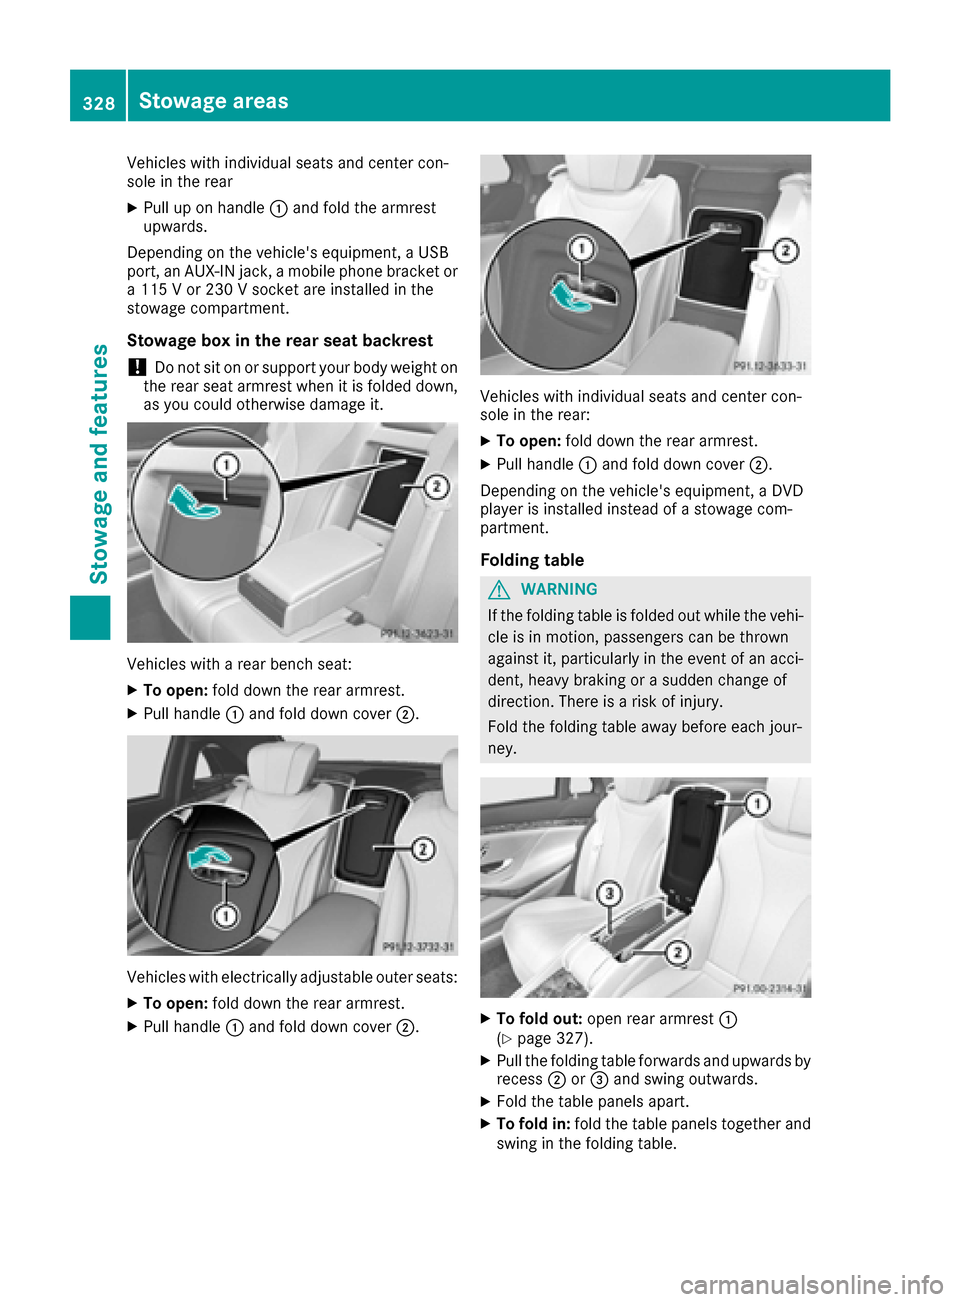
Vehicles with individual seats and center con-
sole in the rear
XPull up on handle:and fold the armrest
upwards.
Depending on the vehicle's equipment, a USB
port, an AUX-IN jack, a mobile phone bracket or
a 115 V or 230 V socket are installed in the
stowage compartment.
Stowage box in the rear seat backrest
!Do not sit on or support your body weight on
the rear seat armrest when it is folded down,
as you could otherwise damage it.
Vehicles with a rear bench seat:
XTo open: fold down the rear armrest.
XPull handle :and fold down cover ;.
Vehicles with electrically adjustable outer seats:
XTo open:fold down the rear armrest.
XPull handle :and fold down cover ;.
Vehicles with individual seats and center con-
sole in the rear:
XTo open:fold down the rear armrest.
XPull handle :and fold down cover ;.
Depending on the vehicle's equipment, a DVD
player is installed instead of a stowage com-
partment.
Folding table
GWARNING
If the folding table is folded out while the vehi-
cle is in motion, passengers can be thrown
against it, particularly in the event of an acci-
dent, heavy braking or a sudden change of
direction. There is a risk of injury.
Fold the folding table away before each jour-
ney.
XTo fold out: open rear armrest :
(Ypage 327).
XPull the folding table forwards and upwards by
recess ;or= and swing outwards.
XFold the table panels apart.
XTo fold in: fold the table panels together and
swing in the folding table.
328Stowage areas
Stowage and features
Page 381 of 438
Towing and tow-starting
Important safety notes
GWARNING
Functions relevant to safety are restricted or
no longer available if:
Rthe engine is not running.
Rthe brake system or the power steering is
malfunctioning.
Rthere is a malfunction in the voltage supply or the vehicle's electrical system.
If your vehicle is being towed, much more
force may be necessary to steer or brake.
There is a risk of an accident.
In such cases, use a tow bar. Before towing,
make sure that the steering moves freely.
GWARNING
When towing or tow-starting another vehicle
and its weight is greater than the permissible
gross weight of your vehicle, the:
Rthe towing eye could detach itself
Rthe vehicle/trailer combination could roll-
over.
There is a risk of an accident.
When towing or tow-starting another vehicle,
its weight should not be greater than the per- missible gross weight of your vehicle.
Details on the permissible gross vehicle weight
of your vehicle can be found on the vehicle iden-
tification plate (
Ypage 426).
!When COLLISION PREVENTION ASSIST
PLUS, DISTRONIC PLUS or the HOLD function
is activated, the vehicle brakes automatically
in certain situations.
To avoid damage to the vehicle, deactivate
these systems in the following or similar sit-
uations:
Rwhen towing the vehicle
Rin the car wash
!Make sure that the electric parking brake is
released. If the electric parking brake is faulty,
visit a qualified specialist workshop.
!Secure the tow rope or tow bar to the towing
eye only. Otherwise, the vehicle could
become damaged.
!Do not use the towing eyes for recovery pur-
poses as this could damage the vehicle. If in
doubt, recove
r the vehicle with a crane.
!When towing, pull away slowly and
smoothly. If the tractive power is too high, the
vehicles could be damaged.
!Shift the automatic transmission to Nand
do not open the driver's or front passenger's
door during towing. The automatic transmis-
sion may otherwise shift to position P, which
could damage the transmission.
!Do not tow with sling-type equipment. This
could damage the vehicle.
!The vehicle can be towed a maximum of
30 miles (50km). The towing speed of 30 mph (50 km/h) must not be exceeded.
If the vehicle has to be towed more than
30 miles (50km), the entire vehicle must be
raised and transported.
It is better to have the vehicle transported than
to have it towed away.
If the vehicle has suffered transmission damage,
have it transported on a transporter or trailer.
The automatic transmission must be in position N when the vehicle is being towed.
If the automatic transmission cannot be shifted
to position N, have the vehicle transported on a
transporter or trailer.
The battery must be connected and charged.
Otherwise, you:
Rcannot turn the SmartKey to position 2in the
ignition lock
Rcannot release the electric parking brake
Rcannot shift the automatic transmission to
position N
Disarm the automatic locking feature before the vehicle is towed (
Ypage 87). You could other-
wise be locked out when pushing or towing the
vehicle.
PLUG-IN HYBRID vehicles:
Towing and tow-starting379
Breakdown assistance
Z
Page 396 of 438
Restarting the tire pressure loss warn-
ing system
Restart the tire pressure loss warning system if
you have:
Rchanged the tire pressure
Rchanged the wheels or tires
Rmounted new wheels or tires
XBefore restarting, make sure that the tire
pressures are set properly on all four tires for
the respective operating conditions.
The recommended tire pressure can be foundon the Tire and Loading Information placard
on the B-pillar on the driver's side. Addition-
ally, a tire pressure table is attached to the
fuel filler flap. The tire pressure loss warning
system can only give reliable warnings if you
have set the correct tire pressure. If an incor-
rect tire pressure is set, these incorrect val-
ues will be monitored.
XAlso observe the notes in the section on tire
pressures (Ypage 387).
XMake sure that the SmartKey is in position 2
in the ignition lock (Ypage 162).
XUse ò on the steering wheel to call up the
list of menus.
XPress 9or: on the steering wheel to
select the Servicemenu.
XPress theabutton.
XPress 9or: to select Tire Pres‐sure.
XPress the abutton.
The Run Flat Indicator ActivePress
'OK' to Restartmessage appears in the
multifunction display.
If you wish to confirm the restart:
XPress the abutton.
The Tire Pressure Now OK?message
appears in the multifunction display.
XPress 9or: to select Yes.
XPress the abutton.
The Run Flat Indicator Restartedmes-
sage appears in the multifunction display.
After a teach-in period, the tire pressure loss
warning system will monitor the set tire pres- sures of all four tires. If you wish to cancel the restart:
XPress the
%button.
or
XIf the Tire Pressure Now OK?message
appears, select Cancelby pressing9
or :.
XPress the abutton.
The tire pressure values stored at the last
restart will continue to be monitored.
Loading the vehicle
Instruction labels for tires and loads
GWARNING
Overloaded tires can overheat, causing a
blowout. Overloaded tires can also impair the steering and driving characteristics and lead
to brake failure. There is a risk of accident.
Observe the load rating of the tires. The load
rating must be at least half of the GAWR of
your vehicle. Never overload the tires by
exceeding the maximum load.
Two instruction labels on your vehicle show the maximum possible load.
(1) The Tire and Loading Information placard is on the B-pillar on the driver's side. The Tire
and Loading Information placard shows the
maximum permissible number of occu-
pants and the maximum permissible vehicle
load. It also contains details of the tire sizes
and corresponding pressures for tires
mounted at the factory.
(2) The vehicle identification plate is on the B- pillar on the driver's side. The vehicle iden-
tification plate informs you of the gross
vehicle weight rating. It is made up of the
vehicle weight, all vehicle occupants, the
fuel and the cargo. You can also find infor-
mation about the maximum gross axle
weight rating on the front and rear axle.
The maximum gross axle weight rating is
the maximum weight that can be carried by
one axle (front or rear axle). Never exceed
the maximum load or the maxi mum g
ross
axle weight rating for the front or rear axle.
394Loading the vehicle
Wheels and tires
Page 397 of 438
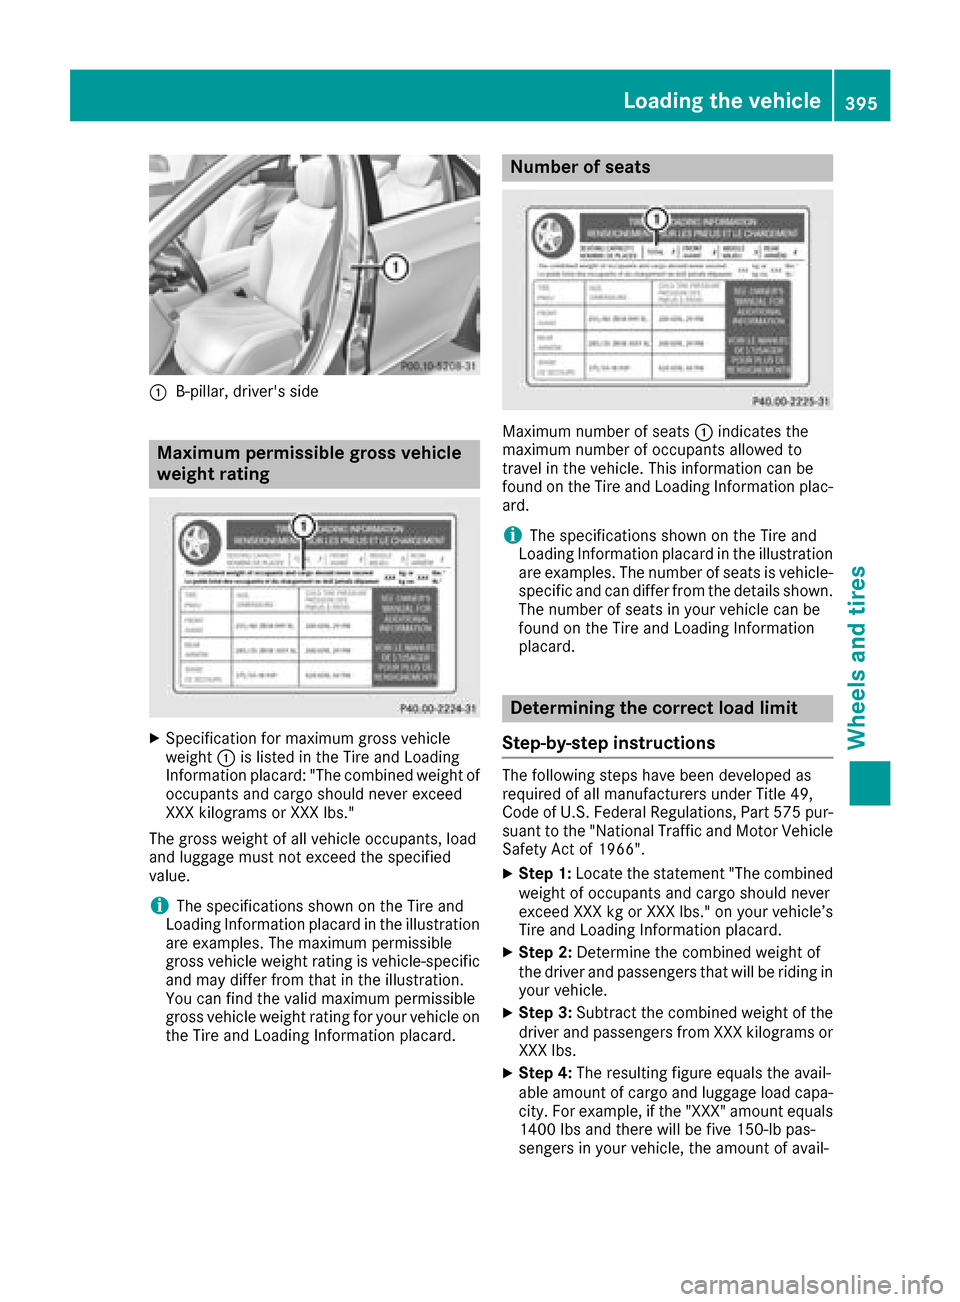
:B-pillar, driver's side
Maximum permissible gross vehicle
weight rating
XSpecification for maximum gross vehicle
weight:is listed in the Tire and Loading
Information placard: "The combined weight of occupants and cargo should never exceed
XXX kilograms or XXX lbs."
The gross weight of all vehicle occupants, load
and luggage must not exceed the specified
value.
iThe specifications shown on the Tire and
Loading Information placard in the illustration are examples. The maximum permissible
gross vehicle weight rating is vehicle-specific
and may differ from that in the illustration.
You can find the valid maximum permissible
gross vehicle weight rating for your vehicle on
the Tire and Loading Information placard.
Number of seats
Maximum number of seats :indicates the
maximum number of occupants allowed to
travel in the vehicle. This information can be
found on the Tire and Loading Information plac-
ard.
iThe specifications shown on the Tire and
Loading Information placard in the illustration
are examples. The number of seats is vehicle-
specific and can differ from the details shown.
The number of seats in your vehicle can be
found on the Tire and Loading Information
placard.
Determining the correct load limit
Step-by-step instructions
The following steps have been developed as
required of all manufacturers under Title 49,
Code of U.S. Federal Regulations, Part 575 pur-
suant to the "National Traffic and Motor Vehicle
Safety Act of 1966".
XStep 1: Locate the statement "The combined
weight of occupants and cargo should never
exceed XXX kg or XXX lbs." on your vehicle’s
Tire and Loading Information placard.
XStep 2: Determine the combined weight of
the driver and passengers that will be riding in your vehicle.
XStep 3: Subtract the combined weight of the
driver and passengers from XXX kilograms or
XXX lbs.
XStep 4: The resulting figure equals the avail-
able amount of cargo and luggage load capa-
city. For example, if the "XXX" amount equals
1400 lbs and there will be five 150-lb pas-
sengers in your vehicle, the amount of avail-
Loading the vehicle395
Wheels and tires
Z
Page 398 of 438

able cargo and luggage load capacity is
650 lbs (1400 - 750 (5 x 150) = 650 lbs).
XStep 5:Determine the combined weight of
luggage and cargo being loaded on the vehi-
cle. That weight may not safely exceed the
available cargo and luggage load capacity cal-
culated in step 4.
396Loading the vehicle
Wheels and tires
Page 399 of 438
Example: steps 1 to 3
The following table shows examples on how to calculate total and cargo load capacities with varying
seating configurations and number and size of occupants. The following examples use a load limit of
1500 lbs (680 kg).This is for illustration purposes only. Make sure you are using the actual load
limit for your vehicle stated on your vehicle's Tire and Loading Information placard (
Ypage 394).
The greater the combined weight of the occupants, the lower the maximum luggage load.
Example 1
Step 1
RCombined maximum weight of occupants and load (data from the Tire and Loading Information
placard): 1500 lbs (680kg )
Ste p 2
RNumber of people in the vehicl e(drive r and occupants): 5
RDistribution of the occupants
-Front: 2
-Rear: 3
RWeight of the occupants
-Occupant 1: 150 lbs (68 kg)
-Occupant 2: 180 lbs (82 kg)
-Occupant 3: 160 lbs (73 kg)
-Occupant 4: 140 lbs (63 kg)
-Occupant 5: 12 0lbs(5 4kg )
RTota l weight of all occupants: 750 lbs (340 kg)
Step 3
RPermissible load (maximum gross vehicle weight rating from the Tire and Loading Information
placard minus the gross weight of all occupants):
1500 lbs (680 kg) Ò750 lbs (340 kg) = 750 lbs (340 kg)
Example 2
Step 1
RCombined maximum weight of occupants and load (data from the Tire and Loading Informat ion
placard): 1500 lbs (680kg )
Ste p 2
RNumber of people in the vehicl e(drive r and occupants): 3
RDistribution of the occupants
-Front: 1
-Rear: 2
RWeight of the occupants
-Occupant 1: 200 lbs (91 kg)
-Occupant 2: 190 lbs (86 kg)
-Occupant 3: 150 lbs (68 kg)
RTotal weight of all occupants: 540 lbs (245 kg)
Step 3
RPermissible load (maximum gross vehicle weight rating from the Tire and Loading Information
placard minus the gross weight of all occupants):
1500 lbs (680 kg) Ò540 lbs (245kg )=9 60 lb s(435 kg )
Loading the vehicle397
Wheels and tires
Z