2016 MERCEDES-BENZ S-Class SEDAN power steering
[x] Cancel search: power steeringPage 247 of 438
The electric motor supports the combustion
engine by providing additional torque when:
Rthe needle has exceeded areaA
Ryou press the haptic accelerator pedal
beyond the pressure point and want to obtain
more power
Operating the on-board computer
You can display the current operating condition
of the hybrid drive system in the multifunction
display and the multimedia system display
(
Ypage 245).
In the multimedia system display, you can also
call up a graphic display of the fuel consumption
and generated electricity (
Ypage 249).
Menus and submenus
Selecting displays in the display of the
multimedia system
XPress button Øon the controller.
The vehicle menu is displayed.
XTo select Energy Flow: turn and press the
controller.
The energy flow is displayed.
or
XTo select Consumption: turn and press the
controller.
Fuel consumption and the generated electric
energy are displayed.
XTo exit the display: press the %button on
the controller.
Selecting the energy flow display in the
multifunction display
XUse Ñ on the steering wheel to call up the
list of menus.
XPress the :or9 button on the steering
wheel to select the Tripmenu.
XConfirm by pressing aon the steering
wheel.
XSelect Energy Flowwith: or9 .
The active hybrid components are highlighted
in the energy flow display.
Energy flow display
Overview
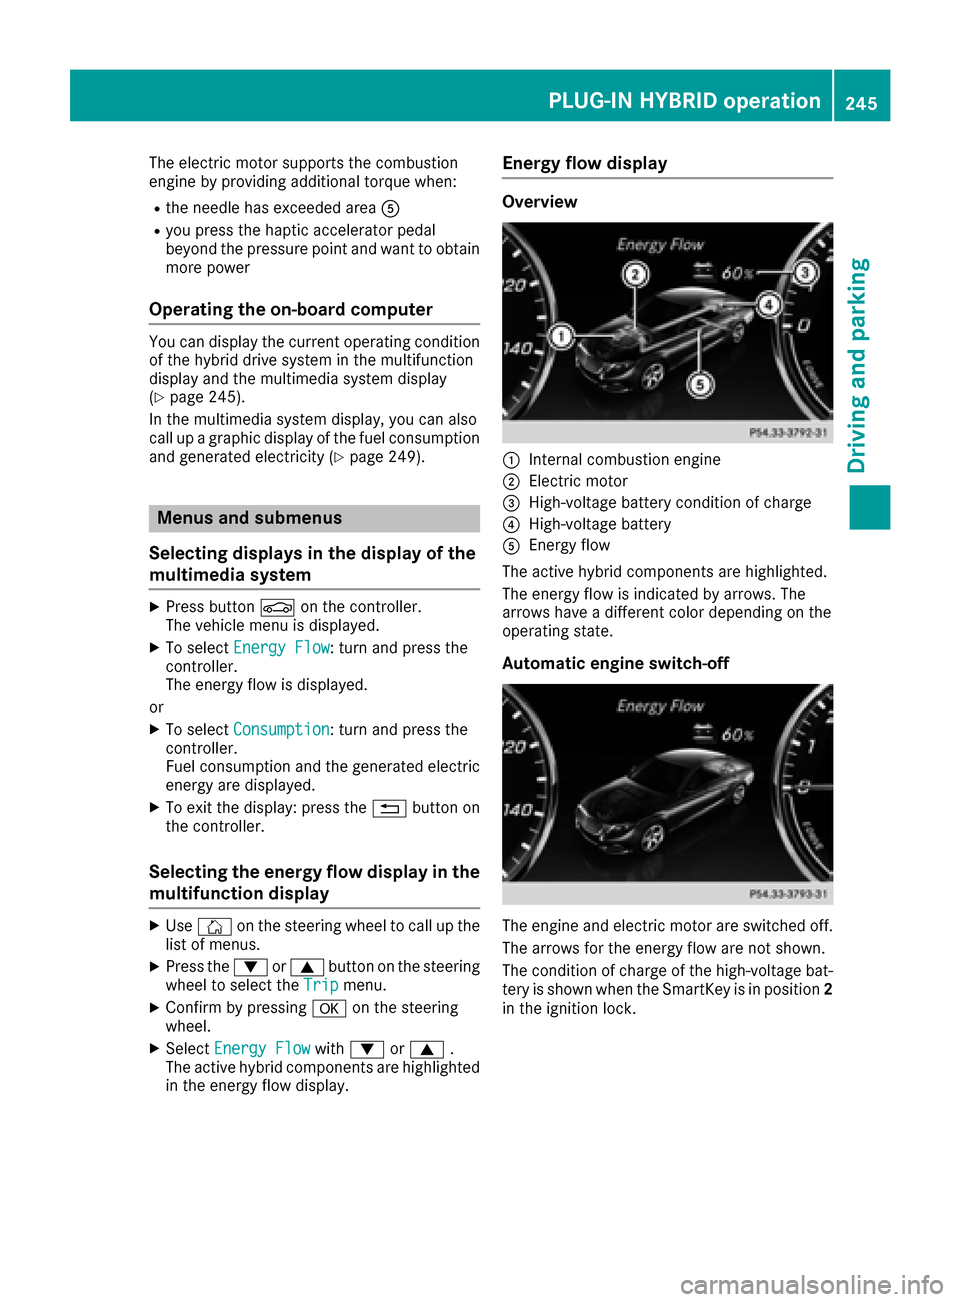
:Internal combustion engine
;Electric motor
=High-voltage battery condition of charge
?High-voltage battery
AEnergy flow
The active hybrid components are highlighted.
The energy flow is indicated by arrows. The
arrows have a different color depending on the
operating state.
Automatic engine switch-off
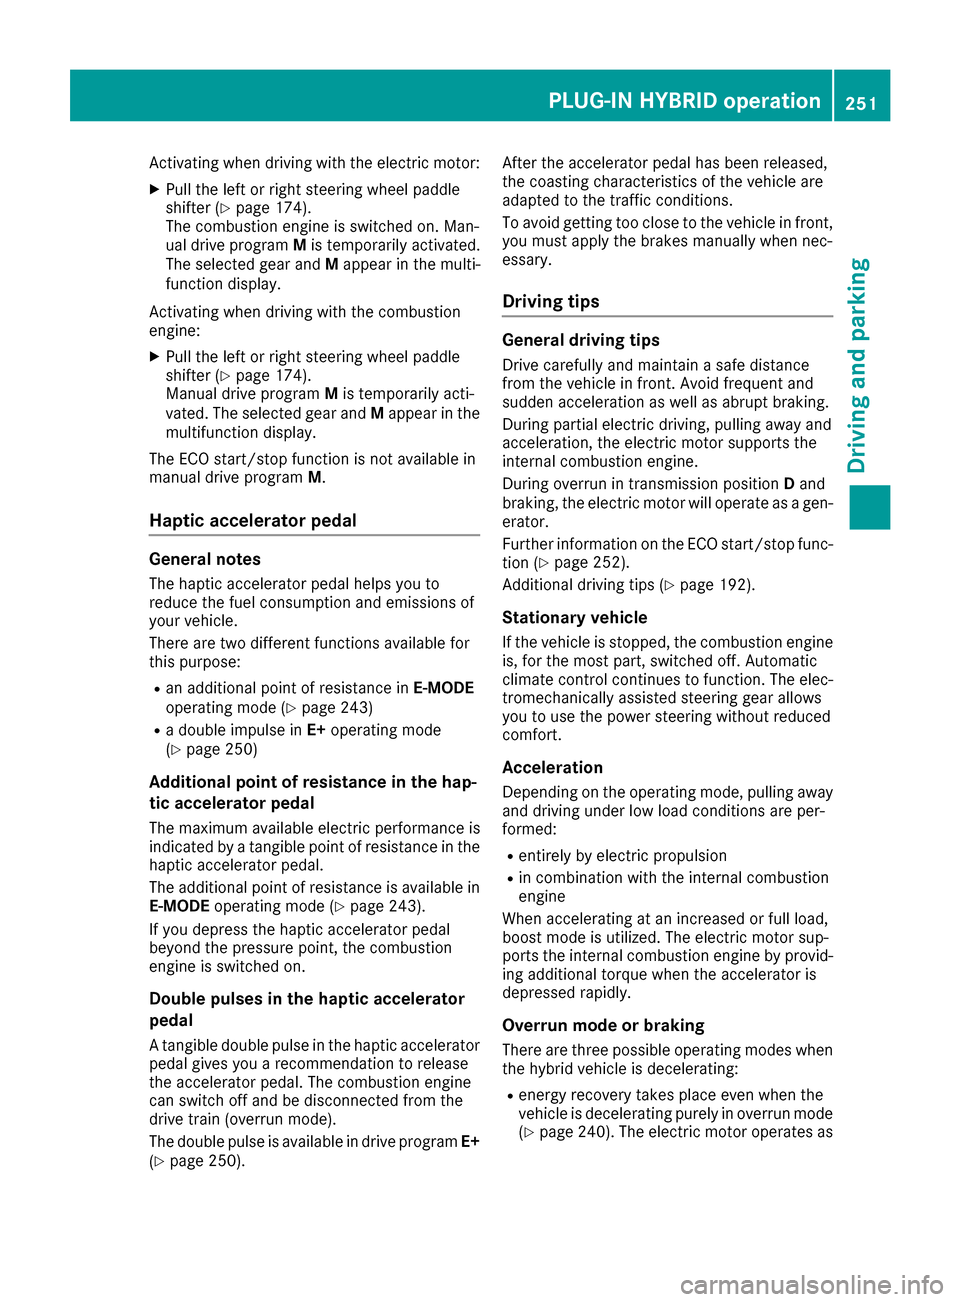
The engine and electric motor are switched off.
The arrows for the energy flow are not shown.
The condition of charge of the high-voltage bat-
tery is shown when the SmartKey is in position 2
in the ignition lock.
PLUG‑IN HYBRID operation245
Driving and parking
Z
Page 253 of 438
Activating when driving with the electric motor:
XPull the left or right steering wheel paddle
shifter (Ypage 174).
The combustion engine is switched on. Man-
ual drive program Mis temporarily activated.
The selected gear and Mappear in the multi-
function display.
Activating when driving with the combustion
engine:
XPull the left or right steering wheel paddle
shifter (Ypage 174).
Manual drive program Mis temporarily acti-
vated. The selected gear and Mappear in the
multifunction display.
The ECO start/stop function is not available in
manual drive program M.
Haptic accelerator pedal
General notes
The haptic accelerator pedal helps you to
reduce the fuel consumption and emissions of
your vehicle.
There are two different functions available for
this purpose:
Ran additional point of resistance in E-MODE
operating mode (Ypage 243)
Ra double impulse in E+operating mode
(Ypage 250)
Additional point of resistance in the hap-
tic accelerator pedal
The maximum available electric performance is
indicated by a tangible point of resistance in the
haptic accelerator pedal.
The additional point of resistance is available in
E-MODE operating mode (
Ypage 243).
If you depress the haptic accelerator pedal
beyond the pressure point, the combustion
engine is switched on.
Double pulses in the haptic accelerator
pedal
A tangible double pulse in the haptic accelerator
pedal gives you a recommendation to release
the accelerator pedal. The combustion engine
can switch off and be disconnected from the
drive train (overrun mode).
The double pulse is available in drive program E+
(
Ypage 250). After the accelerator pedal has been released,
the coasting characteristics of the vehicle are
adapted to the traffic conditions.
To
avo
id getting too close to the vehicle in front,
you must apply the brakes manually when nec-
essary.
Driving tips
General driving tips
Drive carefully and maintain a safe distance
from the vehicle in front. Avoid frequent and
sudden acceleration as well as abrupt braking.
During partial electric driving, pulling away and
acceleration, the electric motor supports the
internal combustion engine.
During overrun in transmission position Dand
braking, the electric motor will operate as a gen-
erator.
Further information on the ECO start/stop func-
tion (
Ypage 252).
Additional driving tips (
Ypage 192).
Stationary vehicle
If the vehicle is stopped, the combustion engine
is, for the most part, switched off. Automatic
climate control continues to function. The elec-
tromechanically assisted steering gear allows
you to use the power steering without reduced
comfort.
Acceleration
Depending on the operating mode, pulling away
and driving under low load conditions are per-
formed:
Rentirely by electric propulsion
Rin combination with the internal combustion
engine
When accelerating at an increased or full load,
boost mode is utilized. The electric motor sup-
ports the internal combustion engine by provid-
ing additional torque when the accelerator is
depressed rapidly.
Overrun mode or braking
There are three possible operating modes when
the hybrid vehicle is decelerating:
Renergy recovery takes place even when the
vehicle is decelerating purely in overrun mode
(
Ypage 240). The electric motor operates as
PLUG‑IN HYBRID operation251
Driving an d parking
Z
Page 274 of 438
XUse: or9 to select the DriveAssistsubmenu.
XPressato confirm your selection.
XPress the :or9 button to select
Lane Keeping Assist.
XPress ato confirm.
The current selection, StandardorAdap‐tive, appears.
XTo change the setting: pressaagain.
For further information about Active Lane Keep-
ing Assist, see (
Ypage 237).
HYBRID submenu (PLUG-IN HYBRID
vehicles)
Setting the maximum charge current
Using the Max.ChargeCurrentfunction, you
can limit the charge current value at which the
high-voltage battery should be charged.
Before starting the charging process at a power
socket, check the maximum permissible charge current for the relevant power socket or the
building.
Only set the maximum permissible charge cur-
rent using the function if:
Rit is not possible to set the charge current on
the charging cable
Rthe precise maximum permitted charge cur-
rent can only be set via the on-board com-
puter
Before charging the high-voltage battery at a
wallbox or charging station, ensure that the
charging current is not limited by the function. If
charging at a wallbox or a charging station,
select the maximum value.
Further information on charging the high-volt-
age battery and setting the charge current
(PLUG-IN HYBRID vehicles) (
Ypage 181).
XPress òon the steering wheel to open the
menu list.
XPress :or9 on the steering wheel to
select the Settingsmenu.
XConfirm by pressing aon the steering
wheel.
XPress :or9 to select the Hybridsubmenu.
XPressato confirm.
XPress :or9 to select the Max.Charge Currentfunction.
You will see the selected setting.
XPress the abutton to save the setting.
Before charging the high-voltage battery, check
the maximum permissible charge current for the
relevant power socket.
Further information on charging the high-volt-
age battery (PLUG-IN HYBRID vehicles)
(
Ypage 181).
Setting the departure time
You can climatize the vehicle interior prior to
your departure with the "Set departure time"
function. Further information on pre-entry cli-
mate control (
Ypage 157).
If you recharge the high-voltage battery, the
function also displays the charging prediction.
XPress the òbutton on the steering wheel
to open the menu list.
XPress :or9 on the steering wheel to
select the Settingsmenu.
XConfirm by pressing aon the steering
wheel.
XPress :or9 to select the Hybridsubmenu.
XPressato confirm.
XPress :or9 to select the DepartureTimefunction.
You will see the selected setting.
XPress the abutton to save the setting.
XTo set no departure time: press:or
9 to select No Pre-selection
.
XPressato confirm.
If you recharge the high-voltage battery, the
multifunction display also shows the time
when the high-voltage battery will be fully
charged.
or
XTo set a departure time: press:or9
A
, Bor Cto select the desired preset.
XPress the abutton to confirm the selec-
tion.
XPress :or9 to set the hours.
XPress ato confirm.
XPress :or9 to set the minutes.
XPress ato confirm.
If you recharge the high-voltage battery, the
multifunction display shows the expected
272Menus and submenus
On-board computer and displays
Page 313 of 438
Display messagesPossible causes/consequences andMSolutions
&
Pre-Entry ClimateCtrl. (ViaSmart‐Key )AvailableAgain After EngineStart
PLUG-I NHYBRID vehicles:
Wit hth eengin eswitched off ,you hav eattempte dto switch on th epre -
entr yclimat econtrol mor ethan twice .
XLet theengin erun for te nseconds.
Afte rrunnin gth eengine, th epre-entry climat econtrol is opera-
tional again .
&
Pre-Entry Climat eCtrl. (ViaSmart‐Key )InoperativeHVBatter yLow
PLUG-I NHYBRID vehicles:
The on-boar dvoltag eis to olow. The pre-entry climat econtrol canno t
be switched on .
XDrive foralonger distance.
The battery is bein gcharged. Whe nth econdition of charg eof th e
high-voltage battery is ove rth especified minimum ,pre-entry cli -
mat econtrol is operational again .
Ð
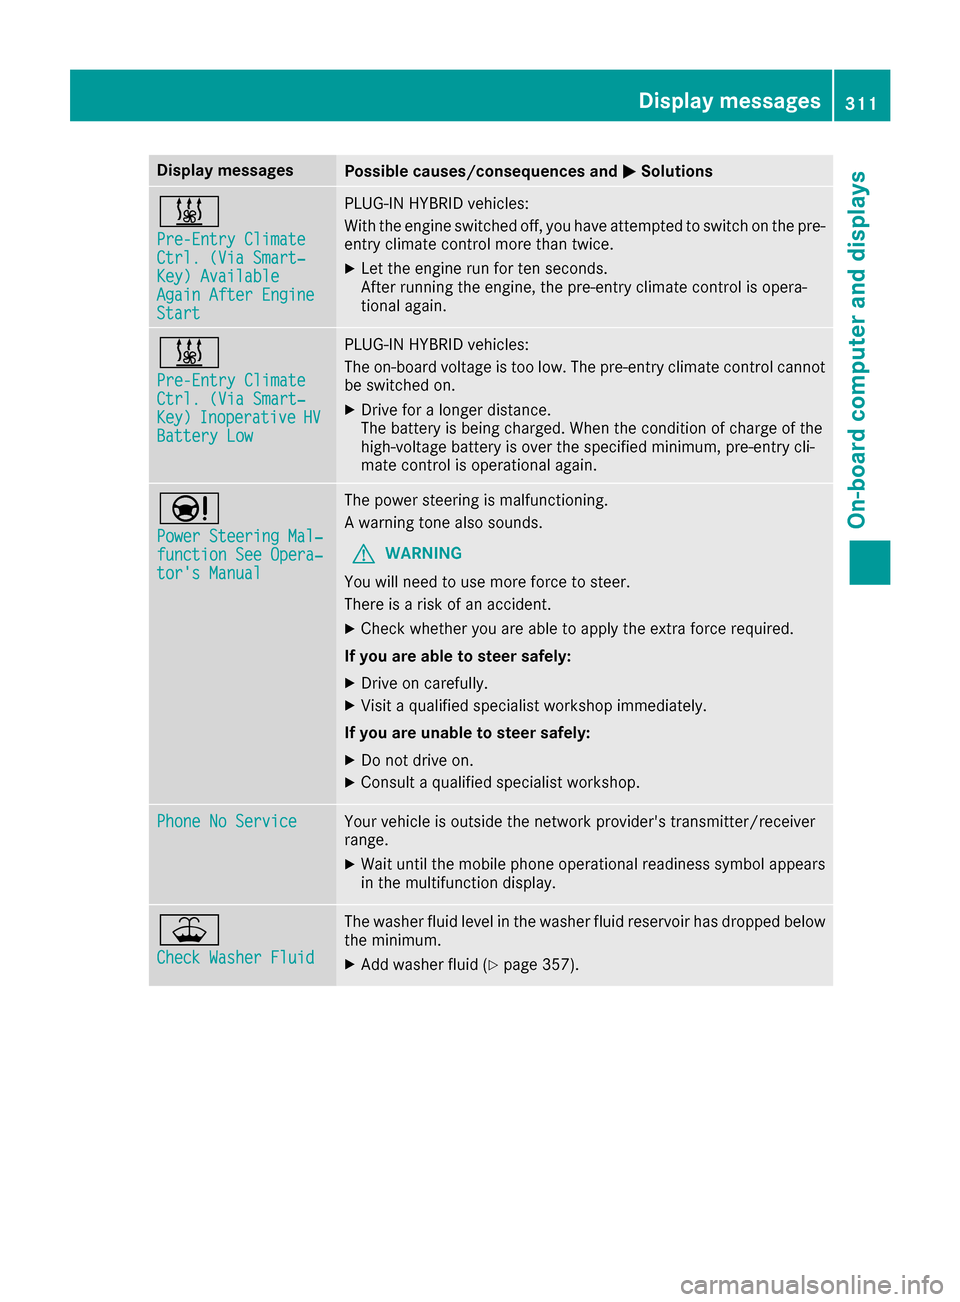
Power Steering Mal‐function See Opera‐tor's Manual
The powersteering is malfunctioning .
A warning tone also sounds.
GWARNIN G
You will need to use mor eforce to steer .
There is aris kof an accident.
XChec kwhether you are able to apply th eextr aforce required.
If you ar eabl eto steer safely:
XDrive on carefully.
XVisit aqualified specialist workshop immediately.
If you ar eunable to steer safely:
XDo no tdrive on .
XConsult aqualified specialist workshop .
Phone No ServiceYour vehicleis outside th enetwork provider' stransmitter/receiver
range.
XWait until th emobile phone operational readiness symbol appear s
in th emultifunction display.
¥
Check Washer Fluid
The washer flui dlevel in th ewasher flui dreservoir has dropped belo w
th eminimum .
XAddwasher flui d (Ypage 357).
Display messages311
On-board computer and displays
Z
Page 326 of 438
Vehicle
Warning/
indicator
lampNSignal type
Possible causes/consequences and M
Solutions
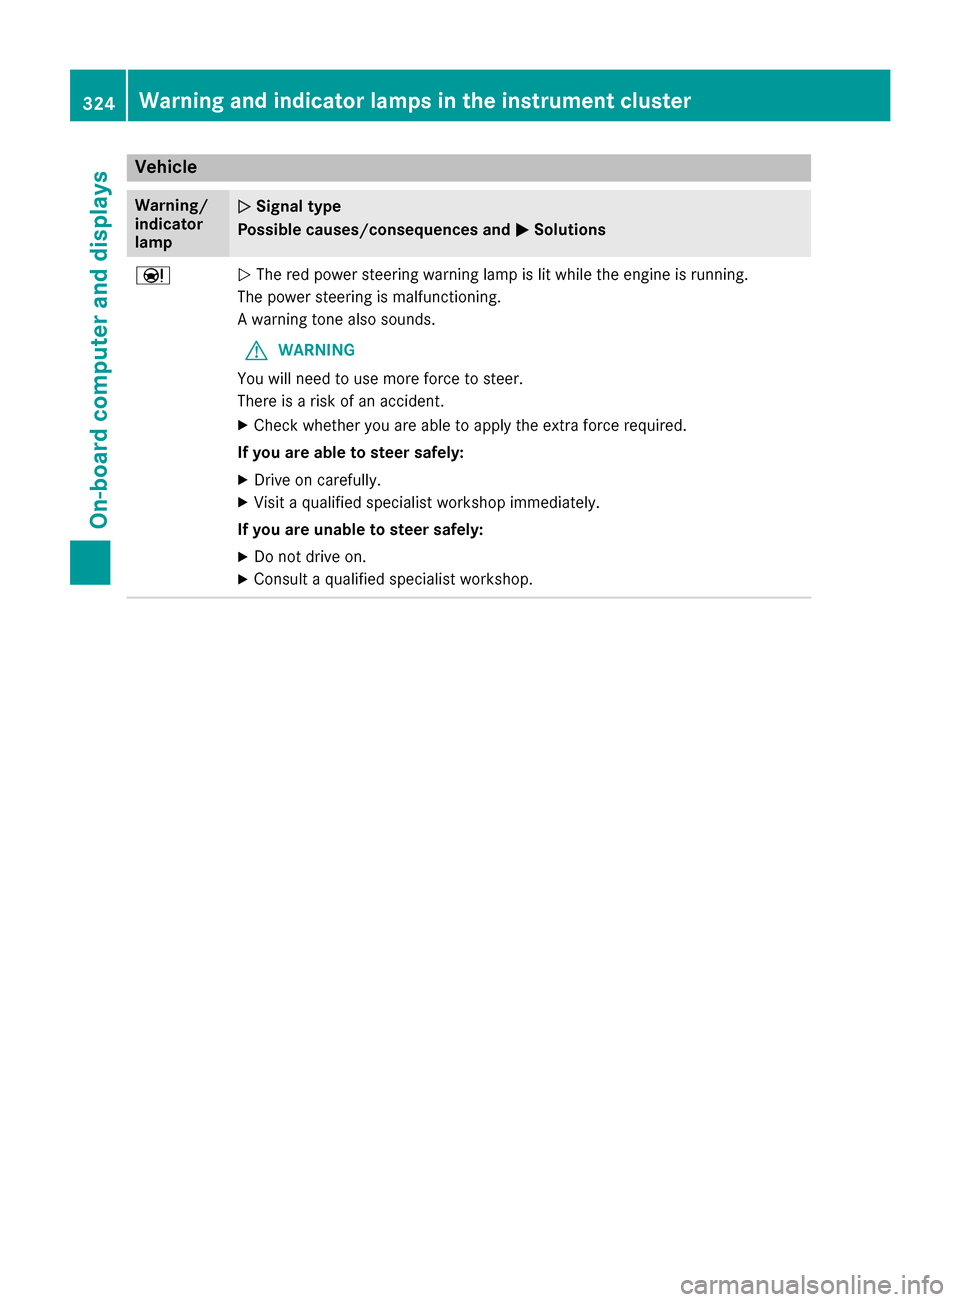
ÐNThe red power steering warning lamp is lit while the engine is running.
The power steering is malfunctioning.
A warning tone also sounds.
GWARNING
You will need to use more force to steer.
There is a risk of an accident.
XCheck whether you are able to apply the extra force required.
If you are able to steer safely:
XDrive on carefully.
XVisit a qualified specialist workshop immediately.
If you are unable to steer safely:
XDo not drive on.
XConsult a qualified specialist workshop.
324Warning and indicator lamps in the instrument cluster
On-board computer and displays
Page 332 of 438

XCliphook =into groove ?.
XTo close:uncliphook =from groove ?.
XFasten hook =to the bracket on the under-
side of the trunk floor.
XFold the trunk floor down.
Roof carrier
Important safety notes
GWAR NING
When you load the roof, the center of gravity
of the veh iclerises and the driving character-
istics change. Ifyou exceed the maximum roof
load, the driving characteristics, as wellas
steering and braking, will begreatly impaired.
There isa risk of an acc ident.
Never exceed the maximum roof load and
adjust your driving style.
You willfind information on the maximum roof
load inthe "Technical data" section
(
Ypage 433).
!Mercedes-Benz recommends that you only
use roof carriers that have been tested and
approved for Mercedes-Benz veh icles. This
helps to avoid damage to the veh icle.
Position the load on the roof carrier insuch a
way that the veh icle willnot sustain damage
even when it is inmotion.
Ensure that, dependin g on the vehicle's
equipm ent, you can raise the panorama roof
wit h power tilt/ sliding panel fully and open
the trunk lidfully when the roof carrier is
installed.
!To avoid damaging or scratching the covers,
do not use metallic or hard objects to open
them.
An incorrectly secured roof carrier or roof load
may become detached from the vehicle. You
must therefore ensure that you observe the roof carrier manufacturer's installation instructions.
Vehicles with a panorama roofwith power
tilt/sliding panel: the pan
orama roof with
power tilt/sliding panel cannot be opened if a
roof carrier isinstalled. The panorama roof with
power tilt/sliding panel can still be raised to
allow ventilation of the vehicle interior.
If the panorama roof with power tilt/sliding
panel makes contact with a roof carrier
approved byMercedes-Benz, the sunroof will
lower slightly but remain raised at the rear.
Attaching the roof carrier
XFold covers :upwards in the direction of the
arrow.
XOnly secure the roof carrier to the anchorage
points under covers :.
XObserve the manufacturer's installation
instructions.
Features
Cup holder
Important safety notes
GWARNING
If objects in the passenger compartment are
stowed incorrectly, they can slide or be
thrown around and hit vehicle occupants. In
addition, cupholders, open stowage spaces
and mobile phone brackets cannot always
330Features
Stowage and features
Page 381 of 438
Towing and tow-starting
Important safety notes
GWARNING
Functions relevant to safety are restricted or
no longer available if:
Rthe engine is not running.
Rthe brake system or the power steering is
malfunctioning.
Rthere is a malfunction in the voltage supply or the vehicle's electrical system.
If your vehicle is being towed, much more
force may be necessary to steer or brake.
There is a risk of an accident.
In such cases, use a tow bar. Before towing,
make sure that the steering moves freely.
GWARNING
When towing or tow-starting another vehicle
and its weight is greater than the permissible
gross weight of your vehicle, the:
Rthe towing eye could detach itself
Rthe vehicle/trailer combination could roll-
over.
There is a risk of an accident.
When towing or tow-starting another vehicle,
its weight should not be greater than the per- missible gross weight of your vehicle.
Details on the permissible gross vehicle weight
of your vehicle can be found on the vehicle iden-
tification plate (
Ypage 426).
!When COLLISION PREVENTION ASSIST
PLUS, DISTRONIC PLUS or the HOLD function
is activated, the vehicle brakes automatically
in certain situations.
To avoid damage to the vehicle, deactivate
these systems in the following or similar sit-
uations:
Rwhen towing the vehicle
Rin the car wash
!Make sure that the electric parking brake is
released. If the electric parking brake is faulty,
visit a qualified specialist workshop.
!Secure the tow rope or tow bar to the towing
eye only. Otherwise, the vehicle could
become damaged.
!Do not use the towing eyes for recovery pur-
poses as this could damage the vehicle. If in
doubt, recove
r the vehicle with a crane.
!When towing, pull away slowly and
smoothly. If the tractive power is too high, the
vehicles could be damaged.
!Shift the automatic transmission to Nand
do not open the driver's or front passenger's
door during towing. The automatic transmis-
sion may otherwise shift to position P, which
could damage the transmission.
!Do not tow with sling-type equipment. This
could damage the vehicle.
!The vehicle can be towed a maximum of
30 miles (50km). The towing speed of 30 mph (50 km/h) must not be exceeded.
If the vehicle has to be towed more than
30 miles (50km), the entire vehicle must be
raised and transported.
It is better to have the vehicle transported than
to have it towed away.
If the vehicle has suffered transmission damage,
have it transported on a transporter or trailer.
The automatic transmission must be in position N when the vehicle is being towed.
If the automatic transmission cannot be shifted
to position N, have the vehicle transported on a
transporter or trailer.
The battery must be connected and charged.
Otherwise, you:
Rcannot turn the SmartKey to position 2in the
ignition lock
Rcannot release the electric parking brake
Rcannot shift the automatic transmission to
position N
Disarm the automatic locking feature before the vehicle is towed (
Ypage 87). You could other-
wise be locked out when pushing or towing the
vehicle.
PLUG-IN HYBRID vehicles:
Towing and tow-starting379
Breakdown assistance
Z
Page 383 of 438

Transporting the vehicle
PLUG-IN HYBRID vehicles
Transportation of the vehicle should only be car-
ried out by professional recovery companies.
4MATIC vehicles/vehicles with auto-
matic transmission
!When the vehicle is loaded for transport, the
front and rear axles must be stationary and on
the same transportation vehicle. Positioning
over the connection point of the transport
vehicle is not permitted. The drive train may
otherwise be damaged.
All vehicles
!You may only secure the vehicle by the
wheels, not by parts of the vehicle such as
axle or steering components. Otherwise, the
vehicle could be damaged.
The towing eye can be used to pull the vehicle
onto a trailer or transporter for transporting pur-
poses.
XTurn the SmartKey to position 2in the ignition
lock.
XShift the automatic transmission to position
N.
As soon as the vehicle has been loaded:
XPrevent the vehicle from rolling away by
applying the electric parking brake.
XShift the automatic transmission to posi-
tion P.
XTurn the SmartKey to position 0in the ignition
lock and remove it.
XSecure the vehicle.
Notes on 4MATIC vehicles
!
Vehicles with 4MATIC must not be towed
with either the front or the rear axle raised, as
doing so will damage the transmission.
Vehicles with 4MATIC may either be towed away with both axles on the ground or be loaded up
and transported.
If the vehicle's transmission, front, or rear axle is
damaged, have the vehicle transported on a
truck or trailer.
In the event of damage to the electrical sys-
tem: if the battery is defective, the automatic
transmission will be locked in position P. To shift
the automatic transmission to position N, you
must provide power to the vehicle's electrical
system in the same way as when jump-starting
(
Ypage 376).
Have the vehicle transported on a transporter or
trailer.
Tow-starting (emergency engine
starting)
!
Vehicles with automatic transmission must
not be tow-started. You could otherwise dam-
age the automatic transmission.
iInformation on "Jump-starting"
(Ypage 376).
Fuses
Important safety notes
GWARNING
If you manipulate or bridge a faulty fuse or if
you replace it with a fuse with a higher amper- age, the electric cables could be overloaded.
This could result in a fire. There is a risk of an
accident and injury.
Always replace faulty fuses with the specified
new fuses having the correct amperage.
Blown fuses must be replaced with fuses of the
same rating, which you can recognize by the
color and value. The fuse ratings are listed in the
fuse allocation chart.
The fuse allocation chart is on the fuse box in the
trunk (
Ypage 381).
Fuses381
Breakdown assistance
Z