2016 MERCEDES-BENZ GLC-Class window
[x] Cancel search: windowPage 164 of 222
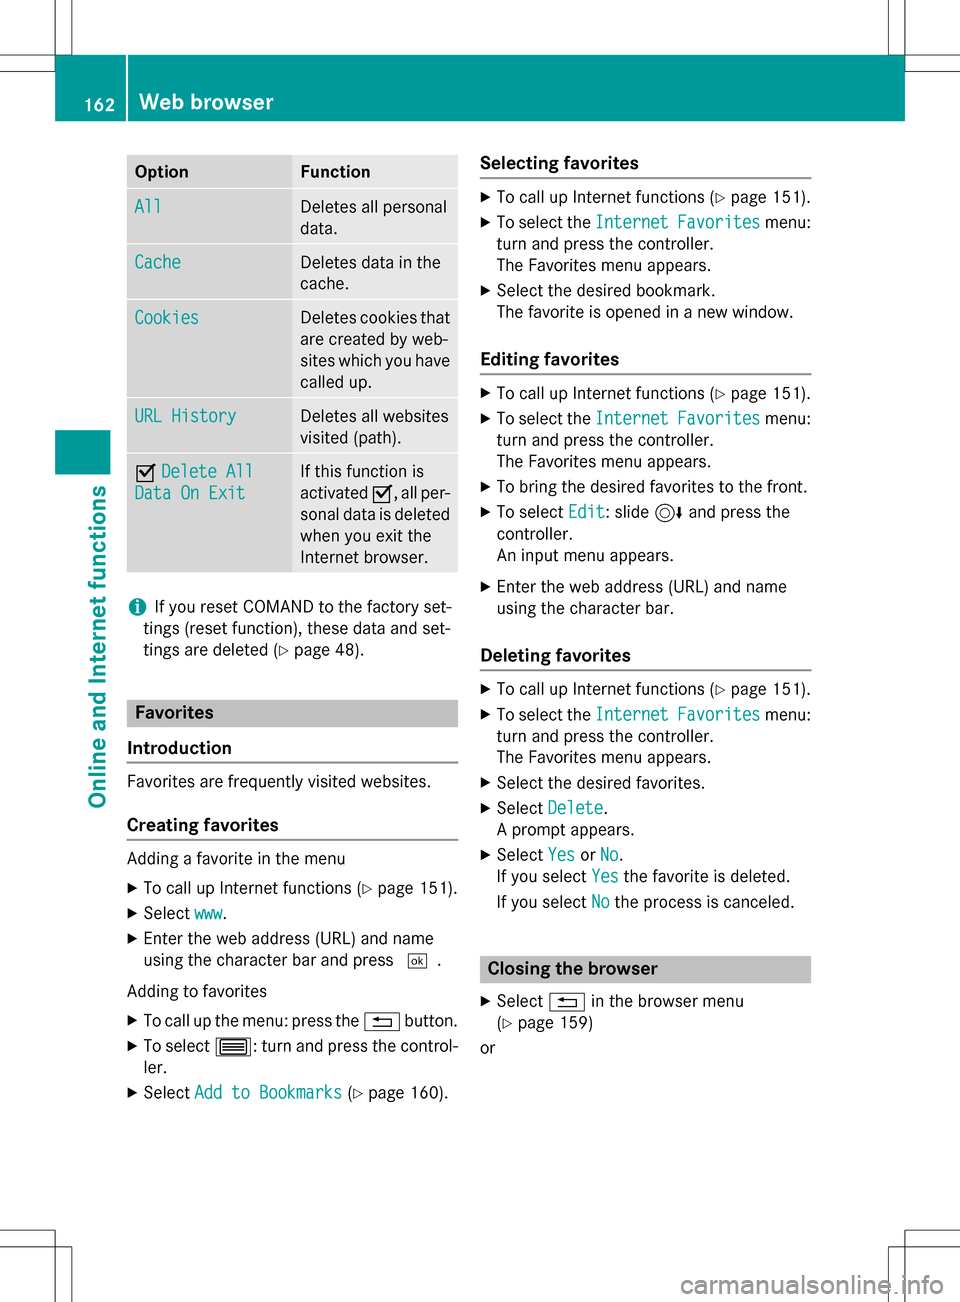
OptionFunction
AllDeletes all personal
data.
CacheDeletes data in the
cache.
CookiesDeletes cookies that
are created by web-
sites which you have
called up.
URL HistoryDeletes all websites
visited (path).
ODelete All
Data On Exit
If this function is
activated O, all per-
sonal data is deleted
when you exit the
Internet browser.
iIf you reset COMAND to the factory set-
tings (reset function), these data and set-
tings are deleted (
Ypage 48).
Favorites
Introduction
Favorites are frequently visited websites.
Creating favorites
Adding a favorite in the menu
XTo call up Internet functions (Ypage 151).
XSelect www.
XEnter the web address (URL) and name
using the character bar and press ¬.
Adding to favorites
XTo call up the menu: press the %button.
XTo select 3: turn and press the control-
ler.
XSelect Add to Bookmarks(Ypage 160).
Selecting favorites
XTo call up Internet functions (Ypage 151).
XTo select the InternetFavoritesmenu:
turn and press the controller.
The Favorites menu appears.
XSelect the desired bookmark.
The favorite is opened in a new window.
Editing favorites
XTo call up Internet functions (Ypage 151).
XTo select the InternetFavoritesmenu:
turn and press the controller.
The Favorites menu appears.
XTo bring the desired favorites to the front.
XTo select Edit: slide6and press the
controller.
An input menu appears.
XEnter the web address (URL) and name
using the character bar.
Deleting favorites
XTo call up Internet functions (Ypage 151).
XTo select the InternetFavoritesmenu:
turn and press the controller.
The Favorites menu appears.
XSelect the desired favorites.
XSelect Delete.
A prompt appears.
XSelect YesorNo.
If you select Yes
the favorite is deleted.
If you select No
the process is canceled.
Closing the browser
XSelect%in the browser menu
(
Ypage 159)
or
162Web browser
Online and Internet functions
Page 174 of 222
Switching to satellite radio
XTo show the main function bar: slide5
the controller.
XTo select Radio: turn and press the con-
troller.
The radio display appears. You will hear the
last station played on the last waveband
selected.
XTo select Radioin radio mode: slide 5
and press the controller.
The menu with the available radio modes
appears.
XTo select Sat Radio: turn and press the
controller.
The No Service
message appears if there is
no signal.
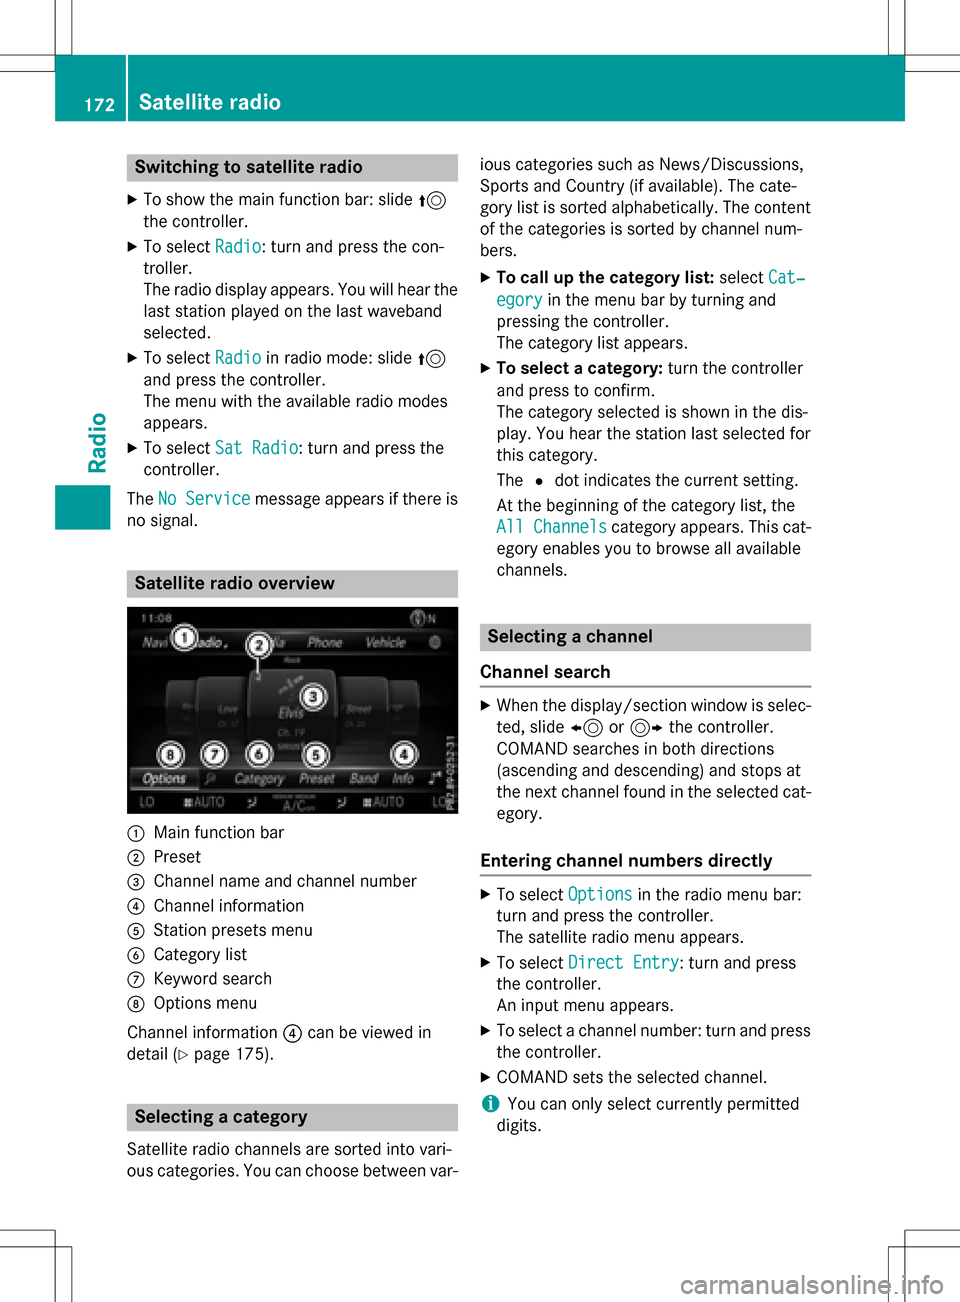
Satellite radio overview
:Main function bar
;Preset
=Channel name and channel number
?Channel information
AStation presets menu
BCategory list
CKeyword search
DOptions menu
Channel information ?can be viewed in
detail (
Ypage 175).
Selecting a category
Satellite radio channels are sorted into vari-
ous categories. You can choose between var- ious categories such as News/Discussions,
Sports and Country (if available). The cate-
gory list is sorted alphabetically. The content
of the categories is sorted by channel num-
bers.
XTo call up the category list:
selectCat‐
egoryin the menu bar by turning and
pressing the controller.
The category list appears.
XTo select a category: turn the controller
and press to confirm.
The category selected is shown in the dis-
play. You hear the station last selected for
this category.
The #dot indicates the current setting.
At the beginning of the category list, the
All Channels
category appears. This cat-
egory enables you to browse all available
channels.
Selecting a channel
Channel search
XWhen the display/section window is selec-
ted, slide 8or9 the controller.
COMAND searches in both directions
(ascending and descending) and stops at
the next channel found in the selected cat-
egory.
Entering channel numbers directly
XTo select Optionsin the radio menu bar:
turn and press the controller.
The satellite radio menu appears.
XTo select Direct Entry: turn and press
the controller.
An input menu appears.
XTo select a channel number: turn and press
the controller.
XCOMAND sets the selected channel.
iYou can only select currently permitted
digits.
172Satellite radio
Radio
Page 175 of 222
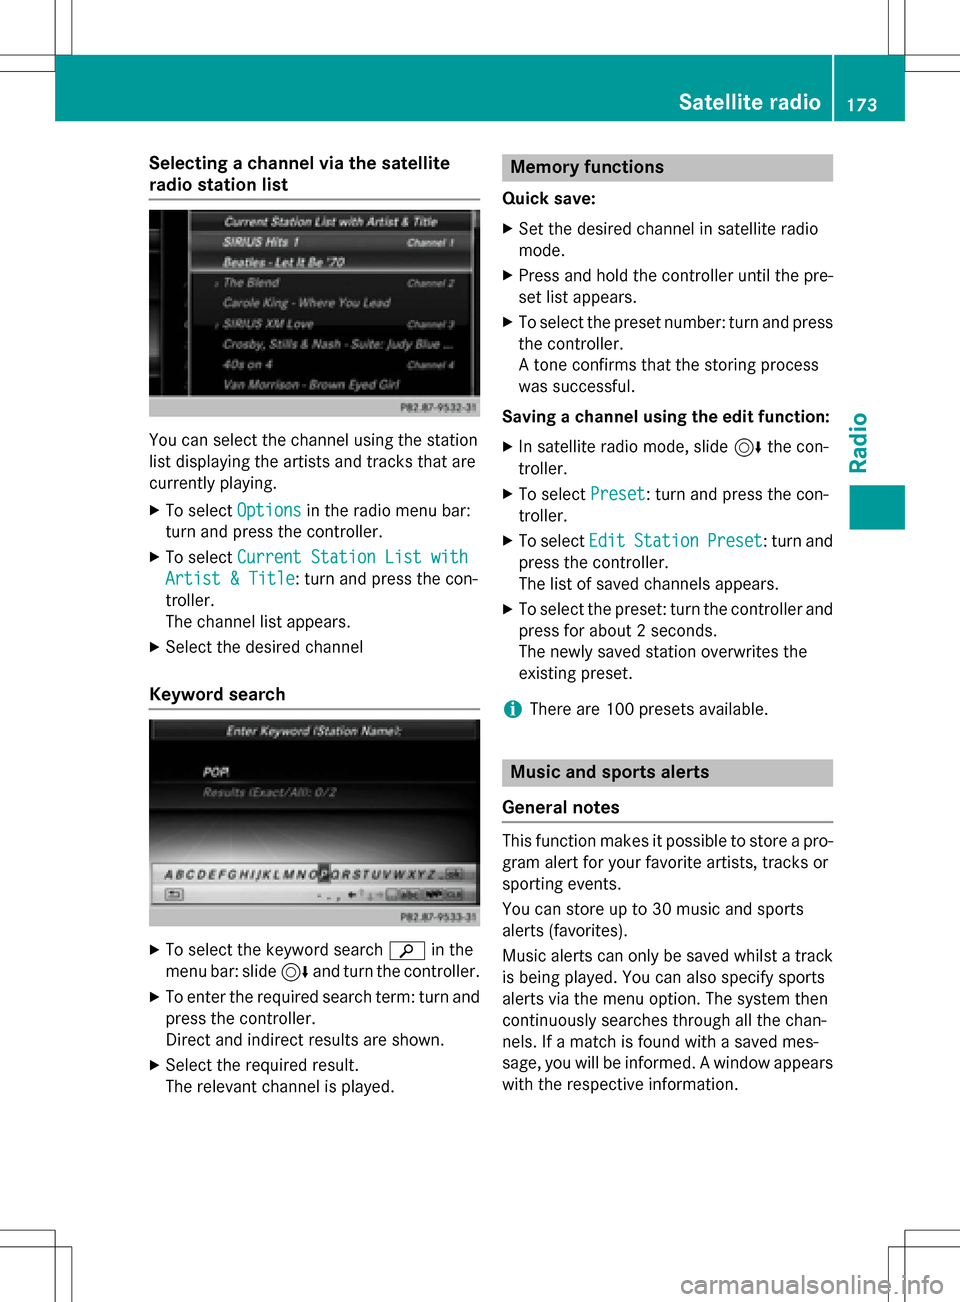
Selecting a channel via the satellite
radio station list
You can select the channel using the station
list displaying the artists and tracks that are
currently playing.
XTo selectOptionsin the radio menu bar:
turn and press the controller.
XTo select Current Station List with
Artist & Title: turn and press the con-
troller.
The channel list appears.
XSelect the desired channel
Keyword search
XTo select the keyword search èin the
menu bar: slide 6and turn the controller.
XTo enter the required search term: turn and
press the controller.
Direct and indirect results are shown.
XSelect the required result.
The relevant channel is played.
Memory functions
Quick save:
XSet the desired channel in satellite radio
mode.
XPress and hold the controller until the pre-
set list appears.
XTo select the preset number: turn and press
the controller.
A tone confirms that the storing process
was successful.
Saving a channel using the edit function:
XIn satellite radio mode, slide 6the con-
troller.
XTo select Preset: turn and press the con-
troller.
XTo select EditStationPreset: turn and
press the controller.
The list of saved channels appears.
XTo select the preset: turn the controller and
press for about 2 seconds.
The newly saved station overwrites the
existing preset.
iThere are 100 presets available.
Music and sports alerts
General notes
This function makes it possible to store a pro-
gram alert for your favorite artists, tracks or
sporting events.
You can store up to 30 music and sports
alerts (favorites).
Music alerts can only be saved whilst a track
is being played. You can also specify sports
alerts via the menu option. The system then
continuously searches through all the chan-
nels. If a match is found with a saved mes-
sage, you will be informed. A window appears
with the respective information.
Satellite radio173
Radio
Page 176 of 222
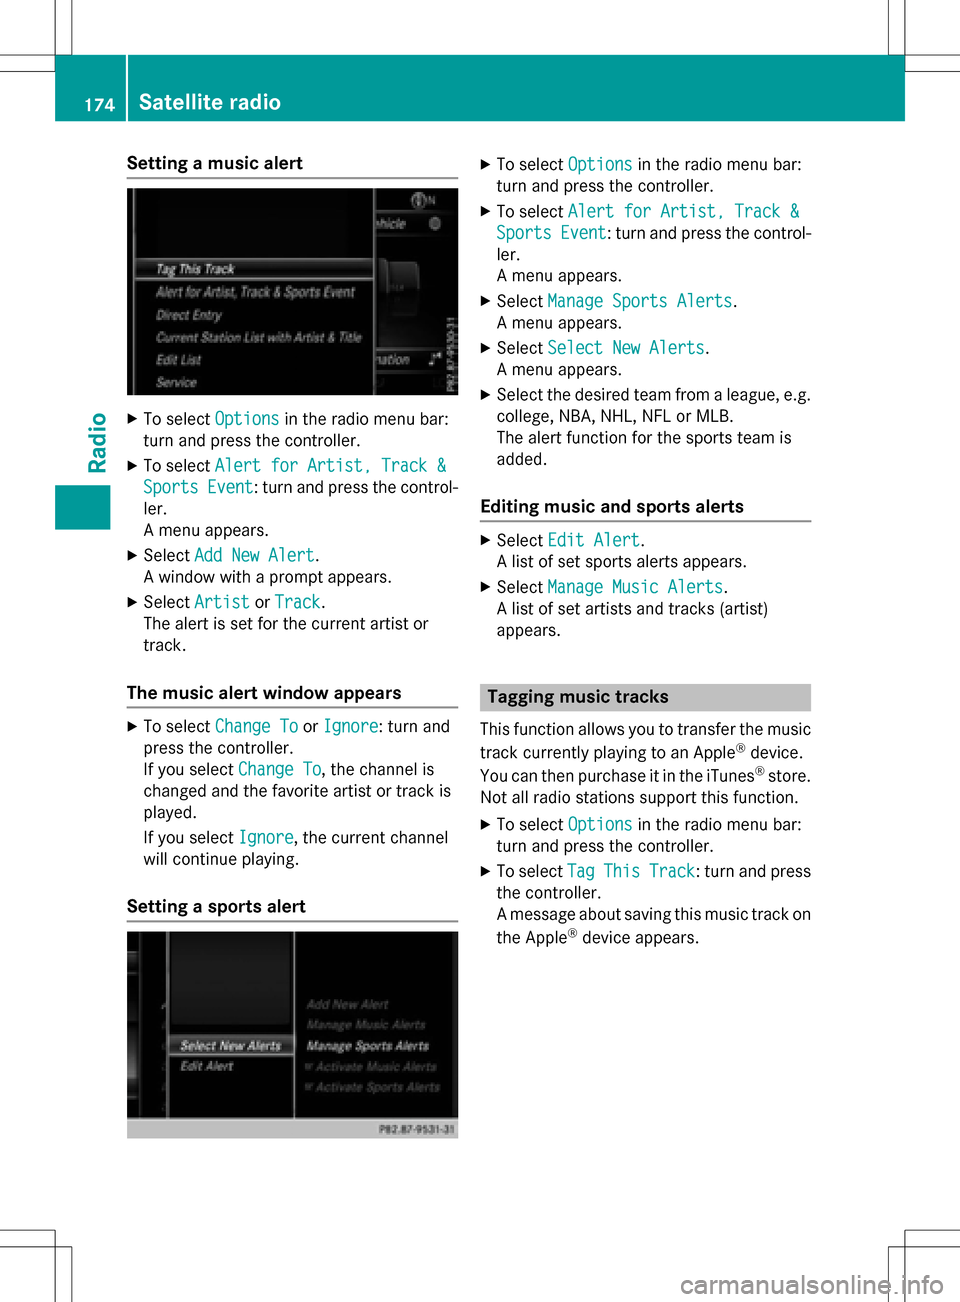
Setting a music alert
XTo selectOptionsin the radio menu bar:
turn and press the controller.
XTo select Alert for Artist, Track &
SportsEvent: turn and press the control-
ler.
A menu appears.
XSelect Add New Alert.
A window with a prompt appears.
XSelect ArtistorTrack.
The alert is set for the current artist or
track.
The music alert window appears
XTo select Change ToorIgnore: turn and
press the controller.
If you select Change To
, the channel is
changed and the favorite artist or track is
played.
If you select Ignore
, the current channel
will continue playing.
Setting a sports alert
XTo select Optionsin the radio menu bar:
turn and press the controller.
XTo select Alert for Artist, Track &
SportsEvent: turn and press the control-
ler.
A menu appears.
XSelect Manage Sports Alerts.
A menu appears.
XSelect Select New Alerts.
A menu appears.
XSelect the desired team from a league, e.g.
college, NBA, NHL, NFL or MLB.
The alert function for the sports team is
added.
Editing music and sports alerts
XSelect Edit Alert.
A list of set sports alerts appears.
XSelect Manage Music Alerts.
A list of set artists and tracks (artist)
appears.
Tagging music tracks
This function allows you to transfer the music
track currently playing to an Apple®device.
You can then purchase it in the iTunes®store.
Not all radio stations support this function.
XTo select Optionsin the radio menu bar:
turn and press the controller.
XTo select TagThisTrack: turn and press
the controller.
A message about saving this music track on
the Apple
®device appears.
174Satellite radio
Radio
Page 200 of 222
Selecting playback options
XTo selectOptions: turn and press the con-
troller.
XSelect Playback Mode.
A # dot indicates the current setting.
XSelect the desired option.
If you select Random
TrackList, you will
see a corresponding message in the display
or selection window.
Increasing the volume using COMAND
XTo select Options: slide6and press the
controller.
XTo select Volume: turn and press the con-
troller.
A menu appears. The #dot indicates the
current setting.
XSelect StandardorBoost.
Information on sound settings
(
Ypage 208).
Operation with the Media Interface
General notes
Media Interface is a universal interface for the
connection of mobile audio and video devi-
ces. Media Interface in COMAND has two
USB connections.
The USB connection sockets are located in
the stowage compartment under the armrest.
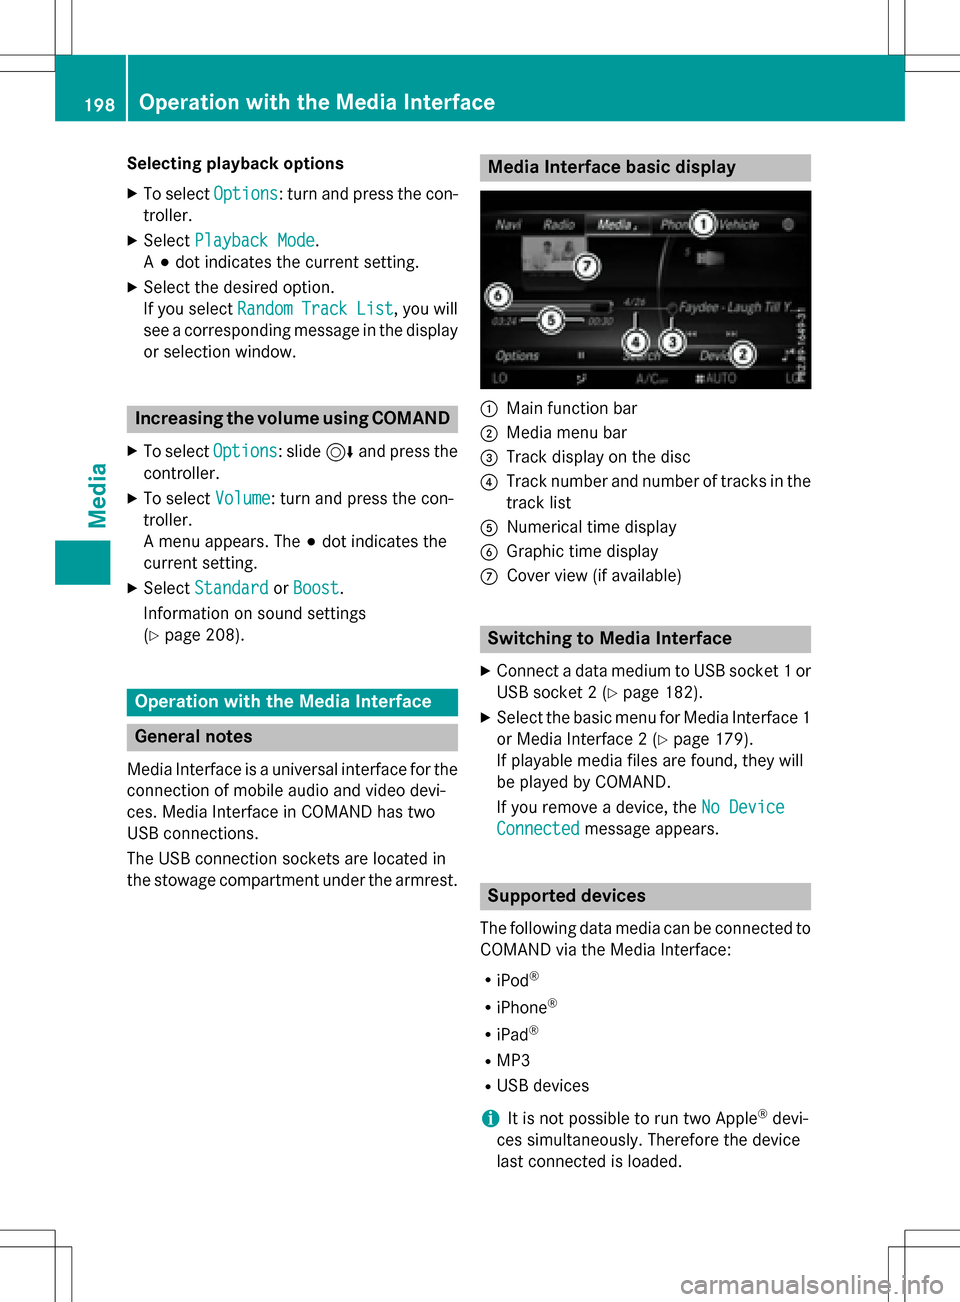
Media Interface basic display
:Main function bar
;Media menu bar
=Track display on the disc
?Track number and number of tracks in the
track list
ANumerical time display
BGraphic time display
CCover view (if available)
Switching to Media Interface
XConnect a data medium to USB socket 1 or
USB socket 2 (
Ypage 182).
XSelect the basic menu for Media Interface 1
or Media Interface 2 (
Ypage 179).
If playable media files are found, they will
be played by COMAND.
If you remove a device, the No Device
Connectedmessage appears.
Supported devices
The following data media can be connected to
COMAND via the Media Interface:
RiPod®
RiPhone®
RiPad®
RMP3
RUSB devices
iIt is not possible to run two Apple®devi-
ces simultaneously. Therefore the device
last connected is loaded.
198Operation with the Media Interface
Media