2016 MERCEDES-BENZ GLC-Class language
[x] Cancel search: languagePage 43 of 222

Setting the time and date format
Use this function to set the time and date for-mat for all displays in the vehicle.
XPress the Øbutton.
or
XPress Vehiclein the main function bar.
The vehicle menu is displayed.
XTo select Time: slide6, turn and press
the controller to confirm.
A menu appears.
XTo select Format: turn and press the con-
troller.
XTo select the desired date format: turn and
press the controller.
The #dot indicates the current setting.
XTo select the desired time format: turn and
press the controller.
The #dot indicates the current setting.
AbbreviationMeaning
YYYY/MM/DDYear/Month/Day
date format, year (all
four digits)
YY/MM/DDYear/Month/Day
date format, year
(two digits)
MM/DD/YYYYMonth/Day/Year
date format, year (all
four digits)
DD/MM/YYYYDay/Month/Year
date format, year (all
four digits)
HH:MM (24 hrs)Hours : Minutes
(24 hour time for-
mat)
HH:MM (AM/PM)Hours : Minutes
(AM/PM time for-
mat)
Text reader settings
XPress the Øbutton.
or
XPress Vehiclein the main function bar.
The vehicle menu is displayed.
XTo select System Settings: slide6,
turn and press the controller to confirm.
A menu appears.
XTo select Text Reader Speed: turn and
press the controller.
A list appears.
XSelect Fast,Mediumor Slow.
The #dot indicates the current setting.
Voice Control System settings
Opening/closing the help window
i
If the set system language is not suppor-
ted by the Voice Control System, English
will be selected.
The help window also shows you information
on audible instructions:
Rduring individualization
Rduring subsequent operation of the Voice
Control System
XPress the Øbutton.
or
XPress Vehiclein the main function bar.
The vehicle menu is displayed.
XTo select System Settings: slide6,
turn and press the controller to confirm.
A menu appears.
XTo select Voice Control: turn and press
the controller.
XSelect Help Window.
You have switched the help window on O
or off ª.
More information on the Voice Control Sys-
tem is available in the separate operating
instructions.
Voice Control System settings41
System settings
Z
Page 47 of 222

XTo selectSystem Settings: slide6,
turn and press the controller.
A menu appears.
XTo select Activate Bluetooth: turn and
press the controller.
This switches Bluetooth
®on O or off ª.
Automatic volume adjustment
General information
With the Automatic Volume Adjustment
function, the volumes of different audio sour-
ces are adjusted for each other, to compen-
sate for relative differences in volume.
For example: changing from a relatively
quiet to a relatively loud radio station. The
volume for both stations sounds the same.
Manual readjustment of the volume is not
required.
The Automatic Volume Adjustment
func-
tion is deactivated ªwhen the vehicle leaves
the factory. Using this function, the dynamic
range of the music is slightly reduced. To
make the most of the audiophile sound qual- ity, it is recommended to leave it off.
Switching the automatic volume
adjustment on/off
XPress the Øbutton.
or
XPress Vehiclein the main function bar.
The vehicle menu is displayed.
XTo select System Settings: slide6,
turn and press the controller.
A menu appears.
XTo select Automatic Volume Adjust‐
ment: turn and press the controller.
Switch the Automatic Volume Adjust‐
mentfunction on Oor off ª.
Setting the system language
This function allows you to determine the lan-
guage for the menu displays and the naviga-
tion messages. The selected language affects
the characters available for entry.
iThe navigation announcements are not
available in all languages. If a language is
not available, the navigation announce-
ments will be in English.
iWhen you set the system language, the
language of the Voice Control System will
change accordingly. If it is not supported by
the Voice Control System, English will be
selected.
XPress the Øbutton.
or
XPress Vehiclein the main function bar.
The vehicle menu is displayed.
XTo select System Settings: slide6,
turn and press the controller.
A menu appears.
XTo select Language: turn and press the
controller.
The list of languages appears. The #dot
indicates the current setting.
XSelect the desired language.
COMAND loads the selected language and
sets it.
Calling up and editing the Favorites
function
The Favorites function can, depending on the
vehicle equipment, be called up as follows:
Rvia the System Settingsmenu
Rvia the Favorites button on the controller
(
Ypage 23)
Rvia the Favorites button on the touchpad
(
Ypage 24)
Calling up and editing the Favorites function45
System settings
Z
Page 72 of 222

Keyword search
Entering key words
The keywor dsearch is used to help fin ddes-
tination susin gfragment sof words. The key-
wor dsearch is tolerant of errors .
It can be used for an address or a POI.For
example, you can search for th eEmpir eState
Buildin gin New York.
The keywor dsearch finds geographically tol-
eran thits. If ,for example, you are searching
for astree tlocate don th eedge of amajor
city, th esearch will also cover adjacent
smaller cities.
The keywor dsearch support slanguage s
usin gLatin characters .
XTo switch to navigation mode: press the
Ø button.
XTo sho wthemenu: slide6 thecontrol -
ler .
XTo select Destination:tur nand press th e
controller .
XSelectKeywor dSearch.
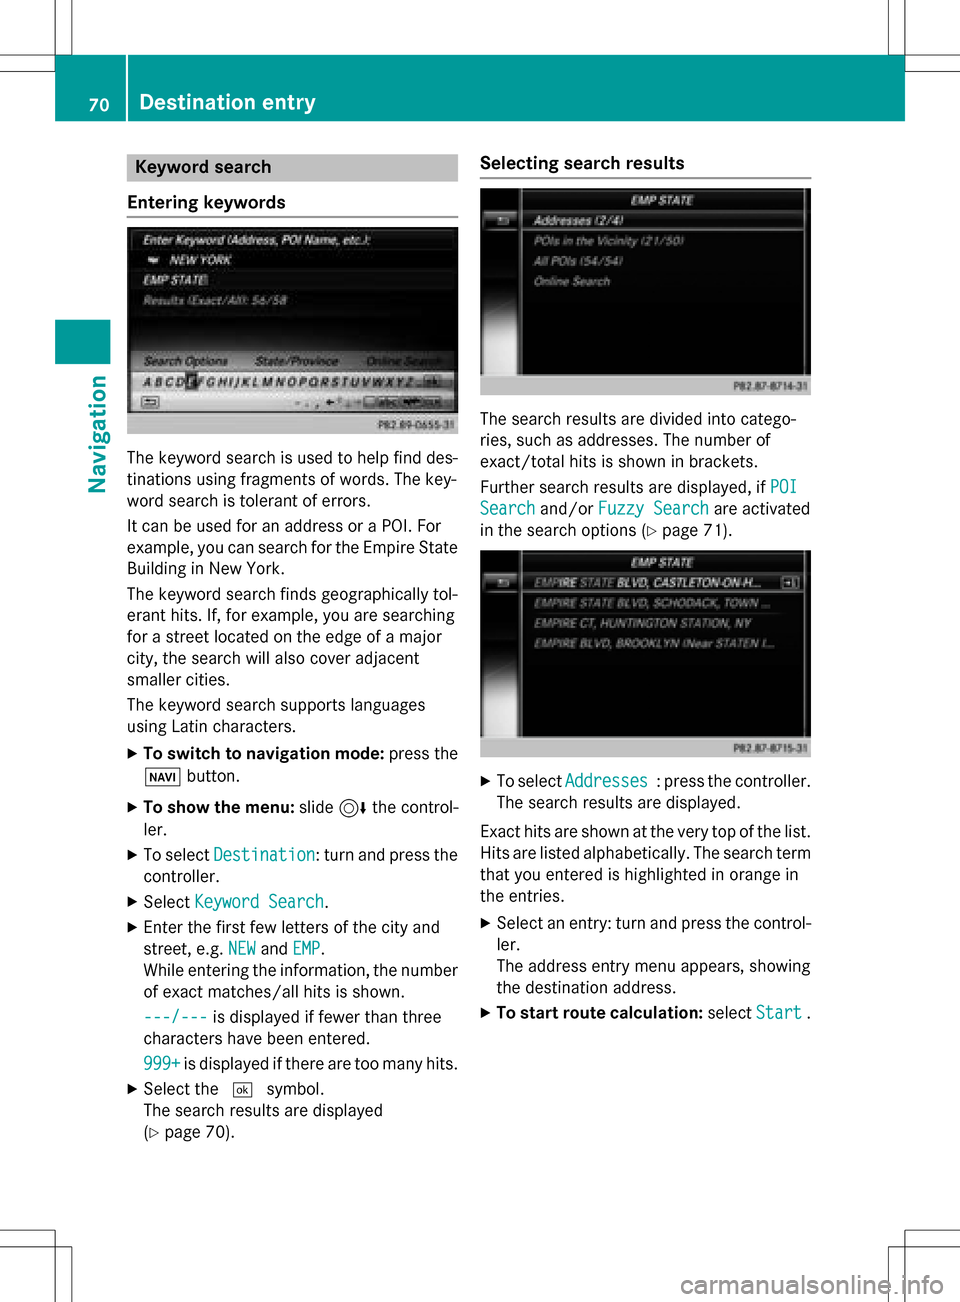
XEnte rth efirst few letters of th ecit yand
street, e.g. NEW
andEMP.
Whil eenterin gth einformation ,th enumber
of exact matches/all hit sis shown.
---/-- -
is displayed if fewer than three
characters hav ebeen entered .
999 +
is displayed if there are to oman yhits.
XSelec tth e¬ symbol.
The search result sare displayed
(
Ypage 70) .
Selecting search results
The search result sare divided into catego -
ries, suc has addresses. The number of
exact/total hit sis shown in brackets .
Further search result sare displayed, if POI
Searchand/orFuzzy Searchare activated
in th esearch option s (
Ypage 71).
XTo selectAddresses:press th econtroller .
The search result sare displayed.
Exact hit sare shown at th ever yto pof th elist .
Hit sare listed alphabetically. The search term
that you entered is highlighte din orange in
th eentries.
XSelec tan entry: tur nand press th econtrol -
ler .
The address entr ymen uappears, showin g
th edestination address .
XTo startroute calculation: selectStart.
70Destination entry
Navigation
Page 95 of 222

XTo show the menu:slide6the control-
ler.
XTo select Traffic: turn and press the con-
troller.
XTo select Messages On Route: turn and
press the controller.
The traffic report window appears. Several
traffic reports may be available for the cal-
culated route, marked for example by 1/3.
The report shows the following information:
RState/province, road and display of the
affected direction
RSection of the road to which the traffic
report applies
RTraffic icon and traffic report
XTo display the next/previous traffic
report: turn the controller.
XTo close the display: press the%but-
ton.
Displaying all traffic reports
XTo switch to navigation mode: press the
Ø button.
XTo show the menu: slide6the control-
ler.
XTo select Traffic: turn and press the con-
troller.
XTo select All Messages: turn and press
the controller.
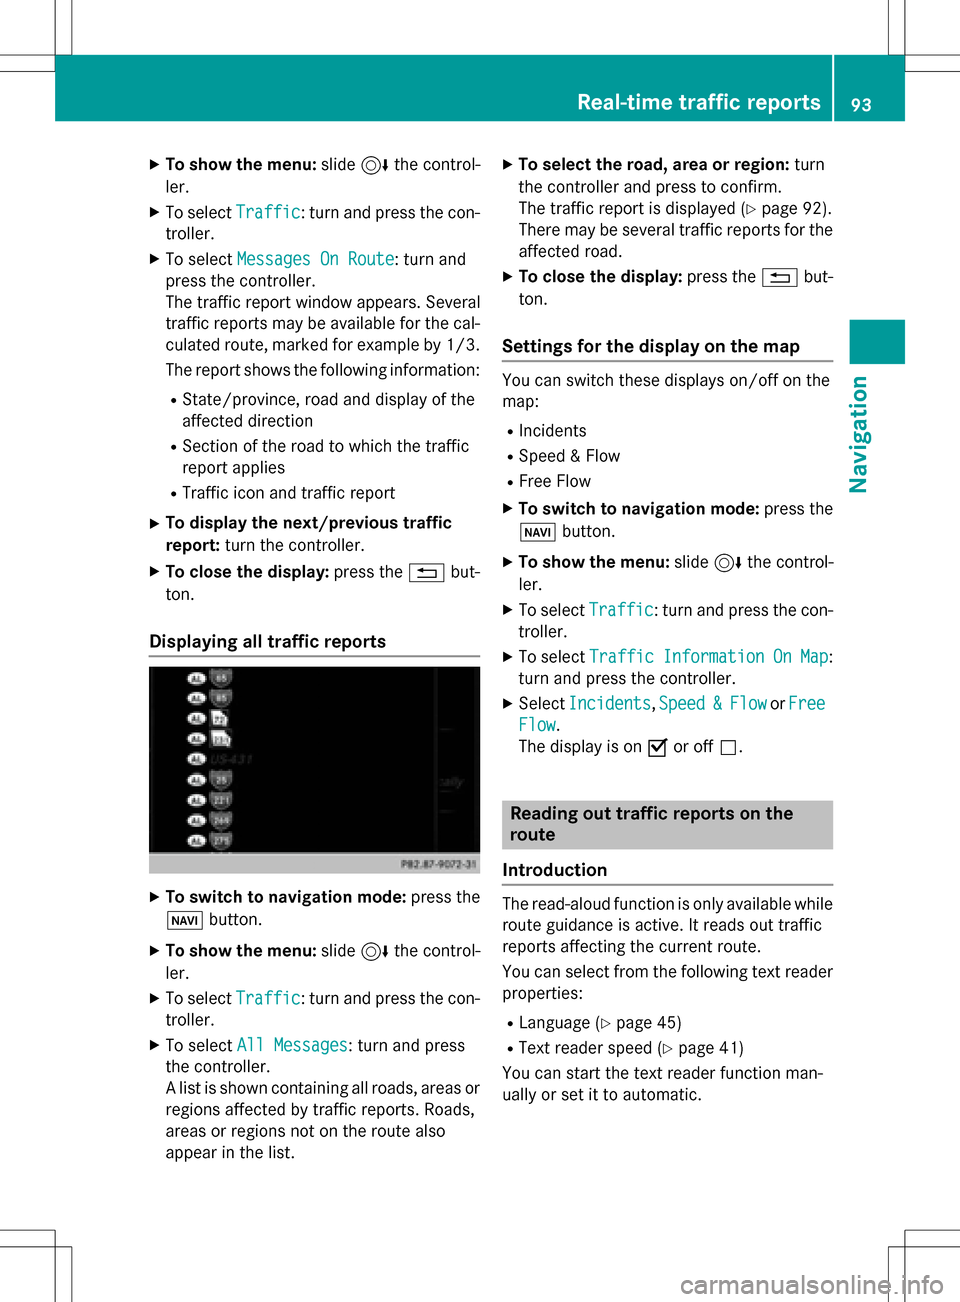
A list is shown containing all roads, areas or
regions affected by traffic reports. Roads,
areas or regions not on the route also
appear in the list.
XTo select the road, area or region: turn
the controller and press to confirm.
The traffic report is displayed (
Ypage 92).
There may be several traffic reports for the
affected road.
XTo close the display: press the%but-
ton.
Settings for the display on the map
You can switch these displays on/off on the
map:
RIncidents
RSpeed & Flow
RFree Flow
XTo switch to navigation mode: press the
Ø button.
XTo show the menu: slide6the control-
ler.
XTo select Traffic: turn and press the con-
troller.
XTo select TrafficInformationOnMap:
turn and press the controller.
XSelect Incidents,Speed&Flowor Free
Flow.
The display is on Oor off ª.
Reading out traffic reports on the
route
Introduction
The read-aloud function is only available while
route guidance is active. It reads out traffic
reports affecting the current route.
You can select from the following text reader
properties:
RLanguage (Ypage 45)
RText reader speed (Ypage 41)
You can start the text reader function man-
ually or set it to automatic.
Real-time traffic reports93
Navigation
Z
Page 116 of 222

Authorizing amobile phone (connect-
ing)
Authorizati onvia Secure Simple Pairing
If COMAND has foun dyour mobile phone ,you
can authorize (connect) it .
XTo selectamobile phone from th edevice
list :tur nth econtroller and press to con-
firm.
A code is displayed in COMAND and on th e
mobile phone.
Th ecode is th esam e
XCOMAND: selectYes.
XMobile phone: confirm thecode. Depend-
ing on th emobile phone used, you may
hav eto confirm th econnection to
COMAND and for th ePBAP and MA PBlue -
toot h
®profiles. The prompt to confirm may
tak eup to two minute sto be displayed. You
may also sav eth econfirmation on th e
mobile phon e(see th emanufacturer' s
operating instructions).
The mobile phone is no wauthorize dand
connecte dto COMAND .You can no w
spea kusin gth ehands-free system.
To ensur ean optimum language quality, you
can set th emobile phone's transmission and
reception volume (
Ypage 116).
Th ecode is dif ferent
XCOMAND: selectNo.
The process is canceled. Repeat th e
authorization .
Authorizationvia passkey entry (access
code)
If COMAND has foun dyour mobile phone ,you
can authorize (connect) it .
XTo select theBluetoot h®nameof th e
desired mobile phone in th edevice list :tur n
and press th econtroller .
The input men ufor th epasske yis dis-
played. The passke
yis aone- to sixteen-digit num -
ber combination whic hyou can choos e
yourself .
XCOMAN D:ente rth epasske yusin gth e
characte rbar.
XSelec t¬ once all th enumber shav e
been entered .
XMobile phone: enterth esam epasske y
and confirm your entry. Dependin gon th e
mobile phon eused, you may hav eto con-
fir m theconnection to COMAND and for th e
PBAP and MA PBluetoot h
®profiles.The
prompt to confirm may tak eup to two
minute sto be displayed. You may also sav e
th econfirmation on th emobile phon e(see
th emanufacturer' soperating instructions).
The mobile phon eis no wauthorize dand
connecte dto COMAND .You can no w
spea kusin gth ehan ds-free system.
To ensur ean optimum language quality, you
can setthemobile phone's transmission and
reception volume (
Ypage 116).
If th eAuthorizatio nFailed
message
appears, you may hav eentered adifferen t
passke yor exceeded th epre scribe dtime
limit. Repeat th eprocedure .
iSome mobile phones require apasske y
wit hfour or mor edigit s.
iIf you wish to re-authorize th emobile
phon eafter de-authorizing it ,you can
choos eanother passke yfor it .
Establishing the connection fr omthe
mob ile phone
The Bluetoot h®device nameof COMAND is
"MB Bluetooth".
XCOMAND: call up thetelephon emenu.
XTo switch to th emen ubar: slide 6the
controller .
XTo selectConnectDevice:tur nand press
th econtroller .
The device list is displayed.
114Connecting/disconnecting a mobile phone
Telephone
Page 117 of 222

XTo selectConnect via Phone: turn and
press the controller.
A message is displayed, stating that you
can start the search on your mobile phone.
XMobile phone: start the search for a Blue-
tooth®device (see manufacturer's operat-
ing instructions).
COMAND is displayed with the name "MB
Bluetooth" in the mobile phone's device
list.
XSelect "MB Bluetooth".
A prompt appears in the COMAND display
asking if the mobile phone should be
authorized.
XCOMAND: selectYes.
If No
is selected, the procedure is canceled.
If your mobile phone supports Secure Sim-
ple Pairing, a code is now displayed on both
devices.
The code is the same
XCOMAND: selectYes.
XMobile phone: confirm the code. Depend-
ing on the mobile phone used, you may
have to confirm the connection to
COMAND and for the PBAP and MAP Blue-
tooth
®profiles. The prompt to confirm may
take up to two minutes to be displayed. You
may also save the confirmation on the
mobile phone (see the manufacturer's
operating instructions).
The mobile phone is now authorized and
connected to COMAND. You can now
speak using the hands-free system.
To ensure an optimum language quality, you
can set the mobile phone's transmission and
reception volume (
Ypage 116).
The code is different
XCOMAND: selectNo.
The process is canceled. Repeat the pro-
cedure.
If your mobile phone does not support Secure
Simple Pairing, an input menu is displayed for
the passkey. The passkey is a one- to sixteen-
digit number combination which you can choose yourself. Enter the same passkey on
both COMAND and the mobile phone and
confirm. Depending on the mobile phone
used, you may have to confirm the connection
to COMAND and for the PBAP and MAP Blue-
tooth
®profiles.
Reconnecting automatically
COMAND always searches for the last con-
nected mobile phone.
If no connection can be made to the most
recently connected mobile phone, the system
searches for the mobile phone that was con-
nected before that one.
Switching between mobile phones
If you have authorized more than one mobile
phone, you can switch between the individual
phones.
XTo call up the telephone menu: press the
% button.
XTo show the menu bar: slide 6the con-
troller.
XTo select Connect Device: turn and press
the controller.
The device list is displayed.
XTo select the desired mobile phone: turn
and press the controller.
The selected mobile phone is searched for
and connected if it is within Bluetooth
®
range and if Bluetooth®is activated.
Only one mobile phone can be connected at
any one time. The currently connected mobile phone is indicated by the #dot in the device
list.
iYou can only switch to another authorized
mobile phone if you are not currently mak-
ing a call.
Connecting/disconnecting a mobile phone115
Telephone
Z
Page 141 of 222

This folder contains all the messages that
you have saved as a draft.
iFolders cannot be selected if they are
empty.
Depending on the mobile phone used, the
sub-folder function may be available.
Read-aloud function for messages
XTo start the read-aloud function: press the
controller when the message is displayed.
XTo select Read Aloud: turn and press the
controller.
COMAND reads out the message.
XTo cancel the read-aloud function: press
the 8 button.
or
XPress the controller, select Cancel Read-
Aloud Functionand press the controller
again.
You can set the language (
Ypage 45) and the
speed (
Ypage 41) of the read-aloud function.
Displaying details and phone numbers
COMAND can also show a shortened sender
display in full.
XTo call up the telephone menu: press the
% button.
XTo switch to the menu bar: slide 6the
controller.
XTo select 1: turn and press the controller.
The message menu is displayed.
XTo switch to the menu bar: slide 6the
controller.
XTo select Folder: turn and press the con-
troller.
XTo select Text MessageorE-Mail: turn
and press the controller.
The selected folder is displayed.
XTo highlight the desired message: turn the
controller.
XTo select G: slide 9the controller.
XTo select Details: turn and press the con-
troller.
The detailed view appears.
XTo close the detailed display: slide8
the controller.
XTo return to the telephone menu: press
the k button.
Writing text messages
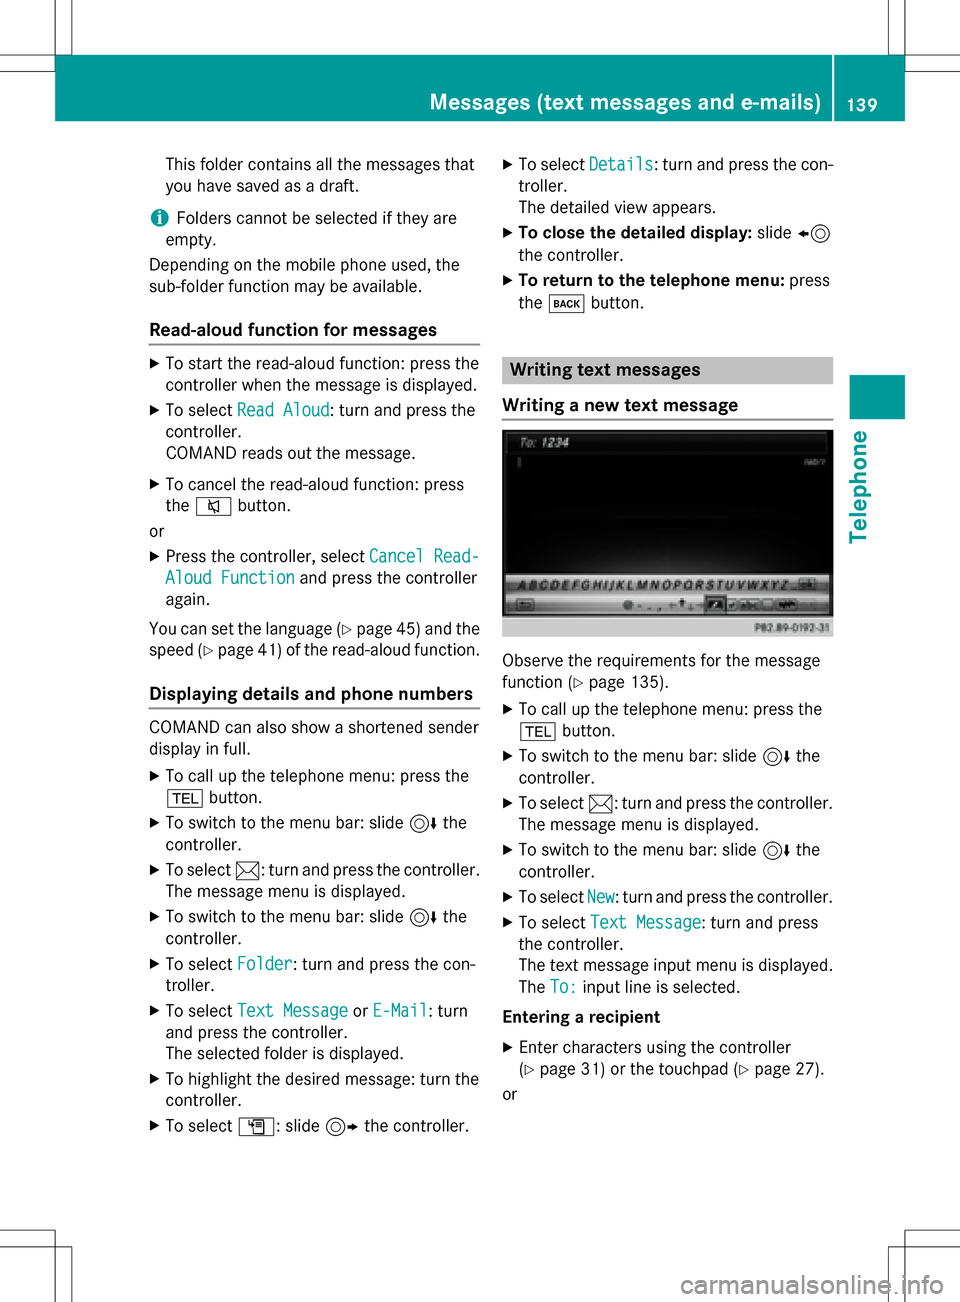
Writing a new text message
Observe the requirements for the message
function (
Ypage 135).
XTo call up the telephone menu: press the
% button.
XTo switch to the menu bar: slide 6the
controller.
XTo select 1: turn and press the controller.
The message menu is displayed.
XTo switch to the menu bar: slide 6the
controller.
XTo select New: turn and press the controller.
XTo select Text Message: turn and press
the controller.
The text message input menu is displayed.
The To:
input line is selected.
Entering a recipient
XEnter characters using the controller
(
Ypage 31) or the touchpad (Ypage 27).
or
Messages (text messages and e-mails)139
Telephone
Z
Page 203 of 222

Bear in mind that at a speed of only 30 mph
(approximately 50 km/h) your vehicle covers
a distance of 44 feet (approximately 14m)
ever yse cond.
General notes
Notes on discs
!Do not affix stickers or labels to the discs.
They could peel off and damage COMAND.
Stickers can cause the disc to bend, which
can result in read errors and disc recogni-
tion problems.
!COMAND is designed to play discs that
comply with the EN 60908 standard. There- fore, you can only use discs with a maxi-
mum thickness of 1.3 mm.
If you insert thicker discs, e.g. those that
contain data on both sides (DVD on one
side and audio data on the other), they can-
not be ejected and can damage the device.
Only use round discs with a diameter of
12 cm. Do not use discs with a diameter of
8 cm, even with an adapter.
The variety of data media, burners and burn
software means there is no guarantee that
the system will be able to play discs that you
have copied yourself.
DVD playback conditions
If video DVDs do not conform to the NTSC or
PAL TV standards, they may create picture,
sound or other problems during playback.
COMAND is capable of playing back video
DVDs produced according to the following
standards:
RRegion code 1 or region code 0 (no region
code)
RPAL or NTSC standard
You will generally find the relevant details
either on the DVD itself or on the DVD case.
iIf you insert a video DVD with a different
region code, a message to this effect
appears.
iCOMAND is set to region code 1 at the
factory. This setting can be changed at an
authorized Mercedes-Benz Center. It is also
possible to play video DVDs with a different
region code, provided that they are pro-
duced in accordance with the PAL or NTSC
TV standard. The region code can be
changed up to five times.
Control options
There are four control menus available in
video DVD mode.
Most DVDs have their own control menu.
The DVD's control menu is operated directly
using the controller or DVD functions.
Control menu and
functionOperation
RDVD's control
menu
Selection of title,
scene, language,
subtitles ...Operation with the
controller
RMenu Options
Selection of
brightness, con-
trast, color, for-
mat
Operation using the
menu bar options,
video settings
RVideo menu
Selection of
scene, fast
forward or rewindIn full-screen mode,
slide6the con-
troller
RDVD functions
Selection of title,
scene, language,
subtitles ...In full-screen mode,
press the controller
Video DVD mode201
Media
Z