2016 MERCEDES-BENZ GLC-Class ECU
[x] Cancel search: ECUPage 30 of 222

Deleting characters
Prerequisite: an input linefo rtext ,number sor
characters has been selected.
XUse your finger to touch th etouch-sensi-
tive surfac eand swip eto th eleft.
The characte rlast entered is deleted.
Switchin ginput line
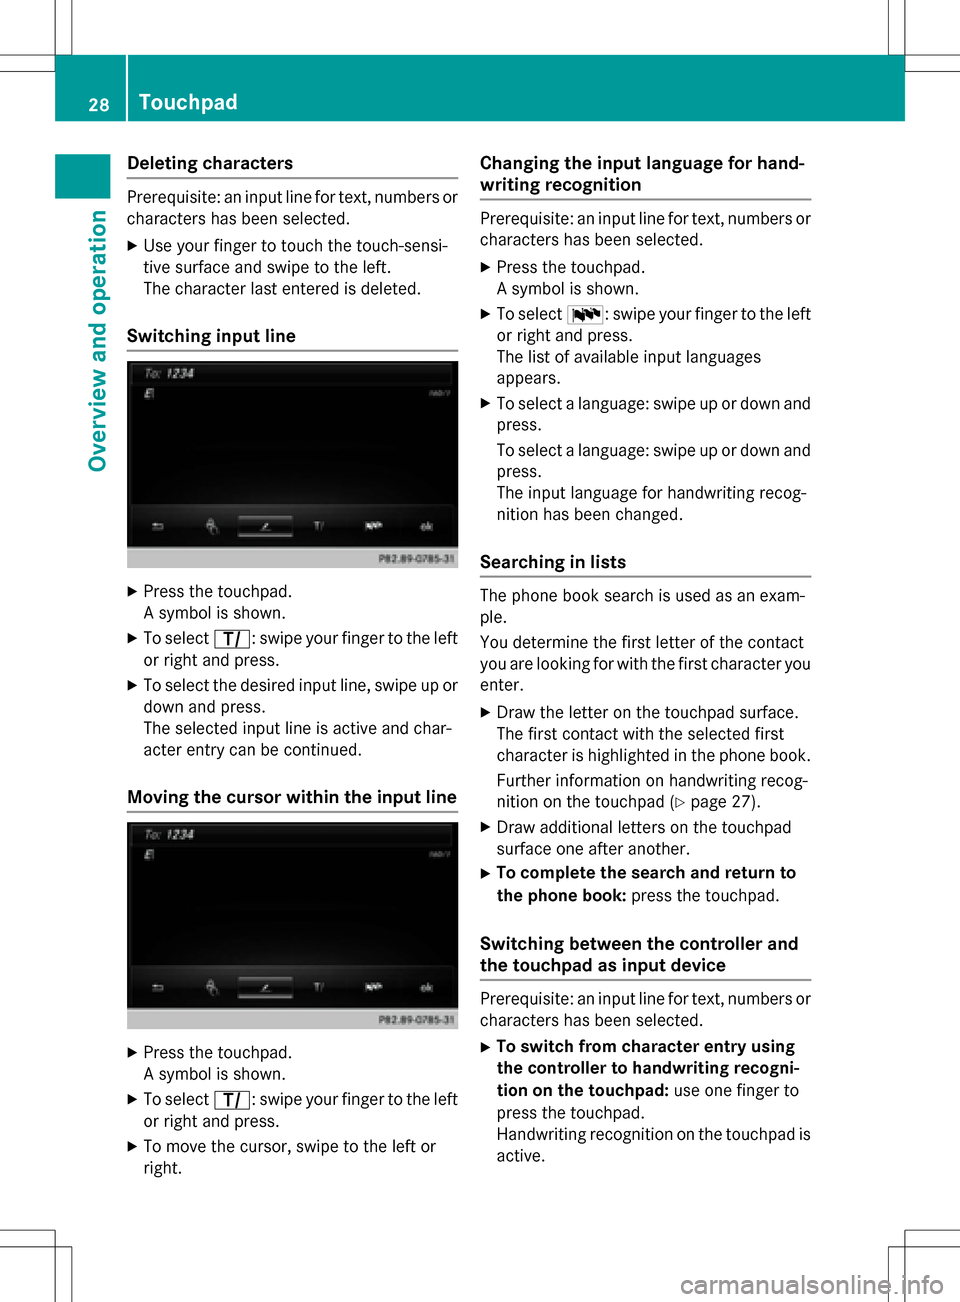
XPress th etouchpad.
A symbol is shown .
XTo selectp: swipeyour finger to th elef t
or right and press.
XTo selec tth edesire dinput line, swip eup or
down and press.
The selecte dinput lin eis active and char-
acter entr ycan be continued.
Moving th ecursor within th einput line
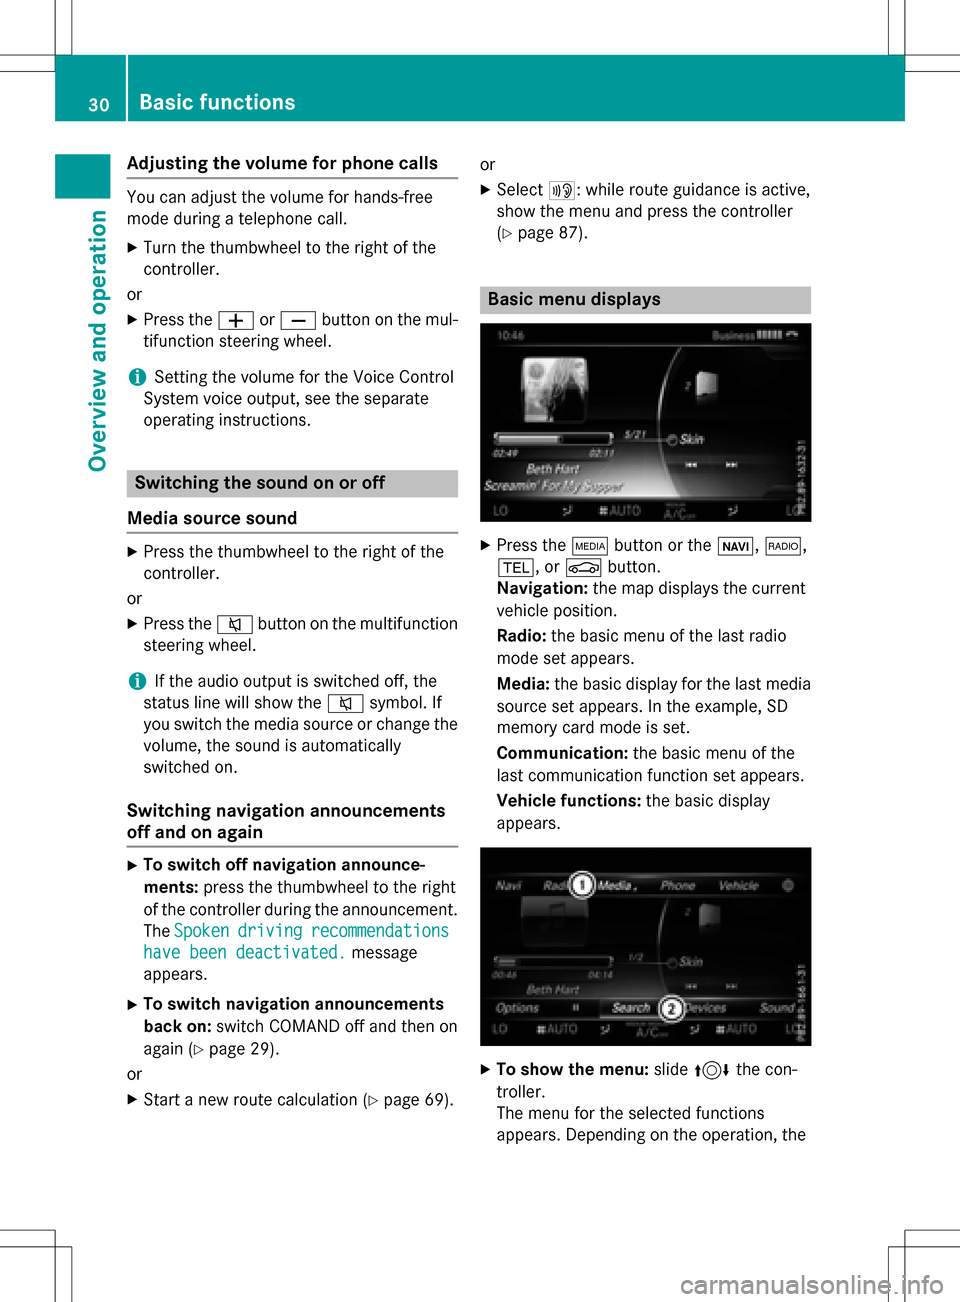
XPress th etouchpad.
A symbol is shown .
XTo selectp: swipeyour finger to th elef t
or right and press.
XTo move th ecursor ,swip eto th elef tor
right .
Changin gth einput language for hand -
writing recognition
Prerequisite: an input lin efo rtext ,number sor
characters has been selected.
XPress th etouchpad.
A symbol is shown .
XTo selectB: swipeyour finger to th elef t
or right and press.
The list of available input language s
appears .
XTo selec t alanguage :swip eup or down and
press.
To selec t alanguage :swip eup or down and
press.
The input language fo rhandwritin grecog-
nition has been changed.
Searchin gin list s
The phone boo ksearch is used as an exam-
ple.
You determin eth efirst lette rof th econtact
you are looking fo rwit hth efirst characte ryou
enter.
XDraw th elette ron th etouchpad surface.
The first contact wit hth eselecte dfirst
characte ris highlighted in th ephone book.
Further information on handwritin grecog-
nition on th etouchpad (
Ypage 27).
XDraw additional letters on th etouchpad
surfac eon eafter another.
XTo complet eth esearc han dreturn to
th ephone book :press th etouchpad.
Switchin gbetween th econtroller an d
th etouchpa das input device
Prerequisite: an input lin efo rtext ,number sor
characters has been selected.
XTo switch from characte rentry using
th econtroller to handwriting recogni -
tion on th etouchpad: use onefinger to
press th etouchpad.
Handwritin grecognition on th etouchpad is
active .
28Touchpad
Overview and operation
Page 32 of 222

Adjusting the volumefor phone calls
You can adjust thevolume for hands-free
mod eduring atelephon ecall .
XTurn th ethumbwheel to th eright of th e
controller .
or
XPress th eW orX buttonon th emul-
tifunction steering wheel.
iSetting th evolume for th eVoic eControl
Syste mvoice output ,see th eseparat e
operating instructions.
Switching the sound on oroff
Media source sound
XPress th ethumbwheel to th eright of th e
controller .
or
XPress th e8 buttonon th emultifunction
steering wheel.
iIf th eaudio output is switched off ,th e
status lin ewill sho wthe8 symbol. If
you switch th emedia source or chang eth e
volume, th esoun dis automatically
switched on .
Switching navigati onannouncements
off and onagain
XTo switch offnavigation announce-
ments :press th ethumbwheel to th eright
of th econtroller during th eannouncement.
The Spoken
drivin grecommendations
havebee ndeactivated.message
appears.
XTo switch navigation announcement s
back on: switch COMAND off and then on
again (
Ypage 29).
or
XStart ane wrout ecalculation (Ypage 69).or
XSelec
t+: while rout eguidance is active ,
sho wthemen uand pre ssthecontroller
(
Ypage 87) .
Basic menu displays
XPresstheÕ buttonor th eß, $,
%, orØ button.
Navigation: themap displays th ecurren t
vehicl eposition .
Radio :th ebasic men uof th elast radi o
mod e set appear s.
Media: thebasic display for th elast media
source set appears. In th eexample, SD
memory car dmod eis set.
Communication: thebasic men uof th e
last communication function set appears.
Vehicle functions: thebasic display
appear s.
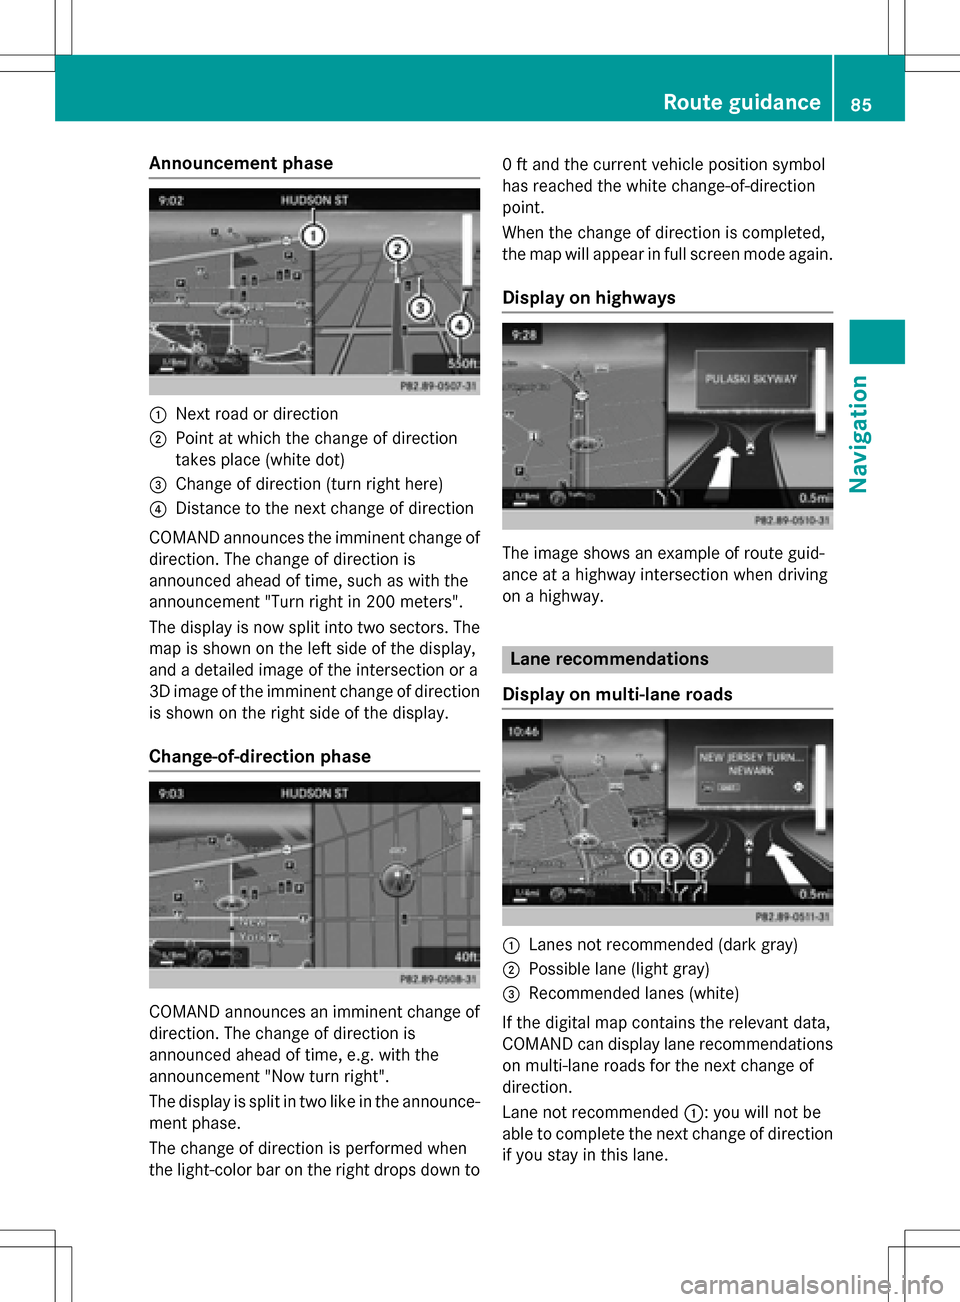
XTo sho wthemenu: slide4 thecon-
troller .
The men ufor th eselected function s
appears. Dependin gon th eoperation ,th e
30Basic functions
Overview and operation
Page 40 of 222

Your COMANDequipment
i
These operatin ginstruction sdescribe all
th estandar dan doptional equipmen tof
your COMAN Dsystem, as available at th e
time of going to print .Country-specifi cdif -
ference sare possible. Bear in min dthat
your vehicle may no tfeature all function s
described here. Thi salso applies to safety-
relevant systems an dfunctions.
iRead th einformation on qualified special-
ist workshop sin th evehicle Operator's
Manual.
Important safet ynotes
GWARNING
If you operat emobile communication equip-
men twhil edriving, you will be distracted from
traffic conditions. You could also los econtro l
of th evehicle. There is aris kof an accident.
Only operat ethis equipment when th evehicle
is stationary.
GWARNING
SD memor ycards are small parts .The ycan be
swallowe dan dcause asphyxiation .Thi s
poses an increase dris kof injury or eve nfatal
injury.
Kee pSD memor ycards out of th ereach of
children .If an SD memor ycar dis swallowed,
see kimmediate medical attention .
You mustobserv eth elega lrequirements fo r
th ecountry in whic hyou are currentl ydrivin g
when operatin gmobile communication s
equipmen tin th evehicle.
Display settings
Setting th ebrightness
The brightness detecte dby th edisplay ligh t
sensor affects th esetting option sfo rthis
function .
XPress theØ button.
or
XPress Vehicl ein themain function bar .
The vehicle men uis displayed.
XTo selec tSystem Settings:slid e6,
turn an dpress th econtroller to confirm .
A men uappears .
XTo selec tDispla y:turn an dpress th econ-
troller.
A men uappears .
XSelectBrightness.
A contro lappears .
XSelectth edesire dbrightness.
Display design
The display feature soptimize ddesign sfo r
daytime an dnight-time operation .You can
set th edesign by manually selecting day or
night design or opt fo ran automatic setting .
XPress theØ button.
or
XPress Vehicl ein themain function bar .
The vehicle men uis displayed.
XTo selec tSystem Settings:slid e6,
turn an dpress th econtroller to confirm .
A men uappears .
XTo selec tDispla y:turn an dpress th econ-
troller.
A men uappears .
XSelectDa yMode,Nigh tModeor Auto.
The #dot indicates th ecurren tsetting .
38Display settings
System settings
Page 41 of 222

DesignExplanation
Day ModeThe display is set perma-
nently to day design .
Night ModeThe display is set perma-
nently to night design .
AutomaticIf theAutomaticsetting
is selected, COMAND
evaluates th ereadings
from th eautomati cvehi-
cle ligh tsensor and auto-
matically switches
between th edisplay
designs.
Switchin gth edisplay on/of f
XPress theØ button.
or
XPress Vehicl ein themain function bar.
The vehicl emen uis displayed.
XTo select DisplayOff:slid e6, turnand
press th econtroller to confirm .
The display goe sout .
XTo switch th edisplay on again: press the
controller .
Time settings
General information
COMAND can automatically set th etime and
date.
The following navigation system function s
require th etime, time zone and summer and
standard time to be set correctl yin order to
wor kproperly:
Rroute guidance on route swit htime-
dependen ttraffic guidance
Rcalculation of expecte dtime of arrival
Switchin gautomatic time on and off
The Automatic Tim eSettingsfunction is
used to activat eor deactivat eth eautomati c
setting of th etime and date. This function is
activated when th evehicl eleaves th efactory.
XPress th eØ button.
or
XPress Vehicl ein themain function bar.
The vehicl emen uis displayed.
XTo select Time:slid e6, turnand press
th econtroller to confirm .
A men uappears .
XTo select Automatic Tim eSettings:
press th econtroller .
XTo switch th efunction on Oor of fª:
press th econtroller .
Setting th etime zon e
To set thetime zone ,th eAutomatic Tim e
Settingsfunction mustbe activated.
XPress th eØ button.
or
XPress Vehicl ein themain function bar.
The vehicl emen uis displayed.
XTo select Time:slid e6, turnand press
th econtroller to confirm .
A men uappears .
XTo select TimeZone::tur nand press th e
controller .
A list of countrie sappears .The #dot indi-
cates th ecurren tsetting .
XTo select th ecountr yin which you ar e
currently driving: turnand press th econ-
troller.
The country is accepted.
A time zone list may also be displayed,
dependin gon th ecountry selected.
XTo select th edesired time zone: turnand
press th econtroller .
The time zone is accepted.
A list of available option sfo rsetting sum -
mer time appears (
Ypage 40).
Time settings39
System settings
Z
Page 45 of 222

The vehicle is displayed with the SSIDMB
WLAN XXXXX.
The device to be connected generates a
PIN.
XThis PIN is also entered on COMAND.
Connecting the device by pressing a
button (push button)
Prerequisite:
For this type of connection, the device to be
connected must support "Connect via push
button".
XTo select Vehiclefrom the main function
bar: turn and press the controller.
XTo switch to the menu bar: slide 6the
controller.
XSelect System Settings.
The System Settings
menu is displayed.
XSelect WiFi.
The WiFi menu appears.
XSelect Connect via WPS PBC.
XSelect the vehicle from the device to be
connected and Connect via WPS PBC
.
The vehicle is displayed with the SSID MB
WLAN XXXXX.
XSelectContinuein COMAND.
Connecting the device via the security
key
XTo select Vehiclefrom the main function
bar: turn and press the controller.
XTo switch to the menu bar: slide 6the
controller.
XSelect System Settings.
The System Settings
menu is displayed.
XSelect WiFi.
The WiFi menu appears.
XSelect Connect Using Security Key.
XSelect the vehicle from the device to be
connected. The vehicle is displayed with
the SSID MB WLAN XXXXX
.
XEnter the security key that appears on the
COMAND display for the device to be con-
nected.
XConfirm the entry.
Generating a new security key
WiFi43
System settings
Z
Page 46 of 222

XTo selectVehiclefrom the main function
bar: turn and press the controller.
XTo switch to the menu bar: slide 6the
controller.
XSelect System Settings.
The System Settings
menu appears.
XSelect WiFi.
The WiFi menu appears.
XSelect Generate Security Key.
XSelectRegenerate.
A new security key is generated.
XTo save the security key: turn the controller
and select Save
.
The WiFi menu appears. The new security
key will now be displayed and verified when
a connection is established via the security
key. The connection must be re-estab-
lished with the newly created security key.
iDevice connections established using the
previous security key will no longer work
after the security key is changed. You have
to reconnect these devices (
Ypage 42).
Changing the name of the SSID
XTo select Vehiclefrom the main function
bar: turn and press the controller.
XTo switch to the menu bar: slide 6the
controller.
XSelect System Settings.
The System Settings
menu is displayed.
XSelect WiFi.
The WiFi menu appears.
XSelect Change SSID.
A dialog for entering the SSID appears.
XEnter the new SSID.
XSelect ¬.
XPress the controller.
From now on, when establishing a connec-
tion, the vehicle will be shown with the new
SSID both on the device to be connected
and in the Connect
UsingSecurityKey
menu.
iDevice connections established using the
previous SSID will no longer work after the
SSID is changed. You have to reconnect
these devices (
Ypage 42).
Bluetooth®settings
General information about Blue-
tooth®
Bluetooth®-capable devices, e.g. mobile
phones, have to comply with a certain profile
in order to be connected to COMAND. Every
Bluetooth
®device has its own specific Blue-
tooth®name.
Bluetooth
®technology is a standard for
short-range wireless data transmissions up to
approximately 10 meters. You can use Blue-
tooth
®to connect your mobile phone to
COMAND to, for example:
Ruse the hands-free system
Restablish an Internet connection
Rlisten to music using Bluetooth®Audio
Rexchange vCards
Bluetooth
®is a registered trademark of Blue-
tooth Special Interest Group (SIG) Inc.
Activating/deactivating Bluetooth®
X
Press the Øbutton.
or
XPress Vehiclein the main function bar.
The vehicle menu is displayed.
44Bluetooth®settings
System settings
Page 75 of 222

Defining theposition for th ePOI searc h
SelectionInstructions
NearDestination
(whe nrout eguidanc eis
active )
XCall up th ePOI men u (Ypage 72) .
XTo selectNea rDestination:turn and press th econtroller .
XSelect aPOI category (Ypage 74).
CurrentPosition
Searches in th evicinit y
of th ecurren tvehicle
position .
XCall up th ePOI men u (Ypage 72) .
XTo selectCurren tPosition:turn and press th econtroller .
XSelect aPOI category (Ypage 74).
Other Cit y
Afterenterin g acity, th e
search is performed
within th ecity' sbounda-
rie s
Option 1
XCall up th ePOI men u (Ypage 72).
XTo selectOther Cit y:turn and press th econtroller .
XSelectth estate/province (Ypage 68),if desired.
XEnte rth ecity (Ypage 67) .
XSelect aPOI category (Ypage 74).
Option 2
XEnter acity in th eaddress entr ymen u (Ypage 67).
XTo selec tPOI s:slid e6 thecontroller ,turn and press to con-
firm.
XSelec t aPOI category (Ypage 74).
Destination entry73
Navigation
Z
Page 87 of 222

Announcement phase
:Nextroad or direction
;Poin tat whic hth echang eof direction
takes plac e(whit edot )
=Change of direction (turn right here)
?Distanc eto th ene xt chang eof direction
COMAND announce sth eimminent chang eof
direction .The chang eof direction is
announce dahead of time, suc has wit hth e
announcemen t"Turn right in 20 0meters".
The display is no wsplit int otwo sectors .The
map is shown on th elef tside of th edisplay,
and adetailed imag eof th eintersection or a
3D imag eof th eimminent chang eof direction
is shown on th eright side of th edisplay.
Change-of-directi onphase
COMAND announce san imminent chang eof
direction .The chang eof direction is
announce dahead of time, e.g. wit hth e
announcemen t"Now tur nright".
The display is split in two lik ein th eannounce -
men tphase.
The chang eof direction is performed when
th elight-color bar on th eright drops down to 0
ft and th ecurren tvehicl eposition symbol
has reached th ewhit echange-of-direction
point.
When th echang eof direction is completed,
th emap will appear in full scree nmod eagain .
Display onhighways
The imag eshows an exampl eof rout eguid-
anc eat ahighway intersection when driving
on ahighway.
Lane rec ommendations
Display on multi-lane roads
:Lanes no trecommended (dar kgray)
;Possible lan e(ligh tgray)
=Recommended lanes (white)
If th edigital map contain sth erelevan tdata,
COMAND can display lan erecommendation s
on multi-lane road sfor th ene xt chang eof
direction .
Lane notrecommended ::you will no tbe
able to complete th ene xtchang eof direction
if you stay in this lane.
Route guidance85
Navigation
Z