2016 MERCEDES-BENZ GL-Class navigation
[x] Cancel search: navigationPage 43 of 246

XTo selectSystem Settings: slide6,
turn and press the controller.
A menu appears.
XTo select Display: turn and press the con-
troller.
A menu appears.
XTo select Day Mode,Night Modeor Auto:
turn and press the controller.
The #dot indicates the current setting.
DesignExplanation
Day ModeThe display is set perma-
nently to day design.
Night ModeThe display is set perma-
nently to night design.
AutoIf the Autosetting is
selected, COMAND eval-
uates the readings from
the automatic vehicle
light sensor and auto-
matically switches
between the display
designs.
Switching the display on/off
XPress the Øbutton on the COMAND
control panel.
XTo select DisplayOff: slide6, turn and
press the controller to confirm.
The display goes out.
or
XPress the _button on the controller.
The display goes out.
XTo switch the display on again: press the
controller.
Time settings
General information
COMAND can automatically set the time and
date. The following navigation system functions
require the time, time zone and summer/
standard time to be set correctly in order to
work properly:
Rroute guidance on routes with time-
dependent traffic guidance
Rcalculation of expected time of arrival
Switching automatic time on and off
The
Automatic Time Settingsfunction is
used to activate or deactivate the automatic
setting of the time and date. This function is
activated when the vehicle leaves the factory.
XPress the Øbutton on the COMAND
control panel.
or
XPress Vehiclein the main function bar.
The vehicle menu is displayed.
XTo select Time: slide6, turn and press
the controller to confirm.
A menu appears.
XTo select Automatic Time Settings:
press the controller.
XTo switch the function on Oor off ª:
press the controller.
Setting the time zone
To set the time zone, the Automatic Time
Settingsfunction must be activated.
XPress theØbutton on the COMAND
control panel.
or
XPress Vehiclein the main function bar.
The vehicle menu is displayed.
XTo select Time: slide6, turn and press
the controller to confirm.
A menu appears.
XTo select Time Zone:: turn and press the
controller.
A list of countries appears. The #dot indi-
cates the current setting.
Time settings41
System settings
Z
Page 50 of 246
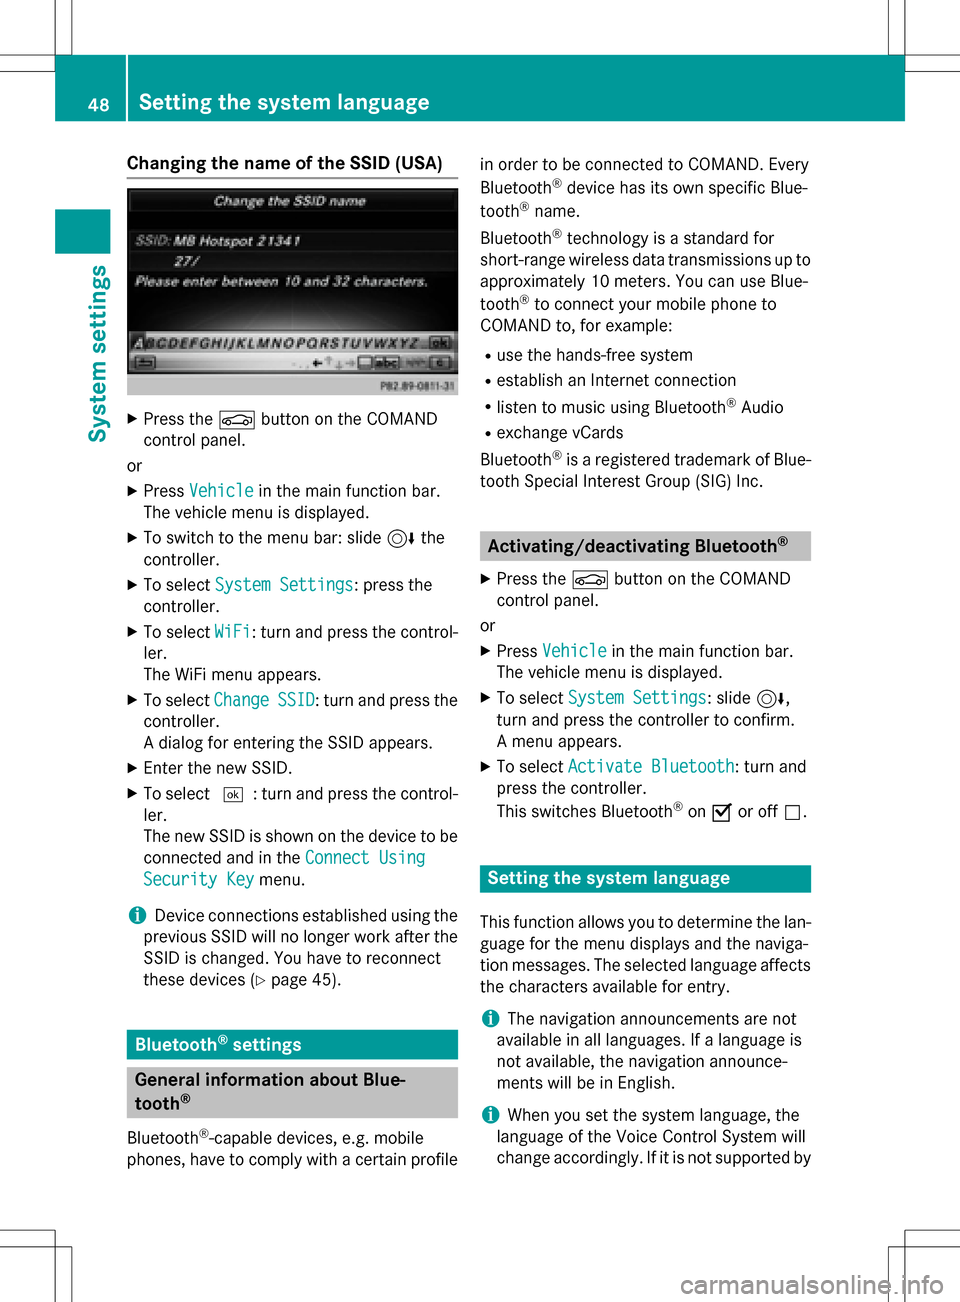
Changing the name of the SSID (USA)
XPress theØbutton on the COMAND
control panel.
or
XPress Vehiclein the main function bar.
The vehicle menu is displayed.
XTo switch to the menu bar: slide 6the
controller.
XTo select System Settings: press the
controller.
XTo select WiFi: turn and press the control-
ler.
The WiFi menu appears.
XTo select ChangeSSID: turn and press the
controller.
A dialog for entering the SSID appears.
XEnter the new SSID.
XTo select ¬: turn and press the control-
ler.
The new SSID is shown on the device to be
connected and in the Connect Using
Security Keymenu.
iDevice connections established using the
previous SSID will no longer work after the
SSID is changed. You have to reconnect
these devices (
Ypage 45).
Bluetooth®settings
General information about Blue-
tooth®
Bluetooth®-capable devices, e.g. mobile
phones, have to comply with a certain profile in order to be connected to COMAND. Every
Bluetooth
®device has its own specific Blue-
tooth®name.
Bluetooth
®technology is a standard for
short-range wireless data transmissions up to
approximately 10 meters. You can use Blue-
tooth
®to connect your mobile phone to
COMAND to, for example:
Ruse the hands-free system
Restablish an Internet connection
Rlisten to music using Bluetooth®Audio
Rexchange vCards
Bluetooth
®is a registered trademark of Blue-
tooth Special Interest Group (SIG) Inc.
Activating/deactivating Bluetooth®
X
Press the Øbutton on the COMAND
control panel.
or
XPress Vehiclein the main function bar.
The vehicle menu is displayed.
XTo select System Settings: slide6,
turn and press the controller to confirm.
A menu appears.
XTo select Activate Bluetooth: turn and
press the controller.
This switches Bluetooth
®on O or off ª.
Setting the system language
This function allows you to determine the lan-
guage for the menu displays and the naviga-
tion messages. The selected language affects
the characters available for entry.
iThe navigation announcements are not
available in all languages. If a language is
not available, the navigation announce-
ments will be in English.
iWhen you set the system language, the
language of the Voice Control System will
change accordingly. If it is not supported by
48Setting the system language
System settings
Page 53 of 246
iIf you import data, such as address data,
the existing data on COMAND is overwrit-
ten. You will see a message to this effect.
COMAND is restarted after the data import.
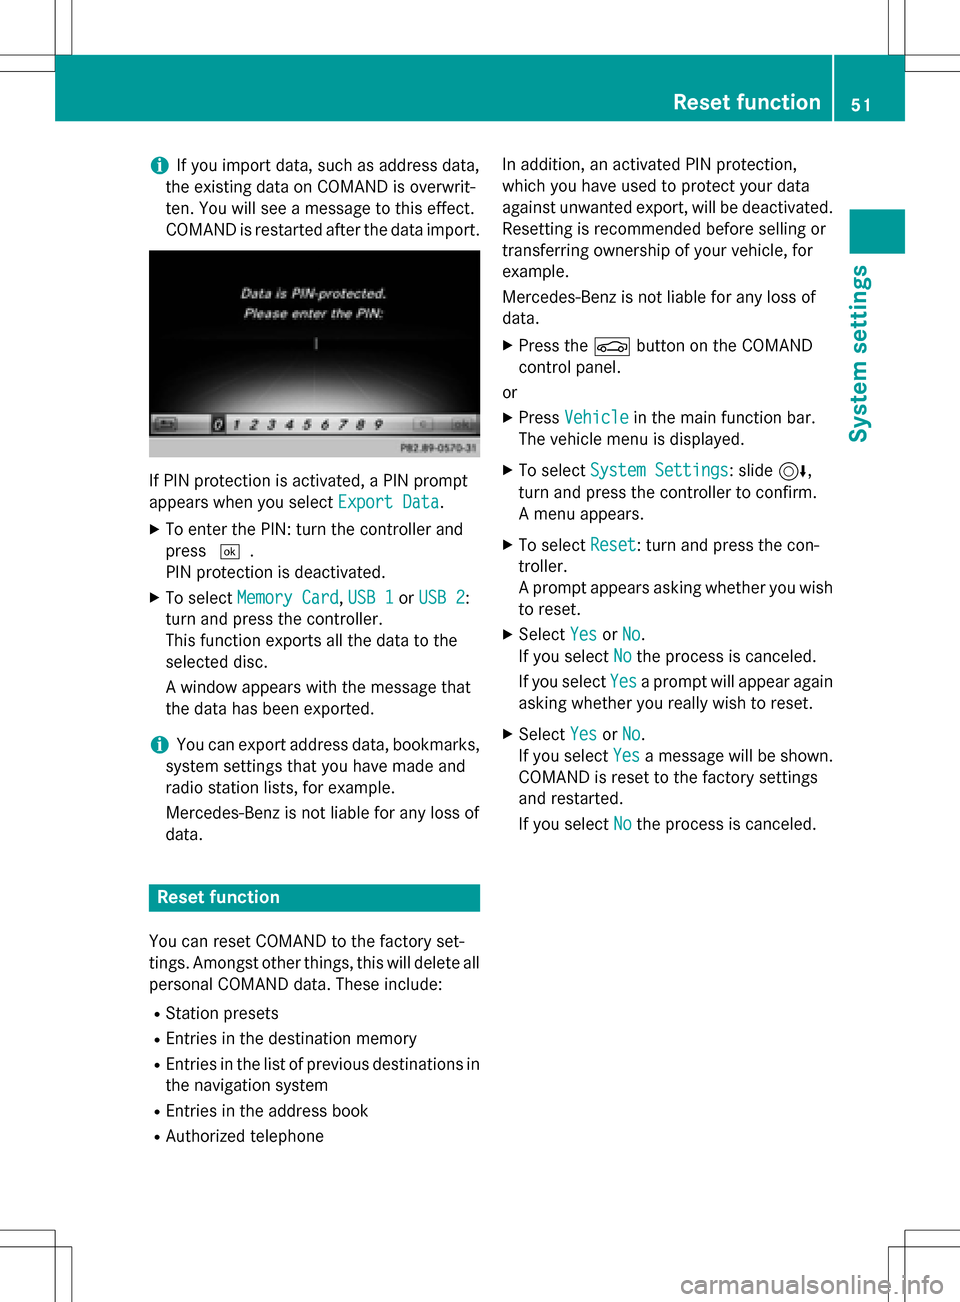
If PIN protection is activated, a PIN prompt
appears when you select Export Data
.
XTo enter the PIN: turn the controller and
press¬.
PIN protection is deactivated.
XTo select Memory Card,USB 1or USB 2:
turn and press the controller.
This function exports all the data to the
selected disc.
A window appears with the message that
the data has been exported.
iYou can export address data, bookmarks,
system settings that you have made and
radio station lists, for example.
Mercedes-Benz is not liable for any loss of
data.
Reset function
You can reset COMAND to the factory set-
tings. Amongst other things, this will delete all
personal COMAND data. These include:
RStation presets
REntries in the destination memory
REntries in the list of previous destinations in
the navigation system
REntries in the address book
RAuthorized telephone In addition, an activated PIN protection,
which you have used to protect your data
against unwanted export, will be deactivated.
Resetting is recommended before selling or
transferring ownership of your vehicle, for
example.
Mercedes-Benz is not liable for any loss of
data.
XPress the
Øbutton on the COMAND
control panel.
or
XPress Vehiclein the main function bar.
The vehicle menu is displayed.
XTo select System Settings: slide6,
turn and press the controller to confirm.
A menu appears.
XTo select Reset: turn and press the con-
troller.
A prompt appears asking whether you wish
to reset.
XSelect YesorNo.
If you select No
the process is canceled.
If you select Yes
a prompt will appear again
asking whether you really wish to reset.
XSelect YesorNo.
If you select Yes
a message will be shown.
COMAND is reset to the factory settings
and restarted.
If you select No
the process is canceled.
Reset function51
System settings
Z
Page 65 of 246

Your COMAND equipment..................64
Introduction ........................................ .64
Basic settings ...................................... 66
Destination entry ................................ 69
Persona lPOIs an droutes .................. .82
Route guidance .................................. .87
Real-tim etraffic reports .....................94
Storing destinations ...........................98
Ma pfunctions .................................. .100
Navigation functions ........................107
Problem swit hth enavigation sys -
te m .................................................... .109
63
Navigation
Page 66 of 246
Your COMANDequipment
i
These operatin ginstruction sdescribe all
th estandar dan doptional equipmen tof
your COMAN Dsystem, as available at th e
time of going to print .Country-specifi cdif -
ference sare possible. Bear in min dthat
your vehicle may no tfeature all function s
described here. Thi salso applies to safety-
relevant systems an dfunctions.
iRead th einformation on qualified special-
ist workshop sin th evehicle Operator's
Manual.
Introduction
Important safet ynotes
GWARNING
If you operat einformation systems an dcom-
munication equipment integrated in th evehi-
cl e whil edriving, you will be distracted from
traffic conditions. You could also los econtro l
of th evehicle. There is aris kof an accident.
Only operat eth eequipment when th etraffic
situation permits. If you are no tsur ethat this
is possible, par kth evehicle payin gattention
to traffic condition san doperat eth eequip-
men twhen th evehicle is stationary.
You mus tobserv eth elega lrequirements fo r
th ecountry in whic hyou are currentl ydrivin g
when operatin gCOMAND.
COMAN Dcalculates th erout eto th edestina -
tion without taking accoun tof th efollowing,
fo rexample:
Rtraffic lights
Rstop an dyield signs
Rmergin glanes
Rparking or stoppin gin ano parking/n o
stoppin gzone
Rother road an dtraffic rule san dregulation s
Rnarrow bridge s
COMAN Dcan giv eincorrec tnavigation com-
mands if th eactual street/traffic situation doe
sno tcorrespon dwit hth edigita lmap's
data. Digital map sdo no tcover all areas no r
all routes in an area. Fo rexamp
le,arou
t emay
hav ebee ndiverted or th edirection of aone-
way stree tmay hav echanged .
Fo rthis reason ,you mus talways observ e
road an dtraffic rule san dregulation sdurin g
your journey. Road an dtraffic rule san dreg -
ulation salways hav epriorit yover th esys -
tem' sdrivin grecommendations.
Navigation announcement sare intended to
direc tyou whil edrivin gwithout divertin gyour
attention from th eroad an ddriving.
Please always use this feature instead of con-
sultin gth emap display fo rdirections. Look -
in g at th eicon sor map display can distract
you from traffic condition san ddriving, an d
increase th eris kof an accident.
General notes
Operationa lreadines sof th enavigation
syste m
The navigation syste mmus tdetermin eth e
position of th evehicle befor efirst use or
wheneve roperational status is restored .
Therefore, you may hav eto drive fo r awhil e
befor eprecise rout eguidance is possible.
GP Sreception
Amon gother things, correc tfunctionin gof
th enavigation syste mdepend son GPS recep-
tion .In certain situations, GPS reception may
be impaired, there may be interferenc eor
there may be no reception at all, e.g. in tun-
nels or parking garages .
iUsing roof carriers may impair th ecorrec t
functionin gof aroof antenn a(phone, sat -
ellite radio, GPS).
Entry restriction
Fo rvehicles in certain countries, there is a
dat aentr yrestriction .
64Introduction
Navigation
Page 67 of 246
Entries can be made when the selector lever
is in positionPor the vehicle is stationary.
When the restriction is active, certain entries
cannot be made. This will be indicated by the
fact that certain menu items are grayed out
and cannot be selected.
The following entries are not possible, for
example:
Rentering the destination city and street
RPOI entry via a name search
Rediting and saving of entries
Other entries are however possible, such as a keyword search and entering POIs in the
vicinity of the destination or current position.
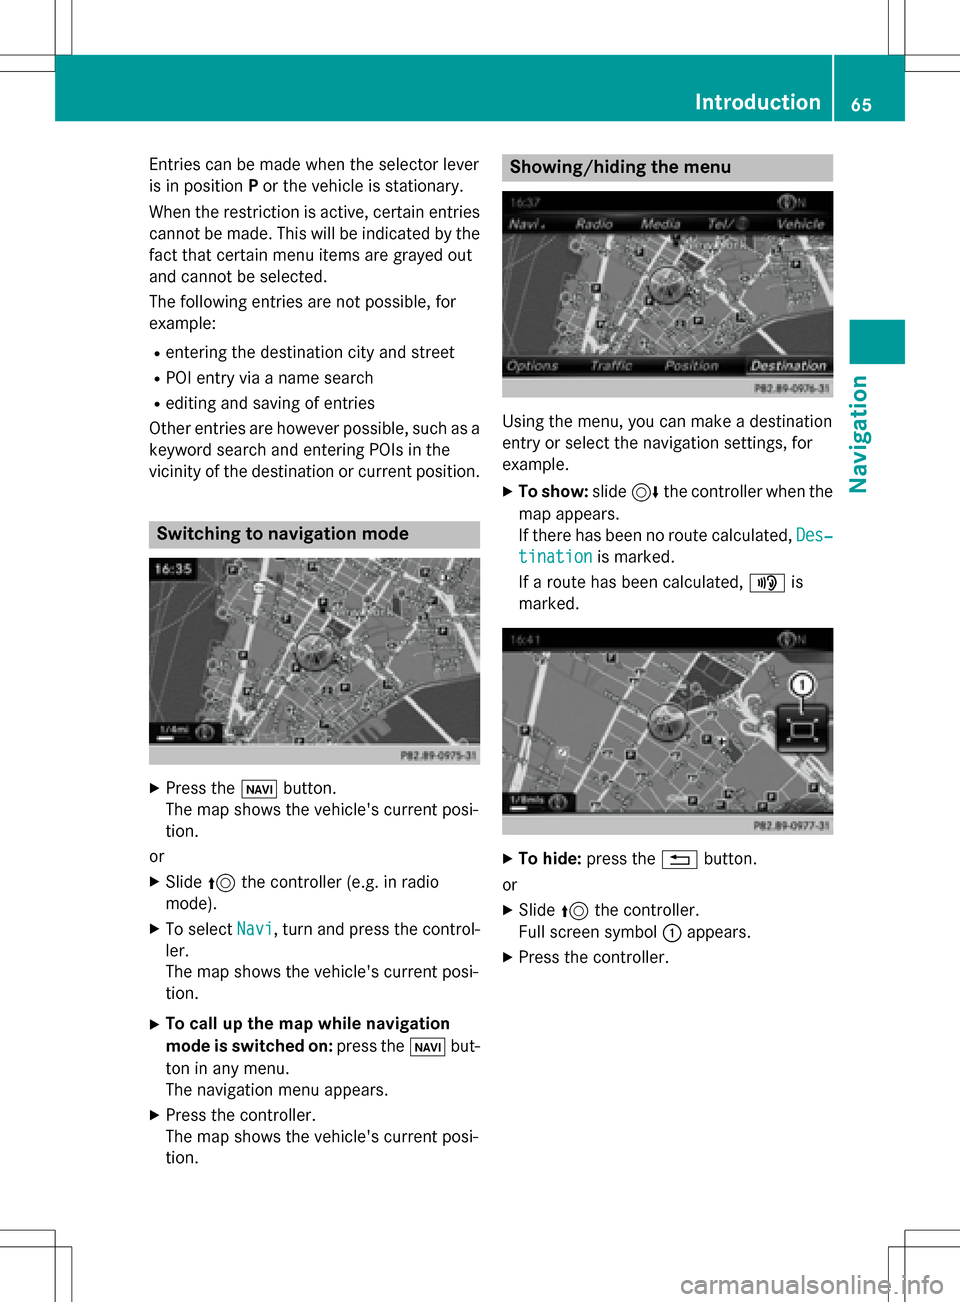
Switching to navigation mode
XPress the ßbutton.
The map shows the vehicle's current posi-
tion.
or
XSlide 5the controller (e.g. in radio
mode).
XTo select Navi, turn and press the control-
ler.
The map shows the vehicle's current posi-
tion.
XTo call up the map while navigation
mode is switched on: press theßbut-
ton in any menu.
The navigation menu appears.
XPress the controller.
The map shows the vehicle's current posi-
tion.
Showing/hiding the menu
Using the menu, you can make a destination
entry or select the navigation settings, for
example.
XTo show: slide6the controller when the
map appears.
If there has been no route calculated, Des‐
tinationis marked.
If a route has been calculated, yis
marked.
XTo hide: press the %button.
or
XSlide 5the controller.
Full screen symbol :appears.
XPress the controller.
Introduction65
Navigation
Z
Page 68 of 246
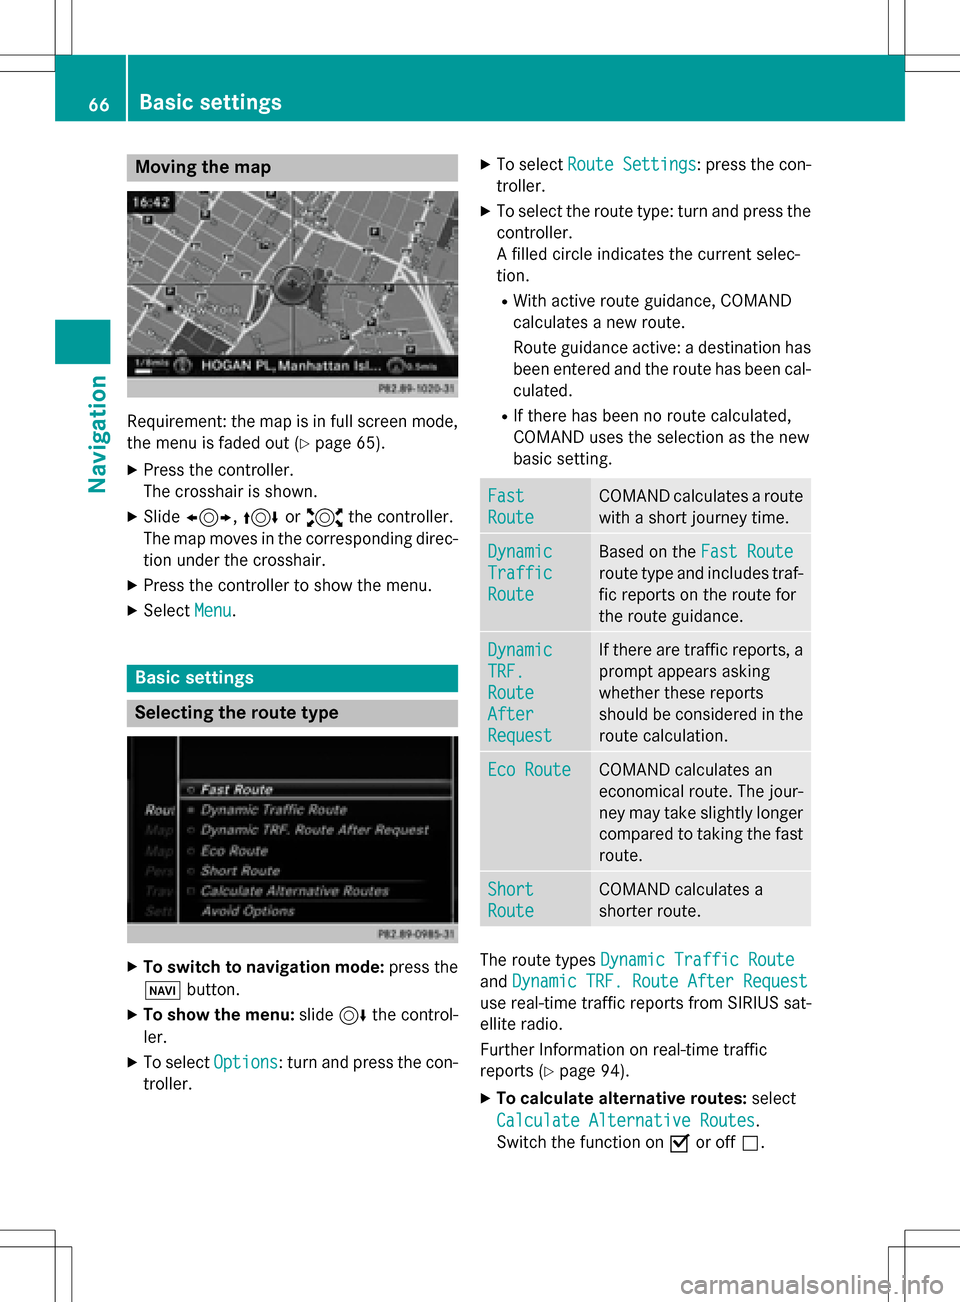
Moving the map
Requirement: the map is in full screen mode,
the menu is faded out (
Ypage 65).
XPress the controller.
The crosshair is shown.
XSlide1, 4or2 the controller.
The map moves in the corresponding direc- tion under the crosshair.
XPress the controller to show the menu.
XSelect Menu.
Basic settings
Selecting the route type
XTo switch to navigation mode: press the
Ø button.
XTo show the menu: slide6the control-
ler.
XTo select Options: turn and press the con-
troller.
XTo select Route Settings: press the con-
troller.
XTo select the route type: turn and press the
controller.
A filled circle indicates the current selec-
tion.
RWith active route guidance, COMAND
calculates a new route.
Route guidance active: a destination has
been entered and the route has been cal-
culated.
RIf there has been no route calculated,
COMAND uses the selection as the new
basic setting.
Fast
Route
COMAND calculates a route
with a short journey time.
Dynamic
Traffic
Route
Based on the Fast Route
route type and includes traf-
fic reports on the route for
the route guidance.
Dynamic
TRF.
Route
After
Request
If there are traffic reports, a
prompt appears asking
whether these reports
should be considered in the
route calculation.
Eco RouteCOMAND calculates an
economical route. The jour-
ney may take slightly longer
compared to taking the fast
route.
Short
Route
COMAND calculates a
shorter route.
The route types Dynamic Traffic Route
andDynamic TRF. Route After Request
use real-time traffic reports from SIRIUS sat-
ellite radio.
Further Information on real-time traffic
reports (
Ypage 94).
XTo calculate alternative routes: select
Calculate Alternative Routes
.
Switch the function on Oor off ª.
66Basic settings
Navigation
Page 69 of 246
Function activated: after each route calcu-
lation, route alternatives are offered that
correspond to the local conditions
(
Ypage 92).
If desired, you can have COMAND calculate
alternative routes even during route guid-
ance (
Ypage 92).
Setting route options
XTo switch to navigation mode: press the
Ø button.
XTo show the menu: slide6the control-
ler.
XTo select Options: turn and press the con-
troller.
XTo select Route Settings: press the con-
troller.
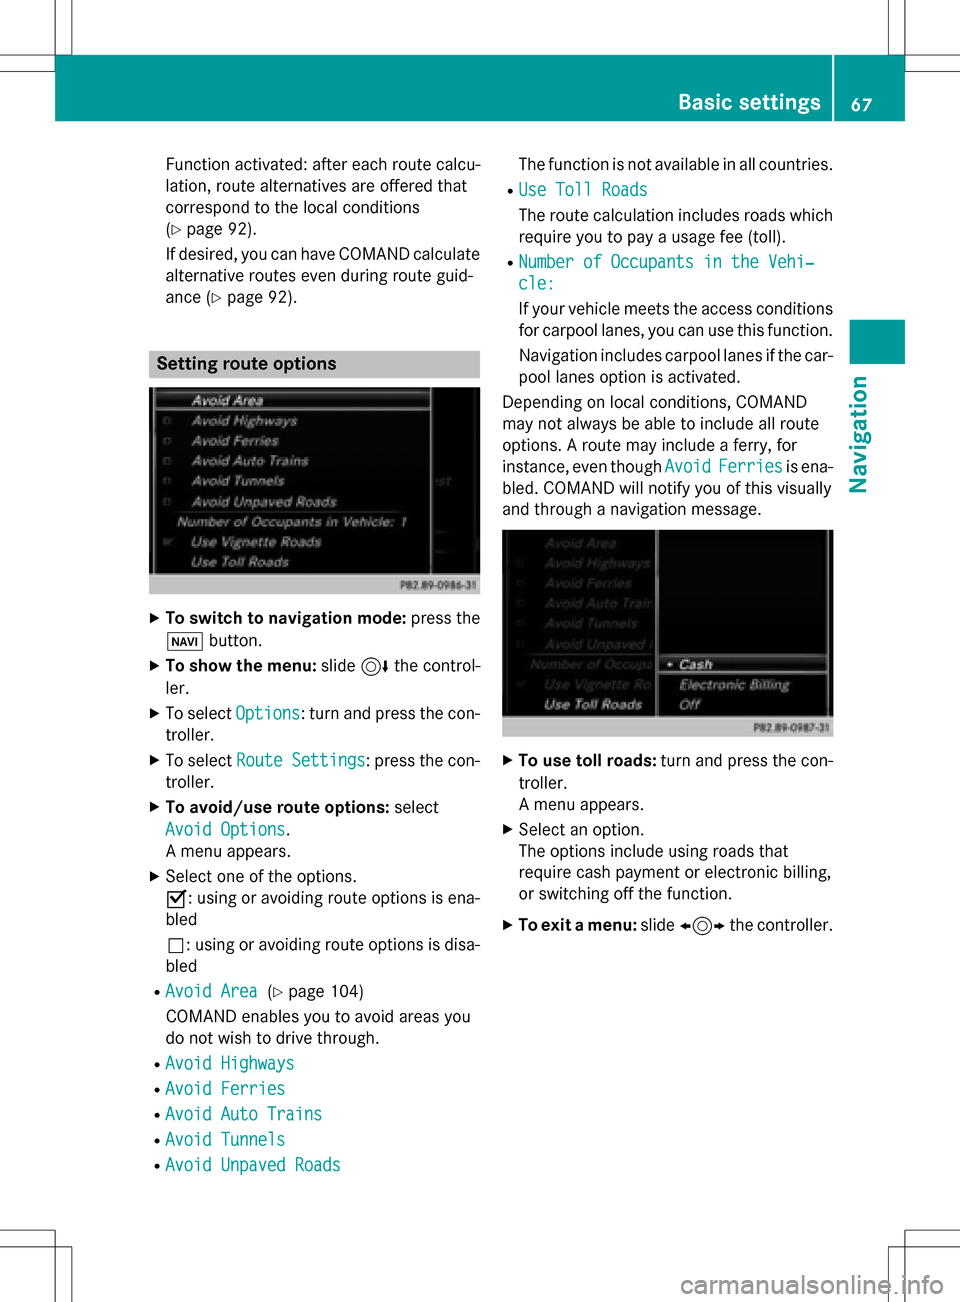
XTo avoid/use route options: select
Avoid Options
.
A menu appears.
XSelect one of the options.
O: using or avoiding route options is ena-
bled
ª: using or avoiding route options is disa-
bled
RAvoid Area(Ypage 104)
COMAND enables you to avoid areas you
do not wish to drive through.
RAvoid Highways
RAvoid Ferries
RAvoid Auto Trains
RAvoid Tunnels
RAvoid Unpaved Roads
The function is not available in all countries.
RUse Toll Roads
The route calculation includes roads which
require you to pay a usage fee (toll).
RNumber of Occupants in the Vehi‐
cle:
If your vehicle meets the access conditions for carpool lanes, you can use this function.
Navigation includes carpool lanes if the car-
pool lanes option is activated.
Depending on local conditions, COMAND
may not always be able to include all route
options. A route may include a ferry, for
instance, even though Avoid
Ferriesis ena-
bled. COMAND will notify you of this visually
and through a navigation message.
XTo use toll roads: turn and press the con-
troller.
A menu appears.
XSelect an option.
The options include using roads that
require cash payment or electronic billing,
or switching off the function.
XTo exit a menu: slide1 the controller.
Basic settings67
Navigation
Z